Fab photo studio tutorial
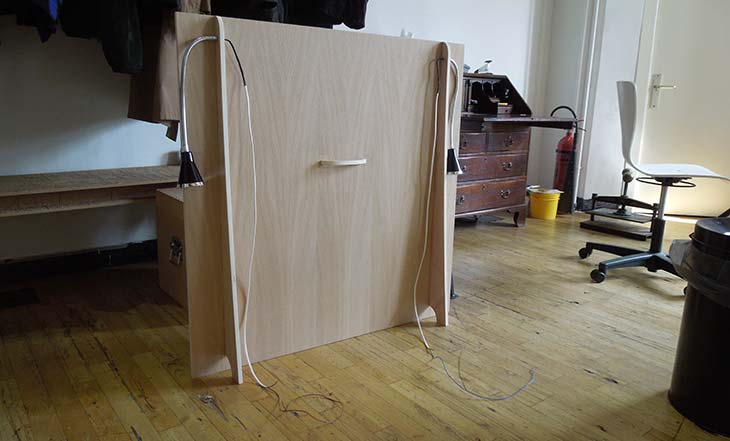
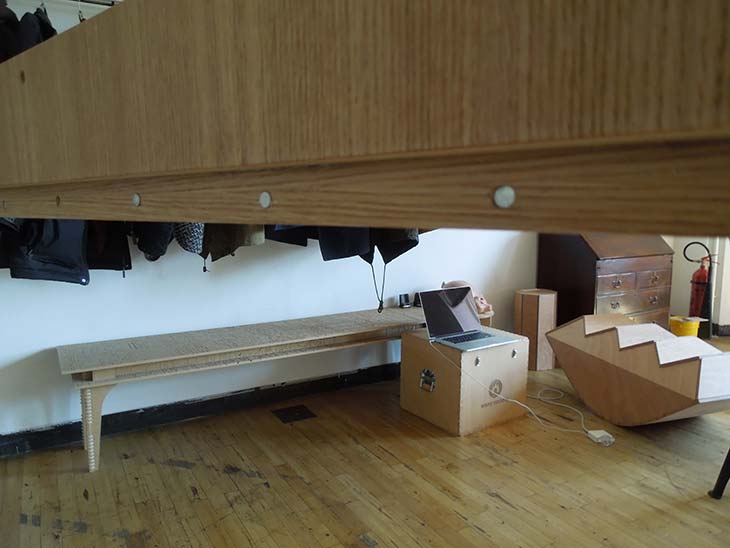
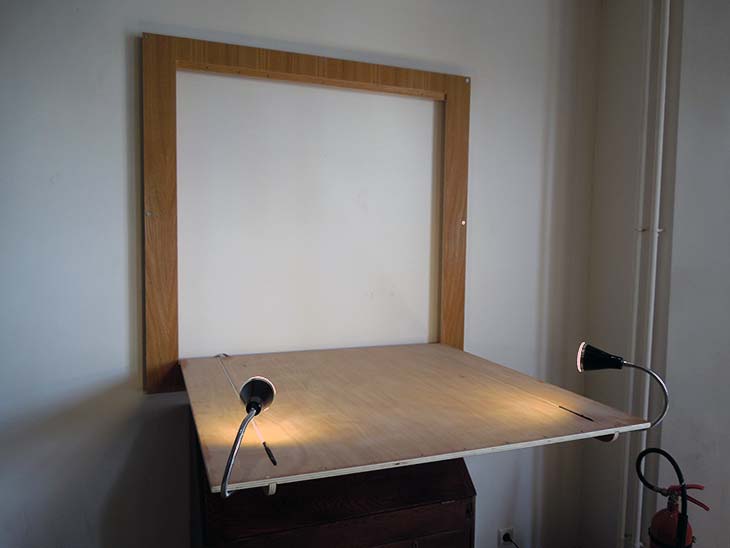
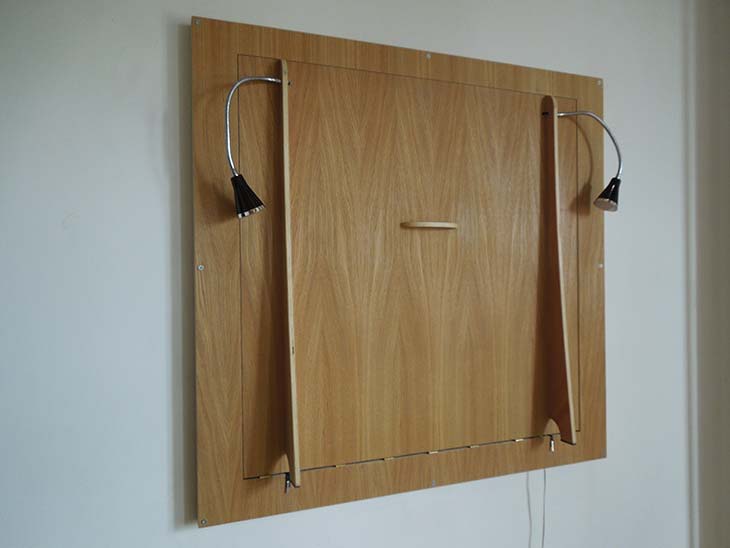
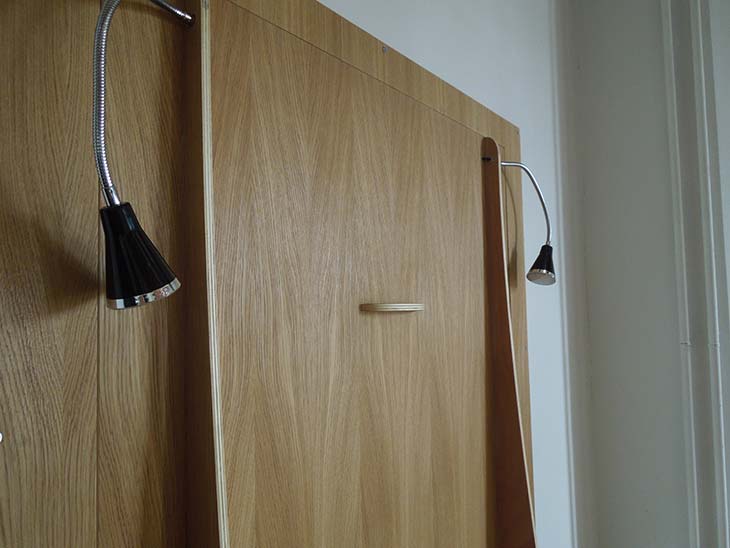
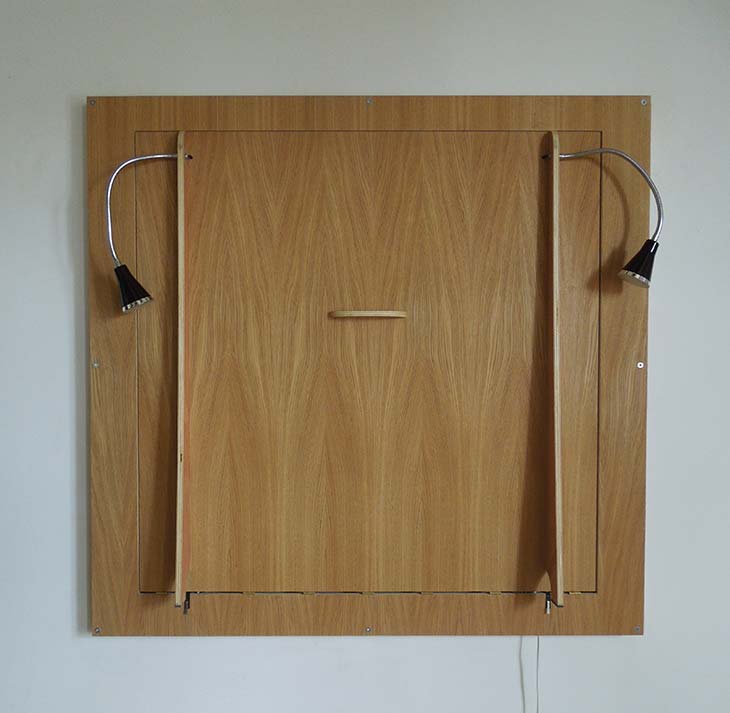
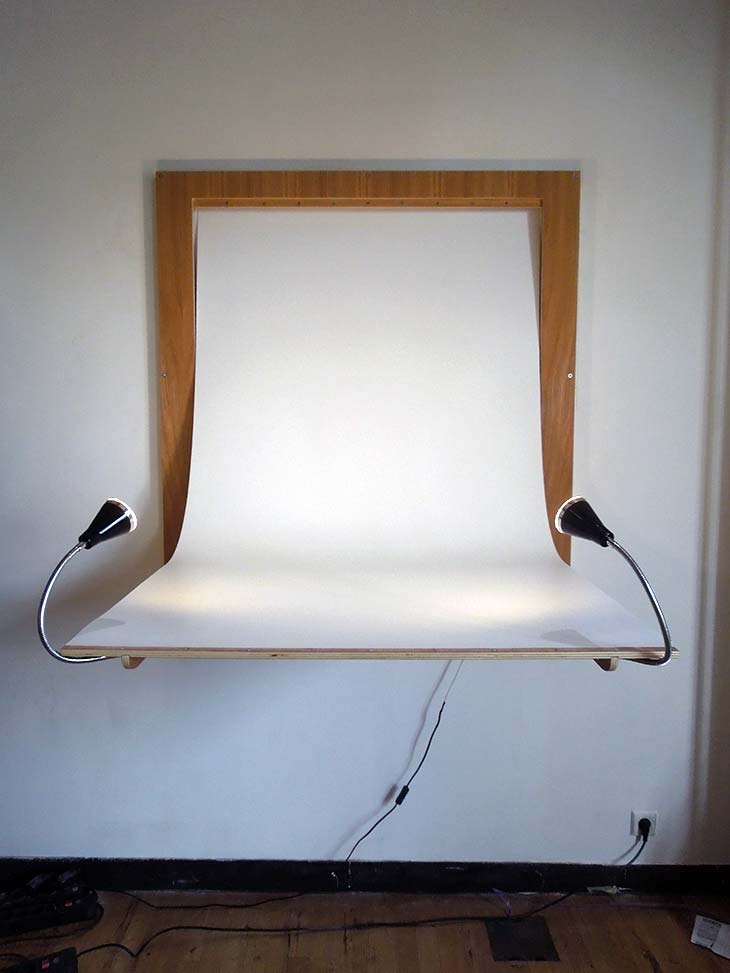
For the Fablab in Amsterdam we wanted to create a solution for the lack of documentation done by the people who visit on the open-days. Often the quality and explanation of their project wasn't fulfilling our need to share knowledge with everyone visiting the Fablab and the website. This is why we came up with “The fab photo studio”. The studio is an object that one can hang on the wall and expand to take aesthetic pleasing photos. The photo studio has an thin sheet of polypropylene at the back so you can really have a product kind of photograph.
Download the drawing
Goals:
- Doesn’t occupy too much space
- Easy to use
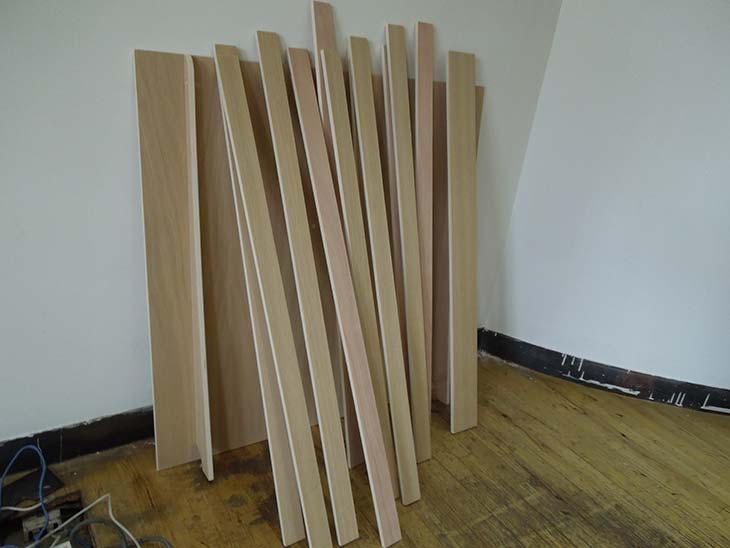
- Can be made with just one standard panel of wood
What do you need:
- one plate of plywood 1220 x 2440 x 12MM (or another not too heavy kind of wood)
- two LED lamps with a gooseneck
- two microswitches for high voltage applications
- two connectors
- electric wires
- hinges
- box of chipboard screws 3.0 x 25
- box of big screws 6.0 x 100
- SX 8x40 Wall plugs
- Magnets
- wood glue optional
- Double sided tape
Step one:
Download the cut sheet.
Step two:
Prepare the shopbot with the right milling bit, we used a 1/8 one flute flat-end milling bit.
Step three:
Place the plate on the shopbot and setup the x, y & z axes.
Step four:
Drill the holes for attaching the panel to the sacrificial layer. And attach to the sacrificial layer, we used chipboard screws.
Step five:
Run the job for creating the pockets —excluding the pocket for the cable in the frame this should be done on the other side— and the connector for the LED lamps. The LED pockets depend on what lamps you are using, edit to your own wishes. When you don’t make use of electronics only run the pockets for the arms and handle.
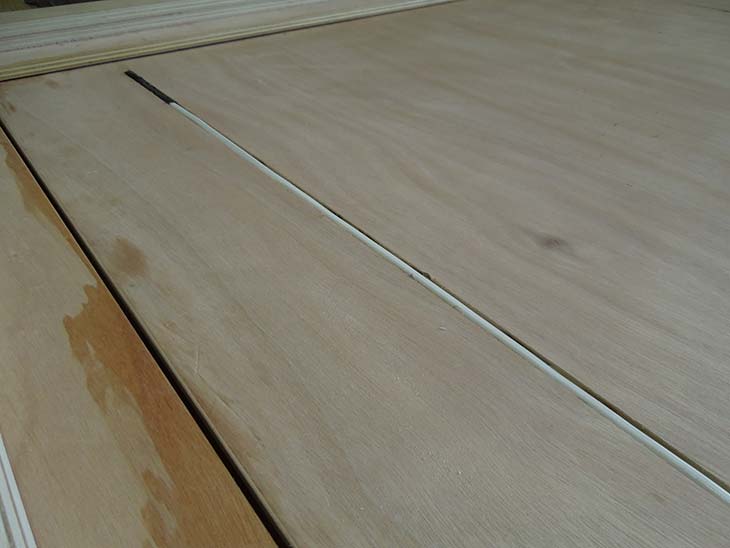
Step six:
Mill out the arms, it’s important to do this before milling out the other parts so you can try out the press fit on the platform. If the arms don’t fit perfectly run the process for the pockets in the platform again and add an offset. Keep testing till you reach the perfect result.
Step seven:
When all the pockets are ready you can run the second profile path to cut out the parts for the frame, handles and cut the panel in half.
Step eight (only when electronics):
Turn around the half of the plate where the platform is located and attach it on exactly the same position. Now run the pocket for the cable in the frame. Also run the file for cutting out the holes for the switches.
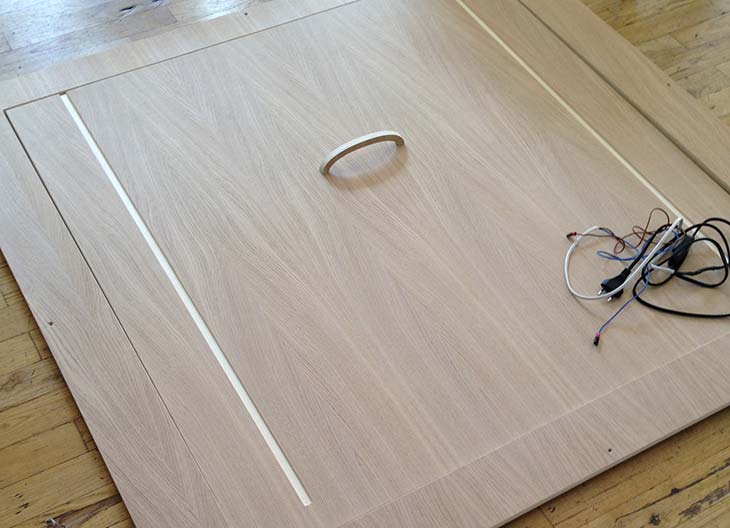
Step nine:
Run the last profile path to cut out the platform and then you will have all your parts.
Step ten:
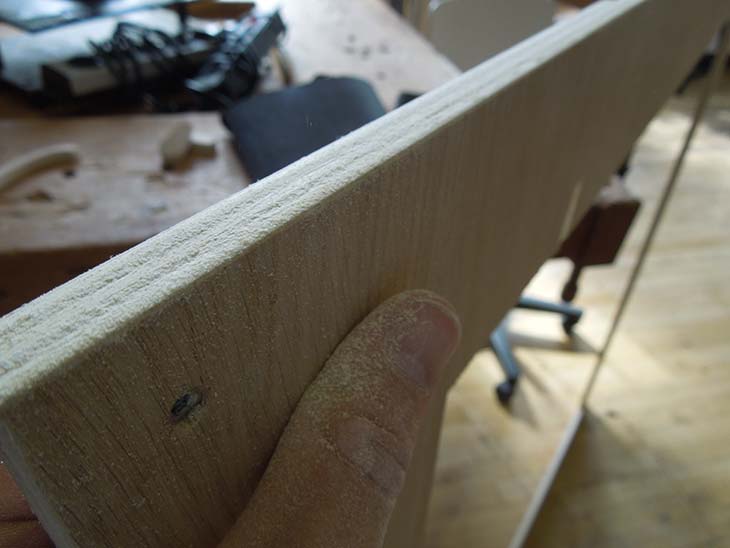
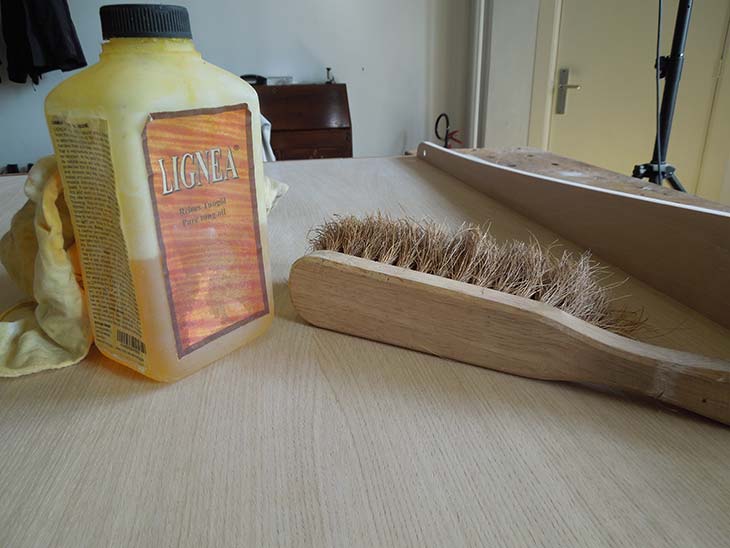
Sand all the parts to create a nice and smooth surface.
Step eleven:
If you have the lamps included into your project check the following electronic steps now.
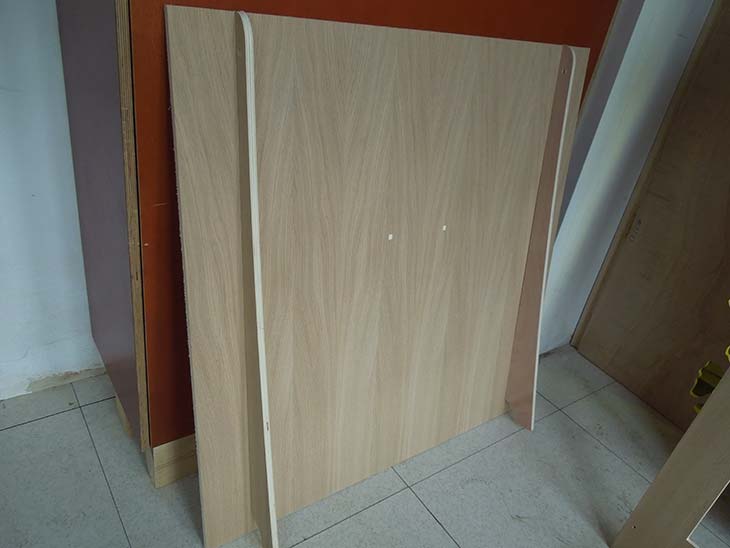
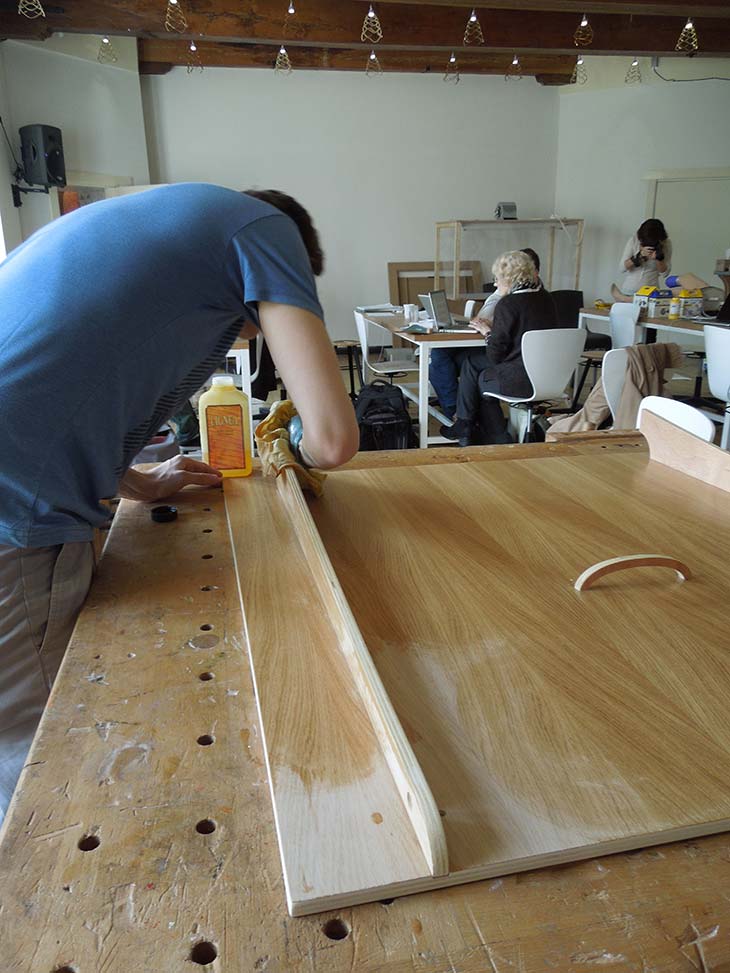
Step twelve:
whether you finish your electronics or not it’s time to put everything together. We will start by putting the frame together. We decided to use glue for this as extra so the frame will be even stronger when attached to the wall. You can also attach the frame at last, when placing everything on the wall, here you won’t need any glue because it will stick together because of the screws in the wall.
Step thirteen:
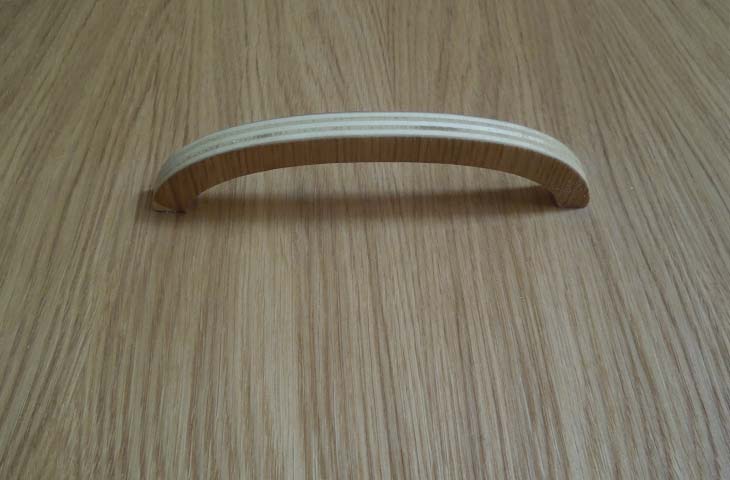
When we have put the frame together it’s time to put the arms and handle in the platform. Again, we decided to use glue here to make it stronger and more reliable. You can also attach it without any glue and just make use of the press-fit system.
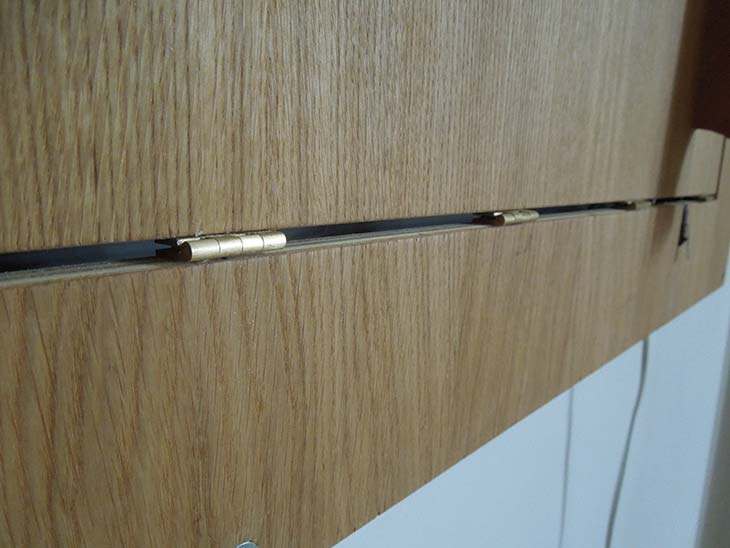
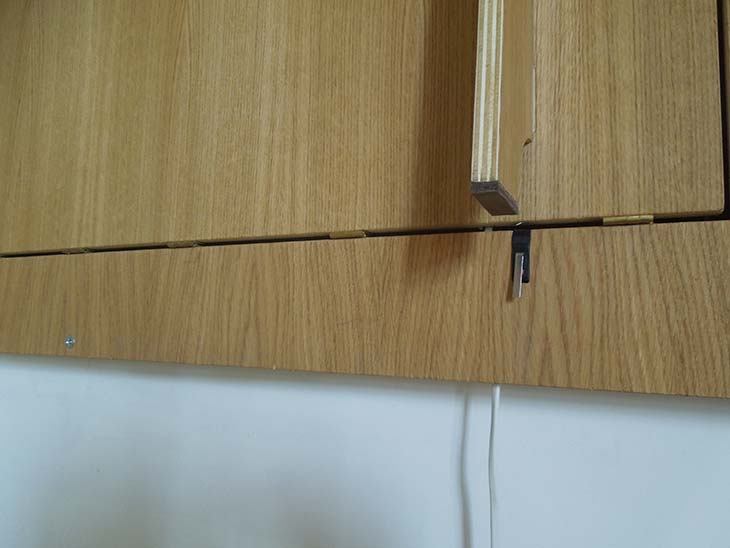
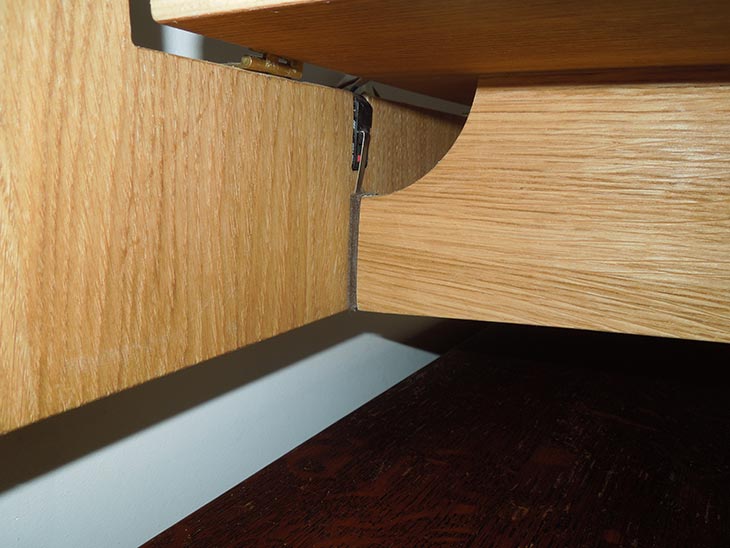
Step fourteen:
After installing all the parts onto the platform we can start attaching it to the frame. This is the hardest part because the alignment of the platform should be completely straight, otherwise the platform won’t close well. Take your hinges and depending on what type of hinges you use think of a solution to make them aligned perfectly straight.. We had seven small hinges we aligned by putting them in a 90 degree angle to the frame so they would always be in the middle. Mark all the holes, because before attaching them we should drill holes so the screws go in smoothly and we won’t crack the triplex
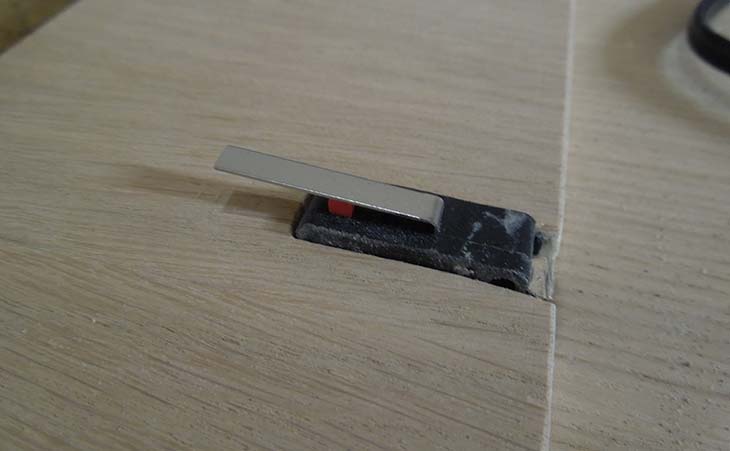
Step fifteen:
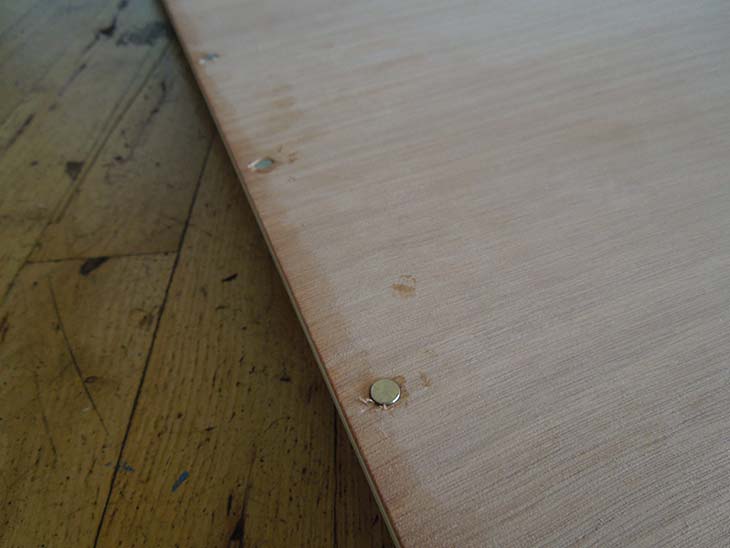
Simply drill a small hole in the frame, the same depth as the magnet, glue te magnet inside this hole. Pay attention to the direction of the magnet.
Connect the magnets for the platform onto the ones of the frame you will have stacks of two. Press the platform onto the stacks, this creates an indication where to drill the holes for the magnets. Drill, apply glue and insert magnets again, pay attention to the direction. Let the glue dry and test.
Step sixteen:
For now we used double sided tape for attaching the polypropylene feel free to think of your own solution. If you found a good solution feel free to share it.
Step seventeen:
Screw the photo studio onto the wall make sure the hight is alright by testing it with the platform open.
Electronics
1)Cut the lamp cable from the lamp side and solder the lamp to half of the electrical cable.
2)Following the length of the image, open and cut the electrical cabless of the two lamps.
3)Once the arm are attached to the table insert the lamps in their reserved holes on the arms.
4)Pass the lamp cable from one side to the other of the table.
5)Once the table is secured to the frame you can go ahead with the electric system. Join the two brown cables through a screw connector, two wires input / one wire output.
6)With a flat terminator connect the short wire to one side of the microswitch. The other side of the microswitch is the wire that goes to the power plugs.
7)Repeat the steps 3-4-5 with blue wire.
8)Insert the microswitch in the vertical pocket and bend the pads inwards so the table can be properly close.
9)Use the hot glue to stuck in the drew connectors in the pocket.
10)Insert all the wires in the long pockets and the electric system is ready.