Molding and casting
Task:
design a 3D mold, machine it, and cast parts from it.
Description:
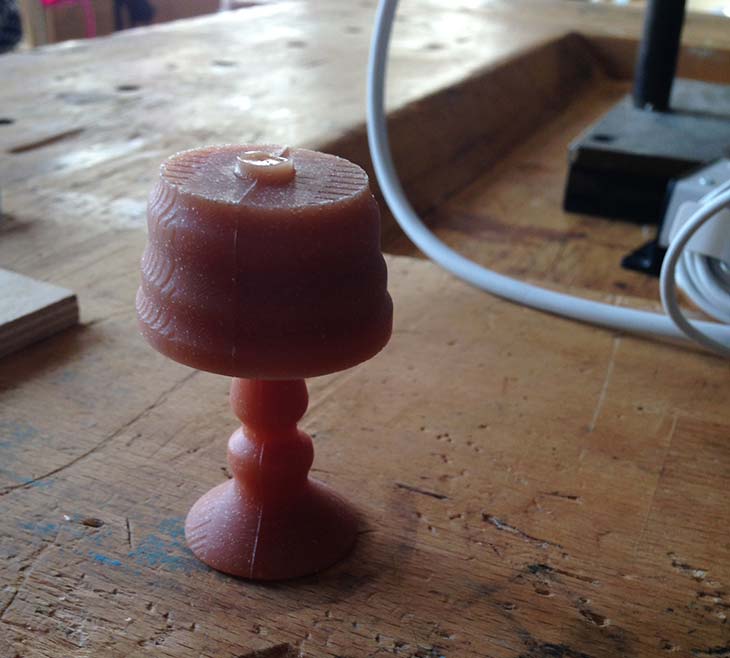
For this assignment I designed an abstract version of the Kartell Bourgie lamp. But during the process of making it as a mild I had quite some troubles. The main trouble was that the model was that I didn’t left enough space at the insides of the model, so the milling bit started touching the side. Because of this the milling bit fell out and the machine stopped.
What did I do:
- Design a 3D model in Rhinoceros
- Melt my own machinable wax in the wanted shape
- 3D Milling
- Molding
- Casting
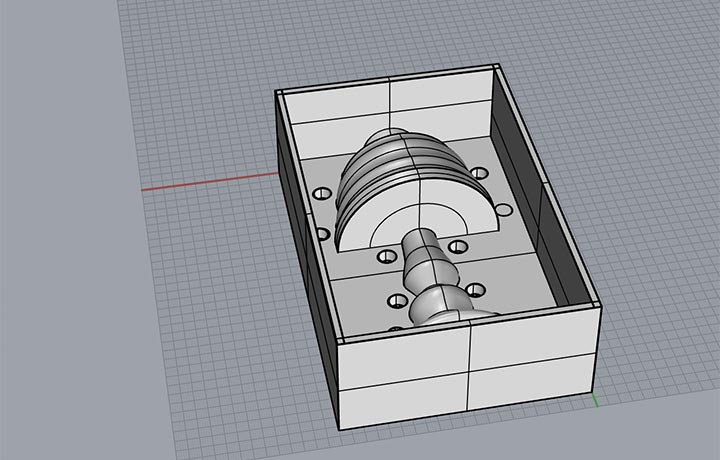
Design a 3D model in Rhinoceros:
I first started with creating the abstract version of the bourgie lamp with Rhinoceros (mac). I first drew the basic shape in Illustrator(image.1) after that I imported in Rhinoceros. I used the revolve command to create half of the lamps shape.
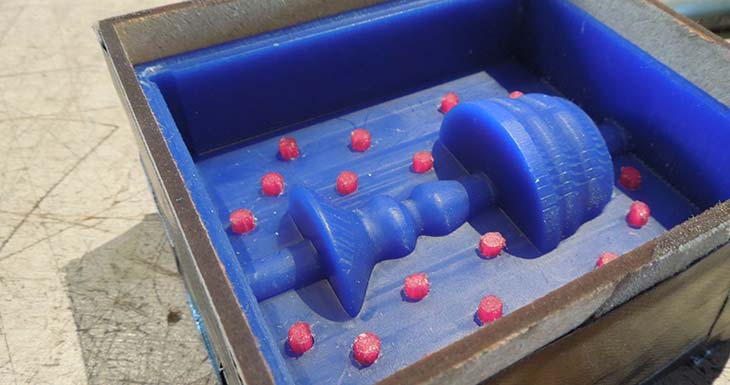
After creating the model, I created two boxes and aligned them so I would have the pocket for the mold. One big box and one smaller box, so the model would have thickness at the sides. I created different holes for the connection width 8mm depth 5mm.
Melting wax:
First, I created a mold for the machinable wax to have a block of wax of the right measurements. After this I started melting the wax in a pan and while doing this slowly stirring the substance (watching out for bubbles).
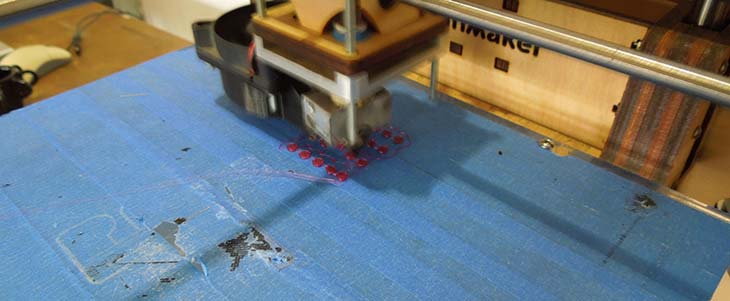
3D Milling:
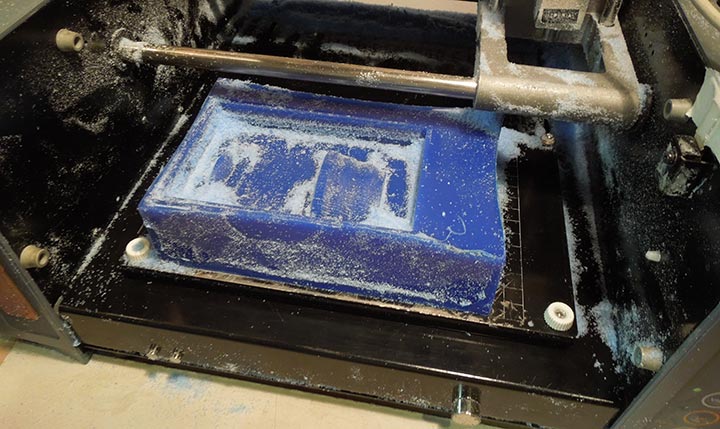
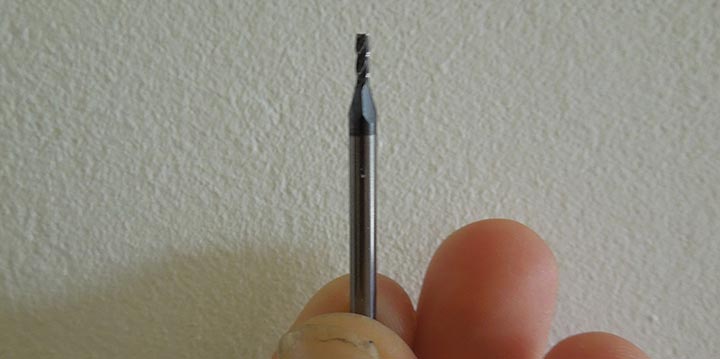
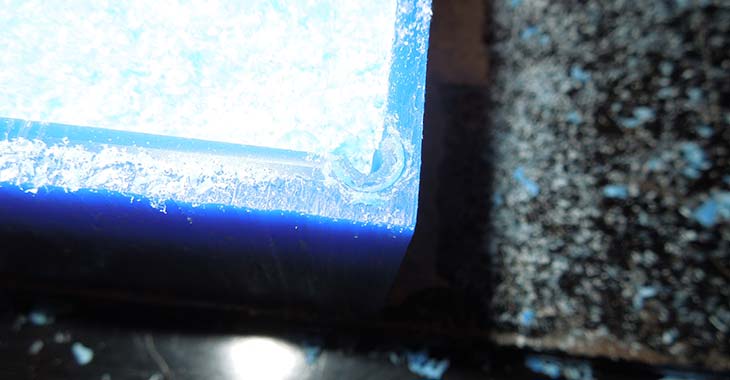
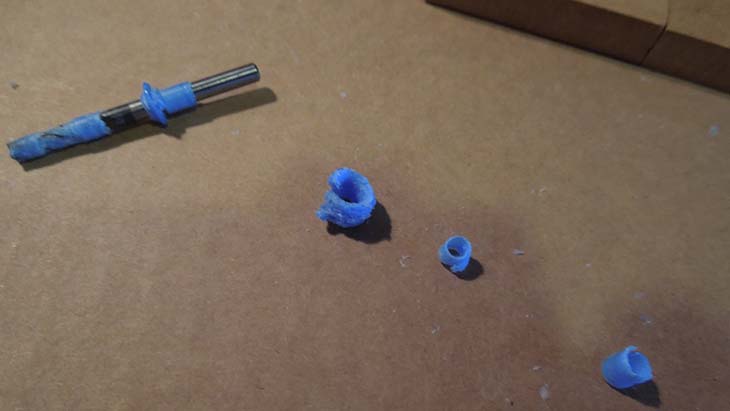
I sticked the wax onto the base of the model using double sided tape. I used a 1/16 flat end milling bit to mill out the mold. But after this, the trouble started andI made a classic error according to Alex. The milling bit was touching the wax at the side (this because the bit gets thicker at the top). So the job failed and the machine stopped.
The second time I tried to mill out the model with a different milling bit, so it would go faster and that it was not an inshank milling bit. The milling bit I used was a 1/8 4fl. The machine got a communication error or an error because it started drilling in the corner.
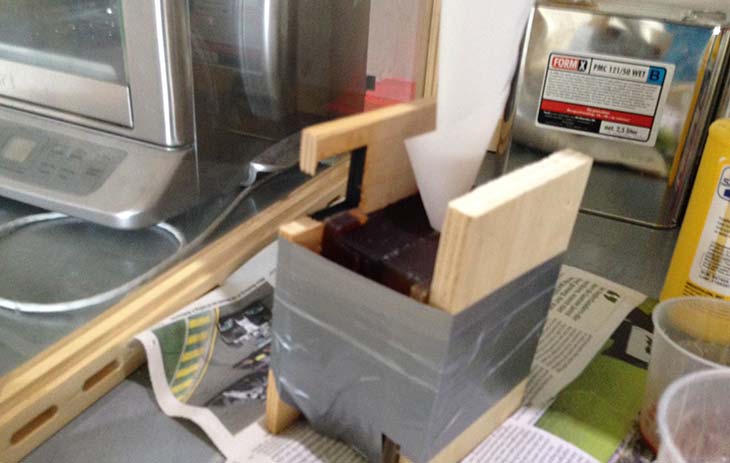
Molding:
Think wisely how the machine will run the job. The machine is stupid and simply follows your instructions it will not warn you if it cannot do to the job. The machine simply follows your instructions. Take care the instructions are precise and good to go.
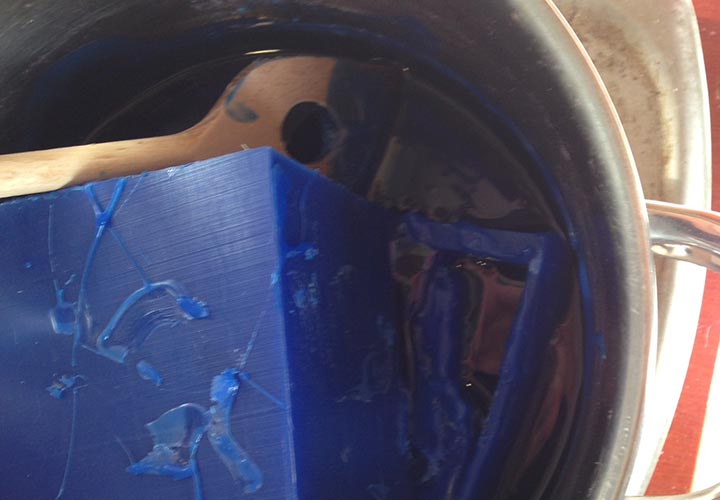
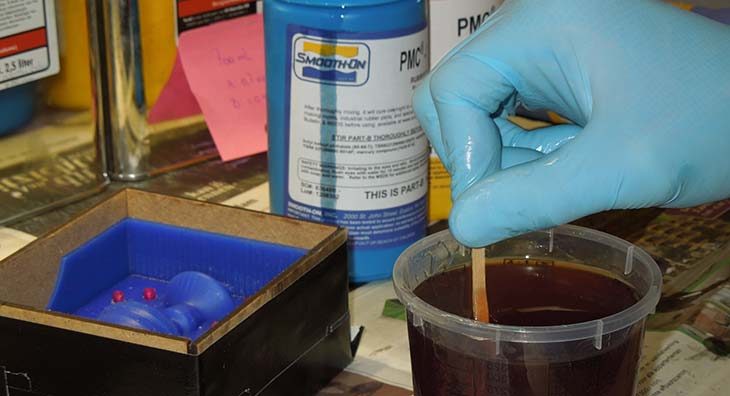
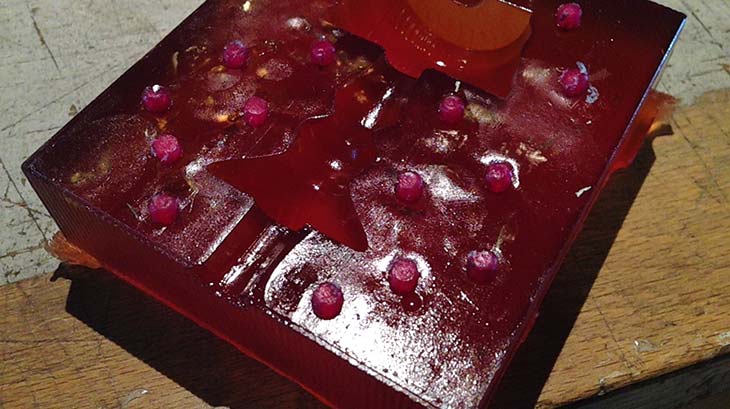
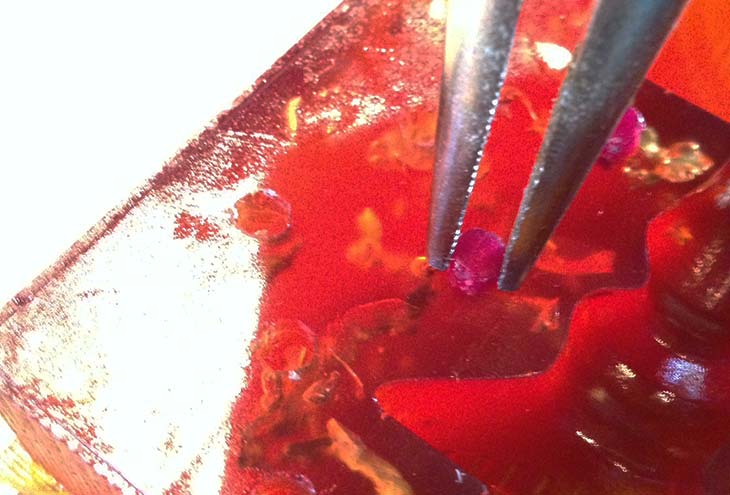
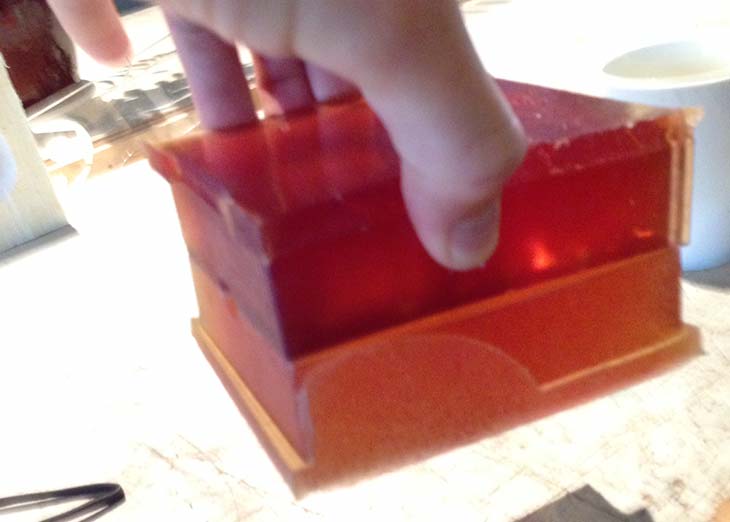
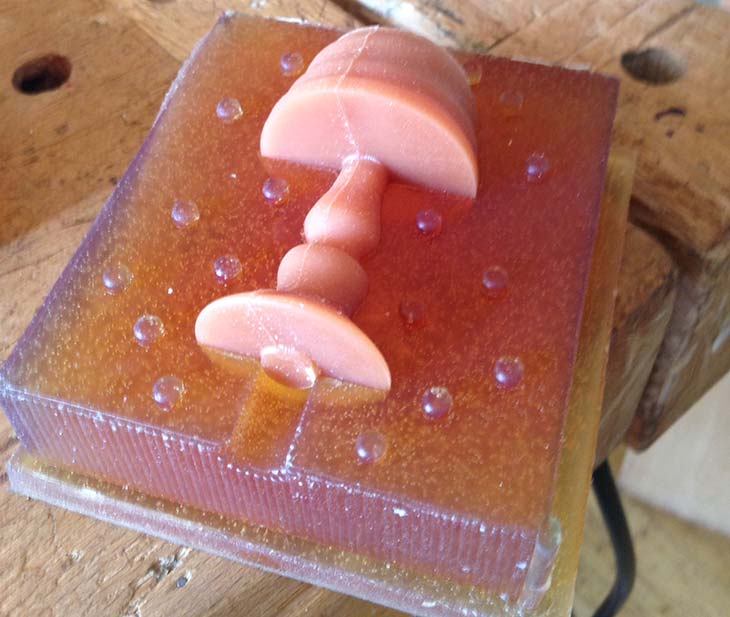
Casting:
For the casting I used Vytaflex 40, this is a stretchy material with a brownish colour. Check the pictures for my casting setup.
Assignment images:


Conclusion:
Think wisely how the machine will run the job. The machine is stupid and won't warn you if it cannot do to the job. The machine simply follows your instructions. Take care the instructions are precise and good to go.