Electronics Production
Task:
Make the FabISP in-circuit programmer
Description:
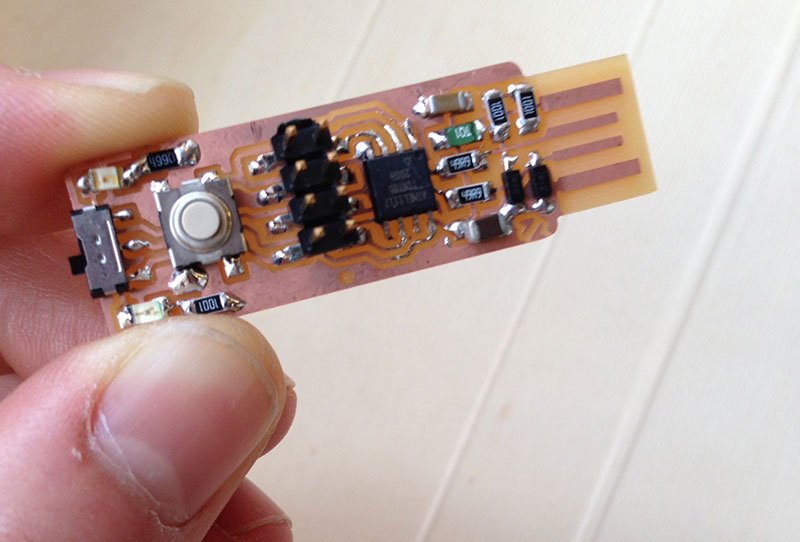
I created the FabTinyStar that is developed by Zaerc, check out his project over here. The FabTinyStar is a fab-able version of the vusbtiny programmer from simpleavr with a few minor additions, namely a switch and an indicator-led for target-power and a led on the SCK line (just like a real Arduino).
Milling:
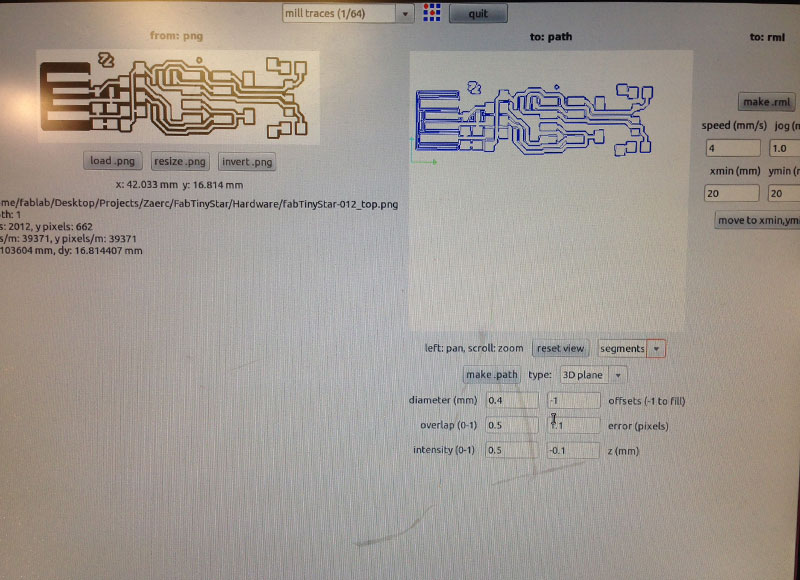
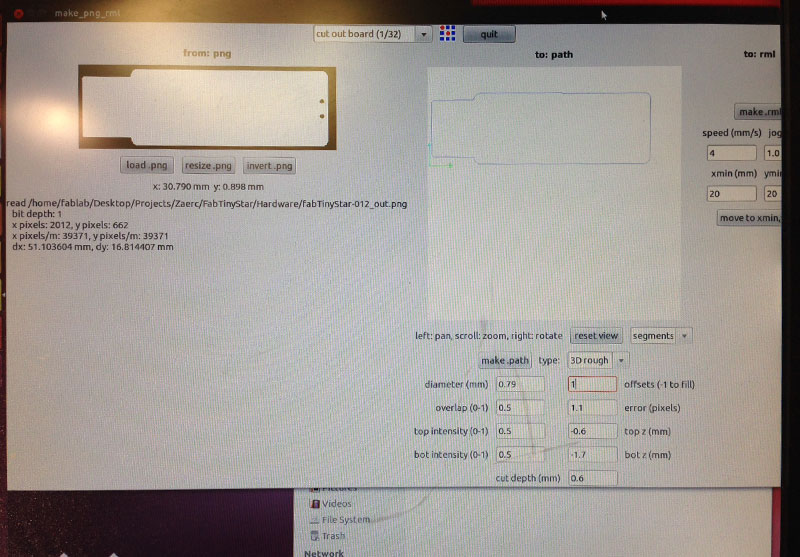
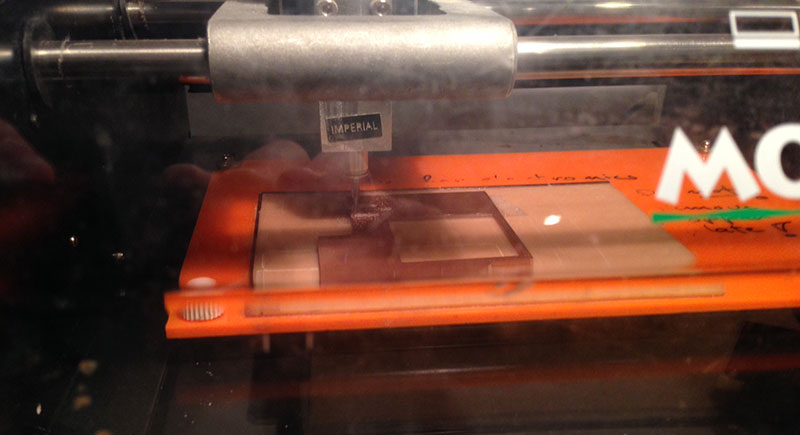
For this project I used The Roland Modela MDX-20 to mill out the circuit board. The printer was connected to a computer running Ubuntu with Fab Modules on it. I loaded in a 1000DPI PNG image and first I used a 1/64 end milling bit to cut away the unnecessary copper (from the FR1 phenolic paper), after this I used a 1/32 end mill to cut out the board.
Soldering:
For the soldering I used the Weller wes51 on 73ºF. What I noticed was that at first I took away the soldering iron to fast, keeping it on the spot for longer made the soldering flow better. Also the tool for holding the circuit board—see the image below— I found this very useful.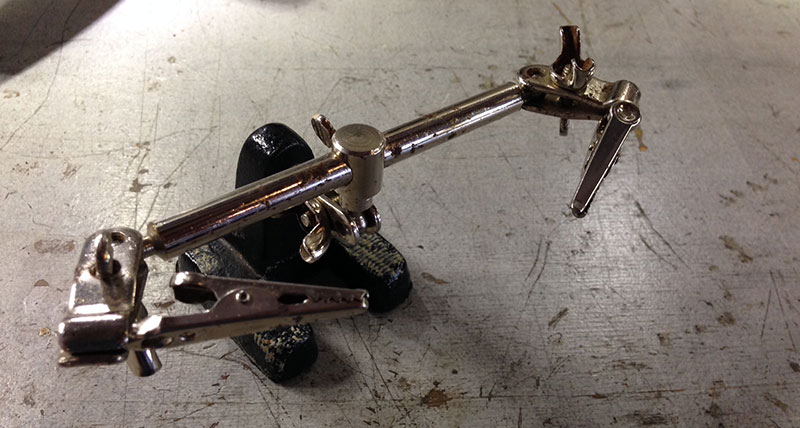
Desoldering:
- Grab the desoldering braid band and place it on the solder you want to remove,
- Press the soldering iron onto the braid band,
- The braid band will absorb the soldering and you can pull it off.
Tip:
When you place the milling bit into the Modela place it to high, when you want to setup the 0 point you can easily set it up by lowering it onto the material.
Assignment images:
Conclusion:
I'm curious to see what I actually can do with the FabTinyStar. I think the soldering went quite well for a first attempt and I am getting used to setting up the Roland modela. I also, learned some good tricks on how to hold different parts of the USB programmer. Also Zaerc taught me some good soldering techniques, for instance how to desolder with the use of a desoldering braid.