Elements construction kit
Task:
Design, make, and document a press-fit construction kit
Description:
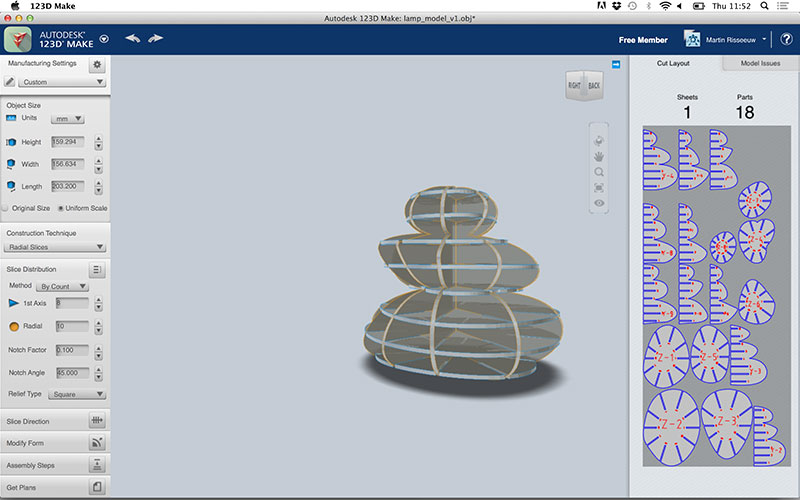
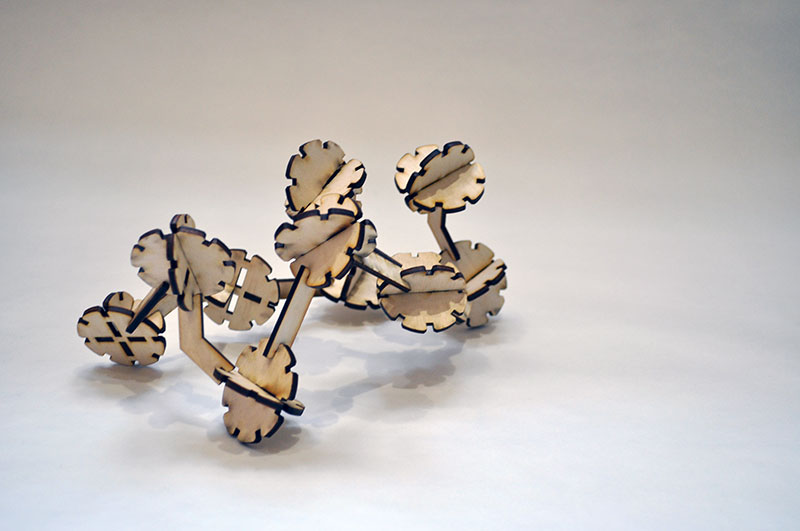
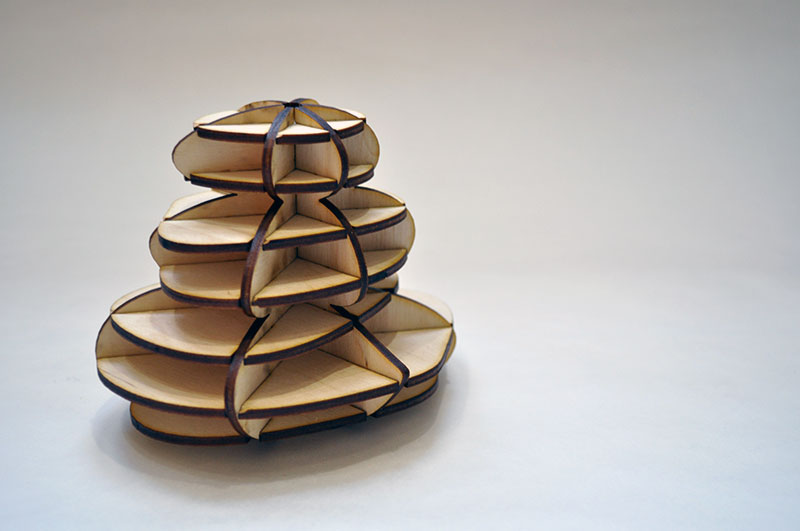
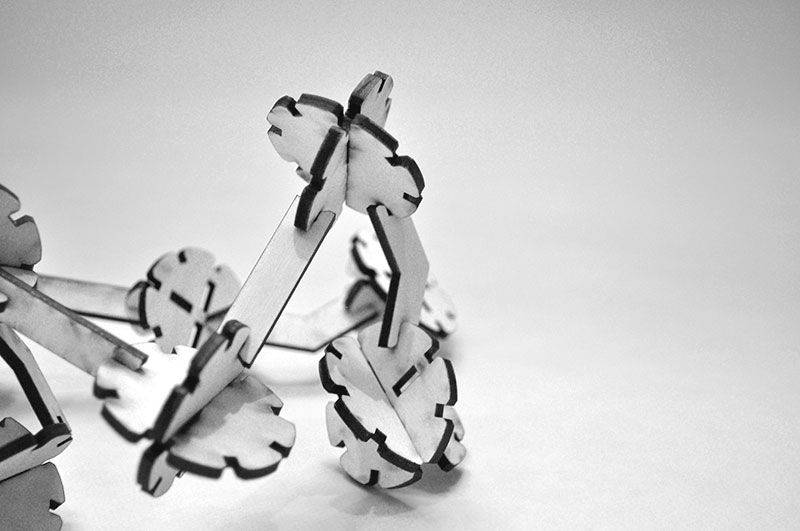
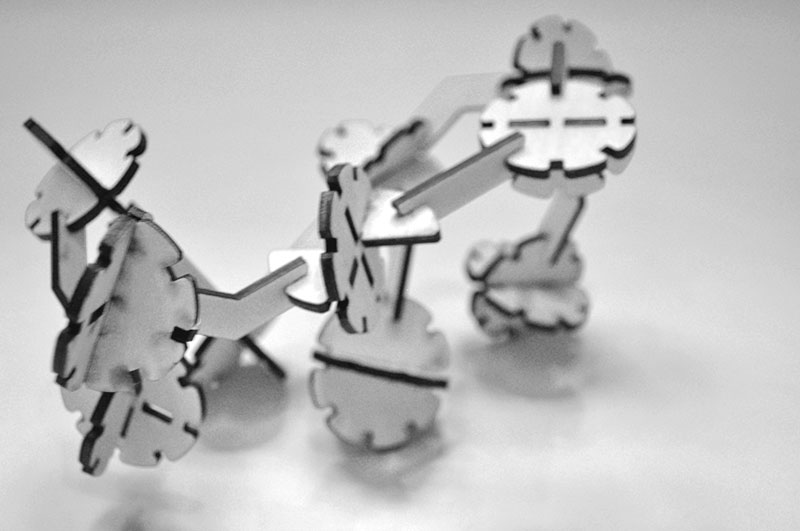
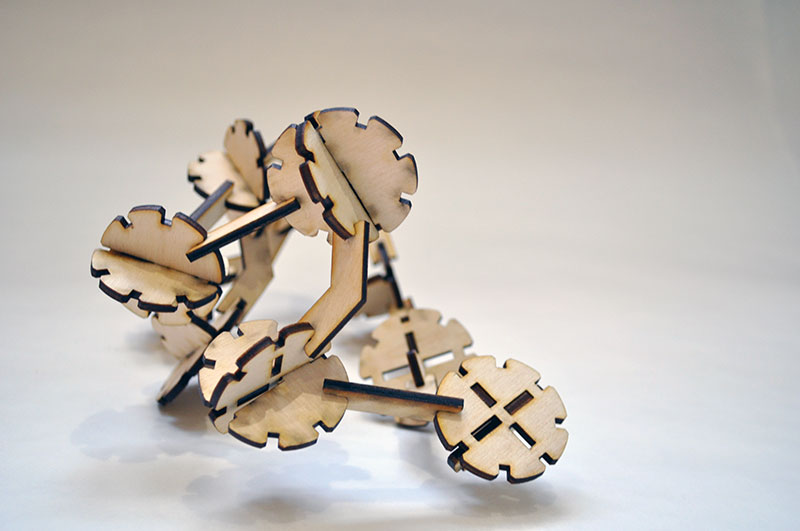
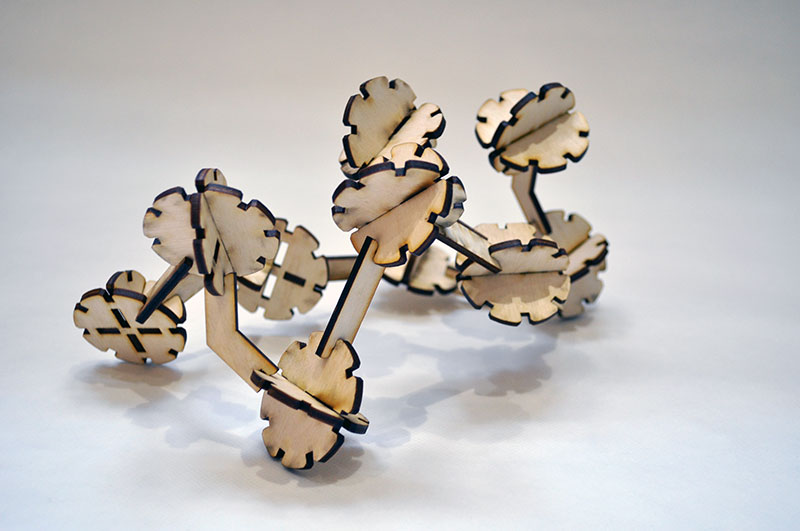
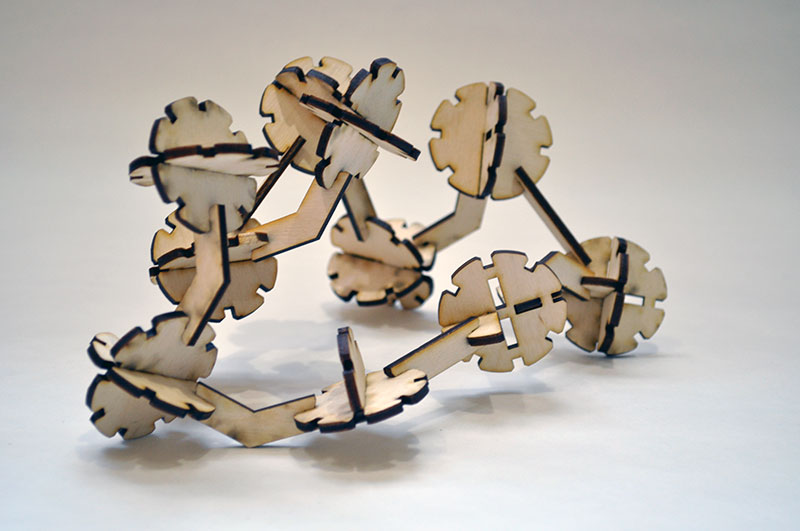
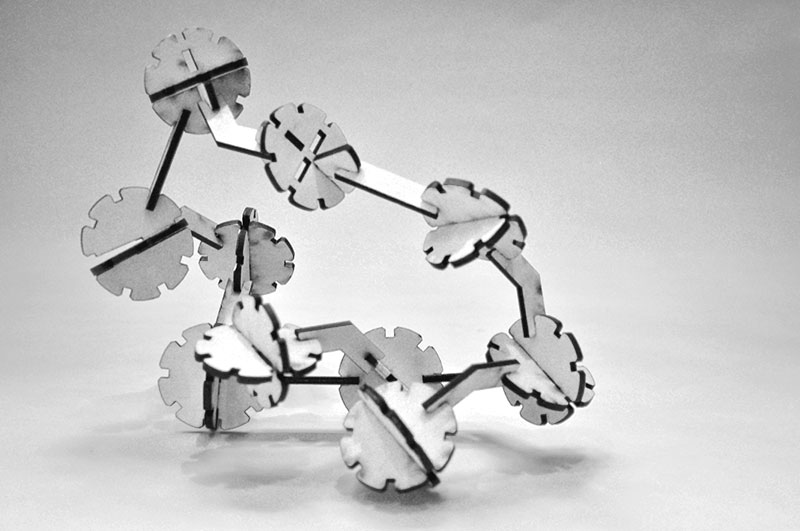
When thinking about constructions I thought about molecules. This is why I created an easy to use tool for teachers to explain the periodic table of elements. This construction kit intends to be a fun and educational way for kids to build their own molecules.
Explanation:
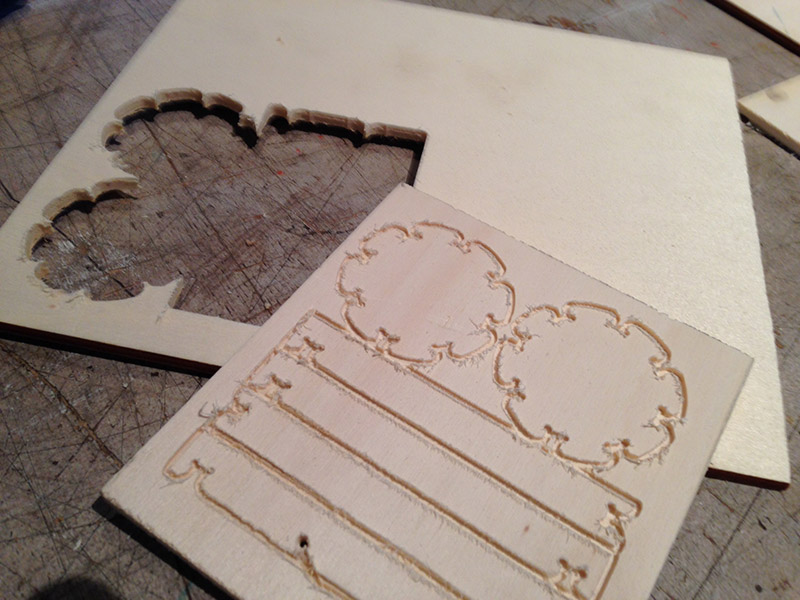
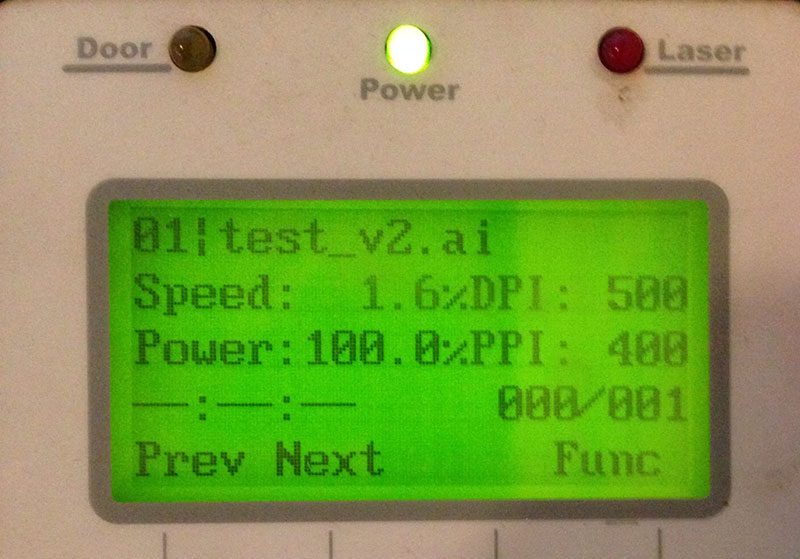
Due to some problems with the laser I couldn't use the laser cutter this week, so, I tried to make my connections on the Roland Modela, which was a very good experience.
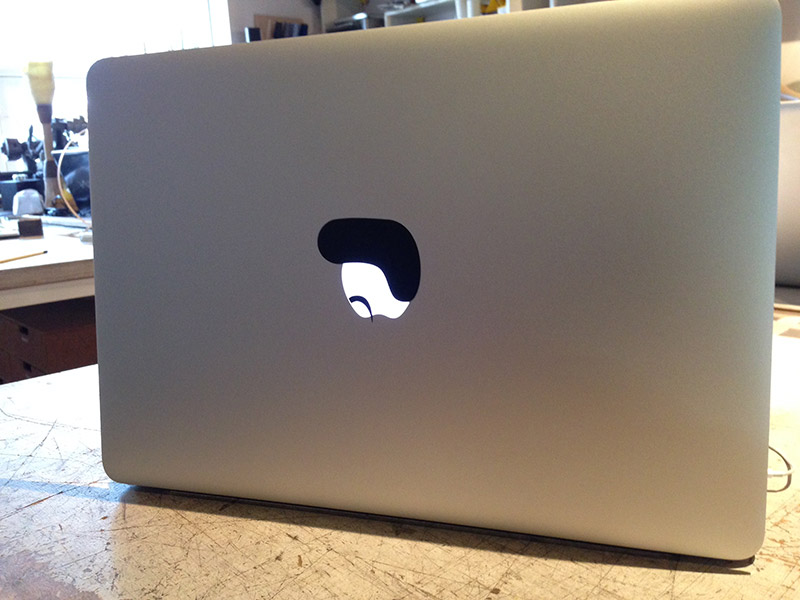
Vinyl cutter
With the vinyl cutter we did some small tests to create some stickers. I used Metamark E Series black vinyl paper which provides a very good quality. The machine settings used for the stickers were the following:
speed: 20 cm/s, Force 160GF.
Roland Modela
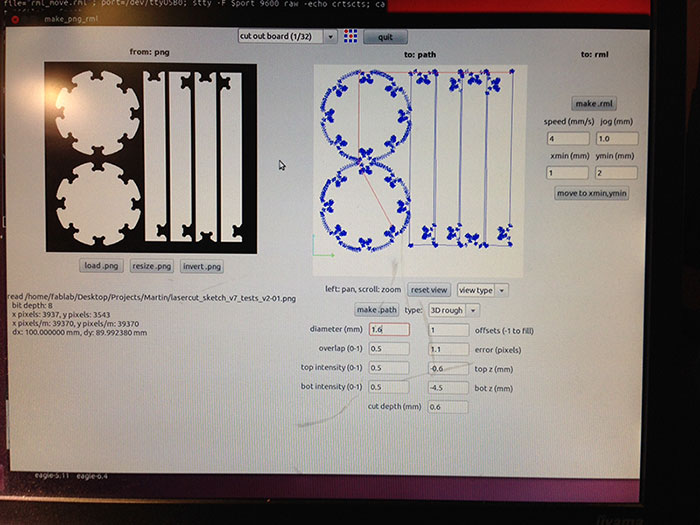
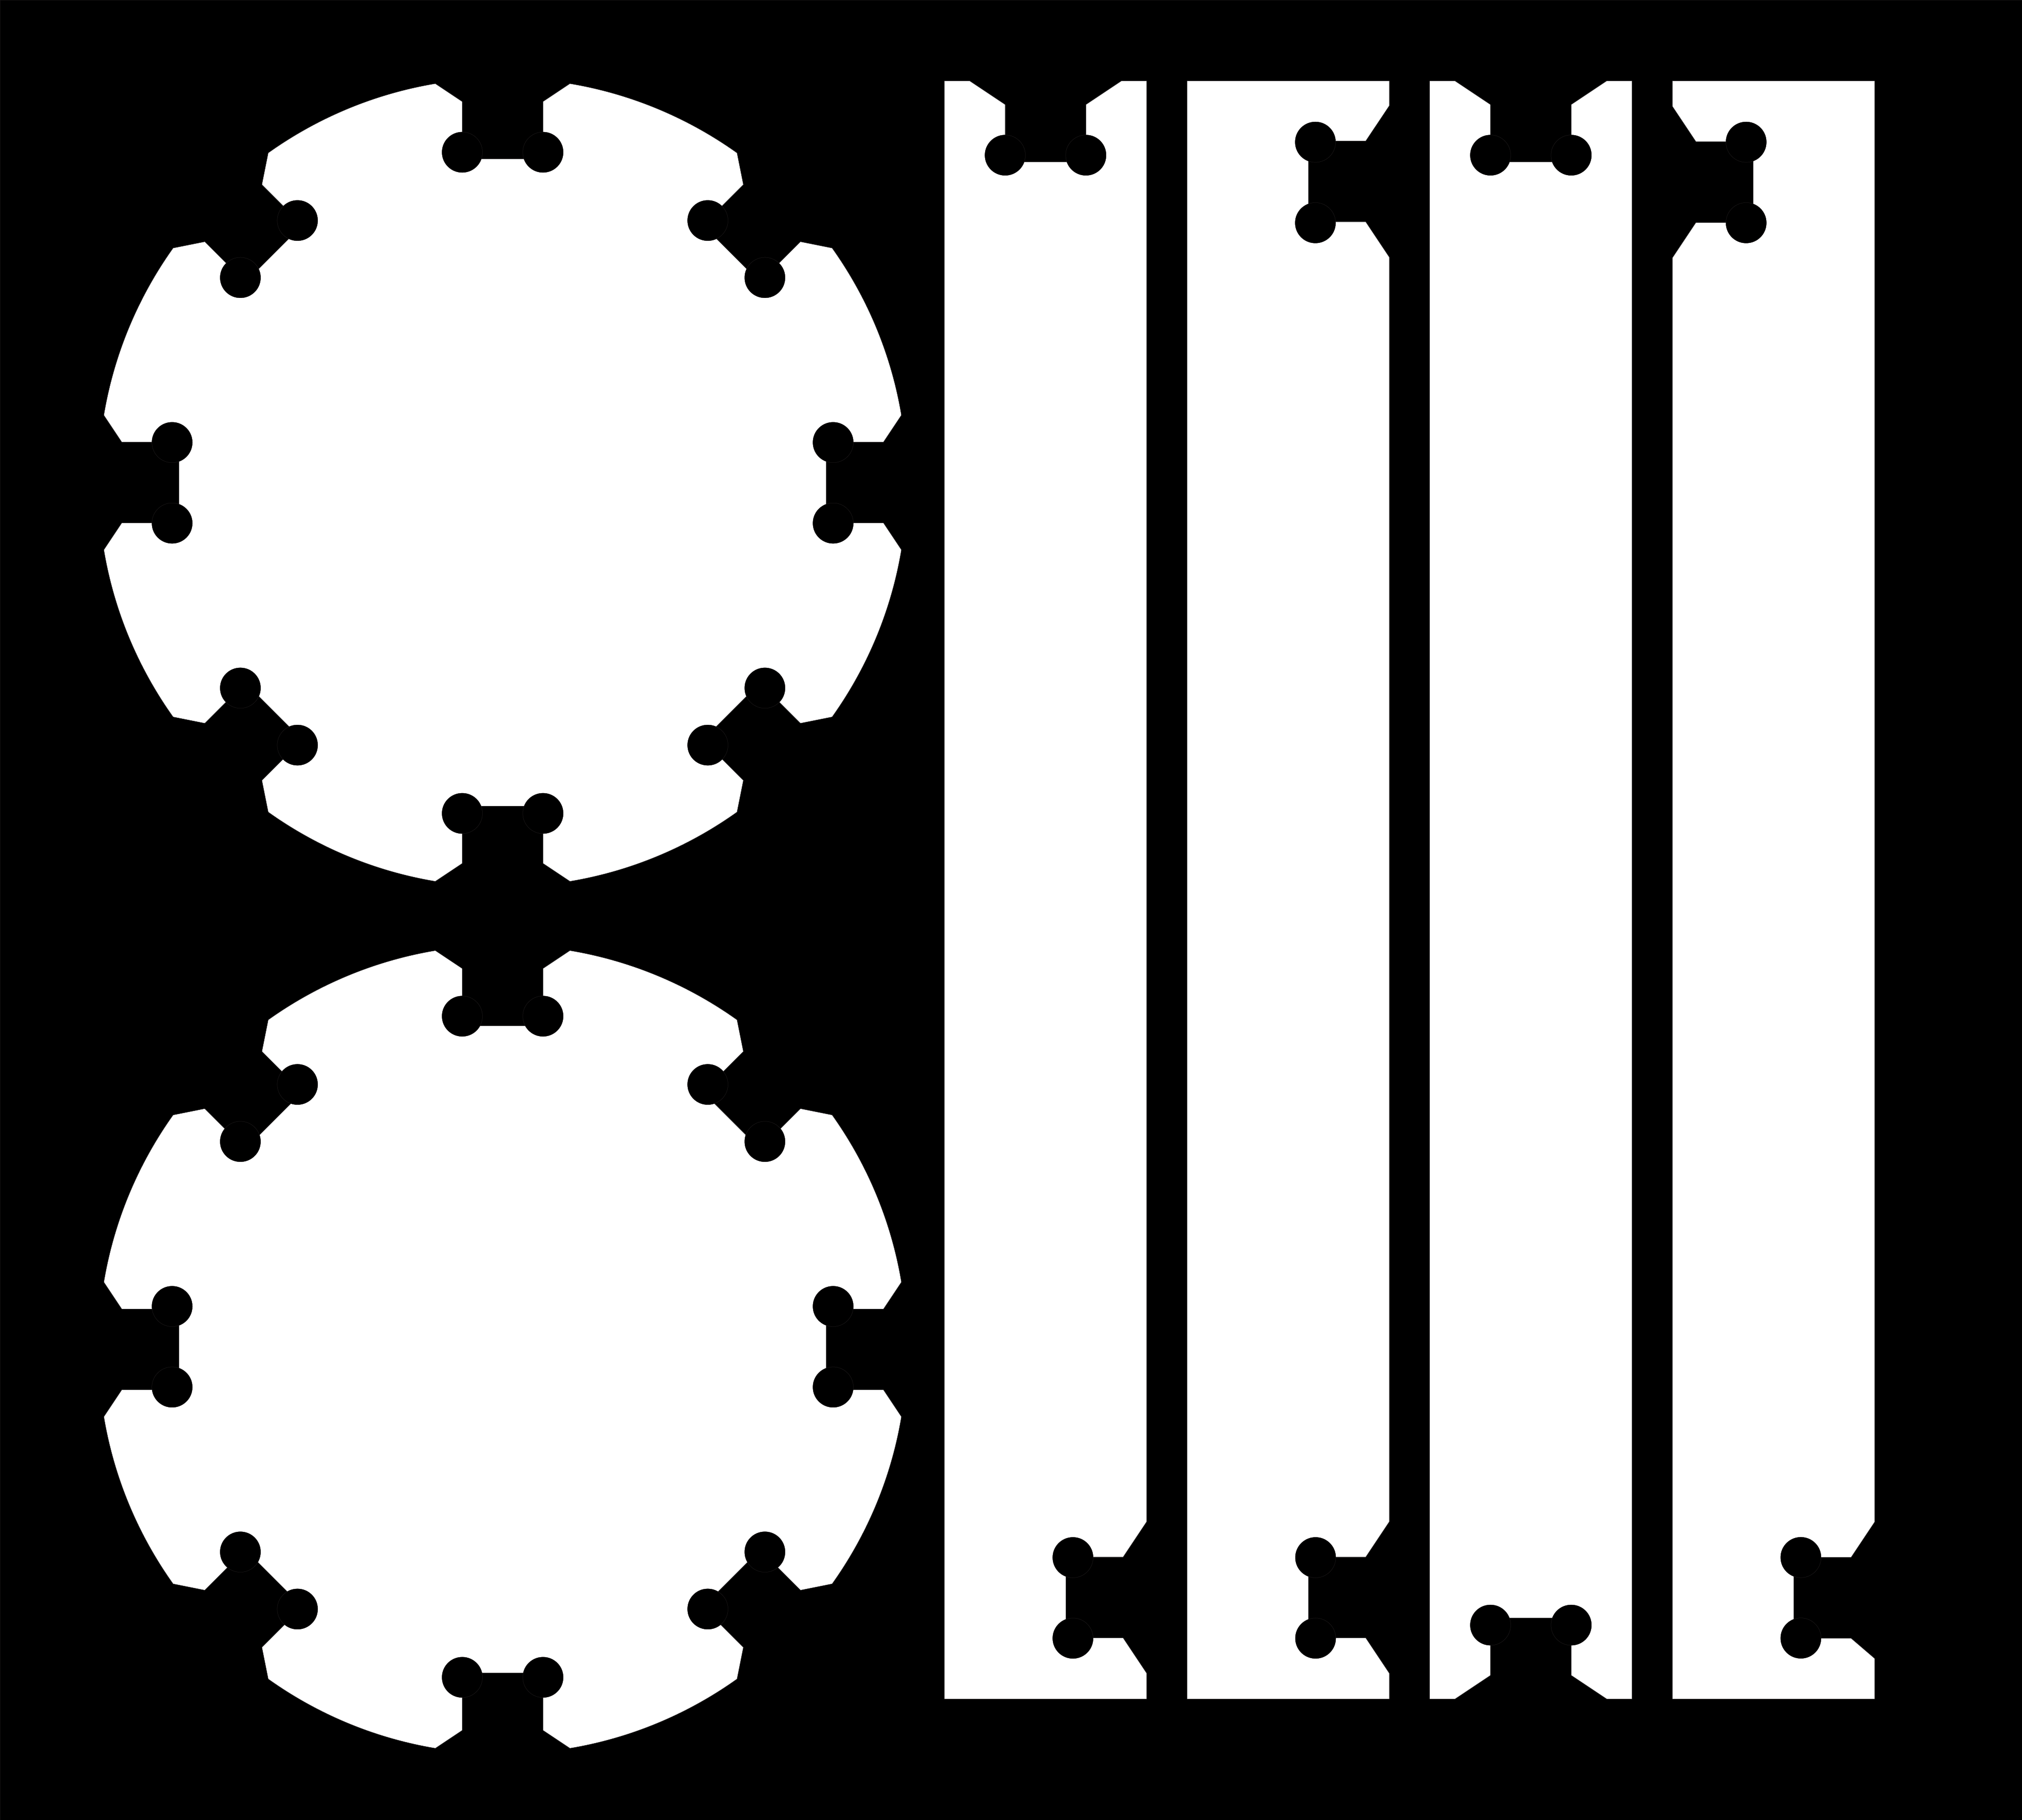
For the milling process I used the fab modules that I installed following the instructions of fellow student Jean-Baptiste, I drew the objects in illustrator(see image below) and loaded it as an PNG image into the fab modules. One should pay attention to export the image with a high DPI value, at least 500dpi. As one can see, I created dog bones for the milling process, this because the milling bit isn't able to make straight corners.
Setup Roland Modela:
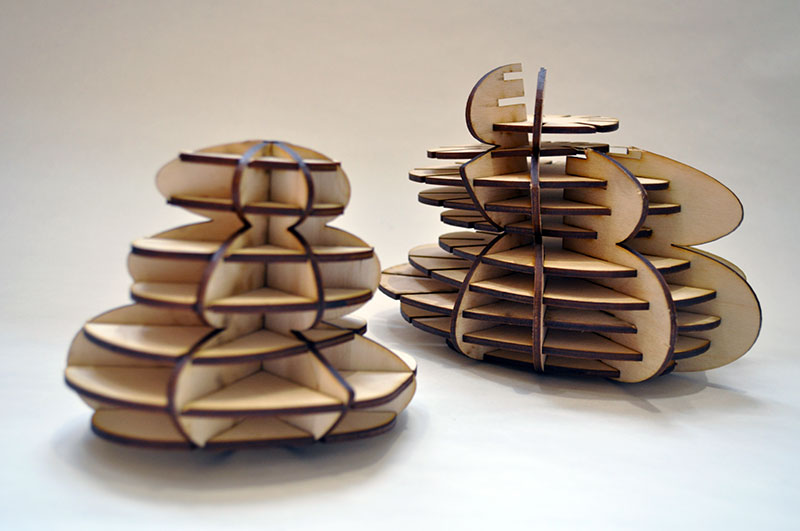
Assignment images:
Conclusion:
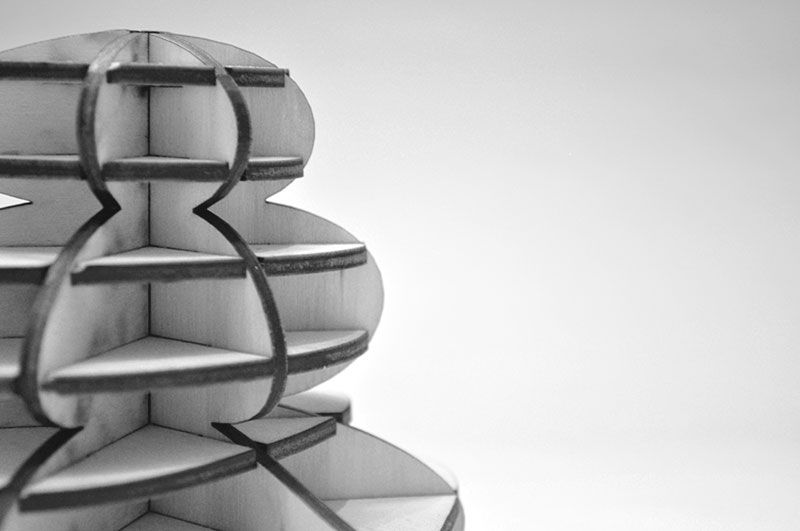
The laser cutter and the vinyl cutter are two great machines. I'm interested in the ability to vinyl cut out a circuit board. The press fit technique has endless possibilities and I think this is something I can implement in my final project. This way everyone can create his or her own personal lamp.