Composites
Task:
design and make a 3D mold (~ft2), and produce a fiber composite part in it.
Description:
Since a couple of weeks ago, I am the owner of a old racebike and I wanted to create something for this bike. So I started by making a bike seat from polyester and machinable foam. I designed the model in rhino based on my body size.
What did I do:
- Design a 3d model
- Mill out the model
- Apply gesso
- Apply the composites
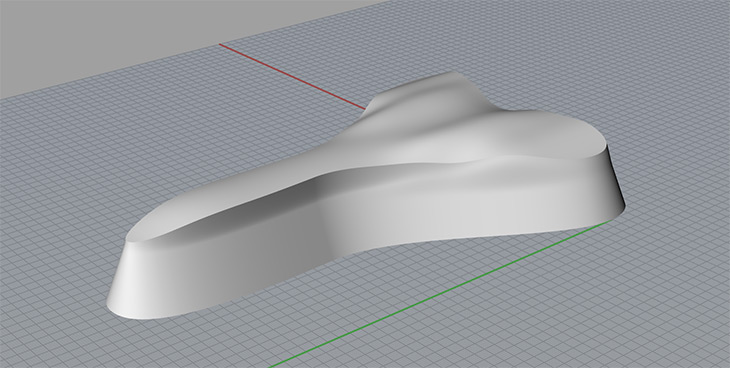
Design a 3d model: (image.1)
In rhino I designed a 3d model for the bike seat. I based the size of the seat on this video this so it will fit well for my body size and shape.
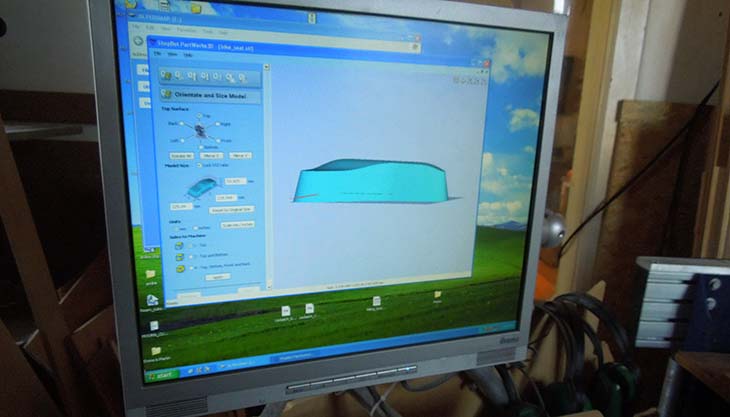
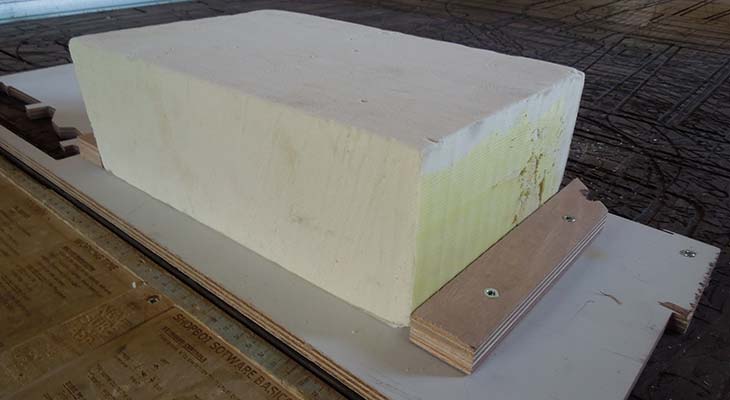
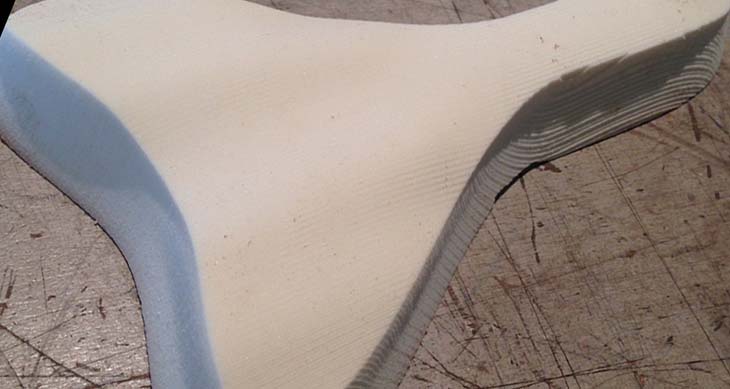
Mill out the model: (image.2 & image.3)
For the milling I used the shopbot and worked with partworks 3d to setup the job. I imported an STL file that I exported from rhino. I put the foam on a plate of wood with double sided tape, I screwed this plate onto the shopbot. While milling out the model I had a few times a connection error. Restarting the computer and changing the usb port helped to solve the problem.
Apply gesso:
Gesso is a material that helps so the composites won't suck into the foam. I applied two layers of gesso before adding the composites.
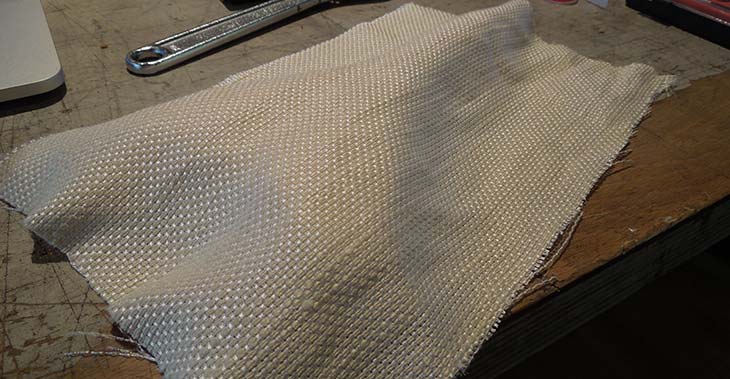
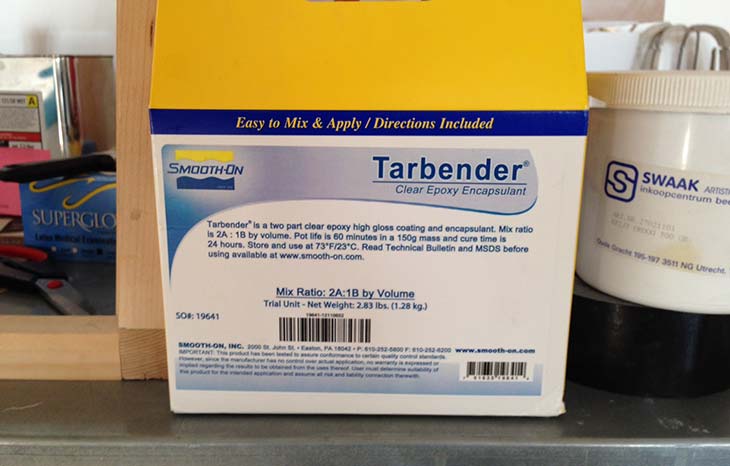
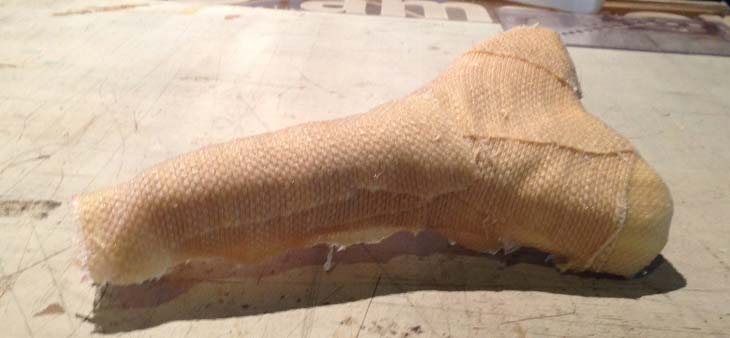
Apply the composites:(image.4, image.5, image.6 & image.7)
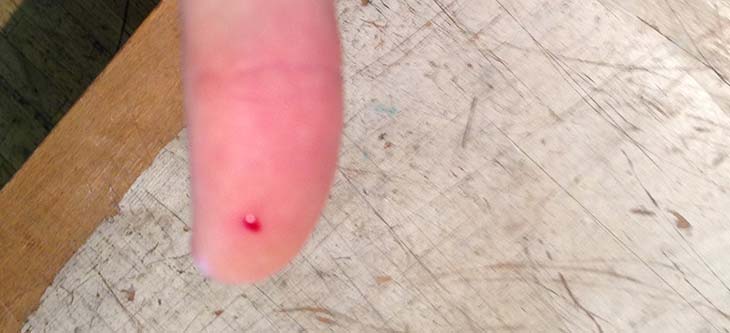
For doing the composites I used a material that was laying in the closet of the Fablab, I'm not sure what kind of material it is. For the composites tarbender epoxy was used. Applying the material was quite difficult I first put the textile on the seat and cut it in shape. But while applying it with the epoxy everything started to move (next time I should use needles to hold it in place). The epoxy dried over a long weekend and when returning it became really hard, and I needed to watch out that I wouldn't cut myself with the sharp edges.
Assignment images:
Next steps:
- Surface finish
- Create frame to put it on my bike
- Try softer finishing
Conclusion:
When applying the composites make sure the material stays in its place. This way you can work precisely without the material moving and creating a mess.