ASSIGNMENT
Design, make, and document a press-fit construction kit
For logistic reason this week I hade to do with three different aspects of the digital fabrication: vinyil-cutter, milling machine and laser cutter. The laser cutter has been available just the last day. It was broken.
VINYL CUTTER
With the illustrator and the image trace command I had this lamp ready for the machine, the path are invisible and the fill is black:

I printed it on a transfer red adhesive, the machine set-up was:
speed -> 25 cmm/s
force -> 160 gf.
I removed the adhesive in excess and i cover the same side with paper tape. I then removed the white paper from the adhesive side and transfer the red lamp on the cover of my notebook.

PRESS-FIT CONSTRUCTION KIT WITH MILLING MACHINE
Knowing that with the milling machine was a challenge (I used it before to mill some copper boards and now I have to do with MDF)I chose a simple kit inspired by thisnice kit: http://www.instructables.com/id/Press-fit-Construction-Kit/. My intention was to add some straight parts to make it more modular.
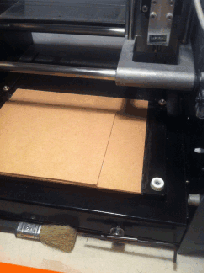
First of all I cleaned the MDF planks with white gas and I prepared the machine posing a first protection board of MDF on the botton of the working area and above the MDF board that I wanted to mill.
I made several tests before to get any stable junction. With two basic modules I tried to change their profiles:

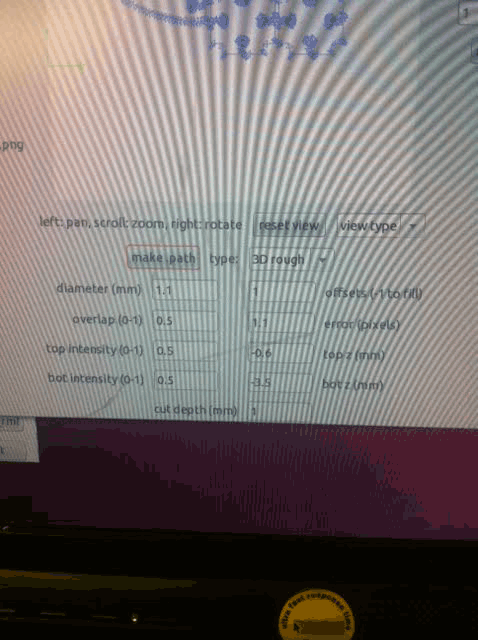
and play around with the machine set-up:
- diameter, I thought to work with 1/32" bit but it was 1/16",
- bot z, enough to cut in deep the MDF,
- cut depth, to make the job faster.
I added that little dot points, called dot bones, because when the drill bit mills the internal edges it creates a curved border that obstructs the fully fill-in of the connection. Alex explained to me that there are three ways to avoid this:
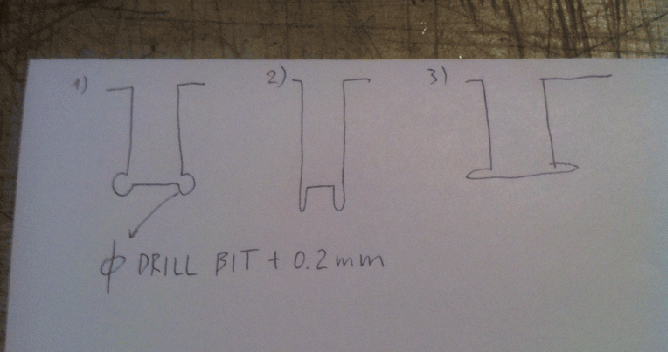
I chose the first one.
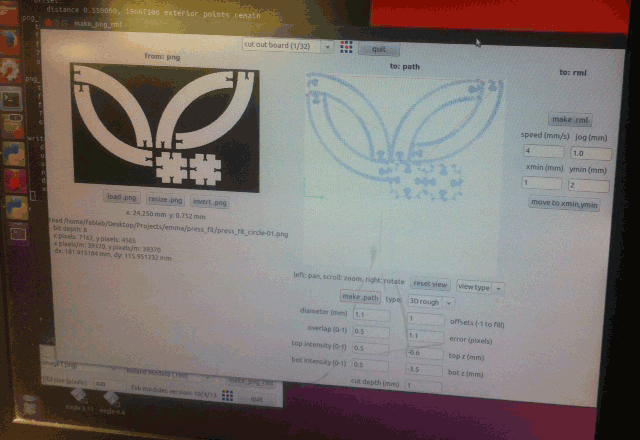
The final design, surrounding conditions and result are:

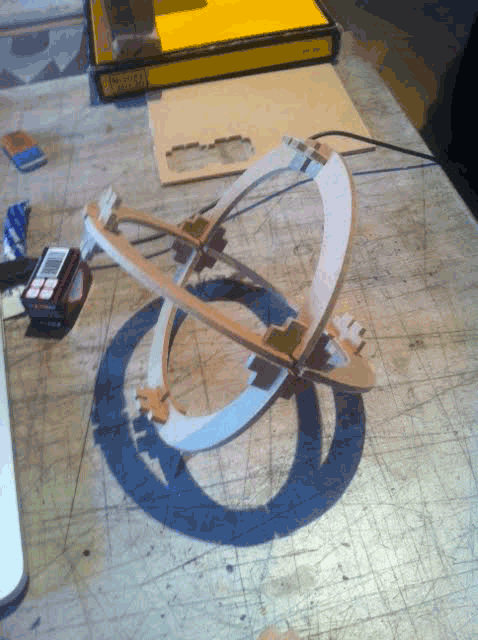
PRESS-FIT CONSTRUCTION KIT WITH MILLING MACHINE
I bought a pannel of boardcard, only one layer. I finally used Inkscape and created with clone command this simple shape. I imported the image in illustrator because it's a handy way to send the job to the machine. I found the right set up to cut the board card and try the first connectors.
Speed = 5
Power = 100
the connector too spacious.
Mission not yet accomplished.
Mission accomplished:
Laser cutter notes:
CARDBOARD (1 layer, 3mm)
cut: 5speed , 100power .
engrave: 30speed , 100power .
ORANGE ACRYLIC (6mm)
cut: 0.7 speed , 100power .
engrave: 3/45speed , 100power .
Vinylcutter:
COPPER -> force 80; speed 1cm/s
Tools
2D: Illustrator, Inkscape
Machine: Vinyle cutter, Small milling machine, Laser cutter.