ASSIGNMENT
(student) assignment: do the mechanical design for your final project
(instructor) assignment: design or modify a machine, making as many of the components as possible
document the group project and your individual contribution
make the passive parts and operate it manually.
WHAT I DID
My final project forcasts the assembly of two half parts that will be the central body, the head and the legs of my animals. It also forcasts the junction between the different parts through magnets. During this week I wanted to test both kind of junction. My workflow has been:
- design two blocks with the same kind of junction
- shopBot
- desing and milling a simple led+battery pcb
- assembly and test
Design
Using Rhino I made the model of the mechanical design.
The legend about the colors is:
- blue: wood blocks
- pink: magnet
- brown: pegs
- grey: wooden nails
- turquoise: board
- orange: copper adhesive traces
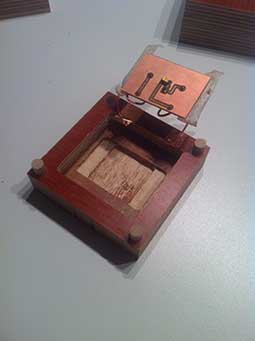
The board is placed inside a specific pocket. The reason of this test are several:
- what is better? pegs or nails?
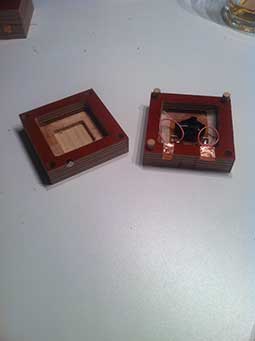
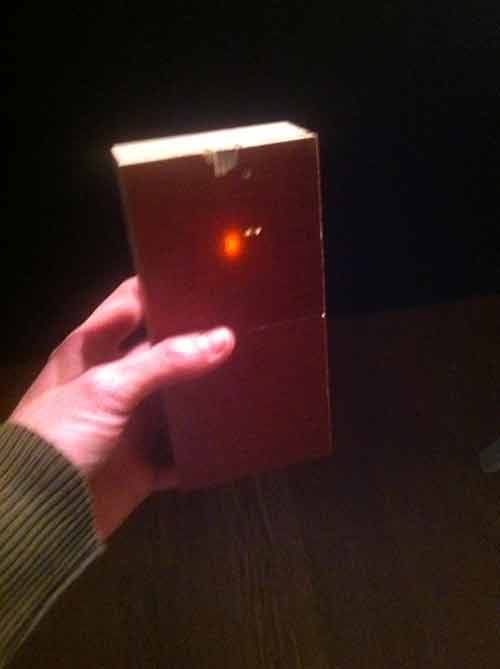
- Can I close the two bocks with magnets creating a short that will turn on a led on the board?
ShopBot
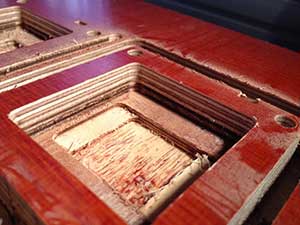
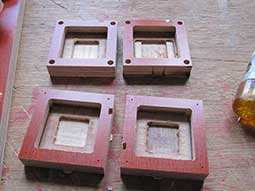
I could use one bit for the pockets and the cut profile: 5mm, two down spirale flutes.
WHAT IT DOES
WHAT I LEARN
- I will use pegs, I can open the blocks but so easly that a kid can as well.
- I will place the magnet pocket not on the border, to avoid the risk to lose one
- I will try not to solder the wires to copper adhesive placing the copper strips below the board takeing advantage of the double side plates.
- I like the light, I will design a round led pocket.
- The short between blocks works!
NOT TO DO!!!!!!
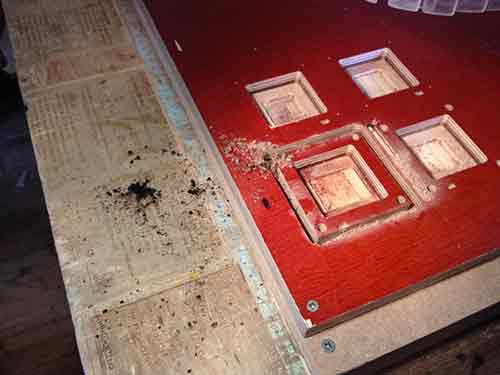
Don't use an old down spiral flute bit at slow move (20000 rpm) cutting a 17 mm layers wood. You could turn it on. The smell so badly annoying and I really got scarred.
Tools
Software: Rhino, Patchwork, Shopbot, Eagle, FabModules.
Machine: Roland Modela, ShopBot.