ASSIGNMENT
Design and make a 3D mold (~ft2), and produce a fiber composite part in it.
WHAT I DID
Between the three options: free composite, vacuum bag and press-fit I choose the last one.The workflow was:
- 3D design, Rhino.
- 3D milling, Shopbot.
- Casting.
- Release.
- Finishing.
3D MODEL
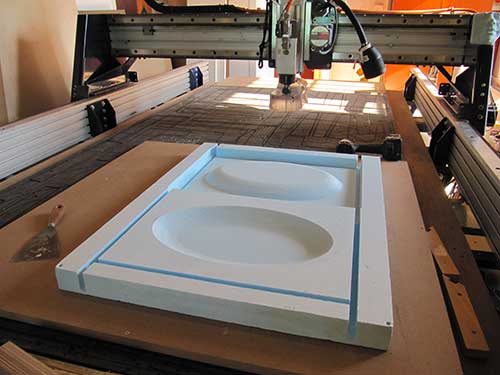
I modelled a tray that I could use to collect what usually is in my pocket...coin tray. I took care to avoid 90degrees edges to garantee the pressure of the negatice mold on the positive one.

3D MILLING
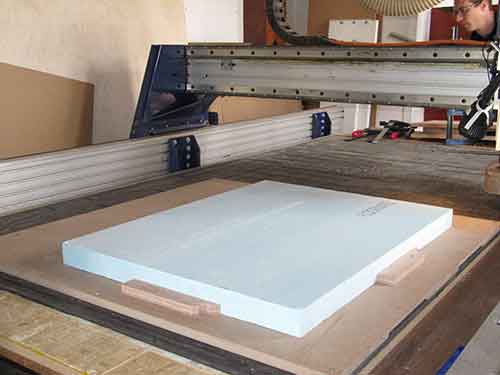
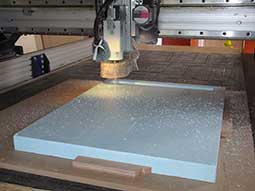
I stacked the medium density foam with double side tape and four lateral wooden blocks screwed to a mdf base (screwed as well to the sucrificial layer of the Shopbot). I used 1/2 inch two flut mill bit. A four hour job and a lot of dust...not healthy snow. I also decided to make only one rough job and keep an small step over to avoid any trace of the bit.
CASTING
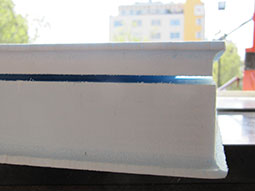
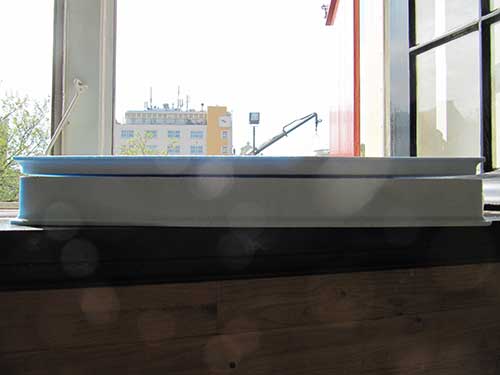
My two molds didn't fit in, I guess it could be due to different reasons:
- I didn't design any reference pins
- I didn't impement in my design any clearance between the two mold
and the not smooth surface of the foam didn't help. I decide, thanks to alex's suggestion, to try anyhow, whatever.
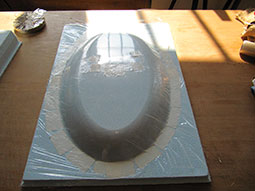
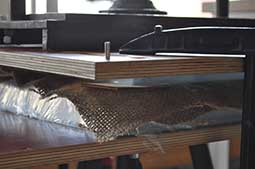
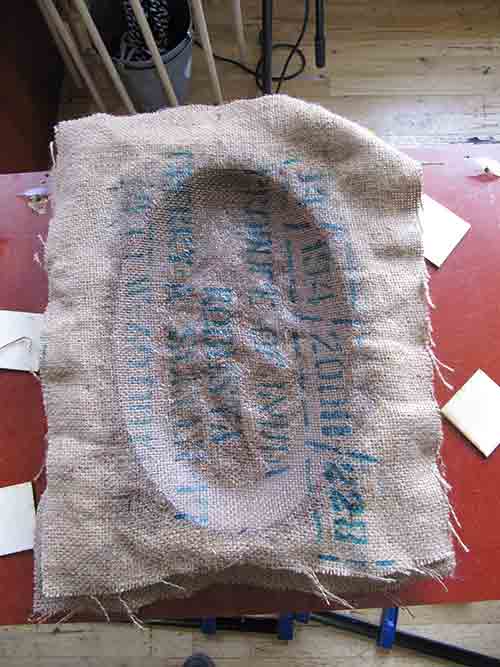
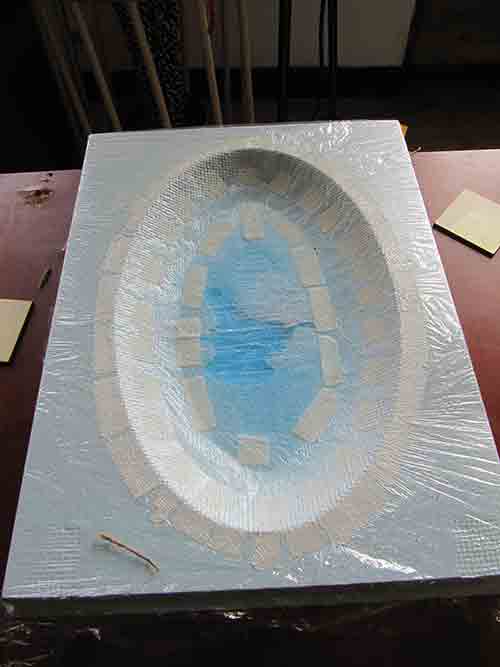
I covered the mold with trasperent film and and tape...then I found vaselin and added a layer, it couldn't hurt. I used jute fabric cutted from a coffee bean bag. I used rectangle fabric sheet and EpoxAcast 690, Clear Castable Epoxy.
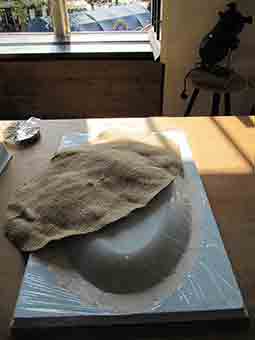

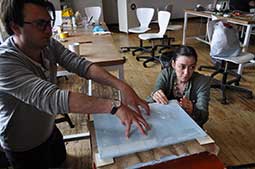
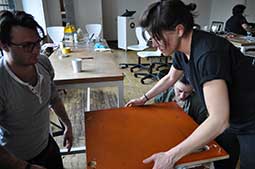
Using two massive wooden plates I tried to distribute the pressure over the all foam surface.


RELEASE
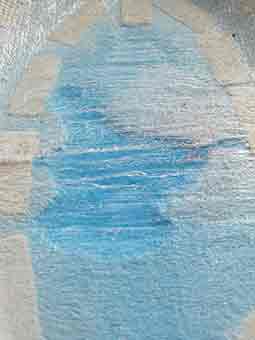
After 24 hours I easly opened the press. The edge are perfect, smooth and the fabric stand out. There wasn't pressure on the botton. Not bad!! The resin also burned the film and the foam...was it too much?


FINISHING
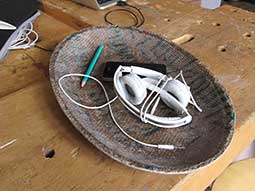
I wanted to use it and I could use the laser cutter (it didn't work with resin) I cutted with a sissor the fabric sides and finish off the resin side with the sanding machine. I demaged the resin trasparency due to the thin dust laid down between the folds. Anyhow I found a place for my 'coin' tray...

Tools
Software: Rhino, Shopbot 3D.
Machine: ShopBot.