Date
Week Five
The assignment for this week was to design and fabricate a simple board with at least an led and button. I decided to make a board with an RGB led that is controlled by an attiny44 MCU. The colour of the led is programmed to cycle through RED, GREEN and BLUE in turns when the button is pressed.
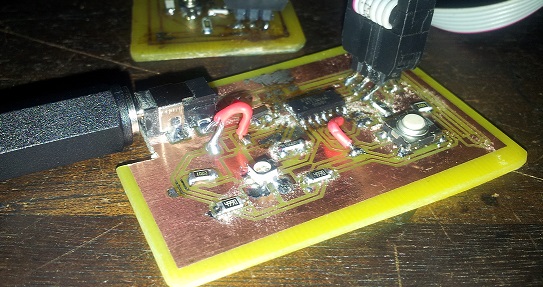
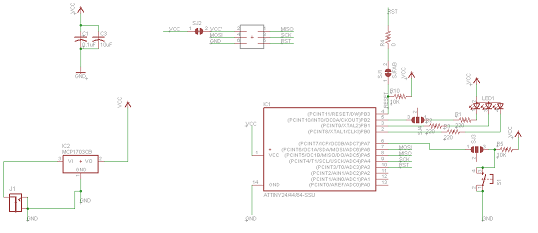
The design was done in eagle and was based on the FabIsp design that I already had. I removed parts that I did not need and added others that were necessary for my application. This gave me a head start and the design was ready in a short time. The board was then fabricated and populated with parts as shown in the pictures below.
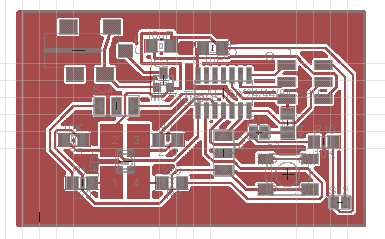
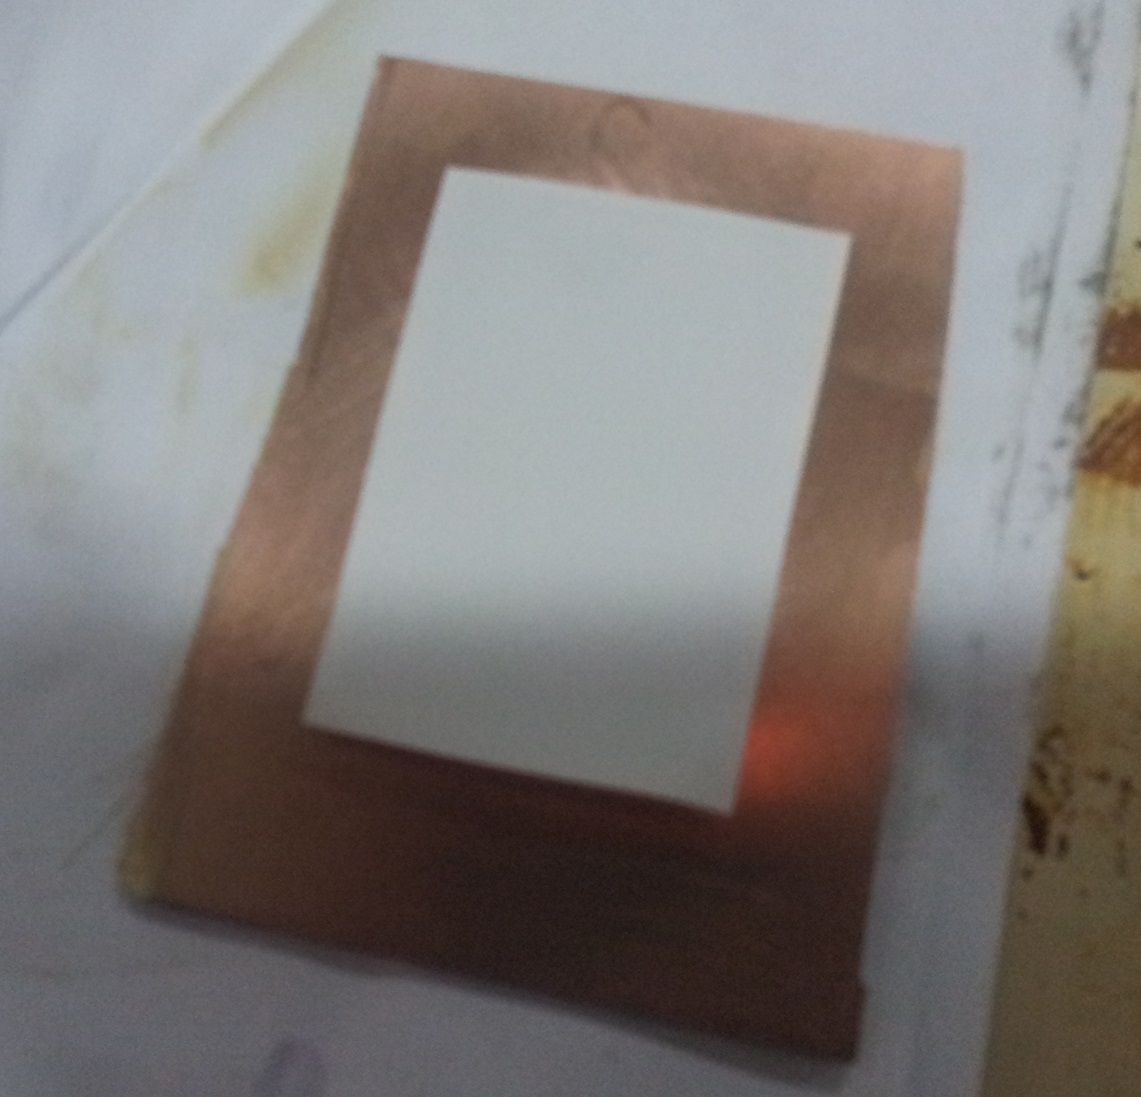
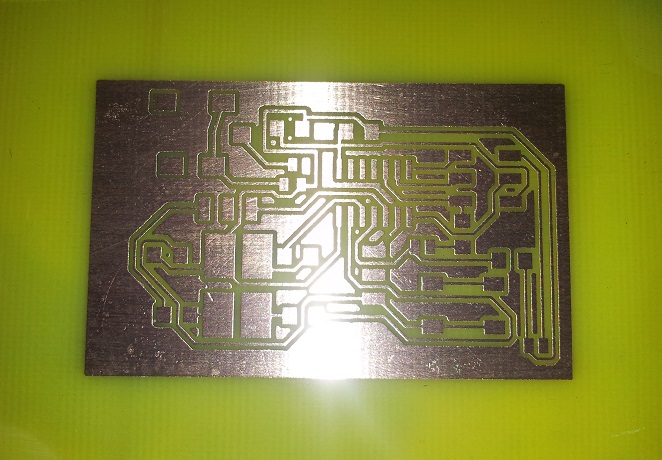
Toner transfer method was used to mask the wanted parts and etching was done.
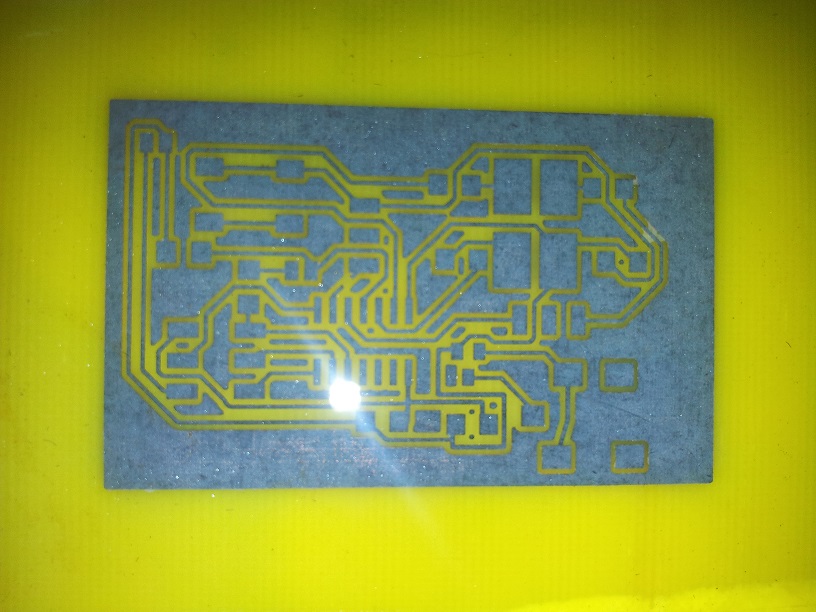
After this the toner was removed by scrubbing with steel wool and the board thoroughly cleaned.
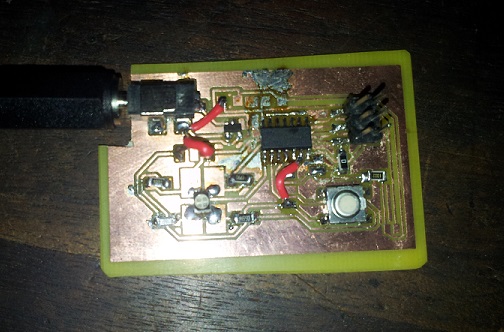
The parts were soldered onto the board after trimming the left hand corner so that the power jack may fit correctly. As is evident from the board I discovered
that some ground connections had not been made. I therefore decided to use some wire jumpers to make the necessary connections.
I decided to program the board using WINAVR and wrote the code to operate the RGB as described in the introduction.
I also found a way to write code in the arduino environmentcode in the arduino environment and managed to blink the different colours alternately by modifying the blink example provided.
Videos of the board in action have been uploaded in youtube.
Simulation