Molding and Casting Assignment
Week of March 26, 2014:
This week's assignment is design a 3D mold, machine it, and
cast parts from it. My garden and geese could use multiple
scarecrows/scarelions as there are fox and coyote in the
neighborhood. My plan is to design a stylized lion face,
cast it from HydroStone and embed reflectors into the facial
features. I will add a mane of Mylar ribbon for more startle
effect. |
1. I found a lot of lion faces and also cast lions via
Google Images but this Dreamstime.com lion was the most
inspiring to me.
 |
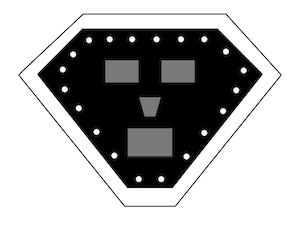
2. I used Photoshop to create a grayscale image 500dpi and
saved it as a png.
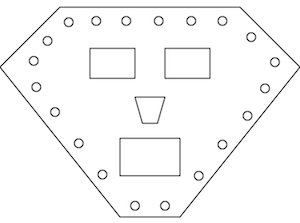 |
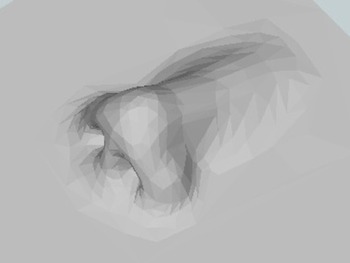
3. Then I transformed my 2D image into a height map.
|
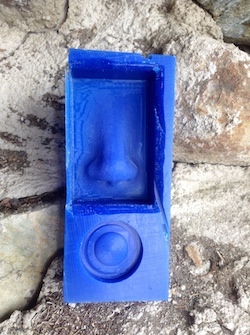
4. Everything changed when I had the blocks of wax in my
hands - the size of the block became the limiting factor and
my lion face modling and casting project moved to the
Shopbot as my composite project. I decided instead to
fabricate a nose. Shawn helped me locate a nose.stl on
Thingiverse and then we converted the stl to a png.
 |
5. The 90 minute rough cut milling process took six and a
half hours to complete. The cable between the Modela and Fab
computer was suspect at one point. Several starts and sstops
were due to the drill bit or collar rubbing against the side
of the mold. A utility knife took care of that. I learned to
slide a piece of paper under the drill bit to set the z
axis. The smooth milling took another two hours. But at last
I had a wax mold.
 |
6. Creating the Smooth-On rubber mold was a far less time
consuming step.
 |
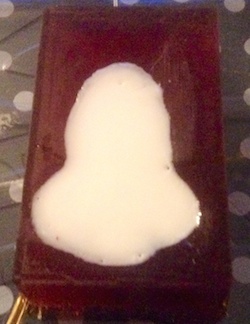
7. My error - I let the Smooth-On plastic cure for 2 hours
instead of the 15 minutes as directed on the package. More
was not better. I thought the rubber/plastic combination did
not need a release agent. I had to carve the rubber mold
away from the plastic nose with a utility knife and I had to
start again with a second rubber mold.
 |
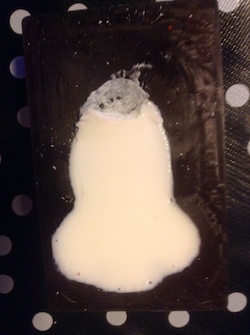
8. At fifteen minutes (package directed time for curing),
the plastic was very sticky and still liquid under the
surface. At twenty-five minutes, the plastic was solid but
still warm, the exothermic curing reaction still occurring.
AND the plastic was definitely "stuck" to the rubber. I'm
wondering if the reagents have been compromised because they
were stored at temperatures cooler than 70 F. Plus the
packaging reminds us the shelf life of the materials is
short...
 |
9. I'm wondering if the reagents have been compromised
because they were stored at temperatures cooler than 70 F.
Plus the packaging reminds us the shelf life of the
materials is short...
|
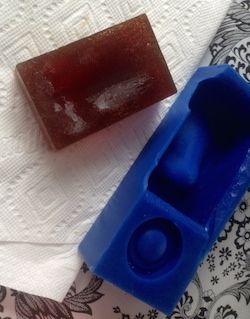
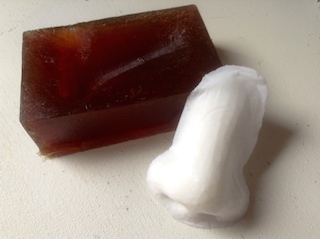
10. Here is the rubber mold, iteration three, with the wax
mold a little worse for the wear. The rubber mold has five
coats of universal release agent upon it and is far less
sticky to the touch.
 |
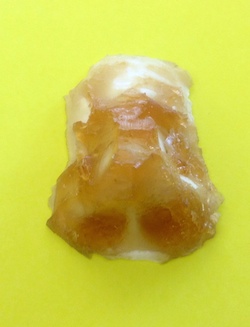
11. Nose success - universal mold release was the missing
ingredients. Curing time was 25 minutes, not the 15 minutes
on the package directions.
|
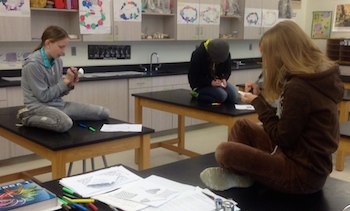
12. Eventually I will create a
classroom set for my students and they will decorate them:
some "hot" because the nasal passage warm the air we
breathe, some "wet" because of the moistening function, and
some like screens or nets or colanders, etc because of the
filtering function. Here are the first three noses being
worked upon by students.
 |
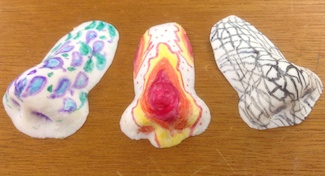
5/16/14 - Here are the students' noses up close.
Mickie Flores Home
|