
Week 15. Interface and application programming
This week is time to make a computer application to interface a sensor. In my final project I will use the computer to control the goal and also to display the results, so I will take again advantage of this week assignment to start to develop this part of my project.
The first step before starting is to select a language/platform in which implement it. I have some experience with some languages like java, C or C++ so I decided to test something different, and I finally went for Processing due to the advantages that for me offered over Python for graphical design of the application.
Designing the application
As said before, I want to create an application to control the goal I am designing, so the features I need for the application are:
- HMI
- Display the result of last shoot.
- Select the next part of the goal to aim at.
- Communications with the sensors
- Send through the bus the sensors to be activated, depending on the part of the goal selected in the HMI.
- Receive and process the data measured by the sensors to calculate the ball position.
Programming the application
Once the layout and the modules of the application were defined, it was the moment to start to implement it in Processing to make it real.
|
|
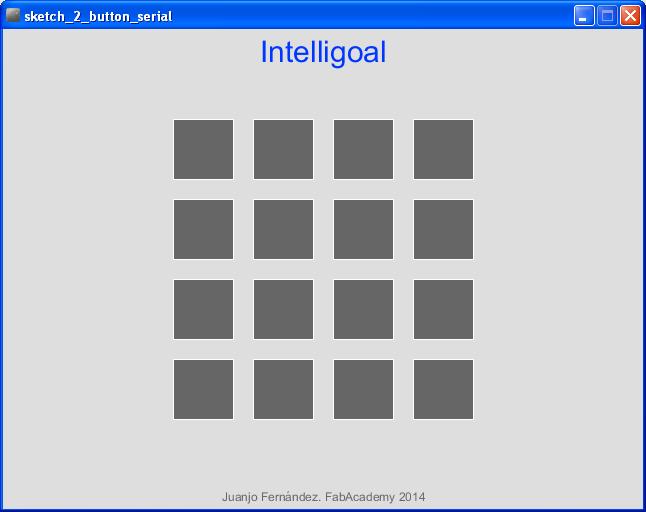
The first step is to create the HMI and the controls to interface with it. In my first steps with processing this was a bit fuzzy compared with other programming languages I used in the past as there are no button controls. Finally, after some search through internet I found this very interesting class for button implementation in processing which is very easy to use.
In the image below you can see the layout of the application with all the buttons, where each button will correspond with a position of the goal.
|
|
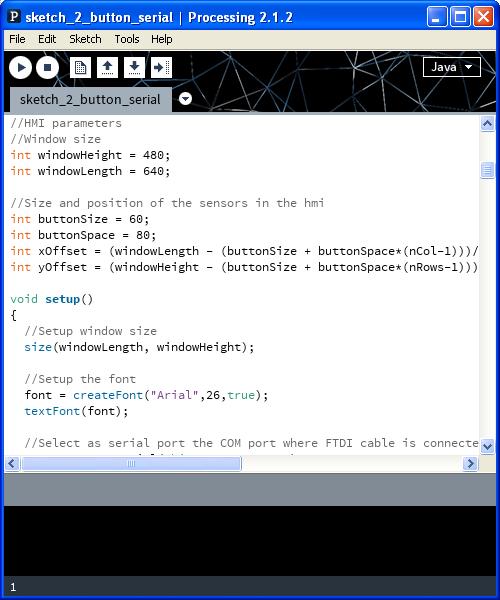
All these buttons build a matrix, and depending on the button you press, a different code will be sent to the sensors to activate the corresponding one. To send this information, it is needed to use the serial library of Processing and create a serial port unit:
import processing.serial.*;
//Select as serial port the COM port where FTDI cable is connected
myPort = new Serial(this, "COM3", 9600);
Finally, it is only remaining to receive the data measured from the selected sensor and display this information in the hmi. This part of displaying of results still need to be improved (with some color code or similar), but at this moment in the screen it is displayed the distance measured by the selected sensor.
The code generated to create the application can be downloaded here.
Testing the application with the sensor
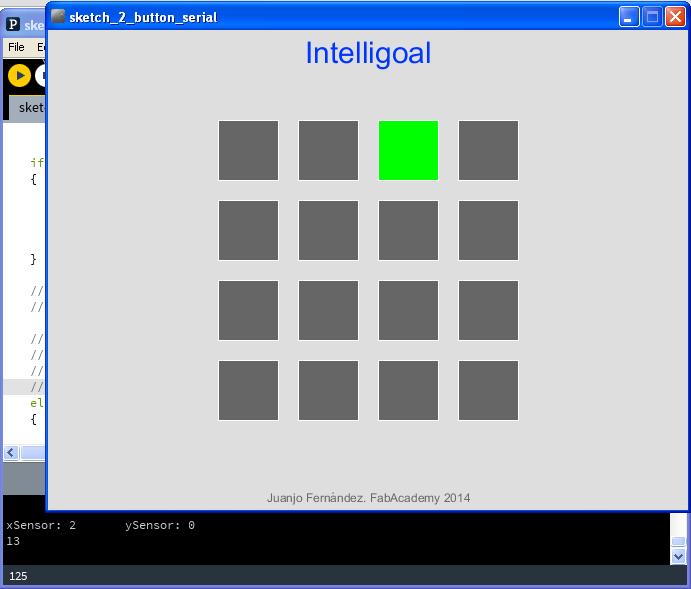
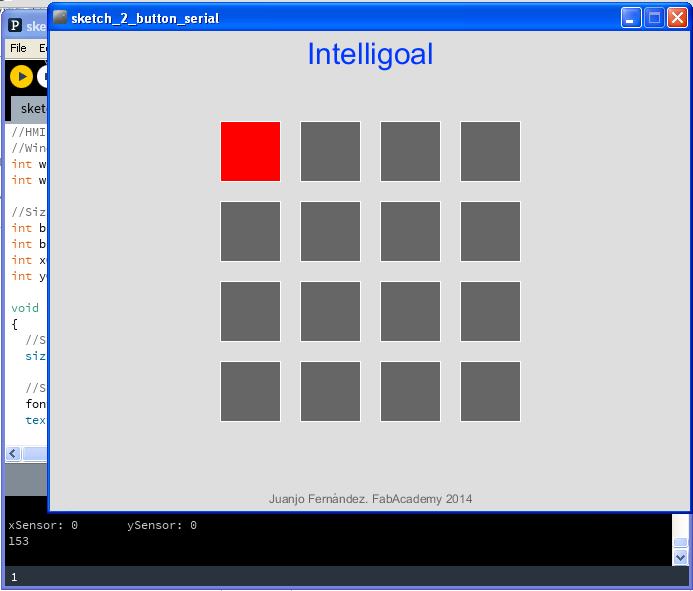
The coding of the application is finished, so it is the moment to see if it really does what it must do. For these tests shown here, only one sensor was connected to the computer, and its id corresponds to the first row, so when a button from the first row is selected the sensor will be activated but not if a different button is selected.
Depending if the distance measured is smaller or bigger than a threshold (20cm at this moment), the button will be colored in red or green. In the trace view of the processing environment it can be seen the sensor selected in the hmi and the distance measured in cm.
Below there are two pictures at two different distances, and in one the button is finally in red and in the other in green.
|
|
|