Making the velomobile
I began exporting the cutting plates from Blender (with export SVG plugin)


it was very difficult to do a nice nesting : I spend a lot of wood. It's why I finish by missing...
For reduce the lost of space, I cut some parts, using a "puzzle" cutting, to be able later to simply assembly them.
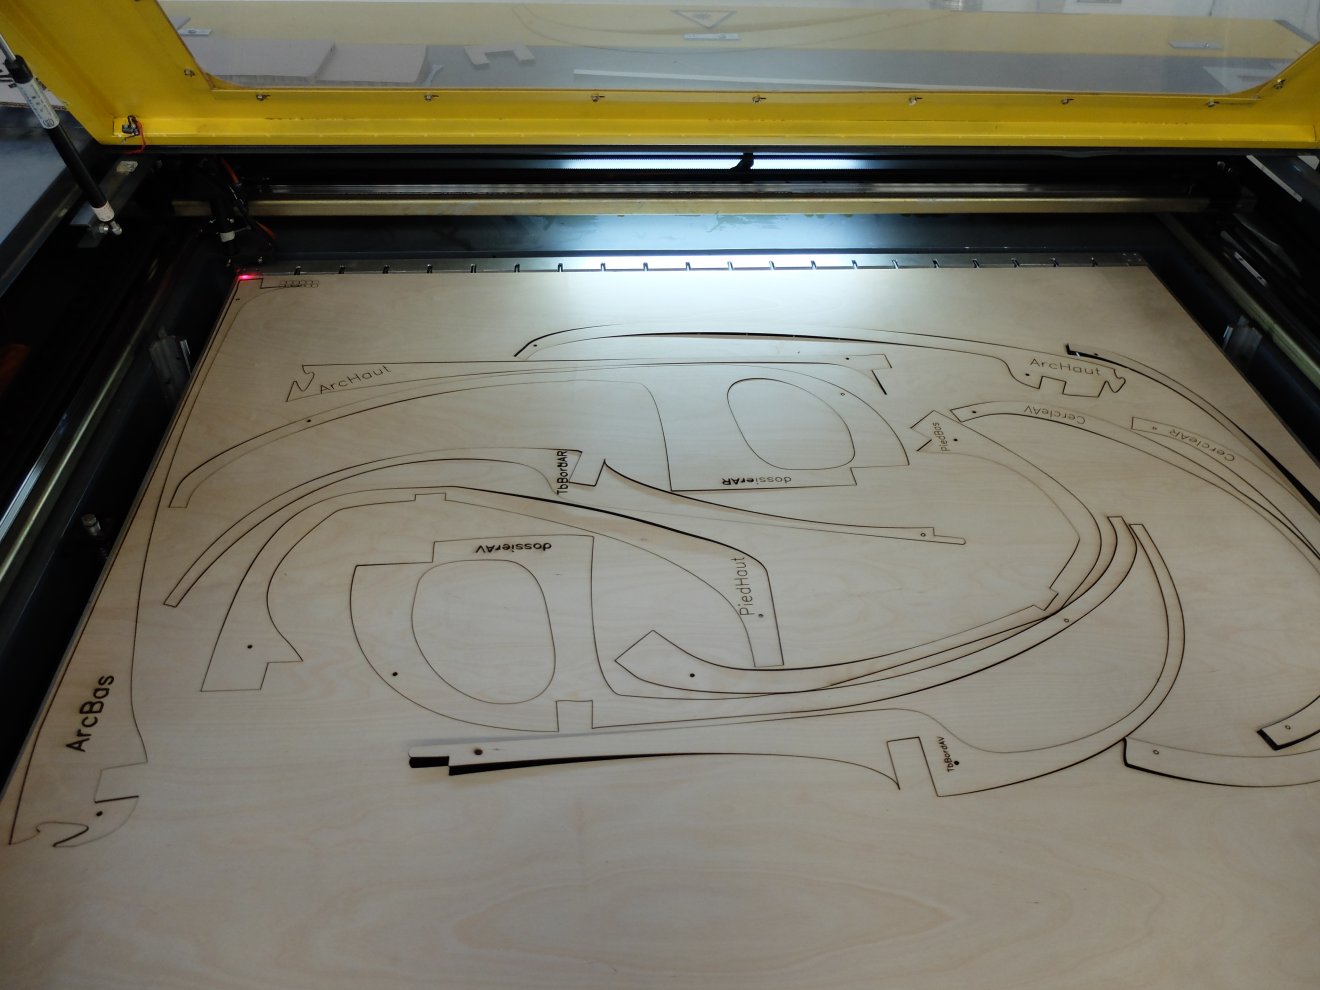
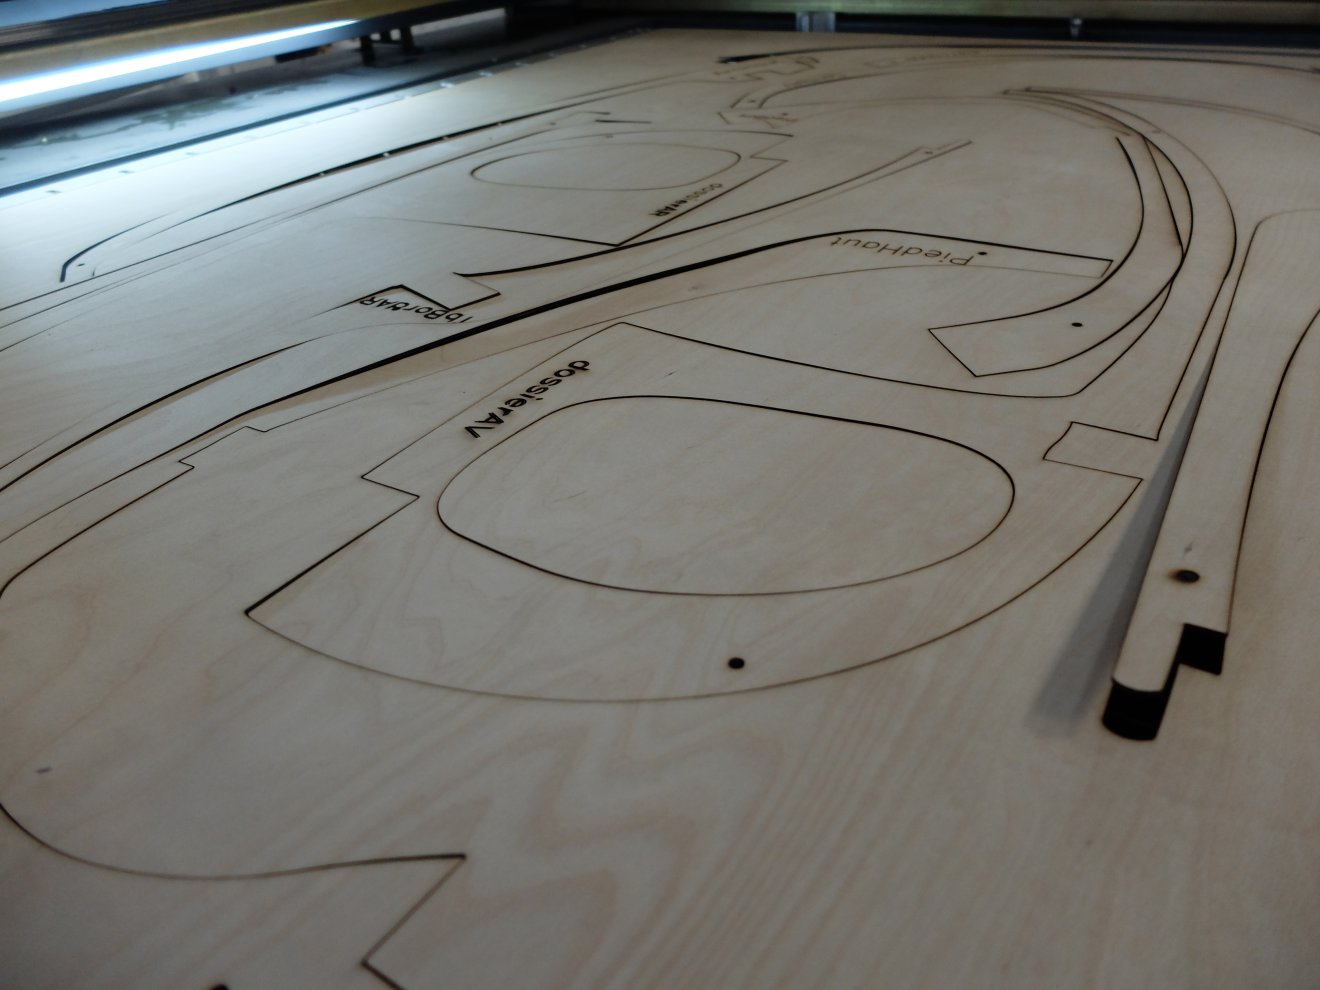
It was not so easy to maintain wooden plank on the cutting bed : the 1.5mm plywood is bending a lot : somewhere, laser is unfocalised and hte cut is not total
I finish the cut with a cutter.
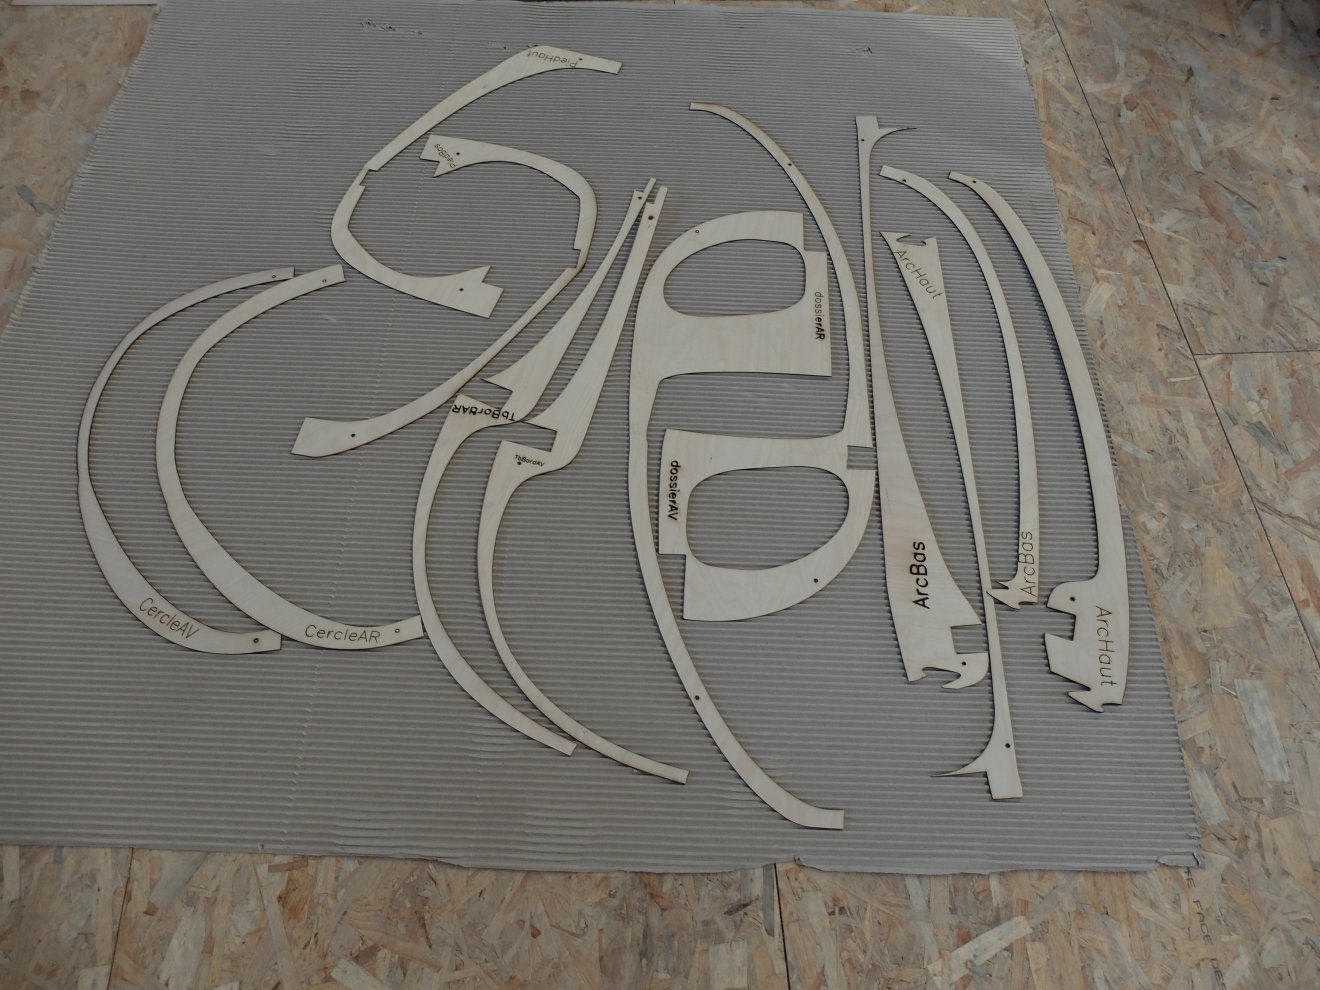
It's done : I have the skins of my body. Now I need to cut the foam.
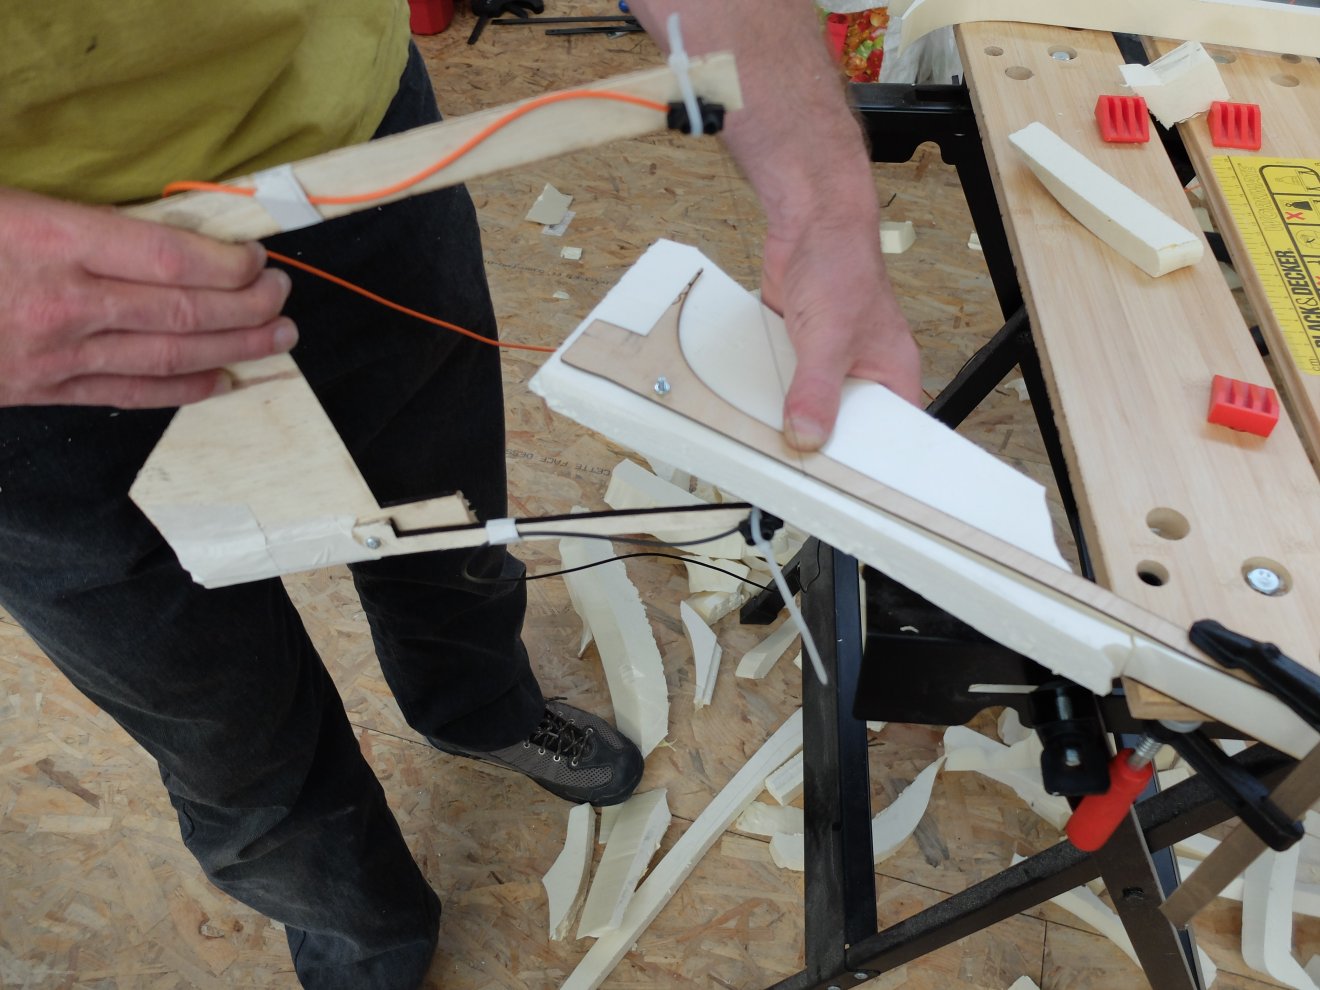
For cutting the foam (which is a extruded polystyren), I used the analogico/numerical technique that I used in my first composites test:
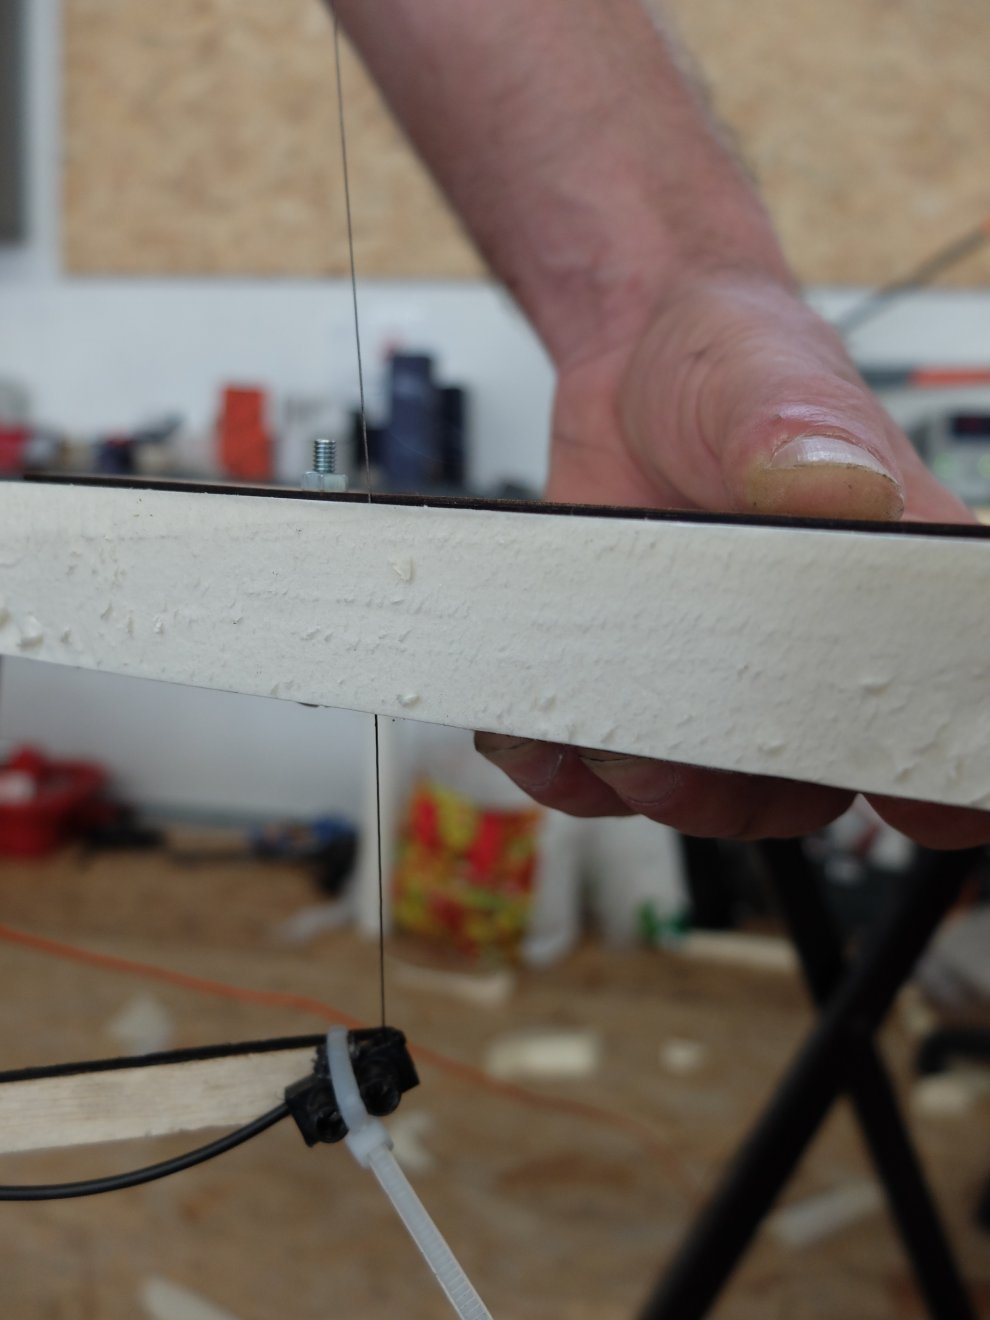
The wood, cutted with laser give a guide to cut the foam with hot wire.
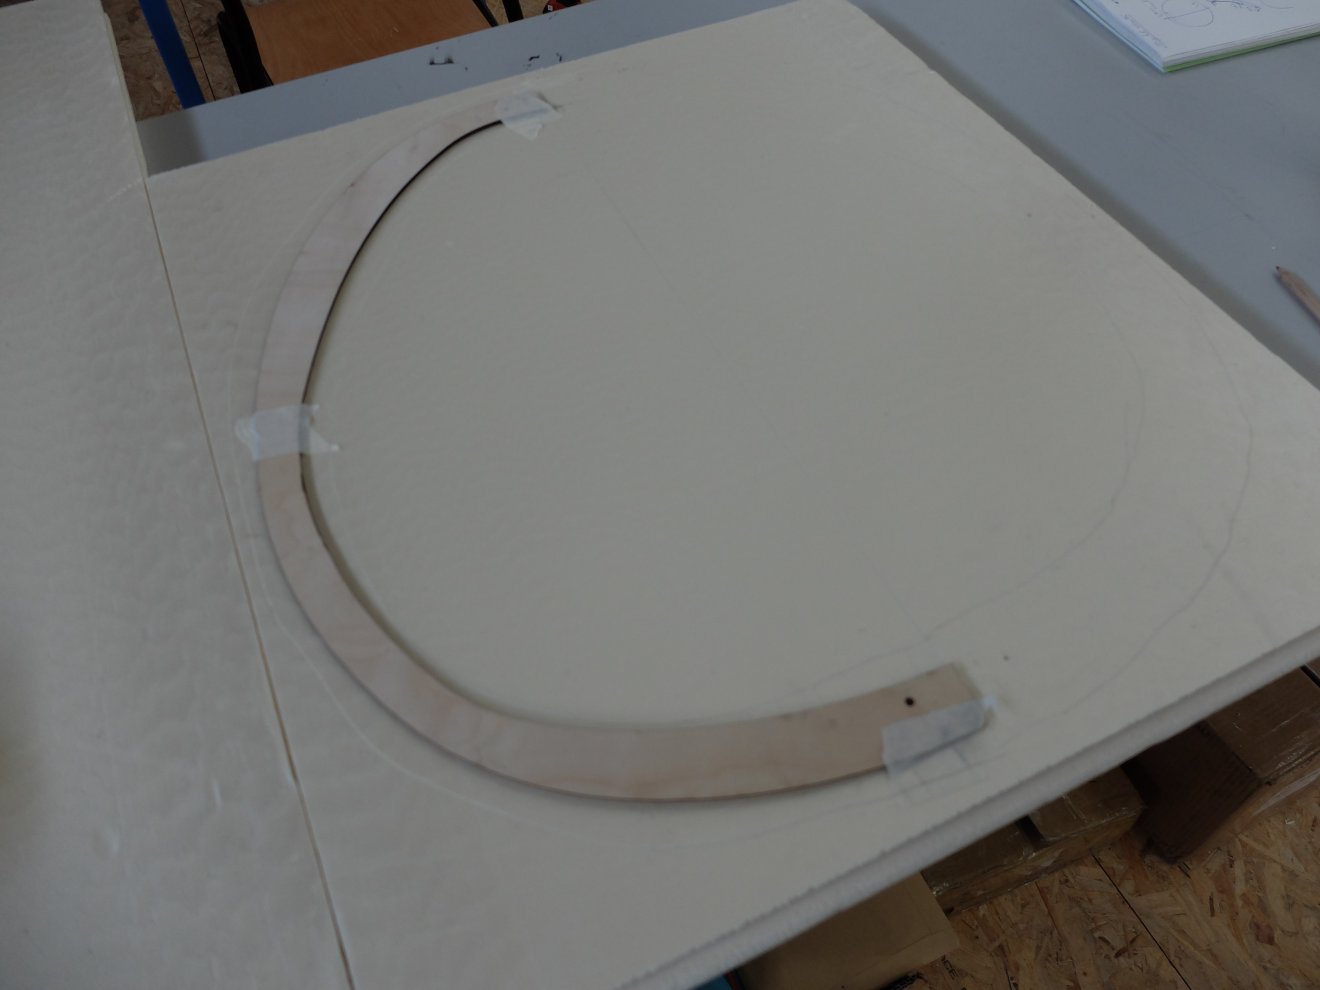
Some centering holes are drilled in the foam, to align both external skins.
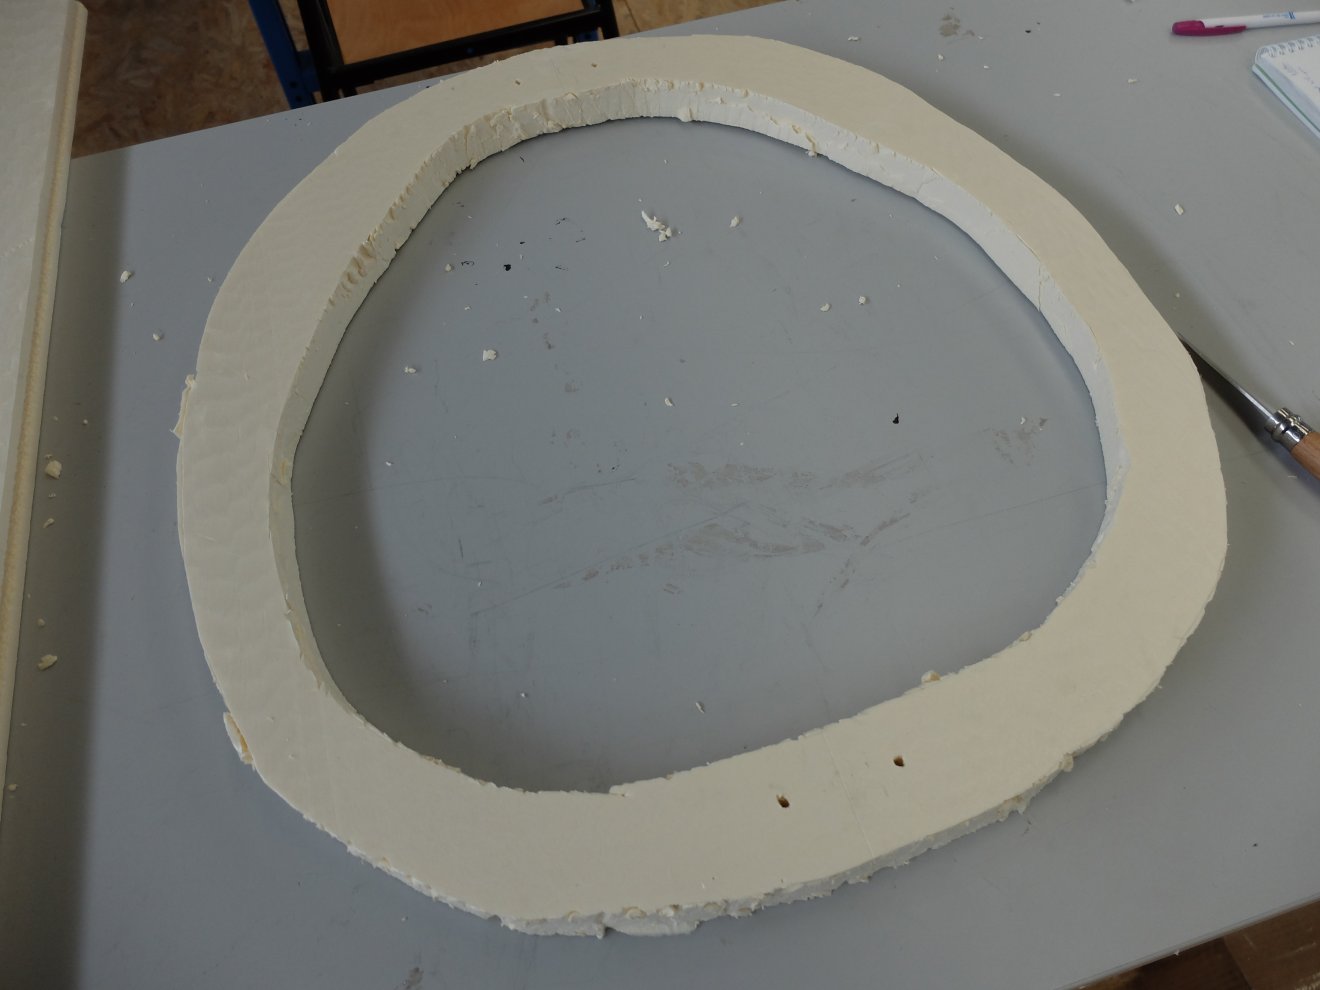
The foam is roughly cutted near the good dimensions
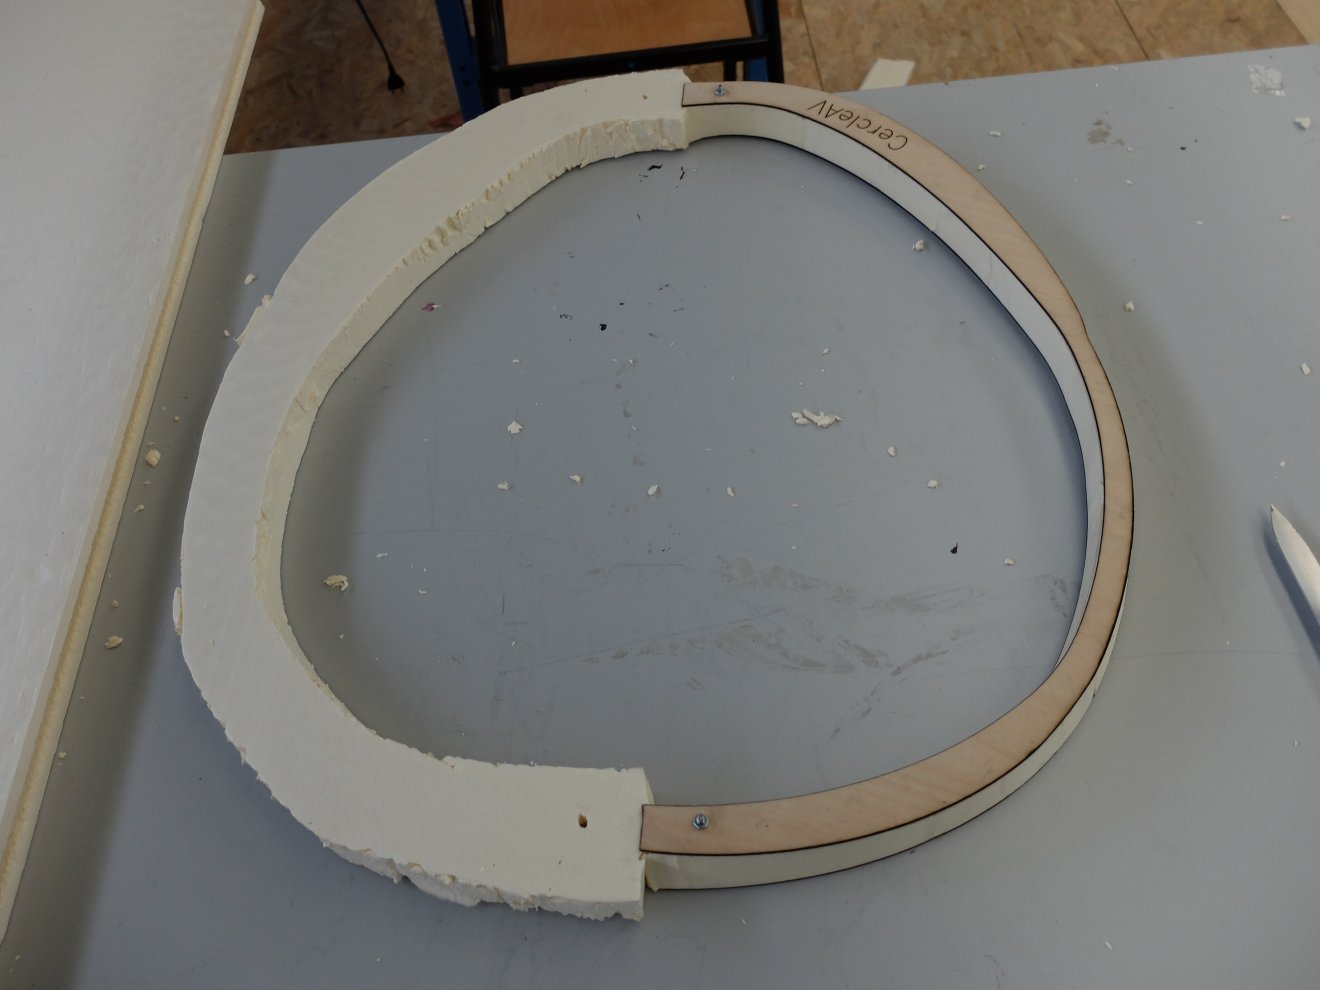
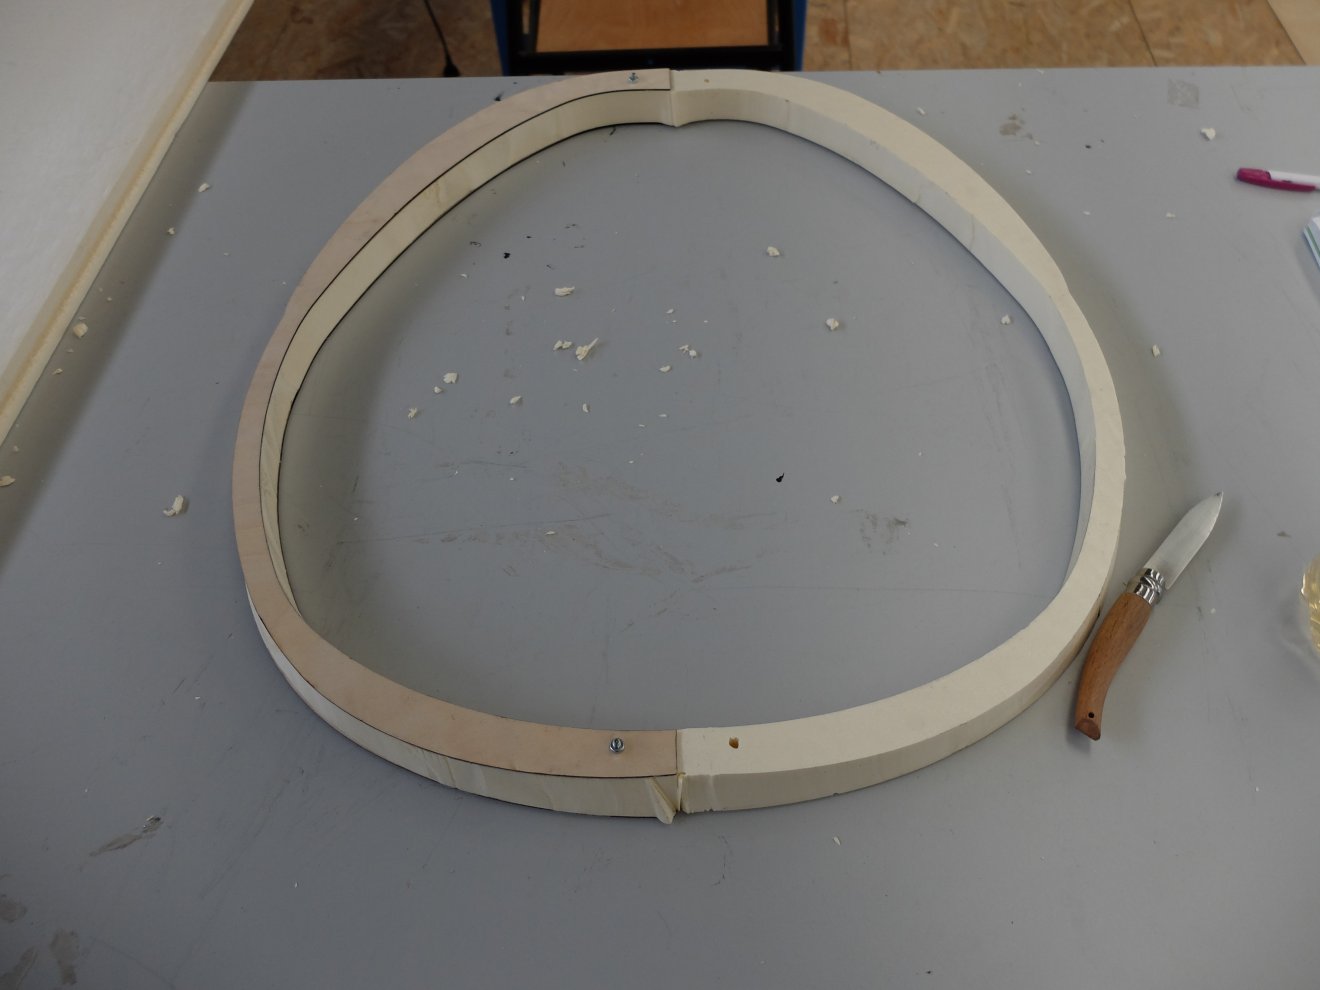
With a hotwire, the foam is cutted, using hte wood as guide
this technique give the possibility to duplicate the shape in miror.
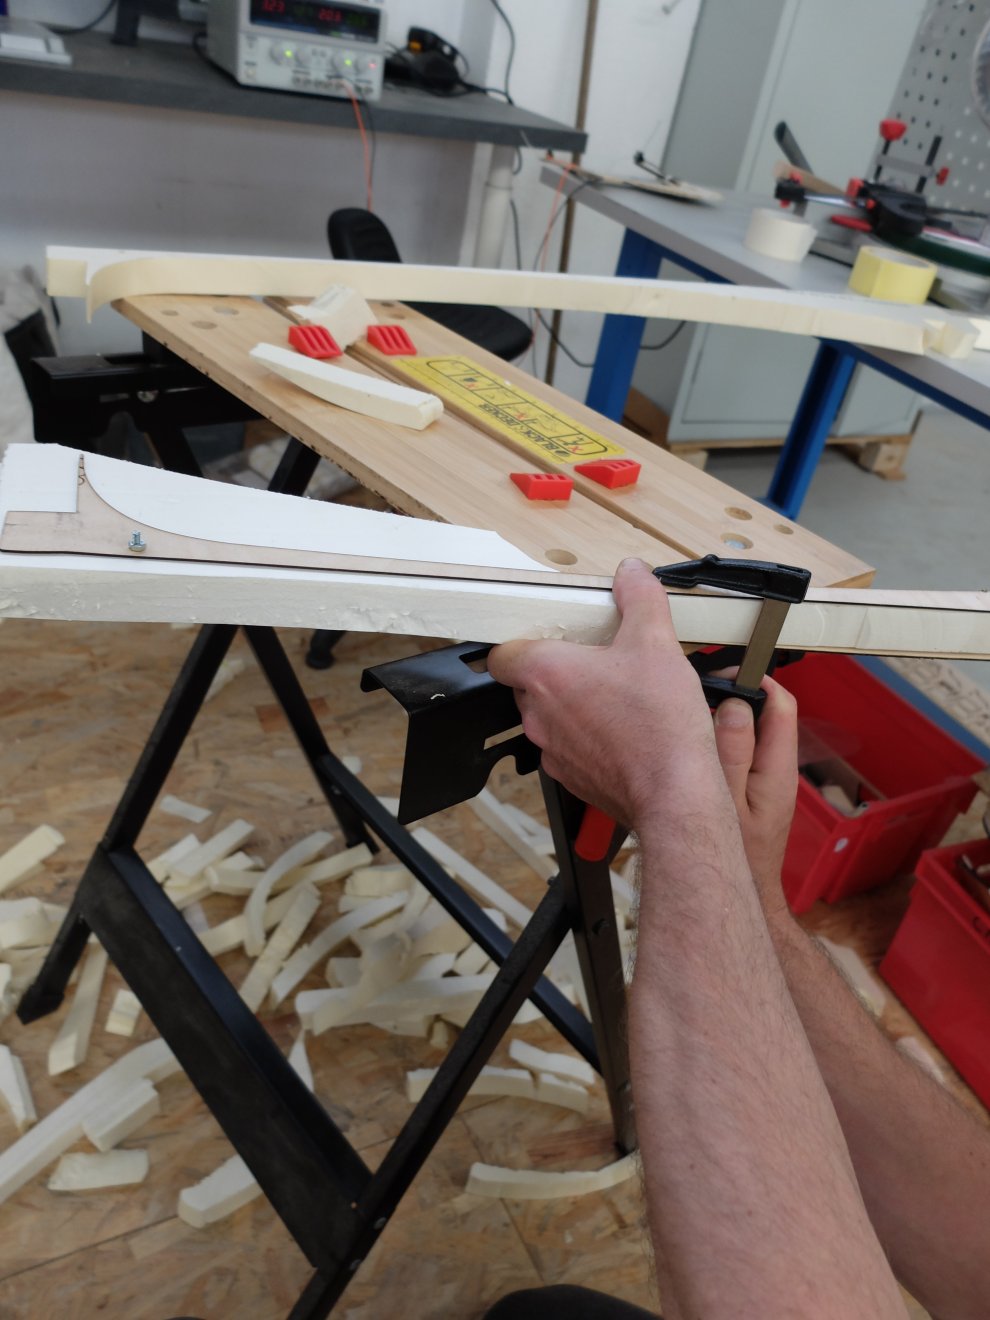
The hot wire cutting is very easy.
I build a better tool after my first experience

Because of lake of time, I decided to report the gluing, and build a pre-assembly version, with masking tape as glue.
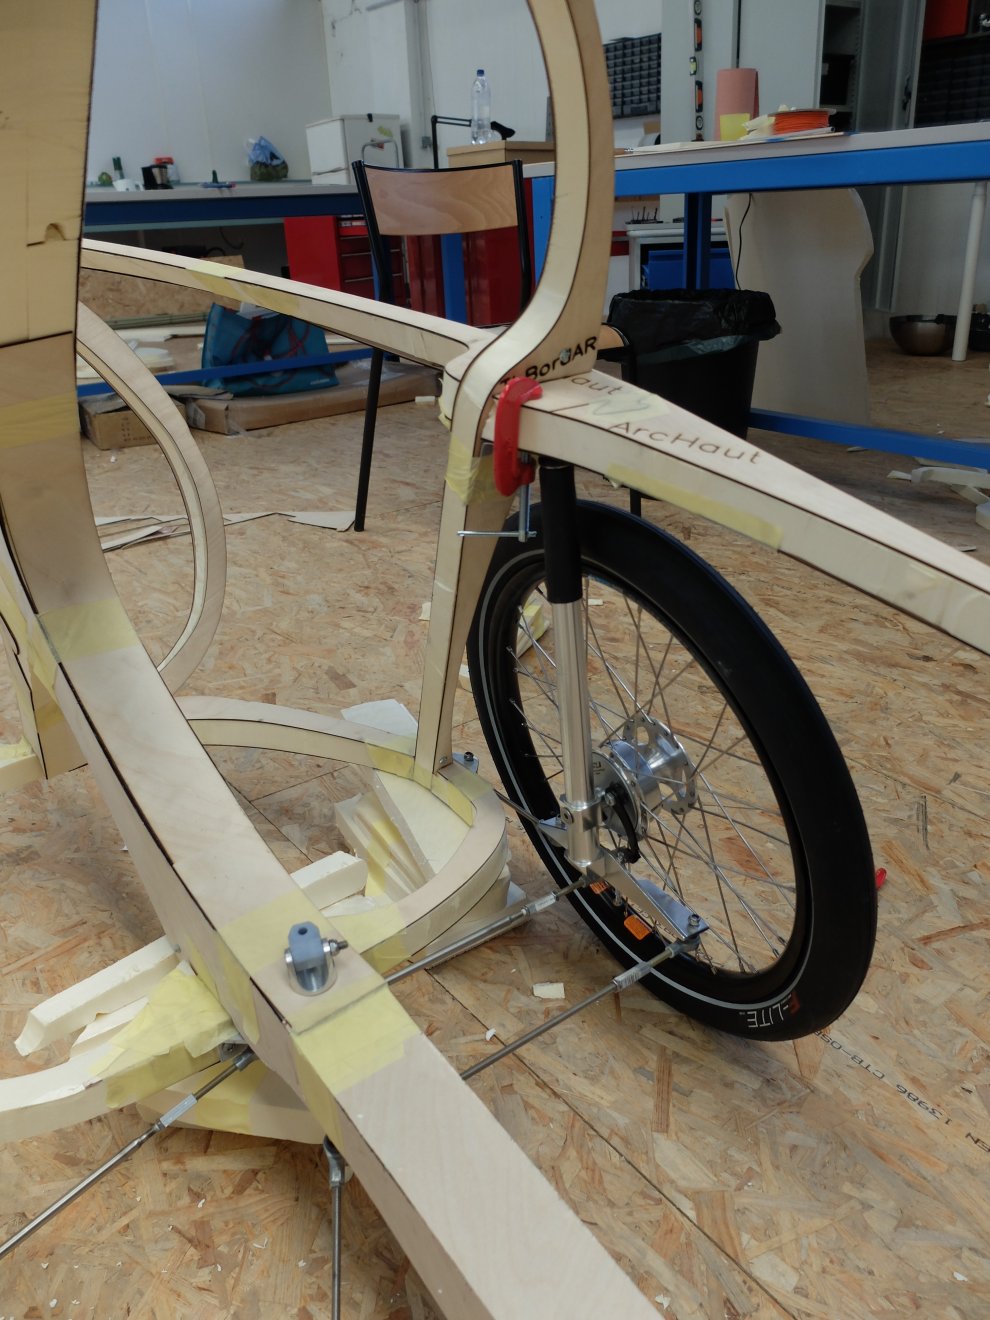
As I expected, assembly is very easy : like a construction game, all parts go together without ambiguities or space.
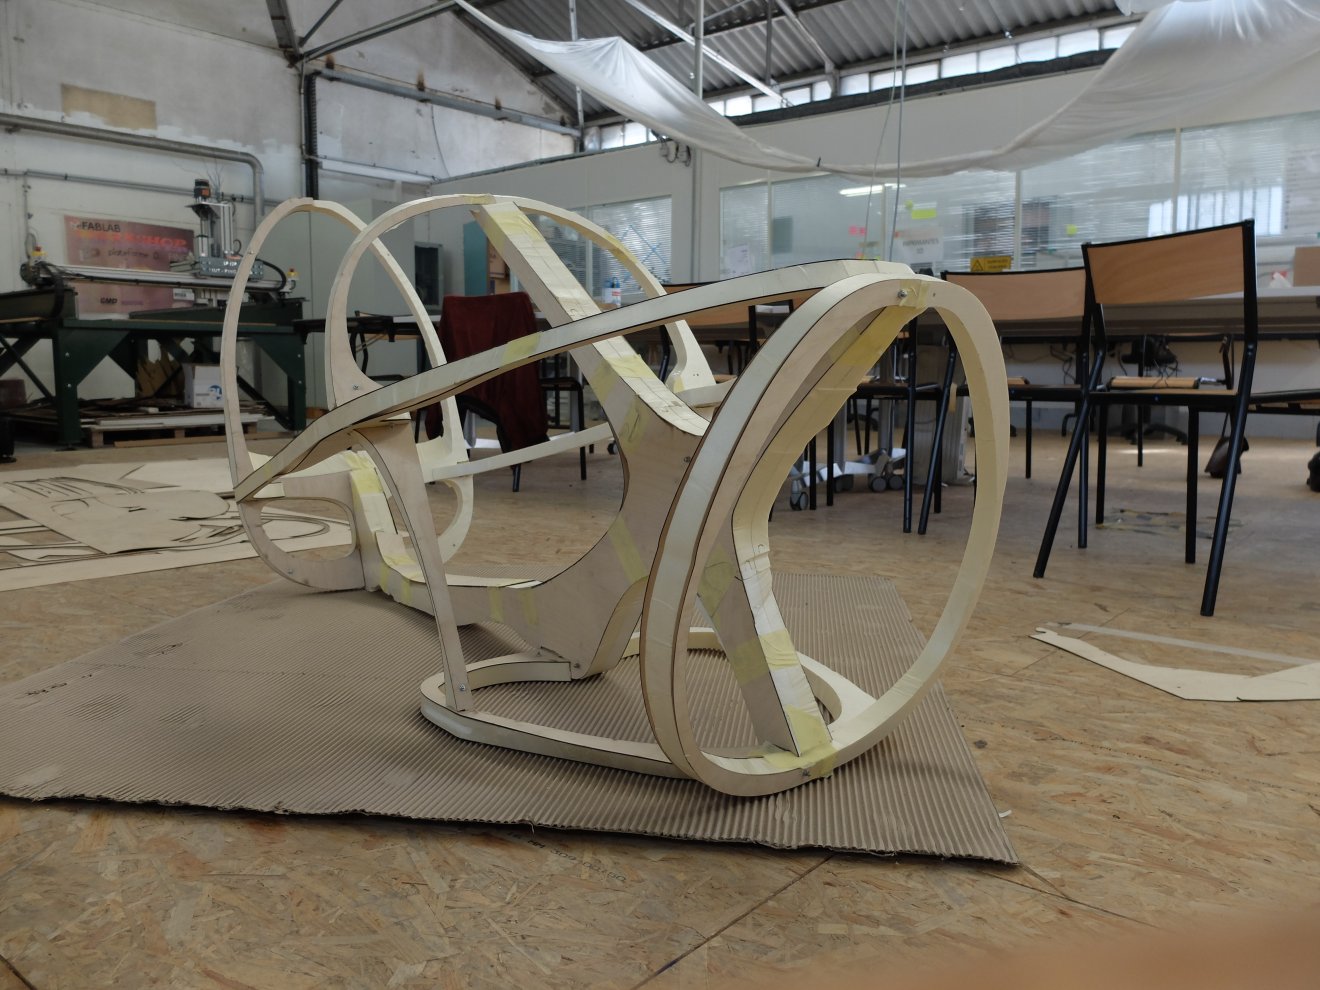
the front drive go nicely to his place (in spite of discovering some errors in my implantation of arms)
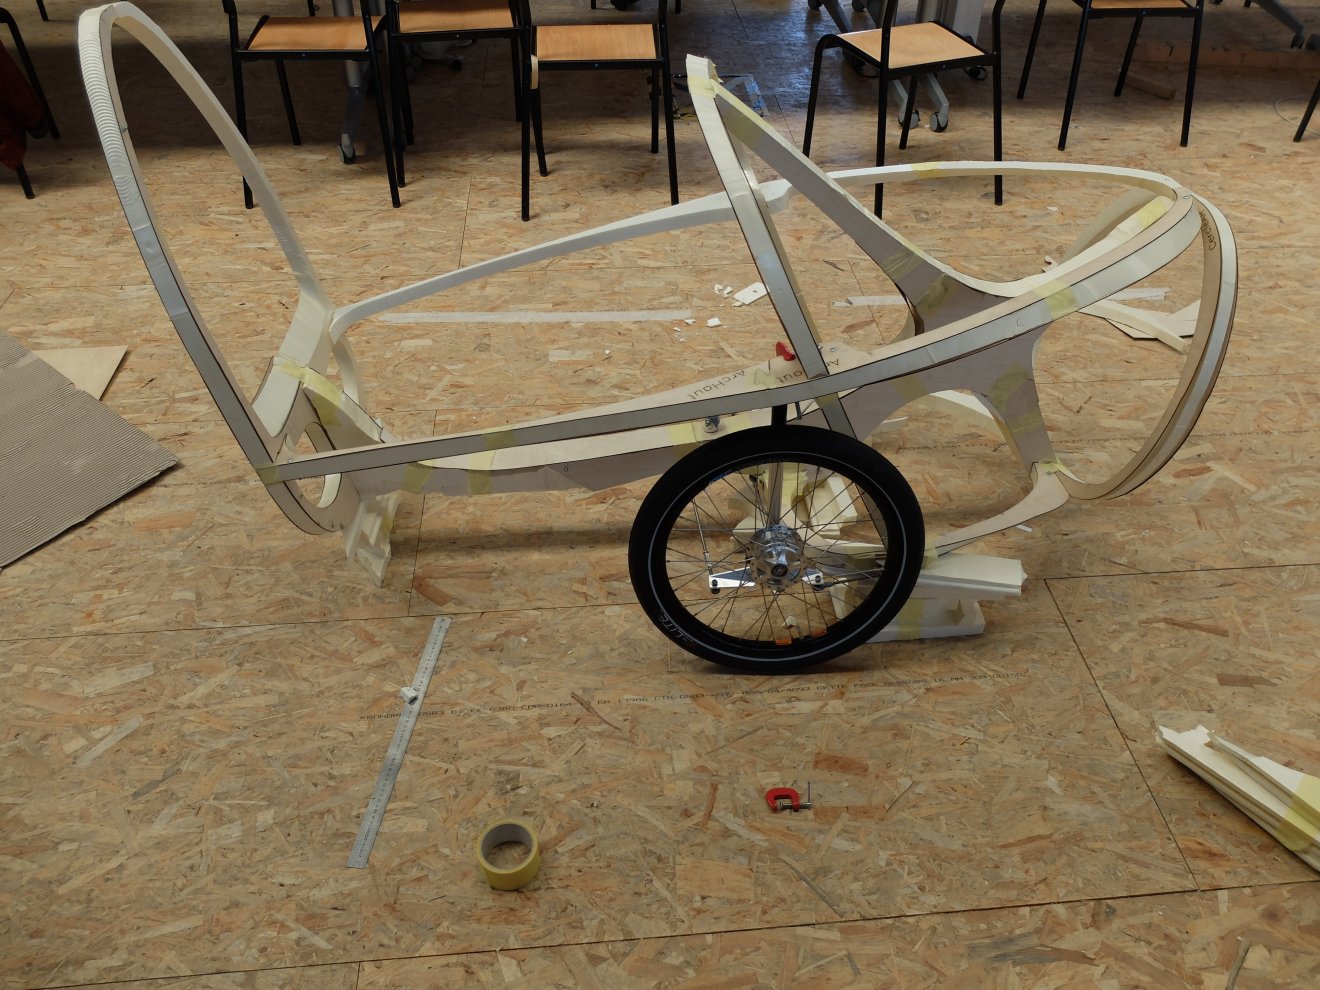
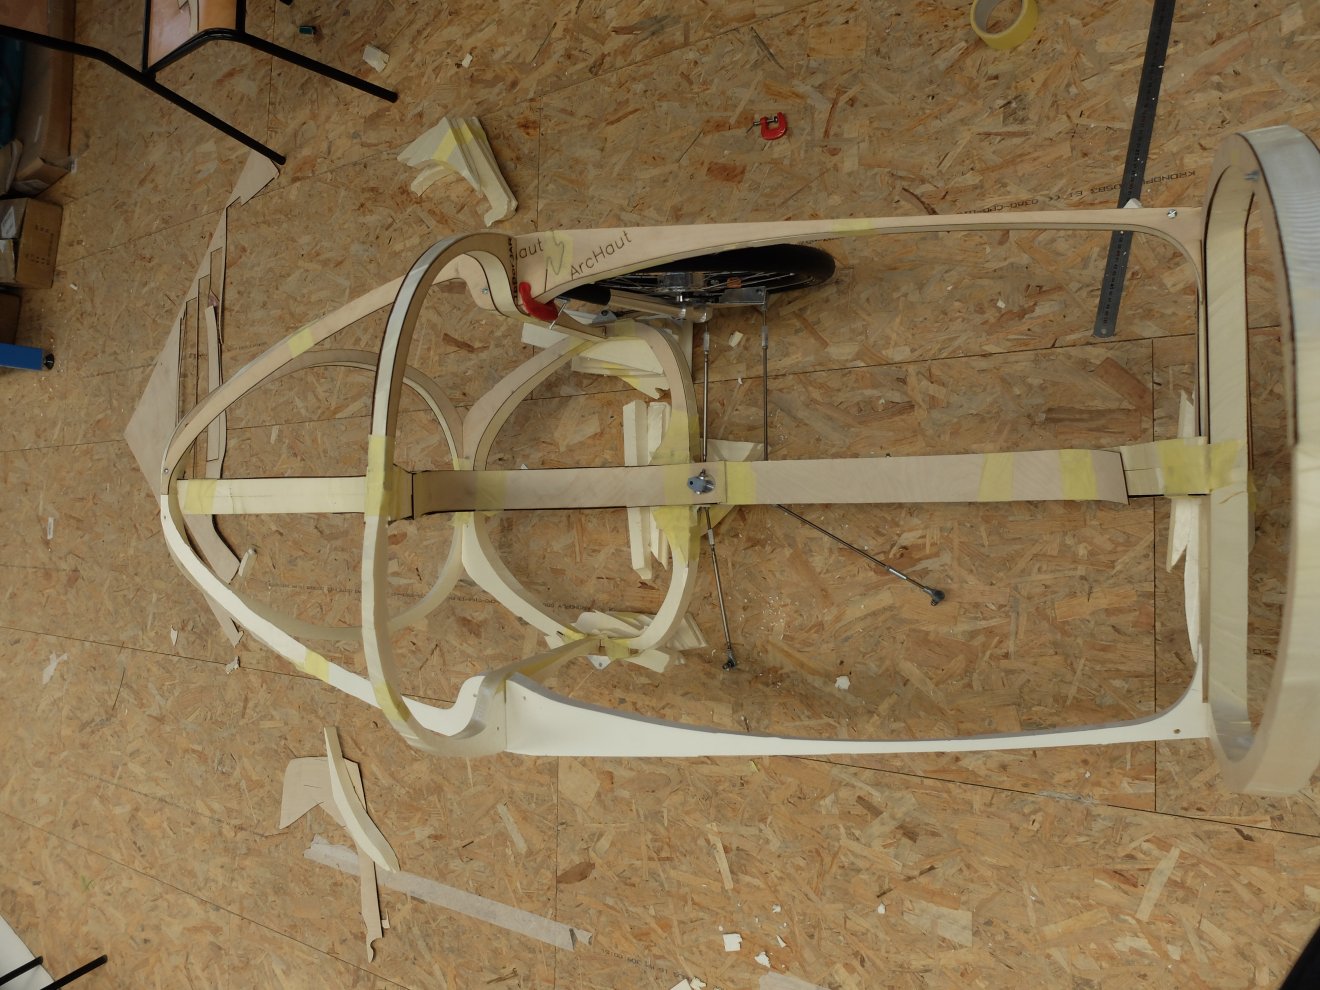
The rear fork stay fantomatic for the moment.
I symbolise the skin (that will be in plywood two) with cardboard .
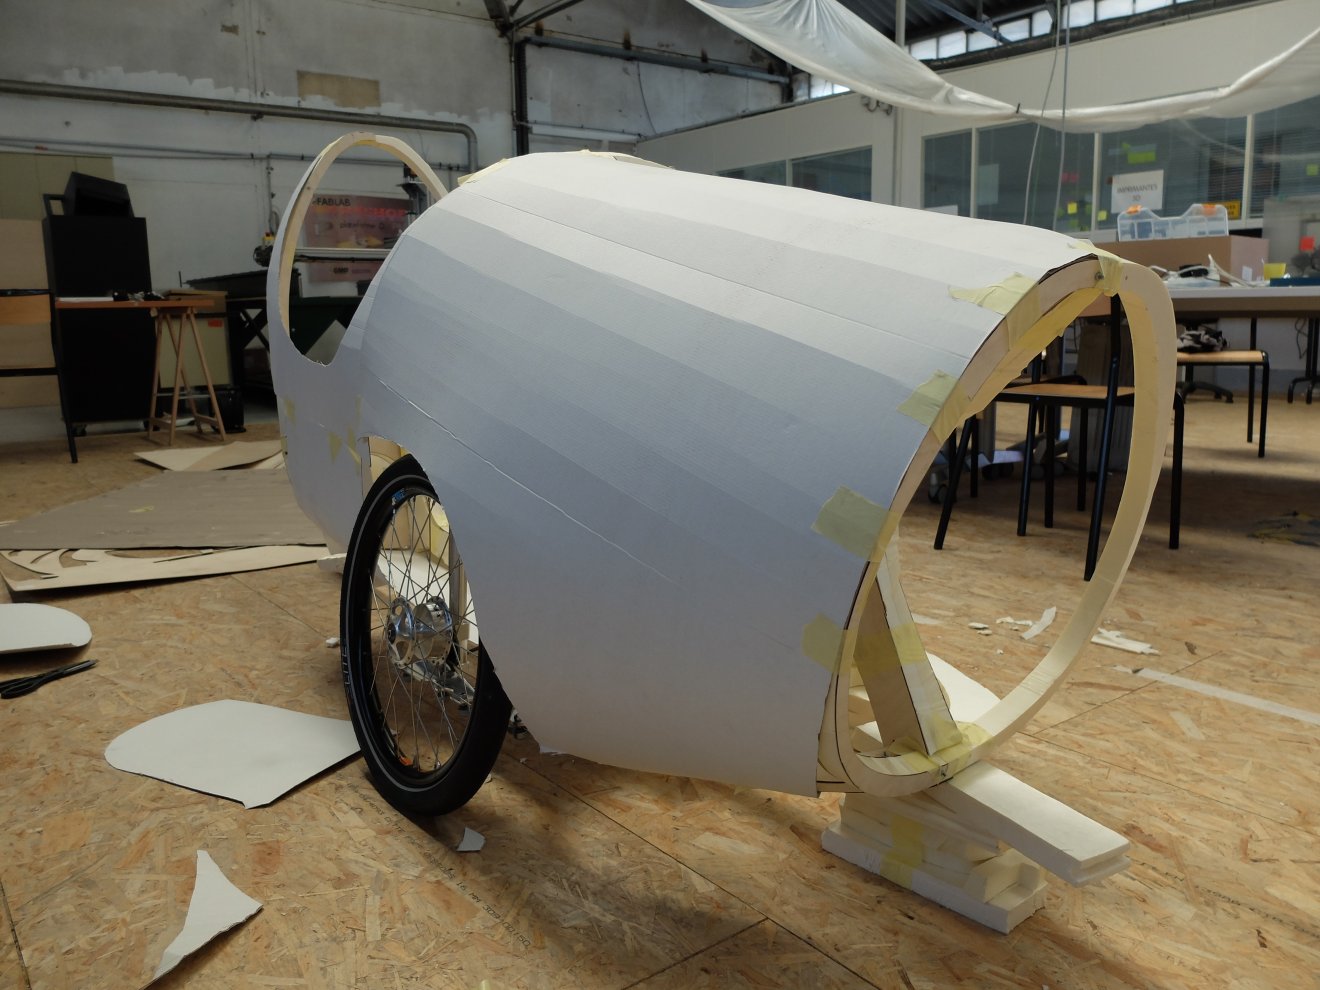
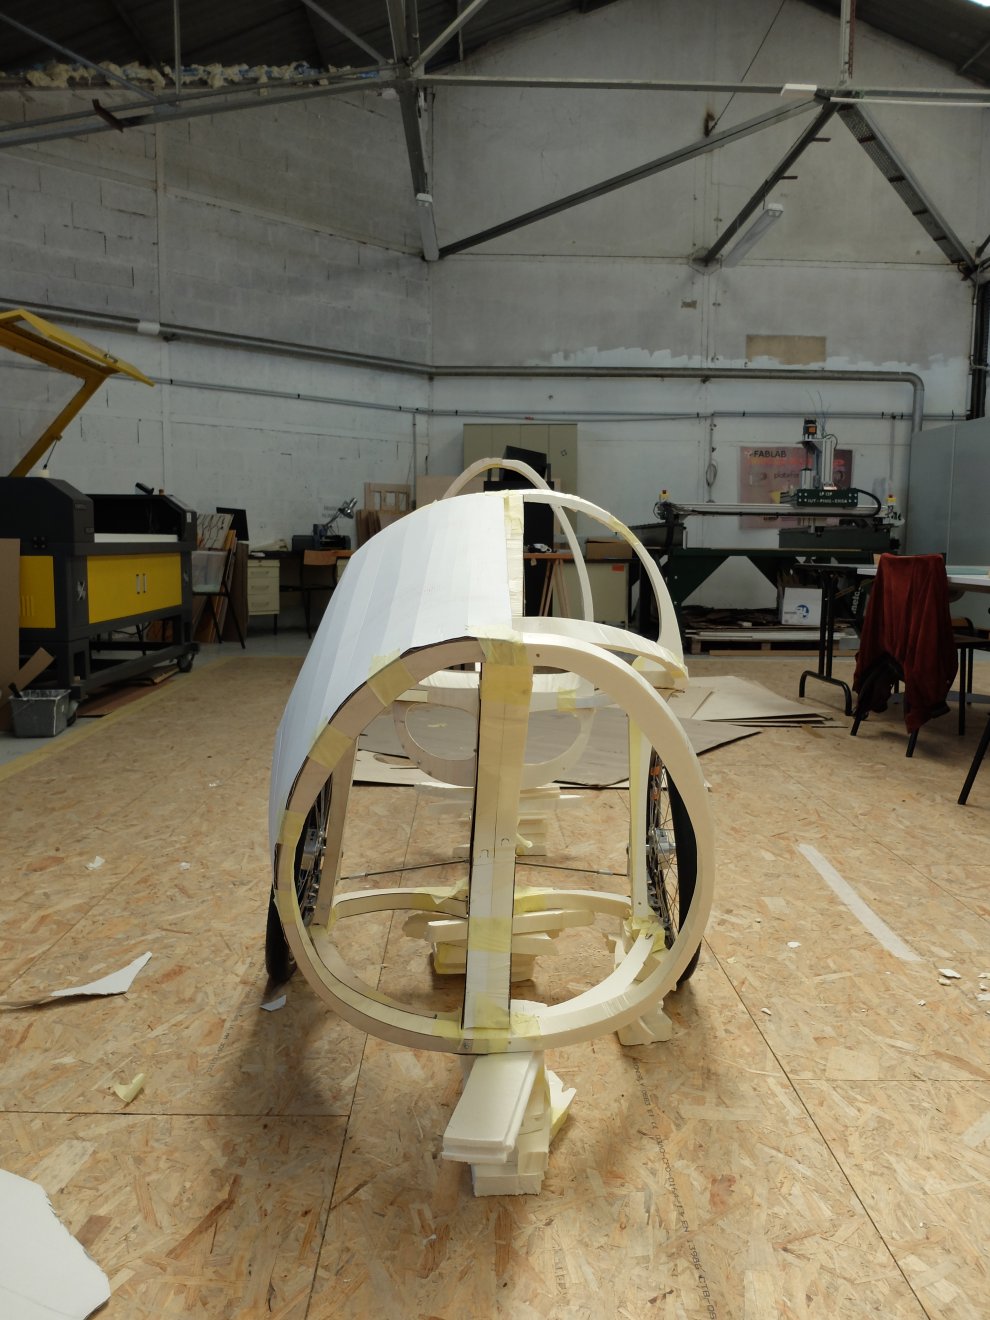
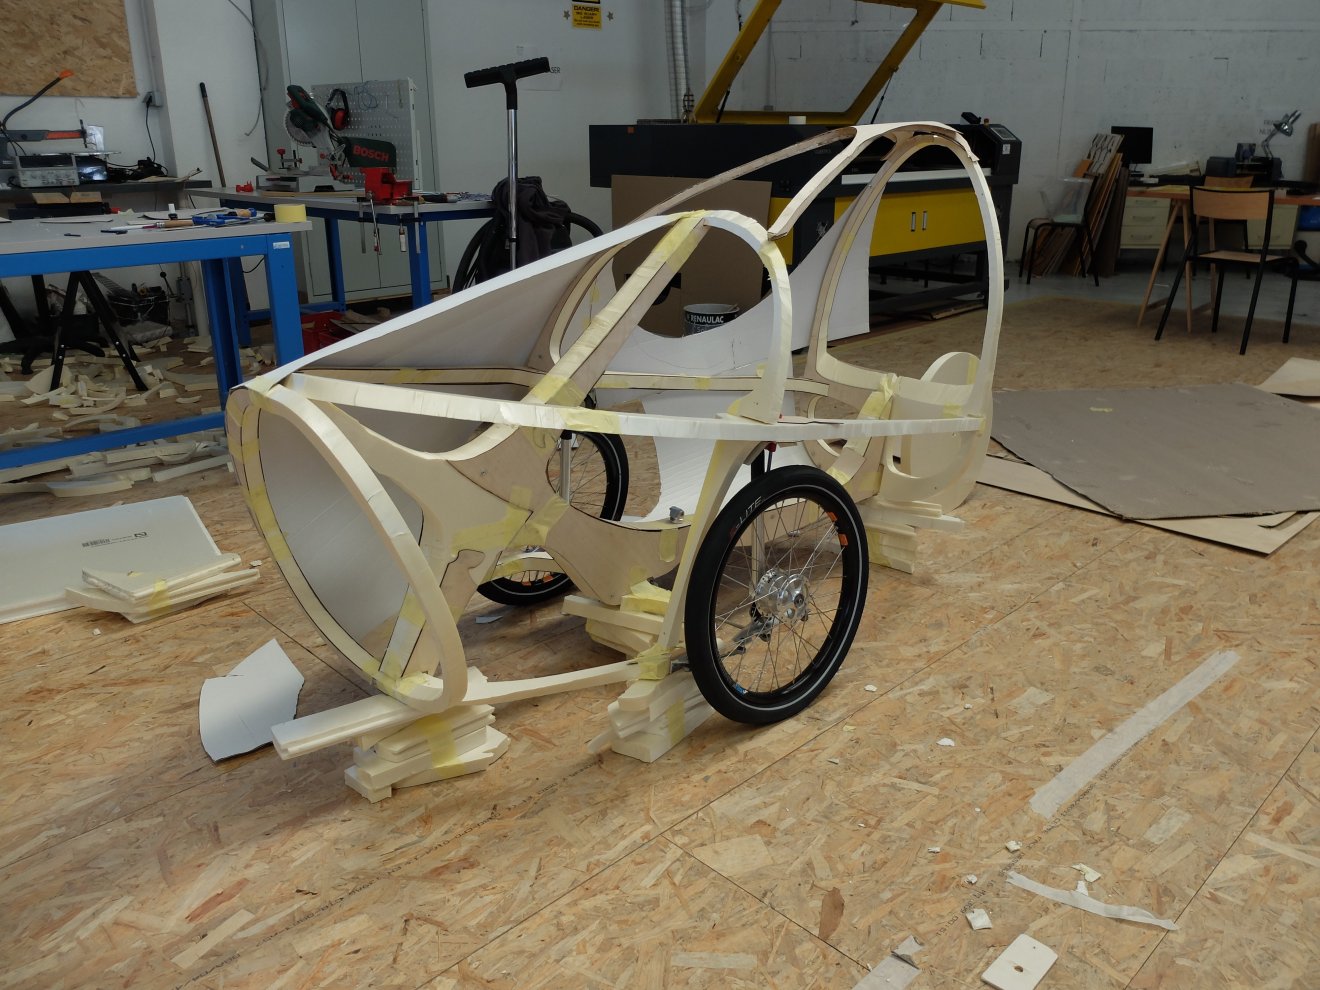
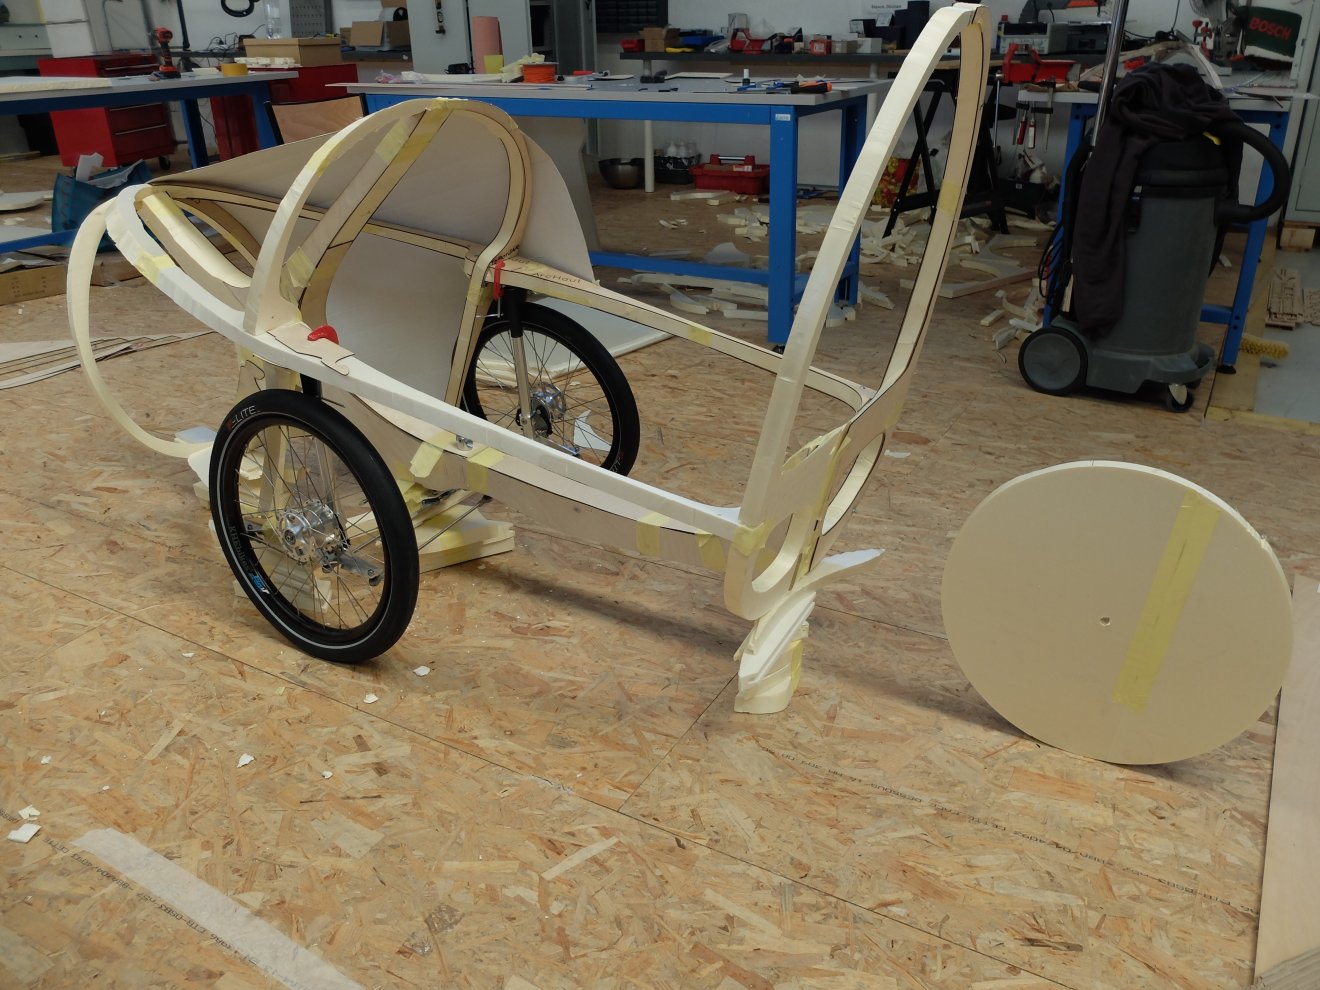
I finaly done a nice skinned prototype. Just in time to show it in Festival D .