named ExportPaperModel, that it can export uvmaps of parts directly in svg format, for lasercutting wooden parts.

The roof will be build with two strustural archs in sandwich, covered by a bended plywood top.
The subject of this week's Fabacademy is "make a composite part"
Because my final project will be built in sandwich wood/polystyrene,
I will try to made a small part with this technique, to implement a modeling and fabrication process.
I choose to build a roof for my velomobile, inspirated by the flevobike model, but built in sandwich.
Because my final structure's using developpable surface, I think that
the better tool will be blender, since I discover a nice addon
named ExportPaperModel, that it can export uvmaps of parts directly in svg format, for lasercutting wooden parts.
The roof will be build with two strustural archs in sandwich, covered by a bended plywood top.
The difficulty comes from the fact that I will use FLAT planks of
extruded polystyrene to build CURVED structures to support bended
plywood,
as developpable surface.
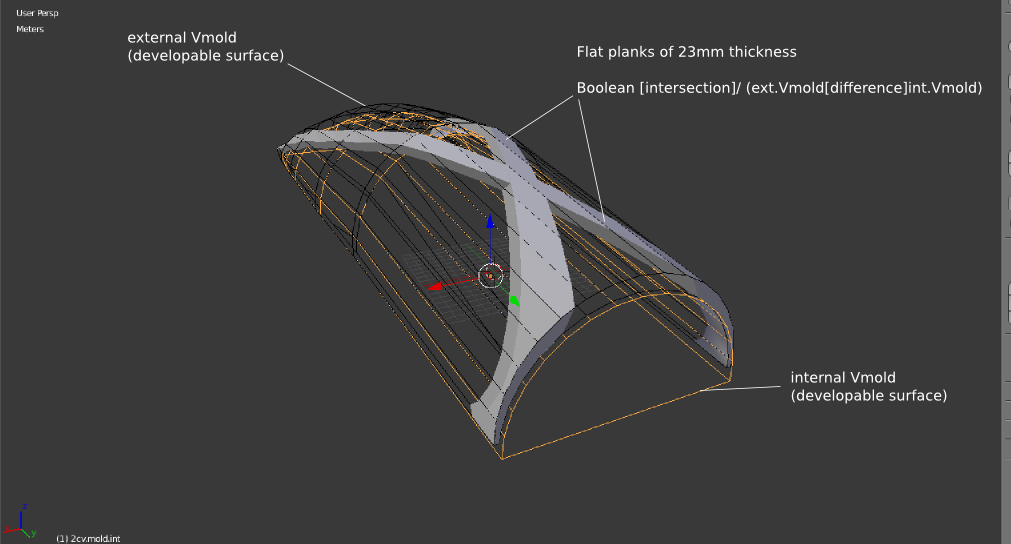
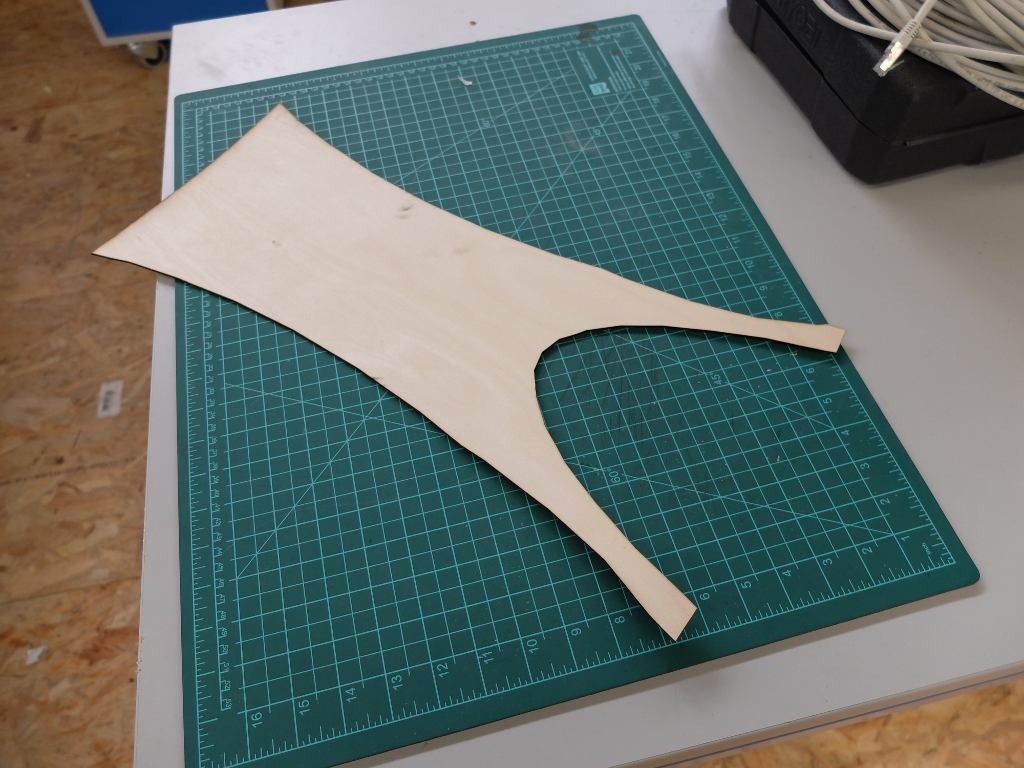
I modelise a mold, that is a developpable surface.
This mold as exterior and interior face. After I place planks, That
they have the thickness of 2X1.5mm of wood + 20mm of styrodur.
I apply booleans modifiers to do the intersection between planks and mold.
Planks will be assemblied with cross halving joints.
Because I will have a lot of connections in my final project, I wanted to write a python script in Blender
to simplify the modeling of this connections.
I began to learn how writing python scripts in Blender.
http://www.blender.org/documentation/blender_python_api_2_64_release/
and I tried to write an addon
http://wiki.blender.org/index.php/Dev:2.5/Py/Scripts/Guidelines/Addons
but after some tests, I realise that the addon structure don't autorise applying booleans
So I decide to do a simple script.
File:crossBeam.py
This script works as it :
We place a cube at the intersection to define the place of cut in the section of the beams.
We name this cube "cut" and the beam that it will be cutted in first "mother"

When we launch the script, it will do, in this order :
1 - (a copy of the mother) [intersect] (the other beam) = node :

2- (node) [inter] (cut)
3- (mother) [minus] (node) :
4- (the other beam) [minus] (mother) :

Finaly, we get the two beam modified to made a cross halving joint.
The principe of this script is good, but alas, there are some bugs with
the Blender boolean modifers : sometimes, it's necessary to move a bit
the parts
to make the modifier aplly correctly. In more the calcul is affected by the relative position of both parts.
I spend a lot of time to try to debug this.
Finally, I do the operations manualy, ajusting things at each step.
Later I will try to debug this...
To get the skins of my shapes laser cuttable, I use a nice Blender AddOn, named ExportPaperModel .
This addon car export uvmaps of a mesh as svg file (with in bonus, tabs for pasting assembly in paper).
In fact it can convert a 2D printer to a 3D one !...
As Uvmaps, it use the "seam" functionality to determine where the skin will be cutted.
I do some corrections to the meshes because boolean operations give sometimes meshes with bizar faces filling...
Before the export, I do two holes in the planks, to facilitate the
alignement of opposite skins on the both sides of the styrodur plank.
For the scale, because I work in meters in Blender (1m in
blender=1cm in realworld), I set the scale to 1:100 to get correct
scaled shapes.

For the 3D shape of the polystyrene, I will try an experimental way of making
For the 3D shape of the polystyrene, I will try an experimental way
of making : Using the wooden skins to guide the cut with hot wire.
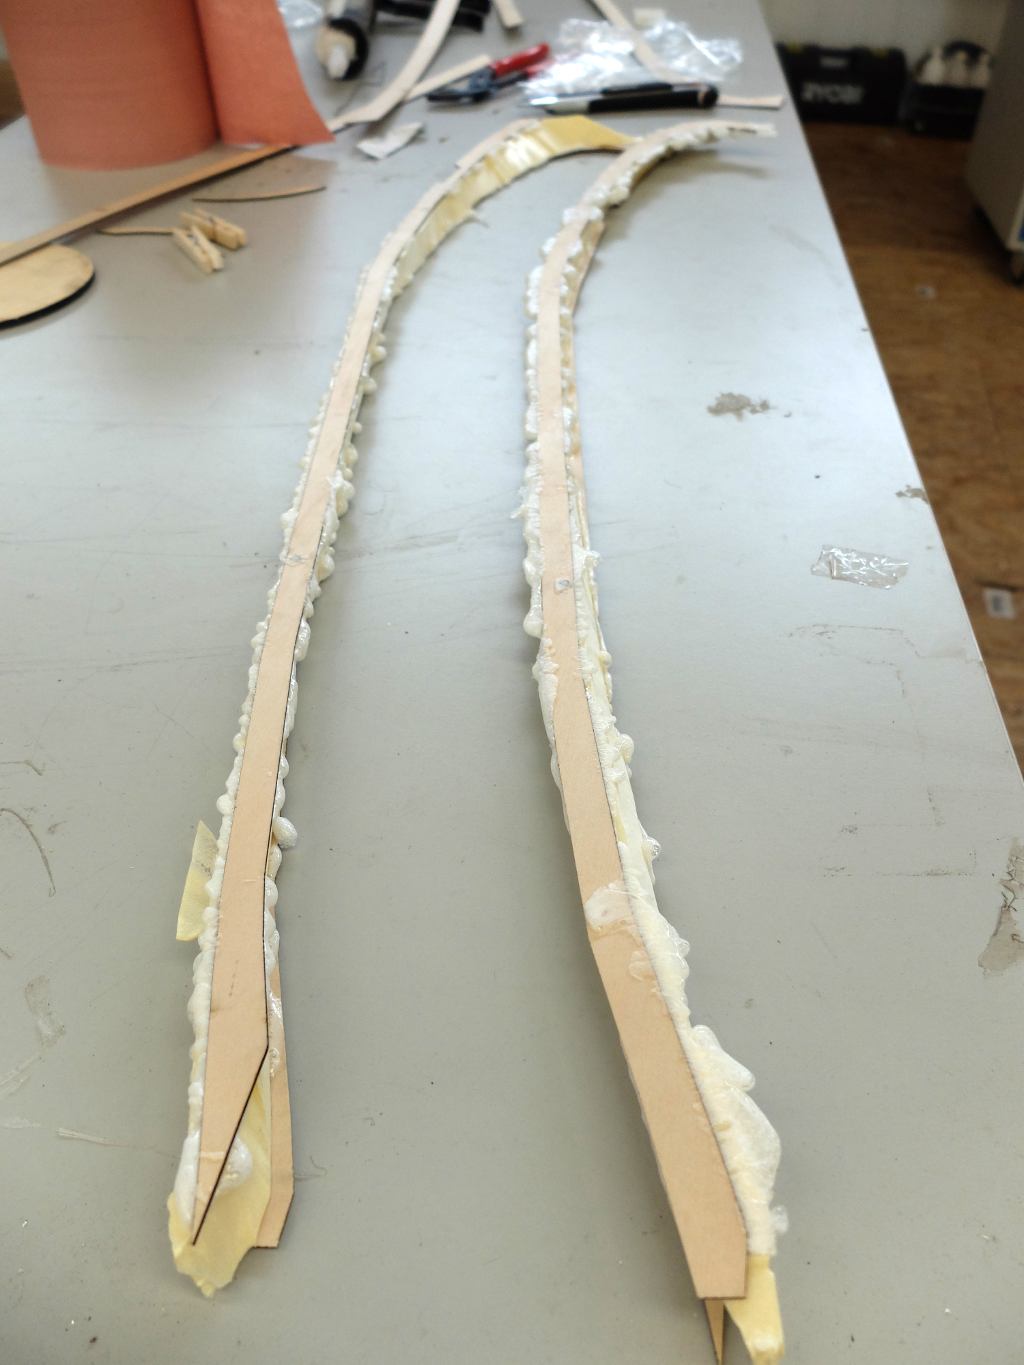
First I cut the wooden planks with the lasercutter :

After I drill two holes in the polystyrene plank, to attach the two skins of wood tho the plank

And I cut the polystyrene with a hot wire, using the wooden skins as guide

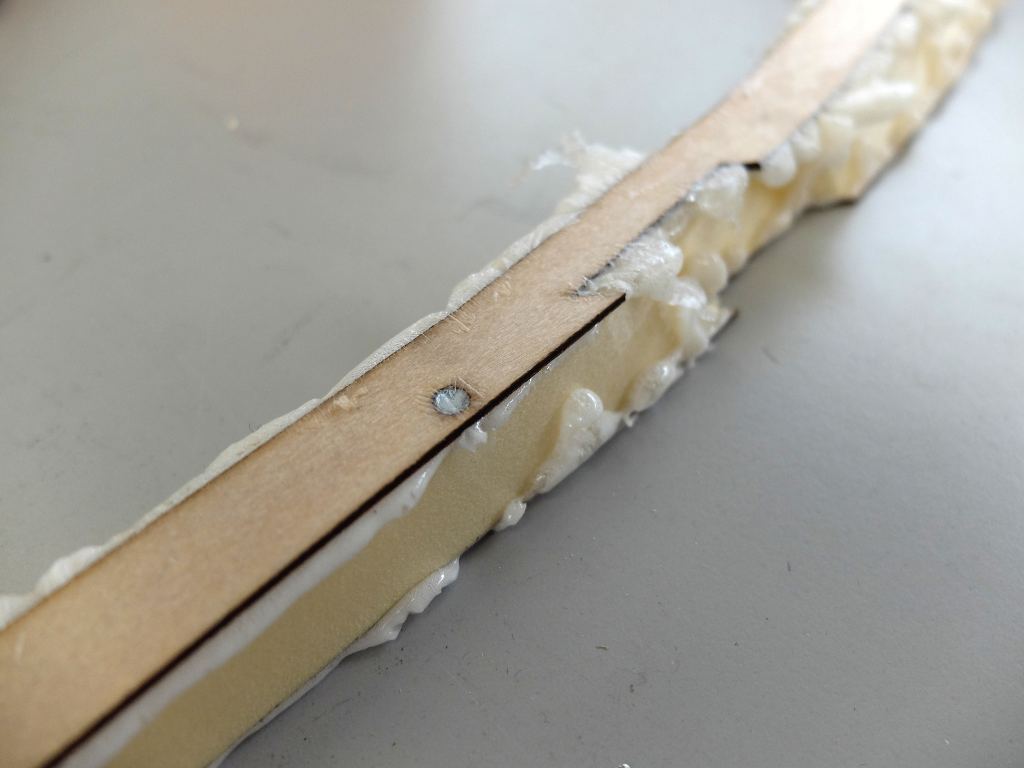
The result is not totaly perfect..because my hot wire tool was not

But I can verify that my cros harving joints are good

After hesitations between PU glue and epoxy/vaccuum techniques, I choose PU for this first test.
This technique have one inconvenient : it's necessary to glue parts in several steps .
First I glue the two flat skins to the foam.
I put small rods in the centering holes to align opposite faces, but, unfortunaly, a plank moved during the pressing.
It was necessary to re-adjust a bit the crosshalving joint.
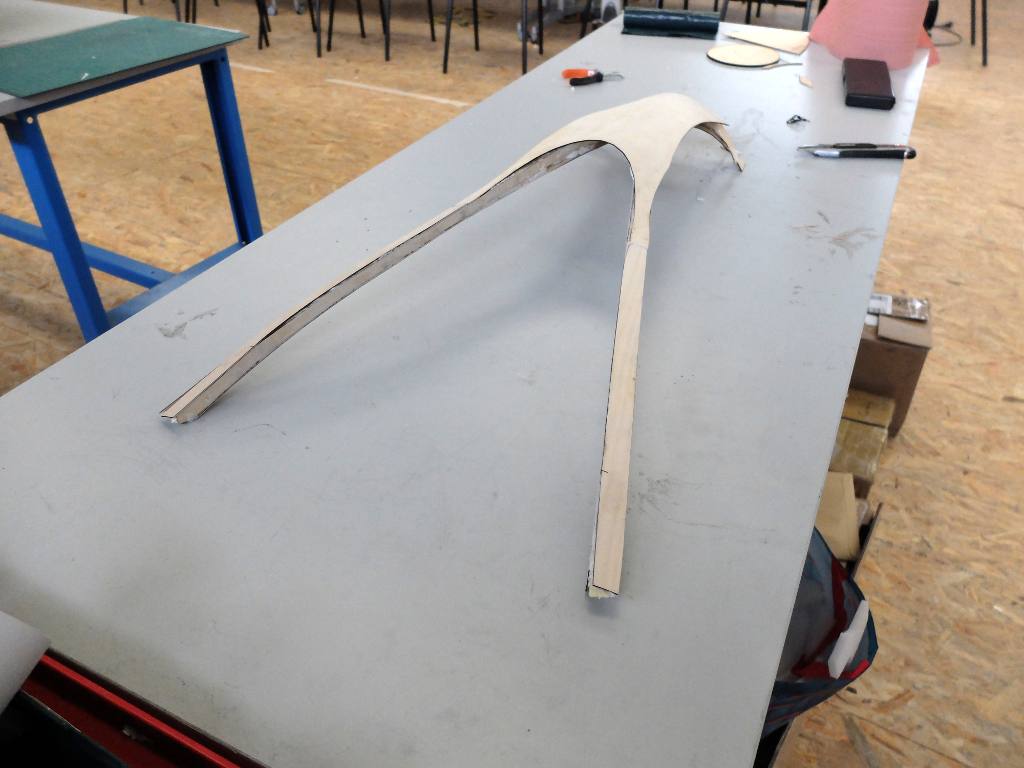
After moved the spare glue, i assembled the cross halving joint and interior skins.
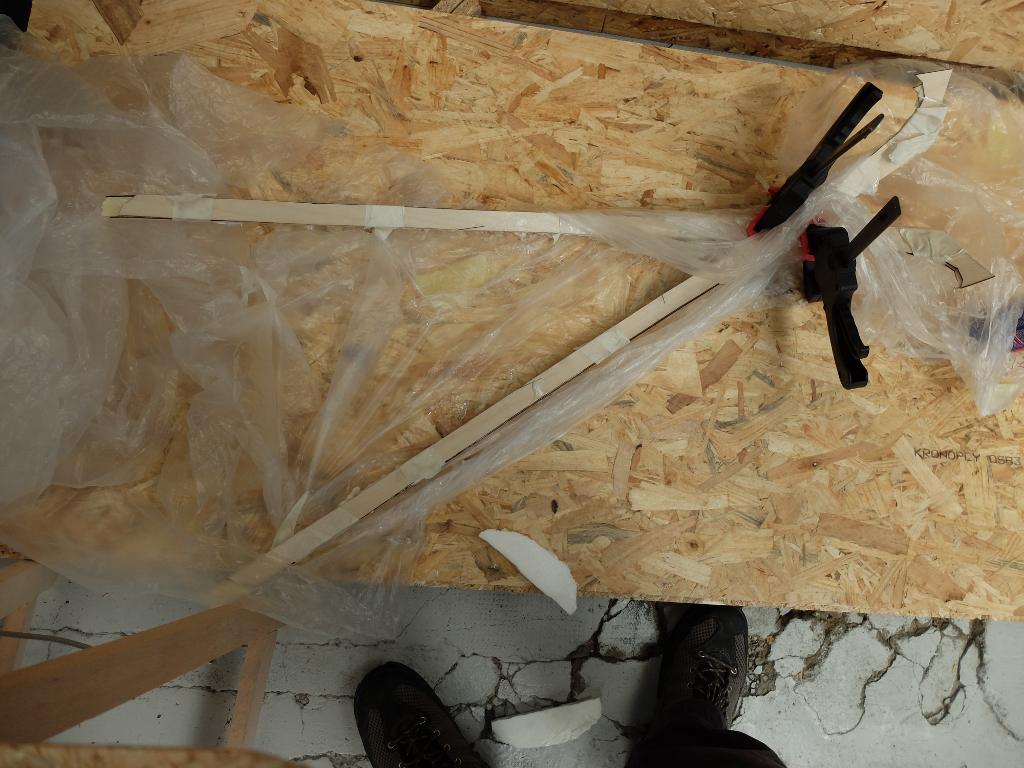
Because the interior skins are bended, it was not very easy.
I used masking tape to maintain parts together. At this occasion, I discovered that this tape is a good tool : it's easy to remove it after drying.
Then I glue the roof and up skins.
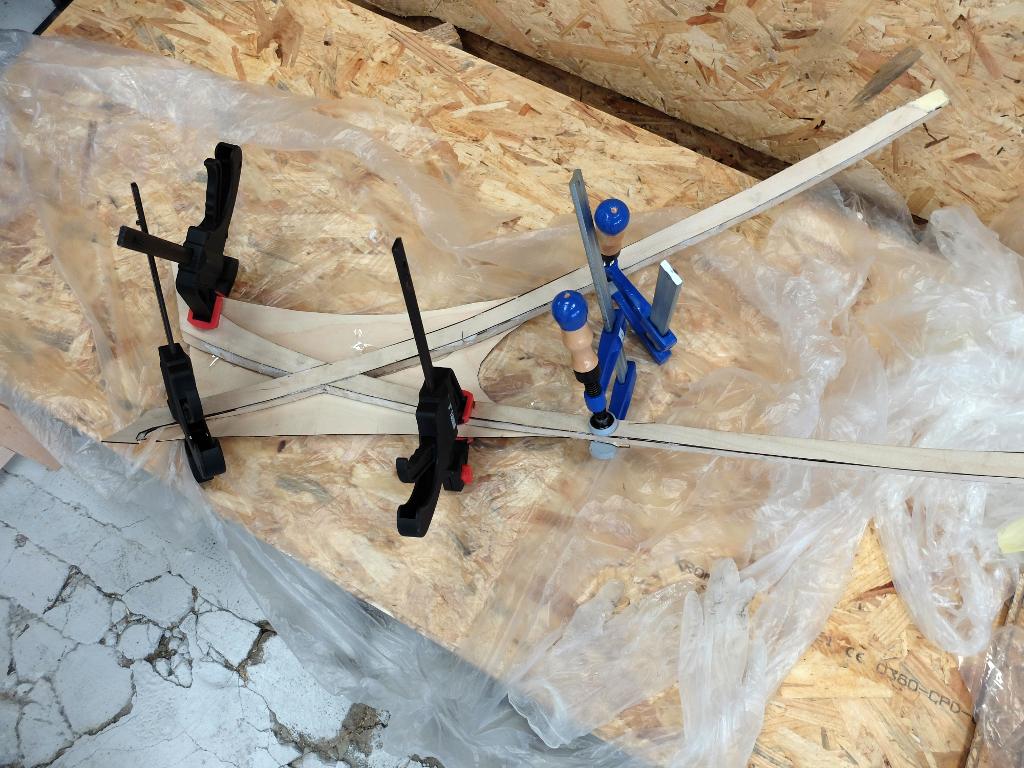
I use clamps to maintain parts during gluing.
The result isn't so bad, despite imperfections of alignement.
Total weight : 237g excluding the windshield (coming)
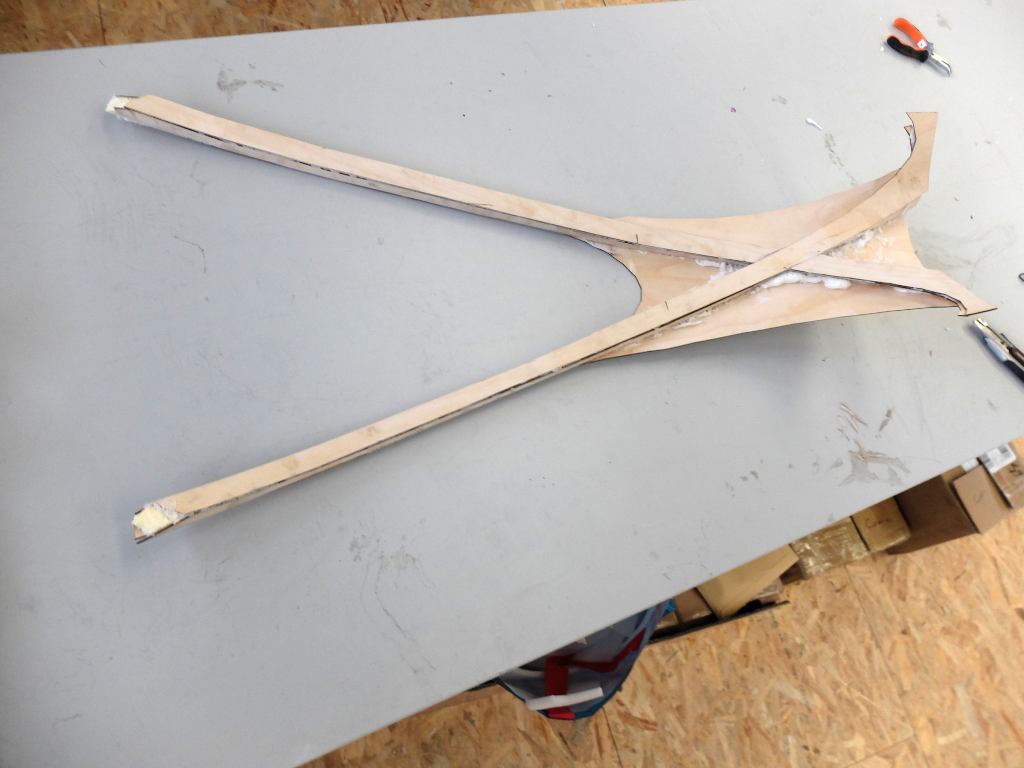
It's not so easy to remove surplus glue in corners
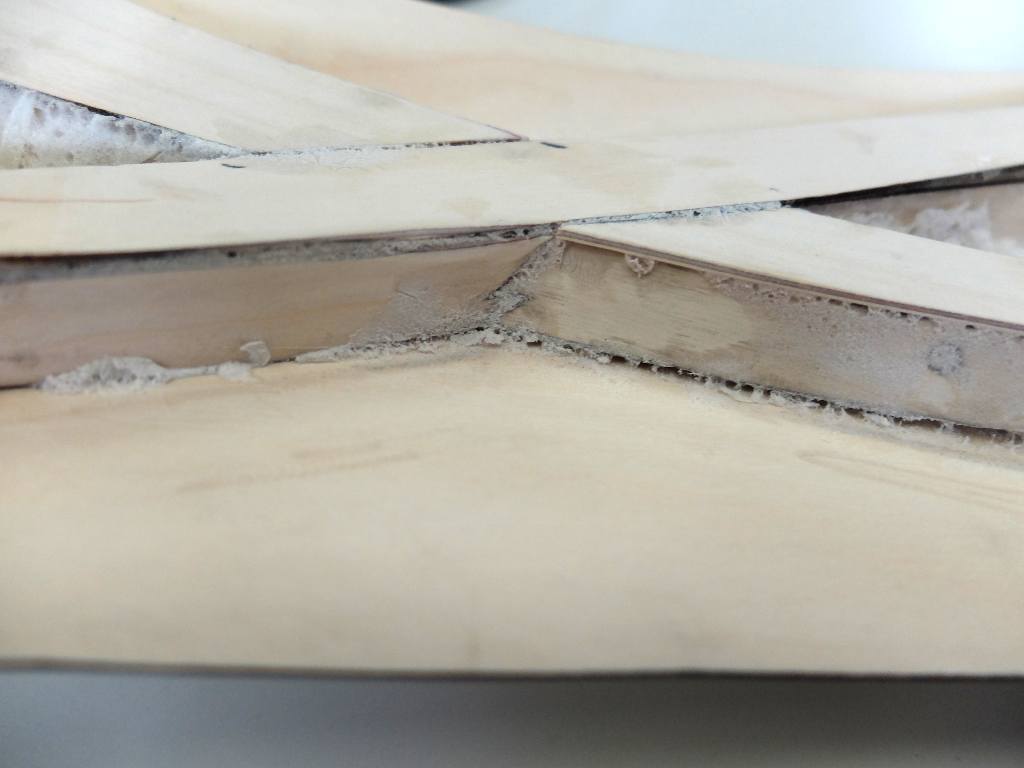
But my cros-halving joint is quite good.
With this test, I validate several aspects of my technique :
But some things can be improved :