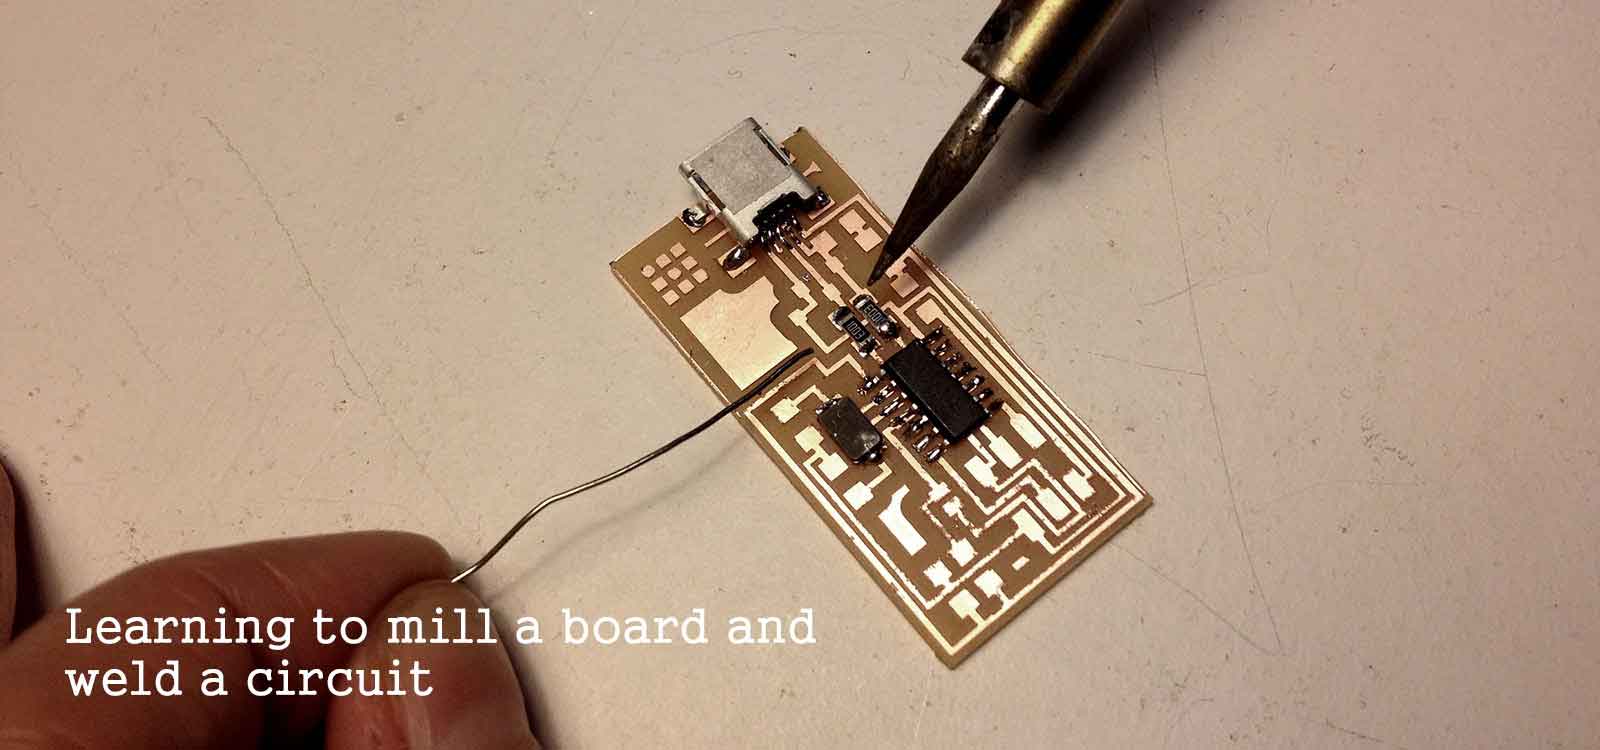
This exercise consits in making a circuit board, from the milling to the programming. Due to the small size of it, precision and practice are important.
I had to make my board twice because of bad soldering. I made some mistakes, but at the end I successfuly programmed the FabISP and it's ready to go!
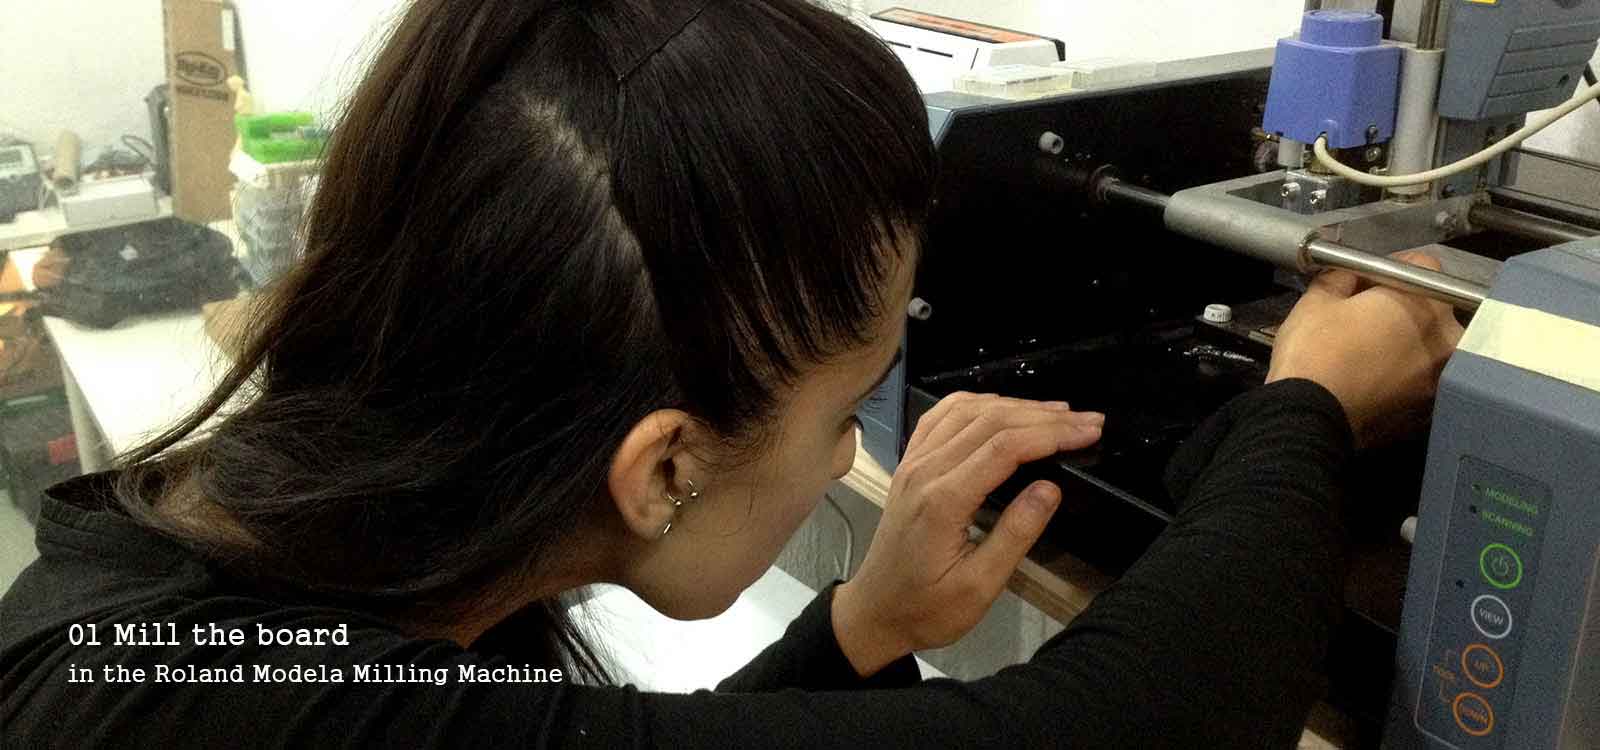
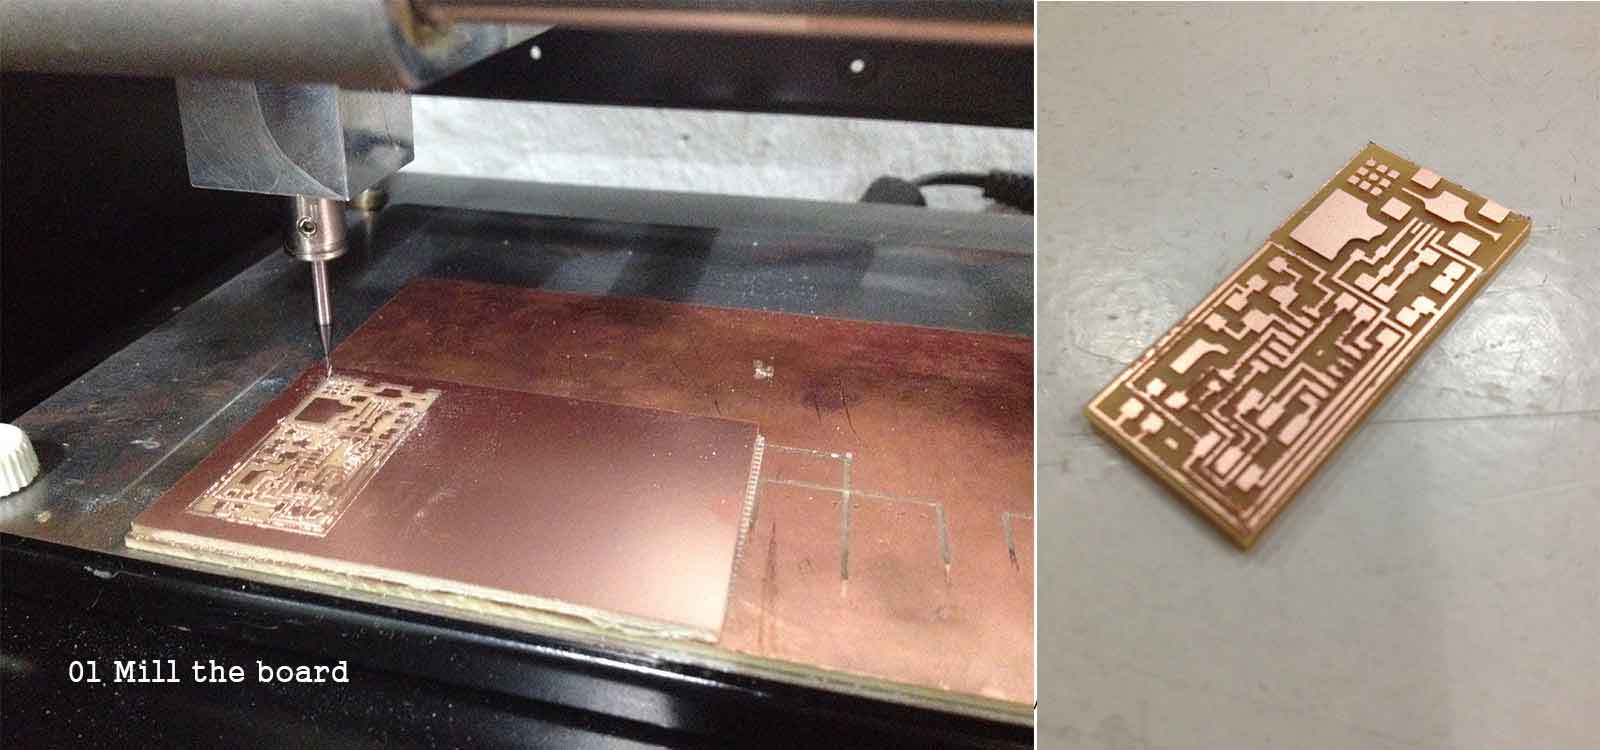
With this excersice I have my first experience making a circuit board. I had only play with arduinos before so I am excited to learn. First, I learn how to use the Ronald Modela Milling Machine . From the begining it gave me problems. I had to mill it 3 times. The second time because the drill broke and the third time because the screws of the platform were loose . You need to make sure everything is tight and balanced.
Then I soldered the components. It took me over 2 hourd because I kept melting the sold wire of the pins of the Attiny together. Leo, a classmate, give a very good advice: it is very helpful to heat the spot right where the pin touches the coper and then let the solder wire melt on the pin first and then come down to the board. This way you make sure there is a good connection.
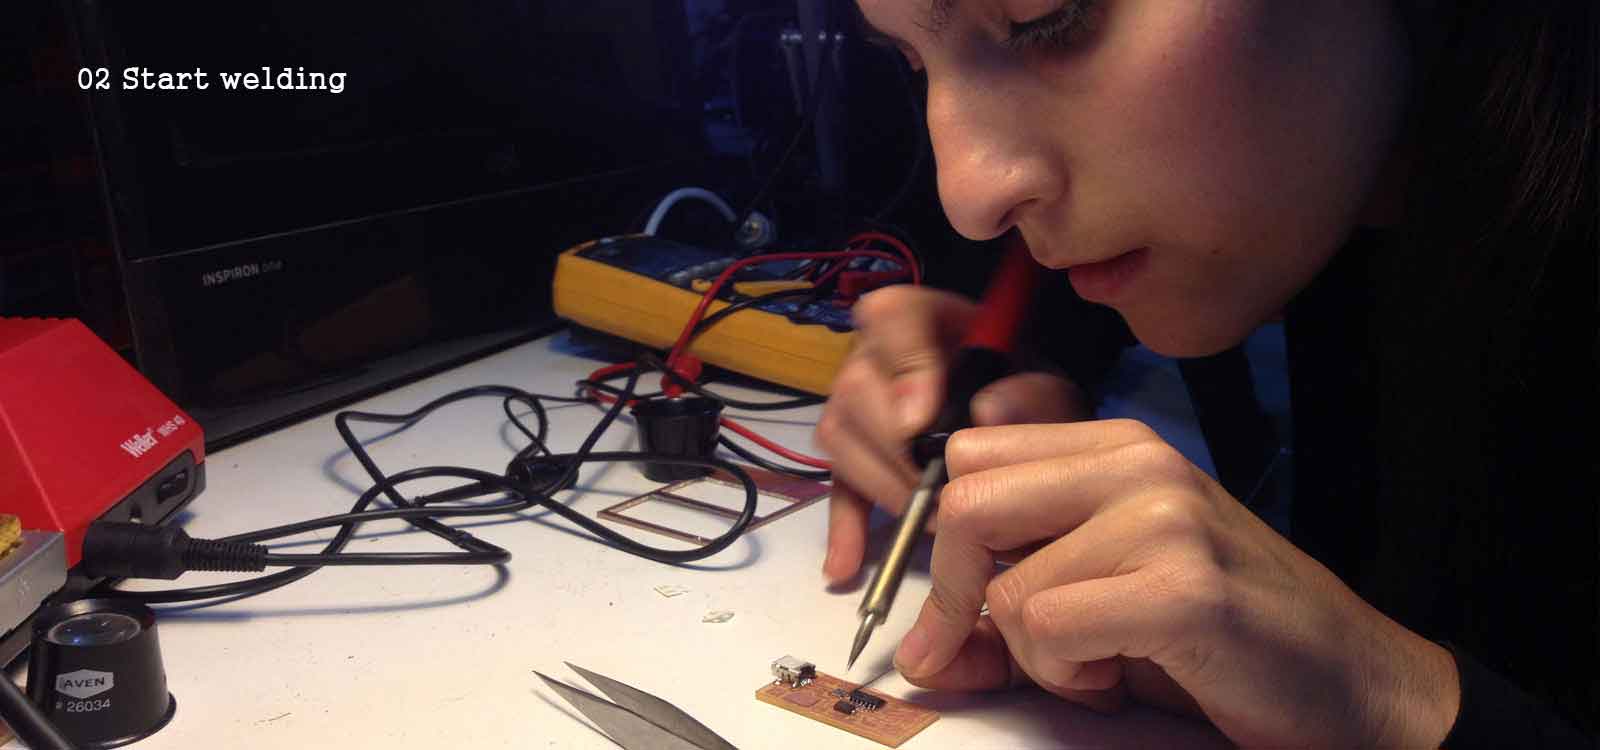
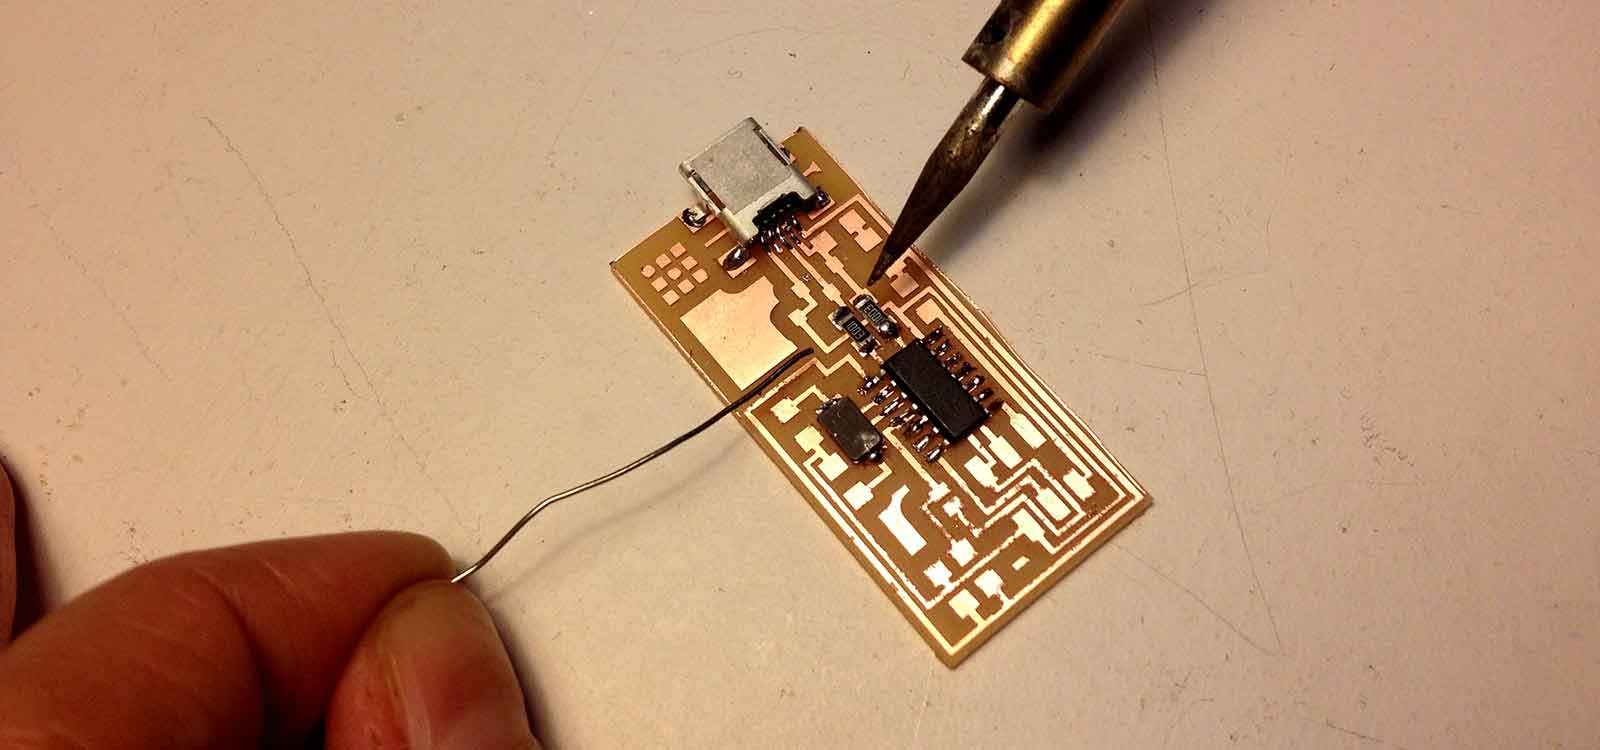
WHen I finished soldering the components, I checked them with the multimeter to see if all the connections were well made, or if some were touching. I just had to fix a couple. Now, ready for the Smoking Test . It passed! and the board is now ready to be programmed.
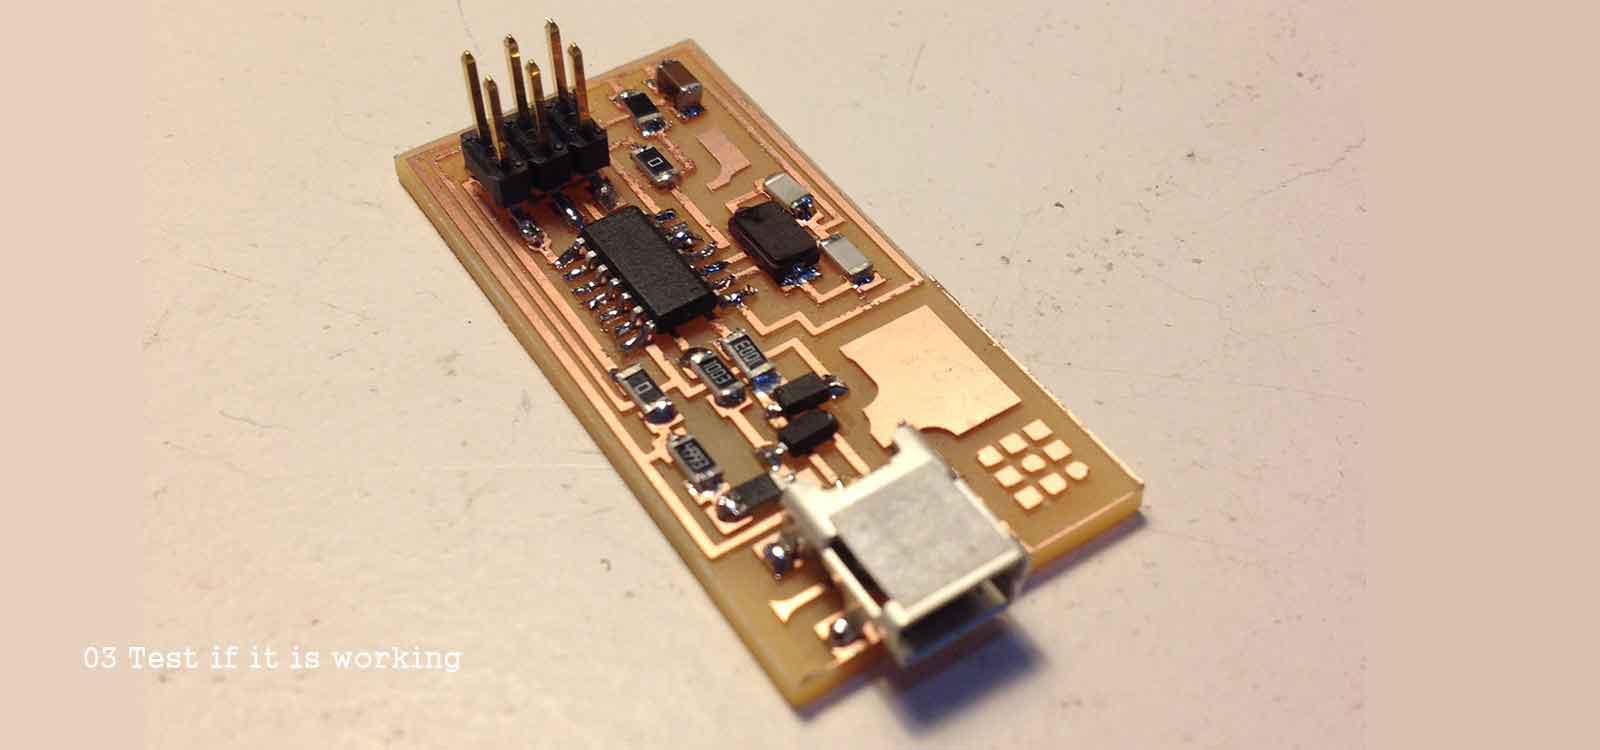
I spent the rest of the week trying to program my FabISP in Ubuntu but I didn't succeed. At the end I realized it was not because of Ubuntu for because my computer doesn't recognize the attiny. I explain this process in the Embedded Programming Assignment.
