

week 11.
This week's assignement was to...
Design and make a 3D mold, and produce a fiber composite part in it
This was a tough week for me to handle all the things i had to do not only in the FabAcademy, but also at work and at home. My wife went to Coachella with her girlfriends, so i'm the one handling all the family duties, the most demanding beeing of course the kids. It's not easy, beeing the best dad in the world! ;))
The assignment results were a little frustrating, it was almost as a lesson on what not to do... but i definitely learnt a lot!
- - - - - - - - - - - - - - - - -
THE PROJECT
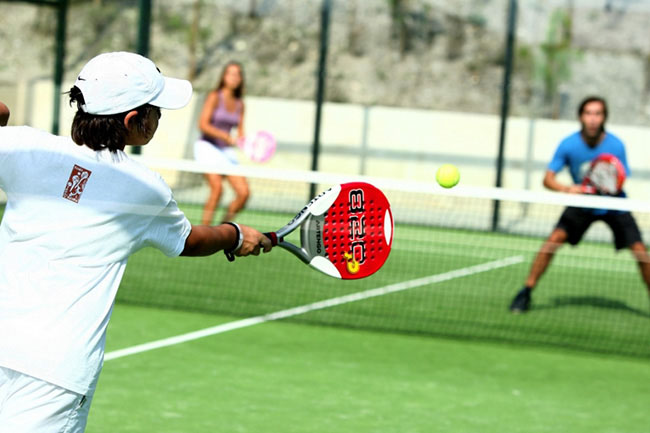
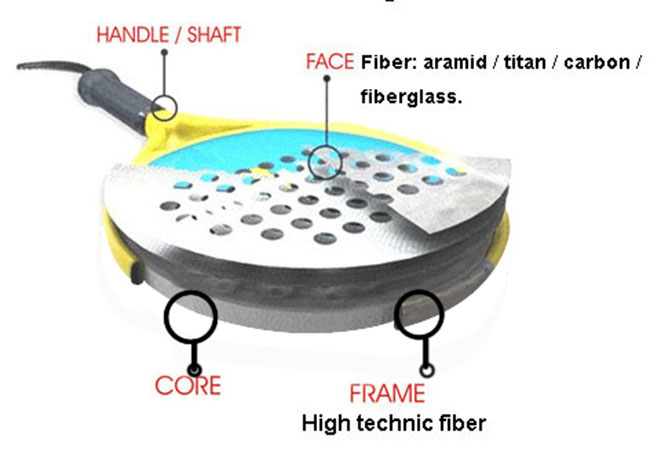
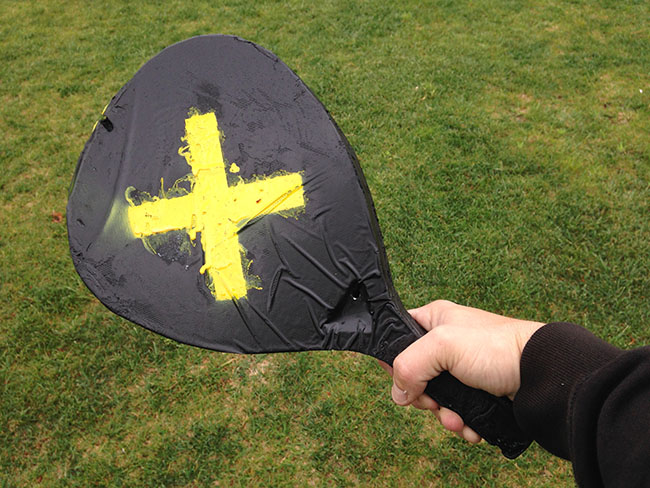
I was so busy this week, and with so little machine time to divide by all my classmates, that i chose to go for a (i thought) simple design: a PADEL RACKET. PADEL is a racket sport that is kind of a mix between Tennis and Squash and is said to be very popular in Spain. I'm not a PADEL player, but i knew that these rackets were very light and strong, so i thought this could be a good idea for this week's assignement. If it somwhat resembled a PADEL racket, i would be very glad. I had no previous experience with composites, but i remember my father repairing a autocaravan that he had and i remender it to be kind of a messy job.... (and well, i'm my father's son...:)
- - - - - - - - - - - - - - - - -
DESIGNING
Rhino was the software of choice for this task, i had some problems with FILLET command, because after that command the polysurface gained some naked edges and i couldn't export the .stl. Since i was running out of time , i decided to leave the sharp edges around the racket, wich also would reduce machine time in the big mill.

- - - - - - - - - - - - - - - - -
MACHINING
Machining was fast and smooth, and soon i had a foam racket in my hand.


- - - - - - - - - - - - - - - - -
CUTTING THE FIBERGLASS CLOTH
I put the rackets over the cloth and draw the shapes from the exterior with a pen and cut them out. The thinner sections of the cut cloth started to tear apart, so i was already expecting trouble ahead....

- - - - - - - - - - - - - - - - -
PREPARING THE VACCUM BAG
We don't have a vaccum machone in our lab , so we had to improve one. We used the laser machine vaccum motor and a duvet storing bag from Ikea, wich works with a vaccumcleaner to remove air from duvets and thus getting them smaller for storing during summer.
We had to change the closing mechanism of the bag, removing the valve and altering the lid to have the vaccum tube inserted and working.
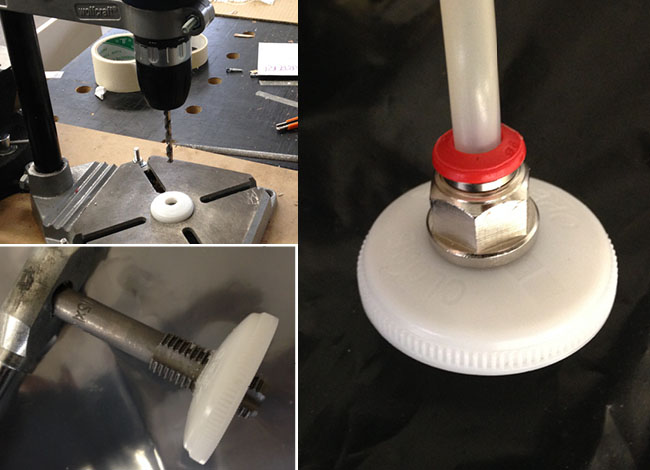
IT LOOKED PERFECT IN THE END!!

- - - - - - - - - - - - - - - - -
APPLYING THE RESIN TO THE MOLD
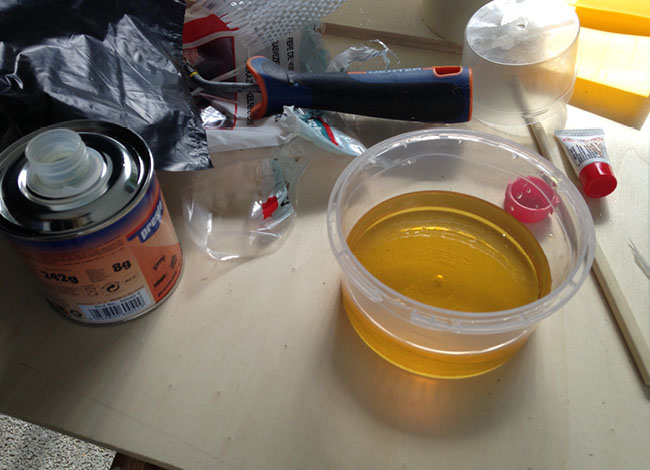
For this part of the task i used Epoxy resin SR1500 + Hardener SD2503 from a brand called SICOMIN, wich we had at the lab.
The mix ratio was:
WEIGHT:
SR1550-100g
SD2503-33g
VOLUME:
SR1550-100
SD2503-337

I spread some resin on the surface for the cloth to adhere in place, and then sprad some more resin over the whole cloth, for it to get completely wet from the resin. For the borders i had cut some 4cmm tall stripes og fiberglass cloth, that were kind of tearing apart, so it was a little messy, with it sticking to my fingers.

- - - - - - - - - - - - - - - - -
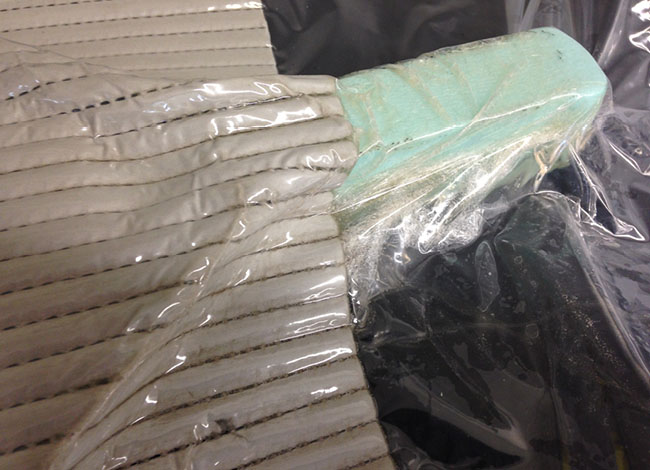
VACCUM FORMING
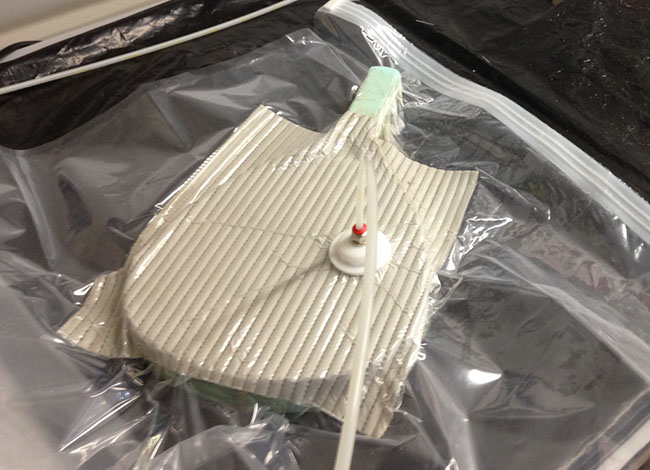
I then wrapped the racket-to-be in plastic film and put it inside the hacked Ikea bag, and as a breather layer i used a piece of perfurated rubberish material, used as anti-sliding surface to put beneath carpets and rugs.
I left the vaccum pump working overnight for the resin to dry.
- - - - - - - - - - - - - - - - -
RESULTS
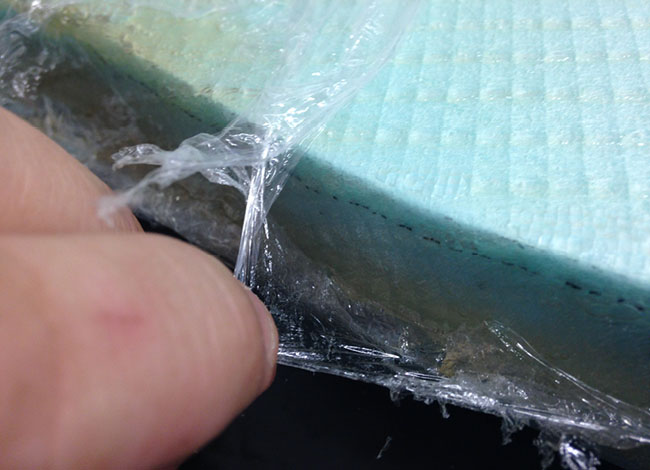
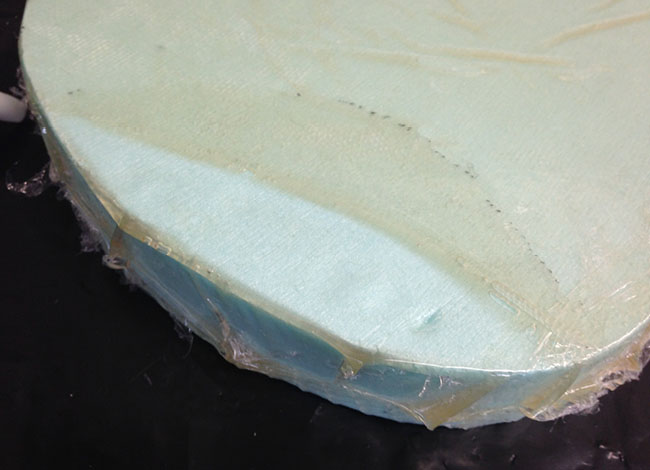
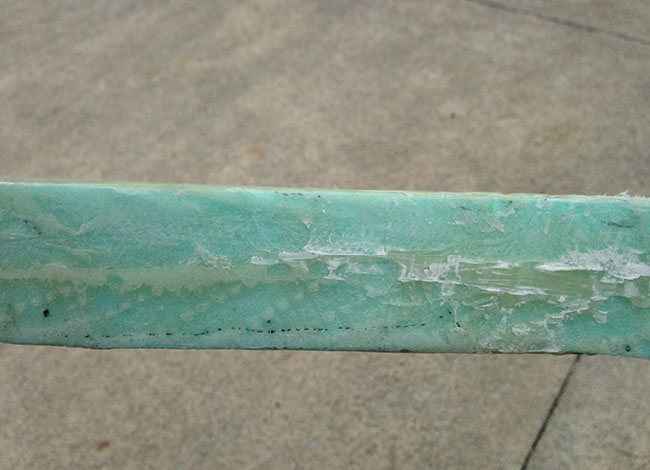
In the morning the resin had dried and looking at it i was already previewing weak results, since the vaccum created accumulations of resin in the borders of the racket.
When removing the racket fro the vaccum bag, several problems were coming to sight:
1 - the top surface of the racket had gained the texture of the pattern of the breather layer
2 - right beneath the vaccum valve, the resin had accumulated and formed a lump with the shape of the valve's bottom.
3 - at mid-height of the racket, rrsin lumps had formed and got all wrapped up with the plastic film
4 - on top ot that, i realized i was not carefull enough putting the racket in the vaccum bag, because the bottom cloth had folded out of place

- - - - - - - - - - - - - - - - -
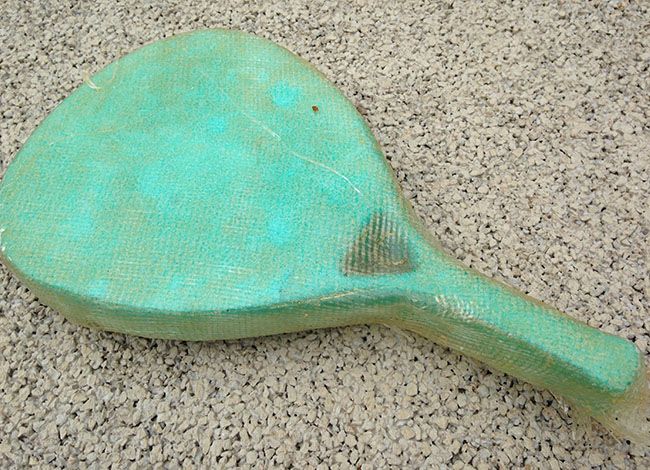
TRYING TO MINIMIZE THE DAMAGE
At this time i was really disappointed with the results, but i had no time to redo the job, so i decided to try and recover the racket.
I sawed some resin ckunks out...

and sanded some others....
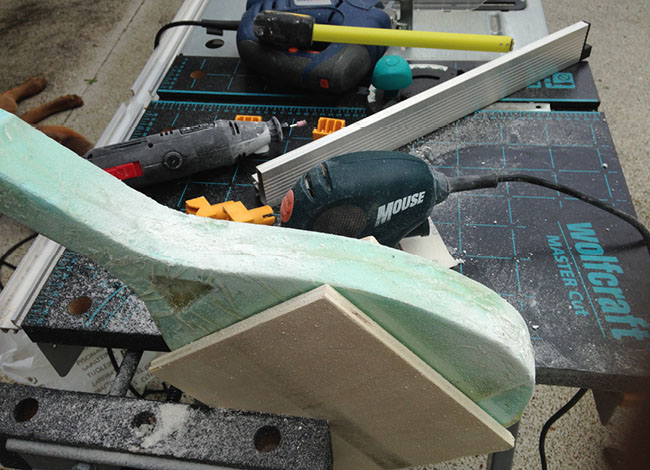
But i wasn't getting nowhere. i had to stop sanding because on the sides of the resin chunks resin was scarce and i was starting to sand the foam.
- - - - - - - - - - - - - - - - -
LEARNING SOME MORE 'NOT-TO-DO's"
Because i had some hours left to try something else, i bought a poilester resin that dried super fast. I didn't have the vaccum pump at home so i decided to try and make a second racket without vaccum.
And the results were awfull as well... after 5 minutes it just hardened to the point of molding-impossibility.
- - - - - - - - - - - - - - - - -
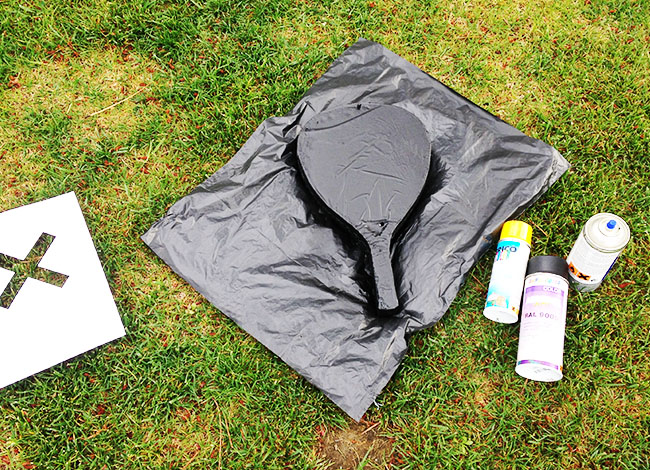
PLAYING AROUND
Note for myself: Styrofoam gets eatened away by spray paint (i discovered it in some holes in the resin...
- - - - - - - - - - - - - - - - -
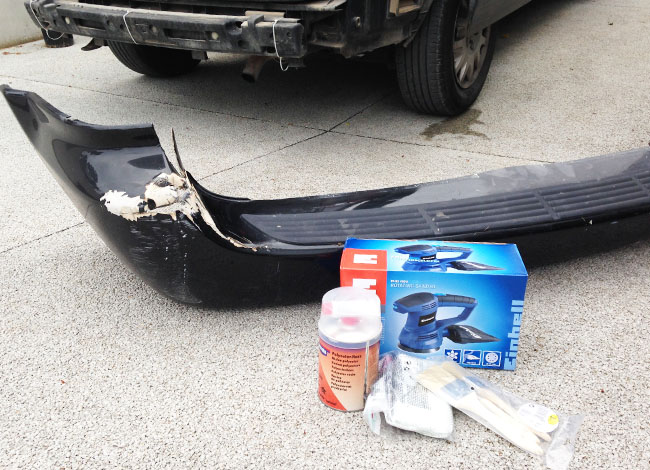
NEAR FUTURE COMPOSITS !
It was a hard task this one and a bit odf a disapointement not to achieve good results, but at least I know of a bumper that in the next days is going to be soooo happy that i went to Fabacademy! :))))
You can download the design files here