Electronic Design
For this week assignment molding and casting we have decided to create a team project.
At first we had a long discussion and brain storming to figure out what theme we would like to choose.
As we are a group of six people coming from diverse backgrounds, it was difficult to find one theme everyone would be satisfied with.
We don’t have much time to work together so it was important to come out with a simple regularity that everyone can manipulate in his own way.
At Last we agreed about the regularity of the tenons, and more or less the form, but yet some of the team members were not satisfied with its abstractness, so together we came up with the idea to follow one theme –house.
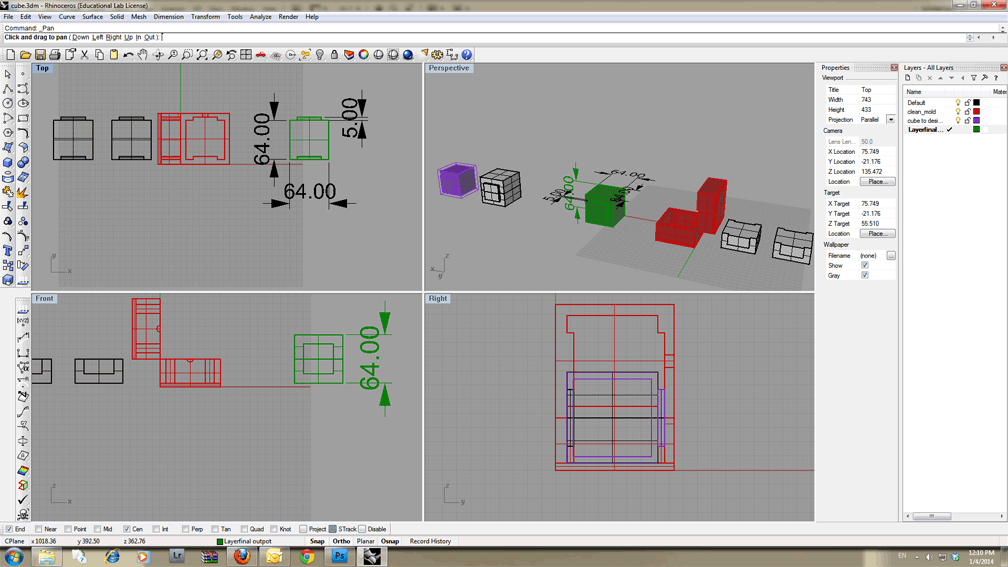
Oded Shorer was chosen to design the basic cube, with the basic tennons which each of us will manipulate.
After few hours we received this file:
I opened the rhino and start sketching very raw ideas, while practicing my low level 3d modeling.
I came out with very basic ideas like this one:
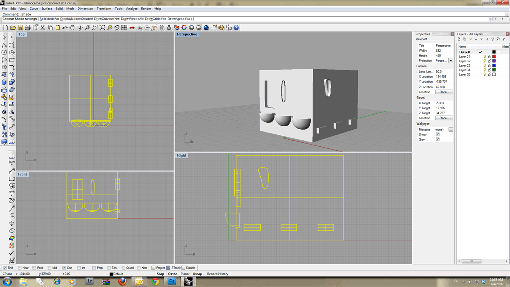
and like this:
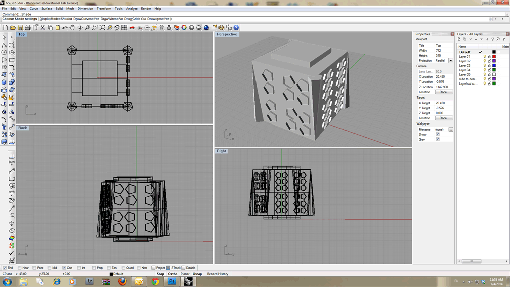
Which I quickly figured out wouldn’t work in the milling machine as well as the molding process.
Finally I came up with a this wierd eclectic design, which I wasn’t yet satisfied with, but shortage of time forced me going on with the process:
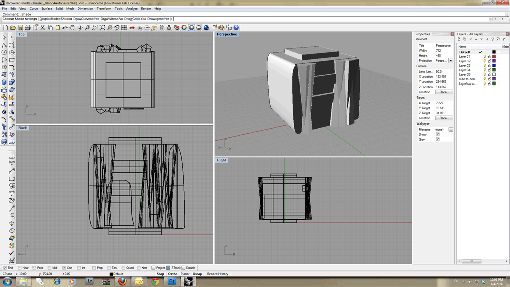
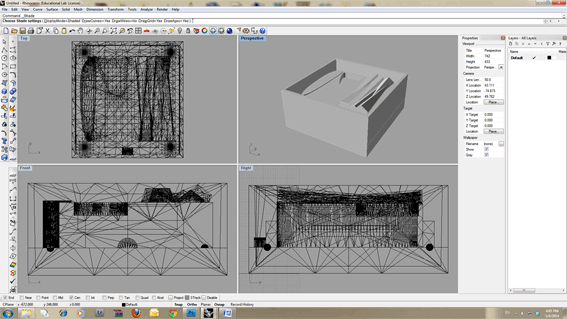
Next step was to divide it into two, and place it in the molding box
First side:
Second side:
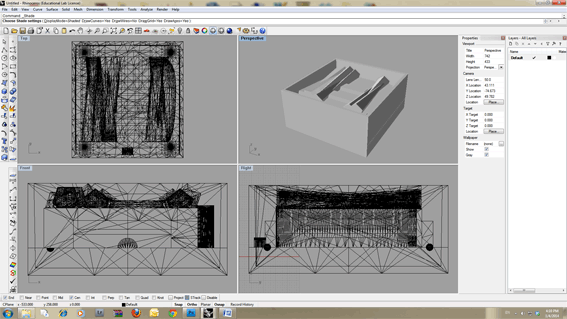
We sent the design to the cnc Machine, first we had to create two different layers for two different bits.
We used the 1/8 inch flat end (two flutes) milling bit for the rough layer
And the 1/8 inch ball nose (two flutes) milling bit for the finishing.
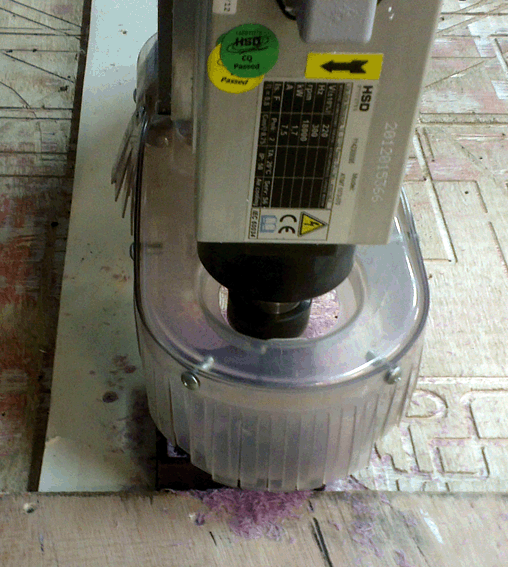
It took about 45 minutes for each side of the mold to be milled, and by the end it looked like this:
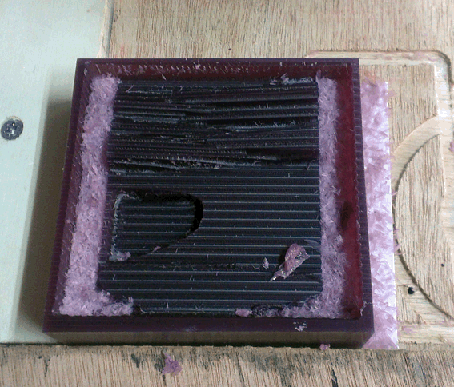
This required a bit of vacuum cleaning as well as brushing.
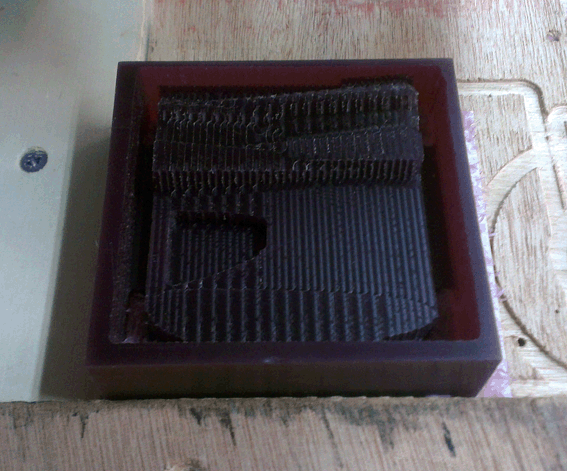
We used moldmax 30 silcon to mold inside:
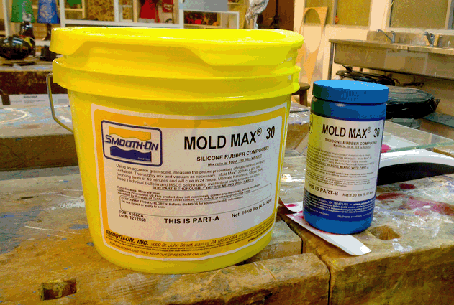
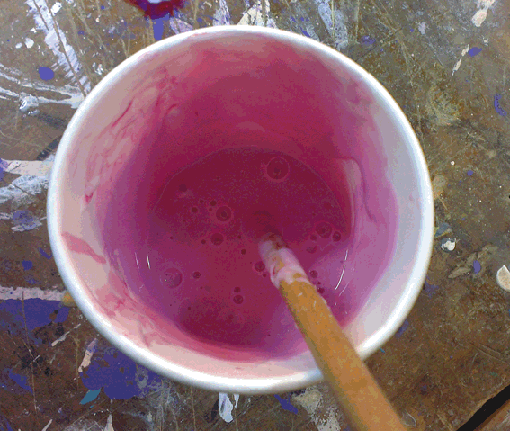
I had to mix 120gr of part A (the silicone) with 12 gr of part B (solidified) for one mold.
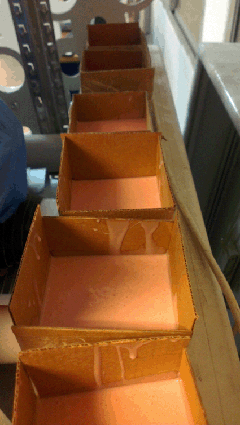
And pour it into the wax molds:
Next step was pulling out the silicone out of the wax.
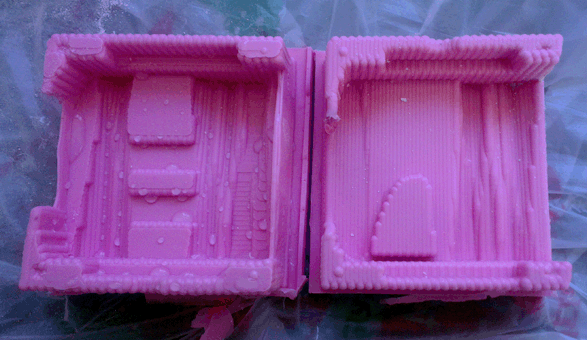
Apparently there were too many problems….
Probably there weren’t enough space for the bit to mill so some of the wax panels left stuffed which lead to empty spaces in the silicone panels.
I tried to fill those gaps by plaster bands.
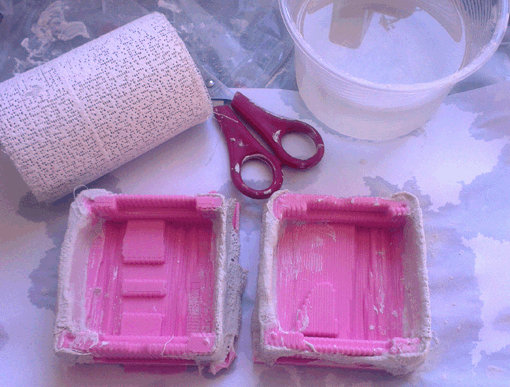
And pour the plaster into the mold.
This is what I got:
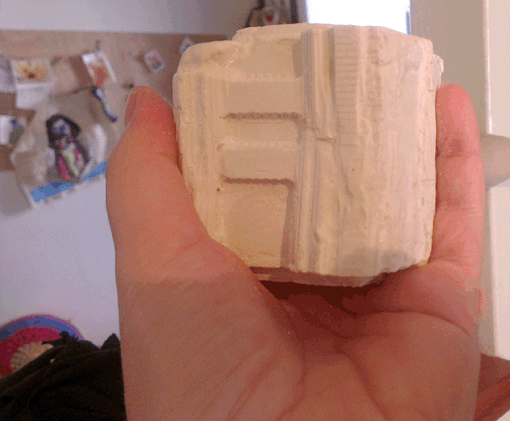
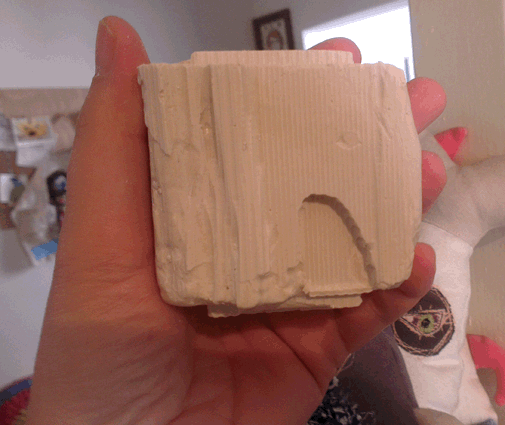
If you like to try it by yourself, you can download the mold file
At Dana Schwimmer page you can find The group work photo, as well as all the molds together