Final project Presentation
*
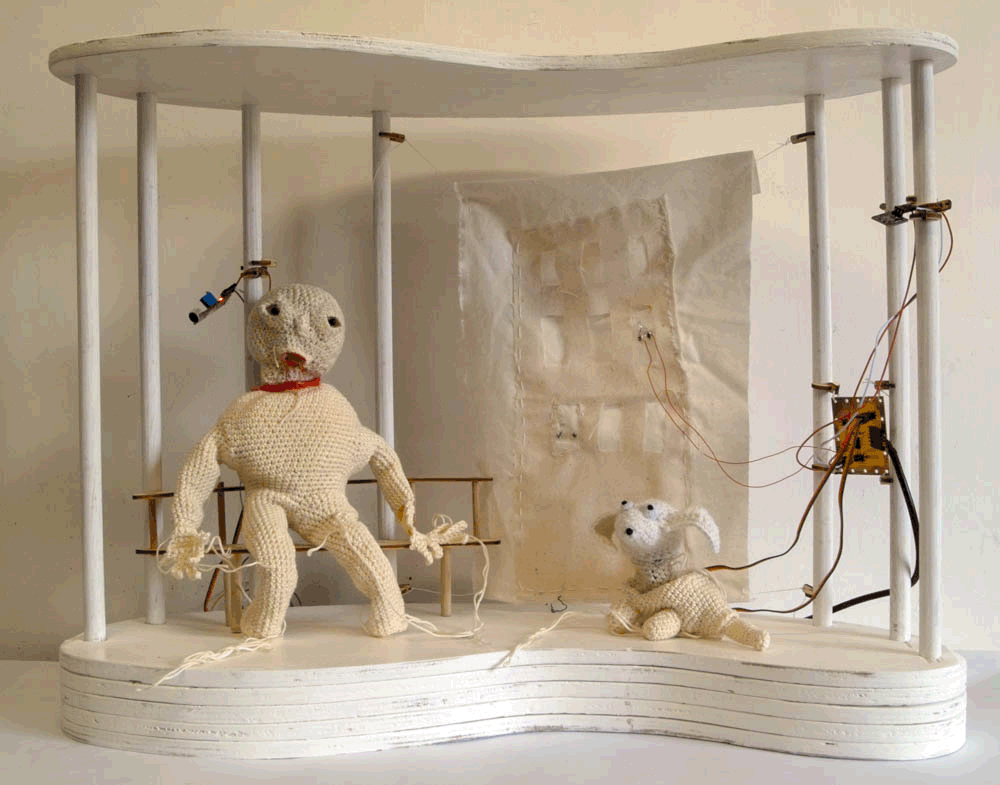
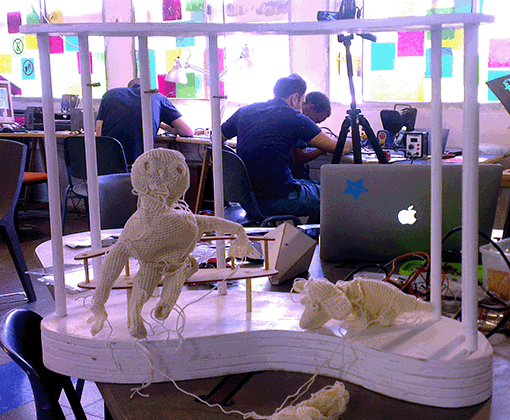
My project is a puppetry that include two figures-a human and a dog, as well as back screen and other decoration accessories.
The Puppets and the stage decoration react (turn heads over, tail wag etc...) to the audience activities, around them.
As a textile artist and a doll maker it was important for me to create a combination between traditional crafts and new technologies.
I used combination of materials, and production methods, in order to create a scene that involve puppets, sensors , Leds and motors.
Creating this project was long trial and error process, till I get the correct forms, shapes and reactions, and making the textiles work with the technologies, while keeping its unique characteristics.
Other challenges I faced were design and creating boards that contain all the electronics components I wished to worked with, and writing a code that can operate the atinny micro controller.
Here is step by step the process I went through:
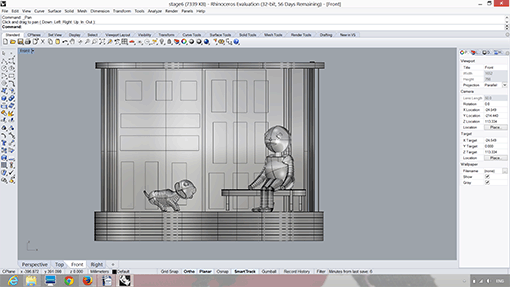
First Sketch designed using Rhino:
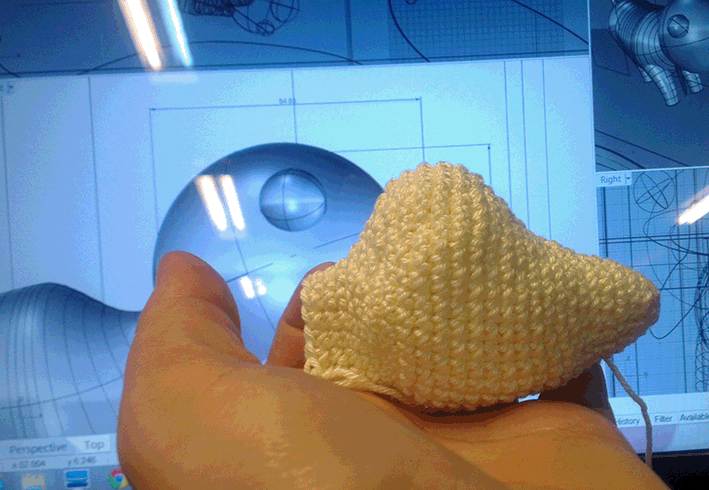
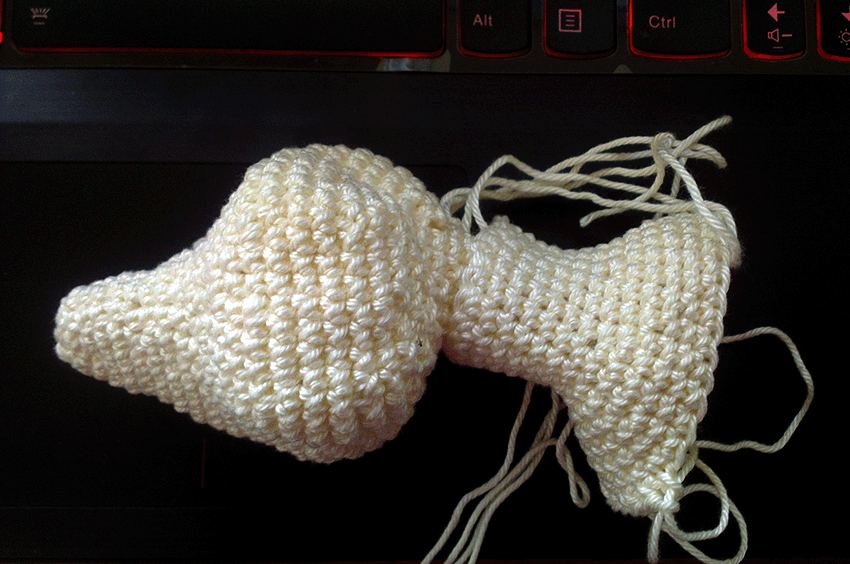
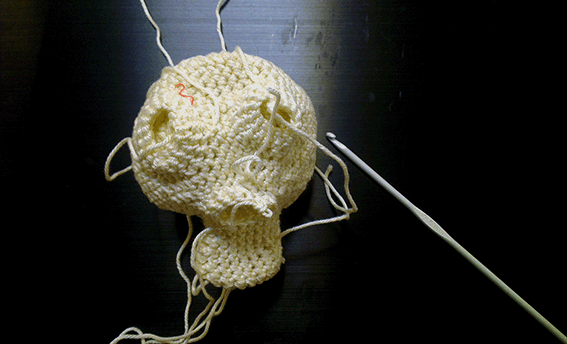
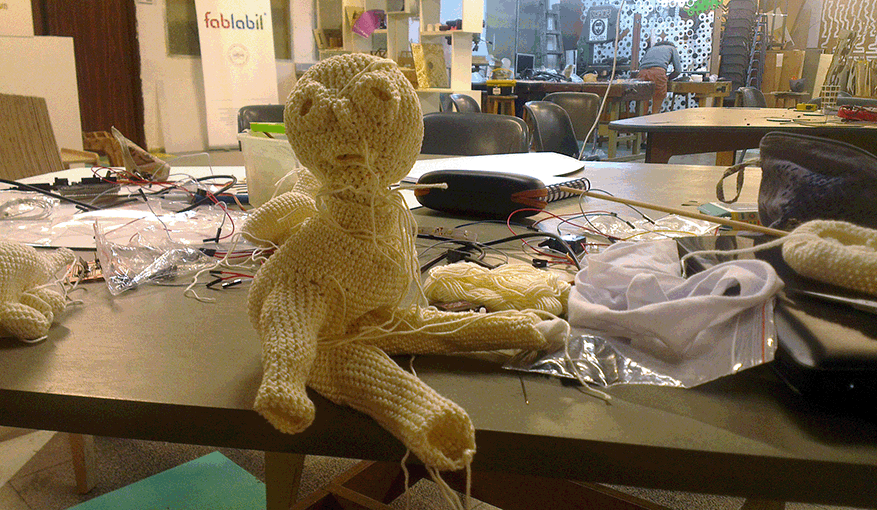
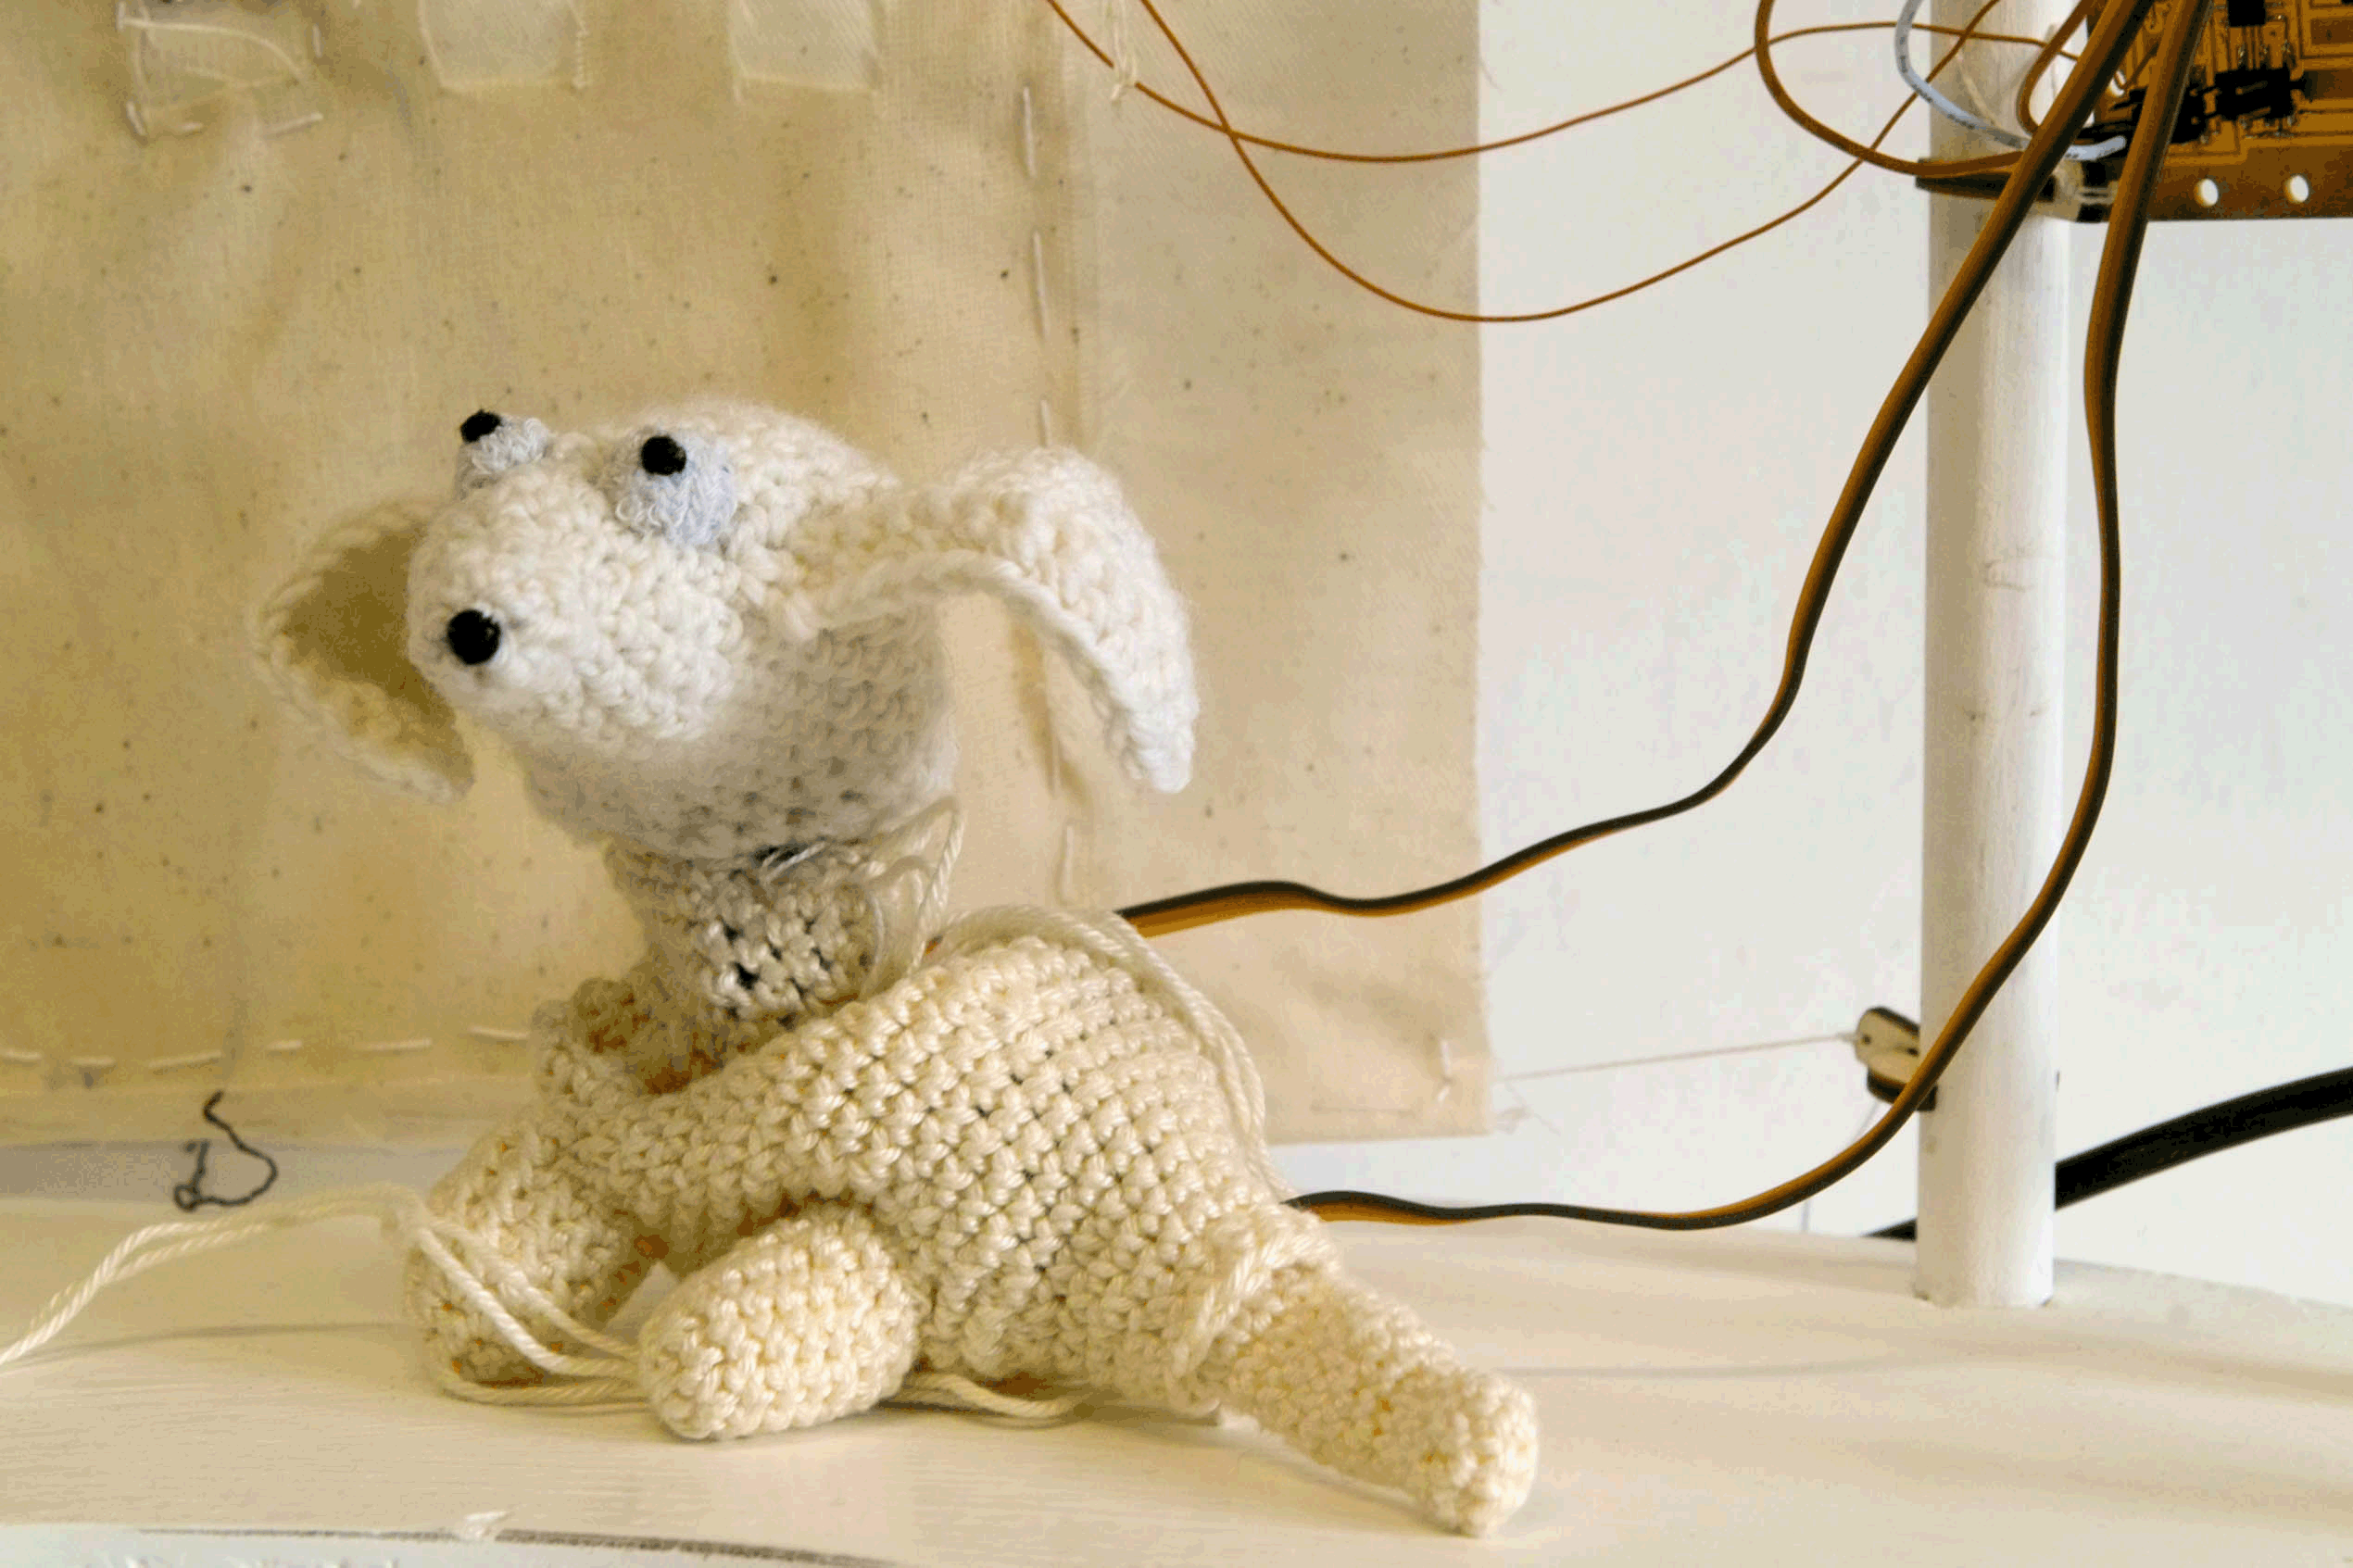
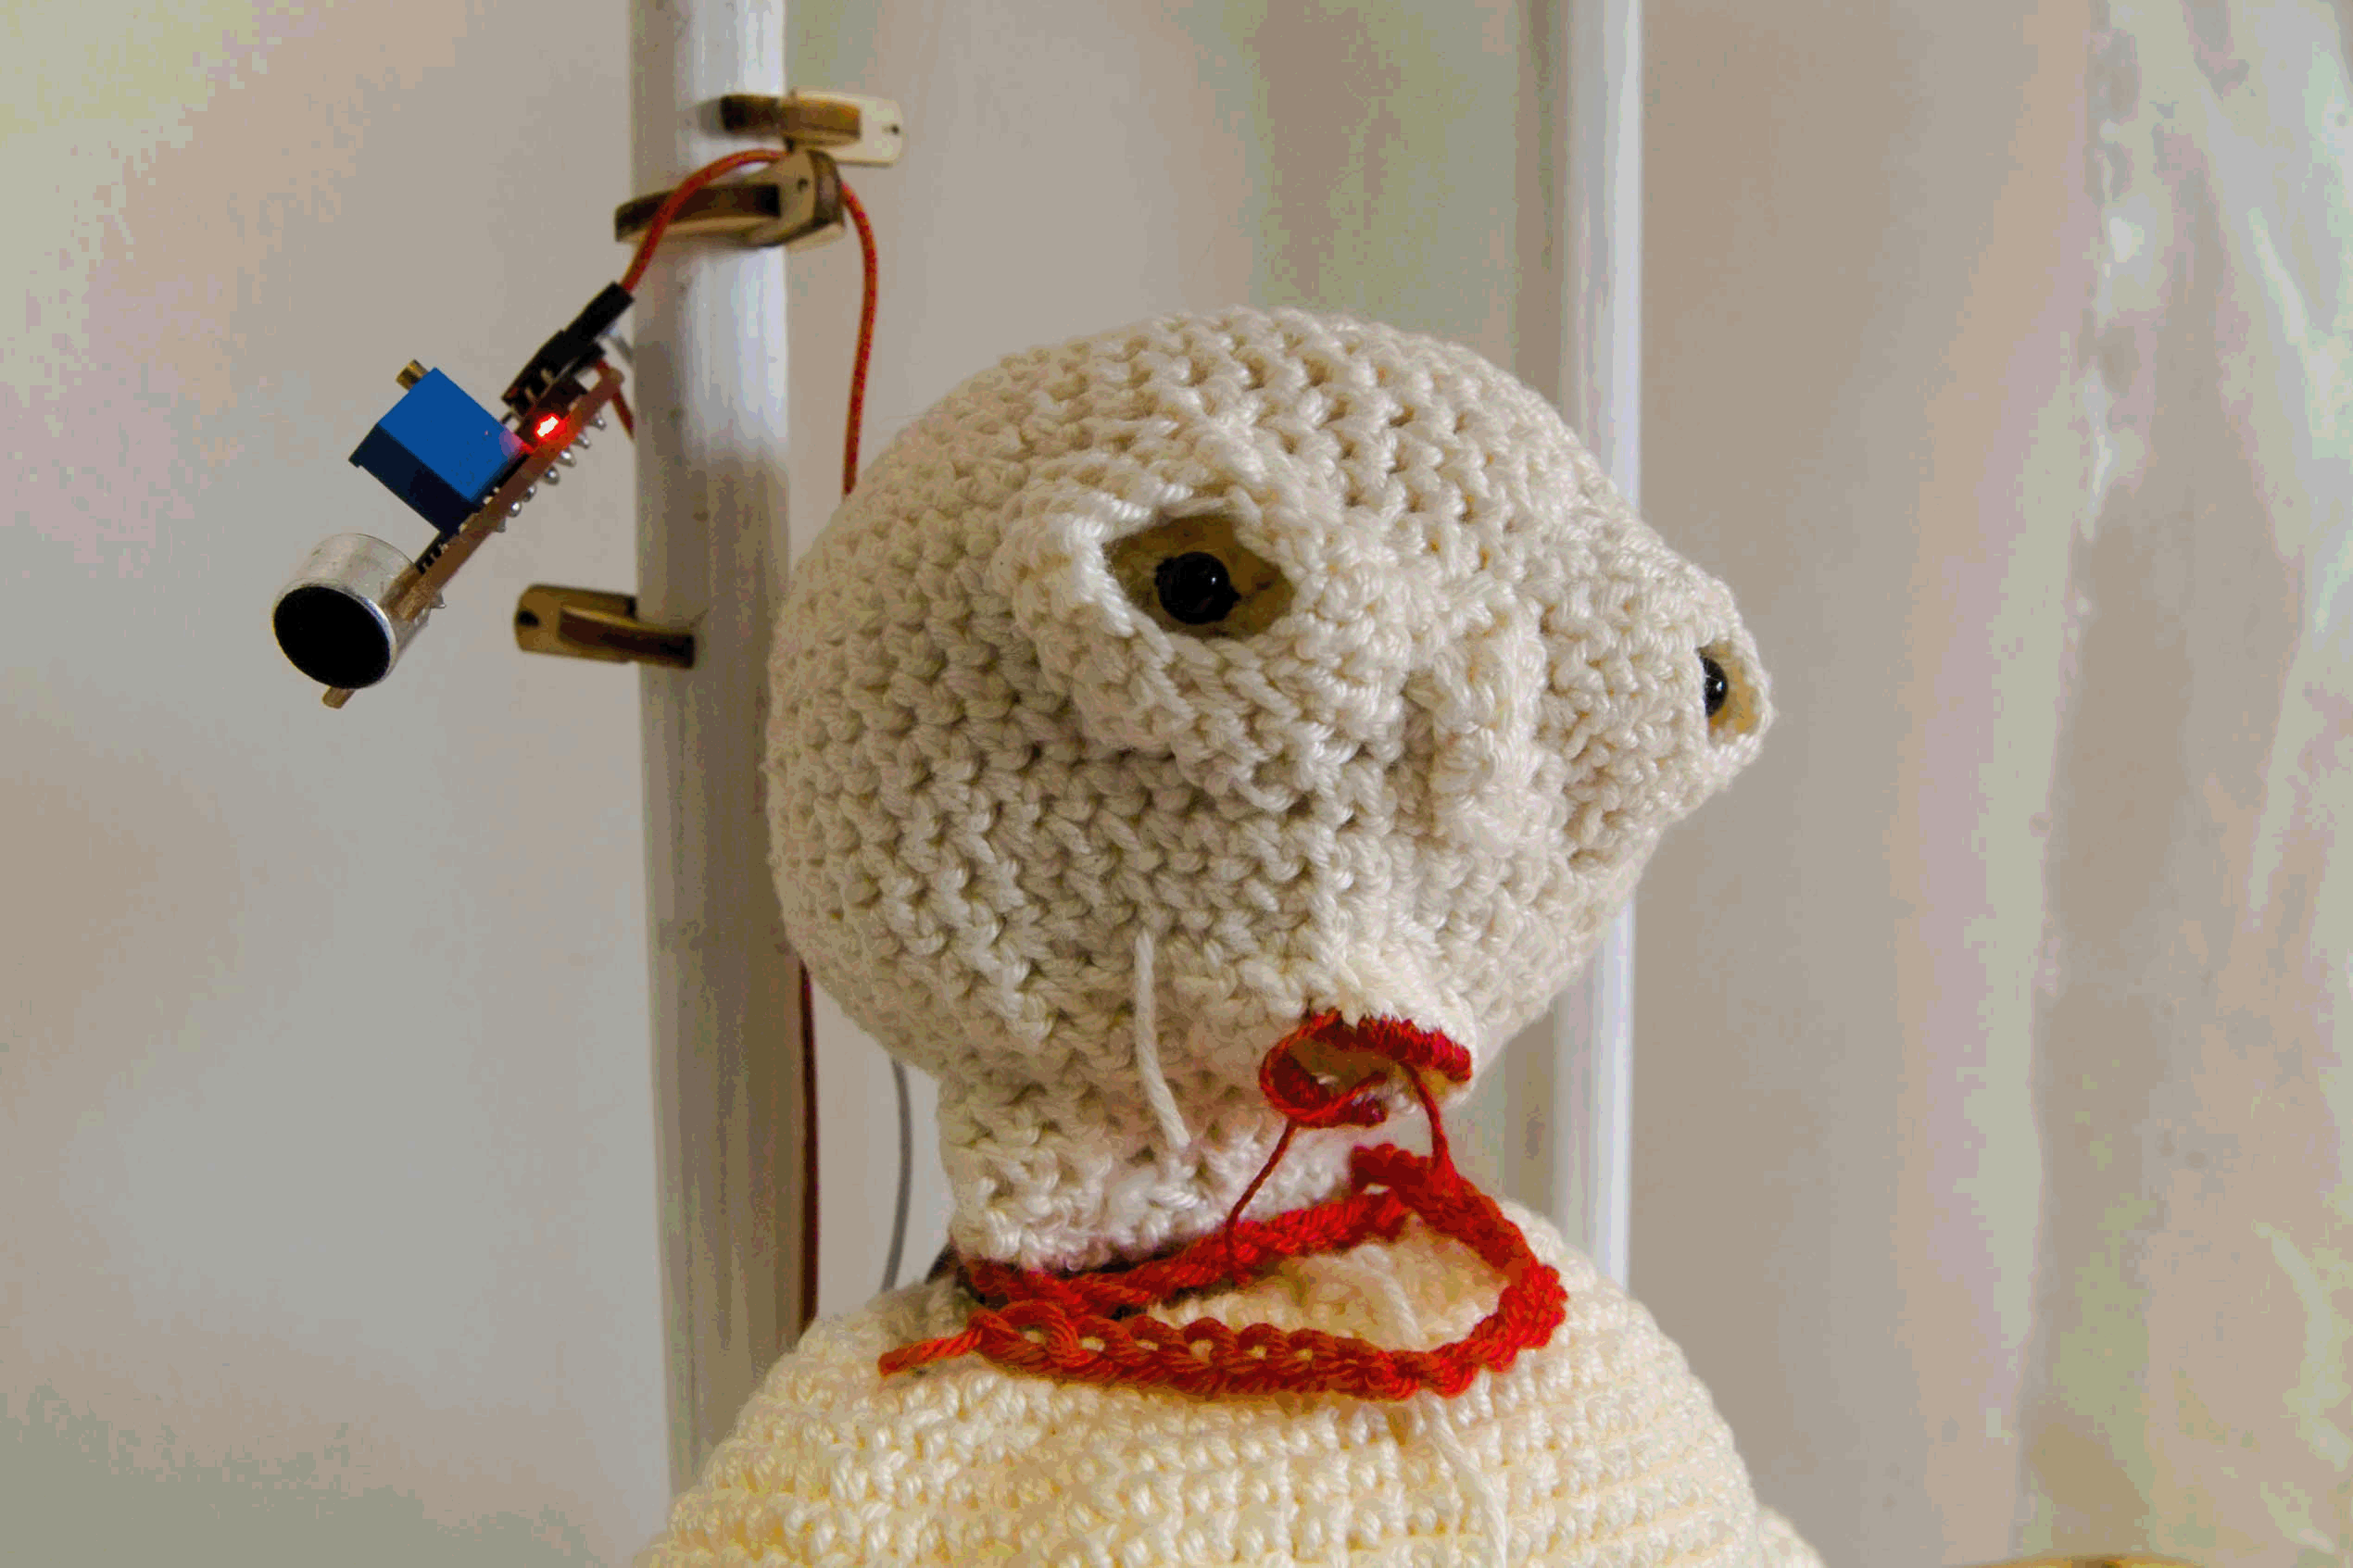
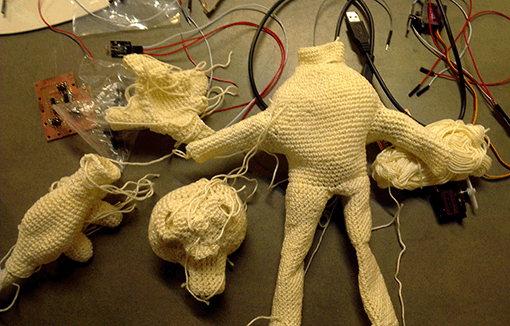
Doll Production:
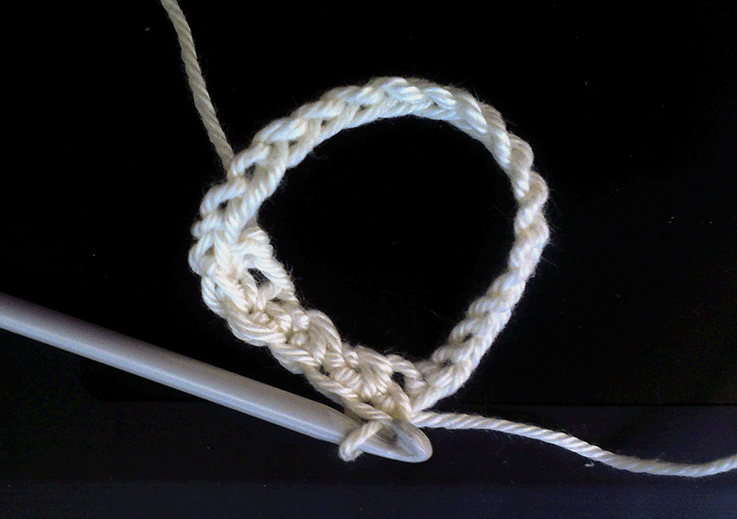
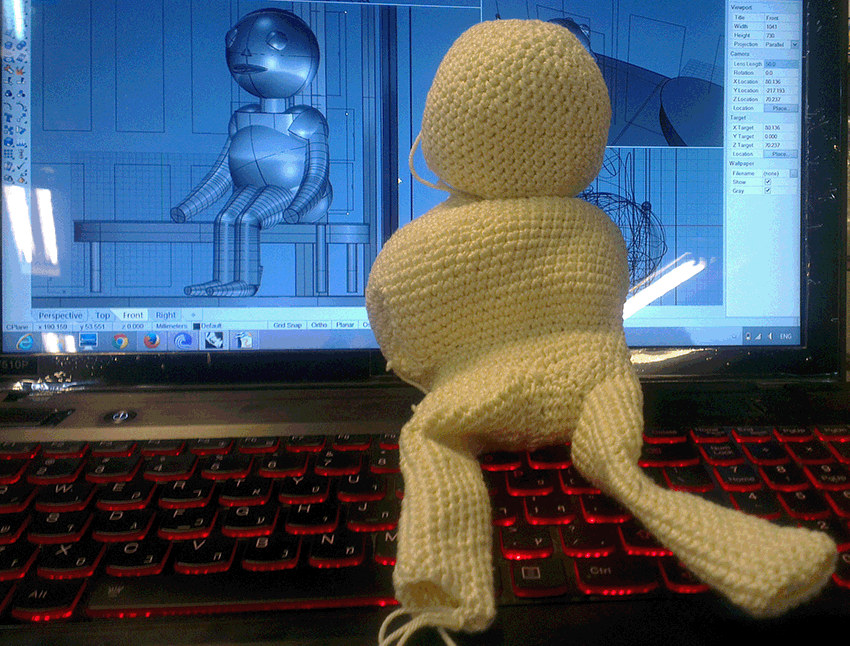
At first I had to crochet the dolls acording the 3D rhino design
*
*
*
*
*
*
*
*
BOARDS- Designed In Eagle
I used the hello button + LED board as a basis, removeed and add components according to the project needs
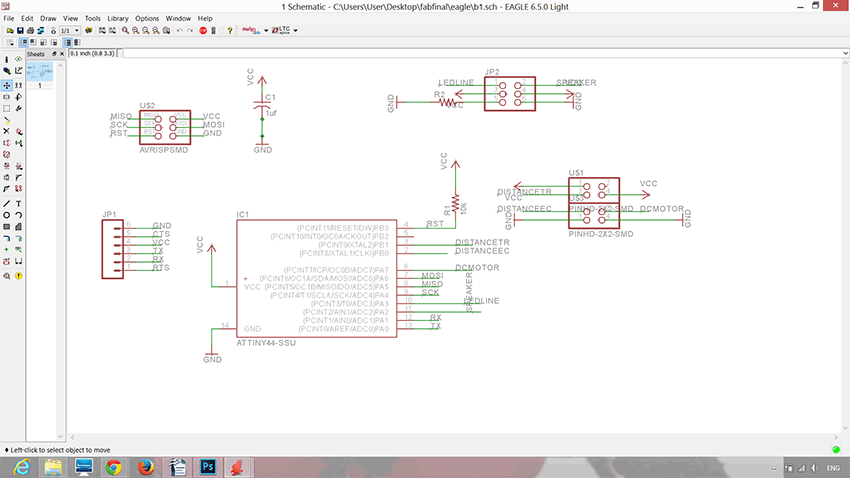
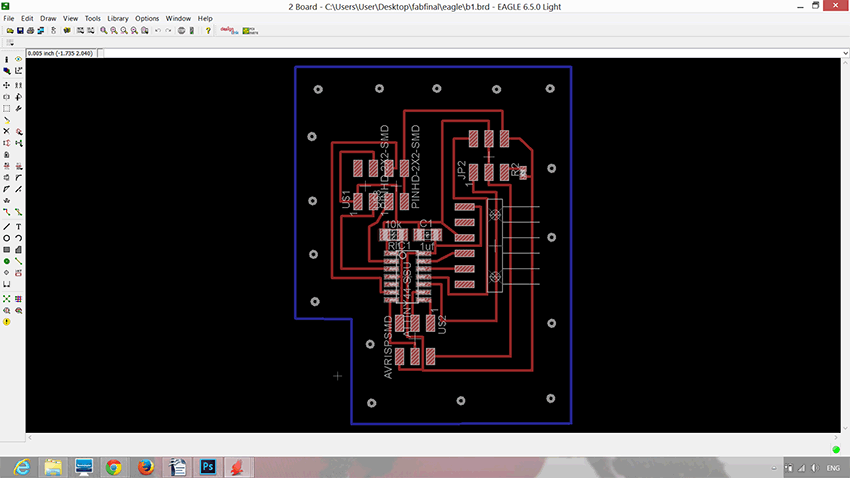
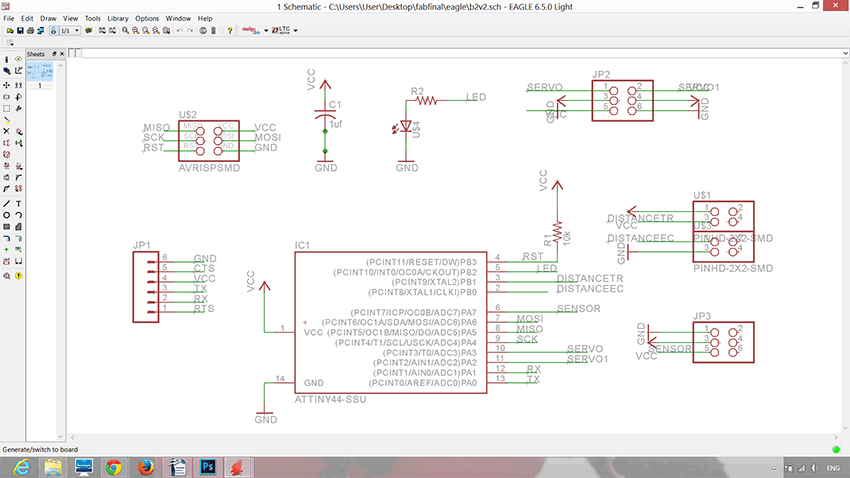
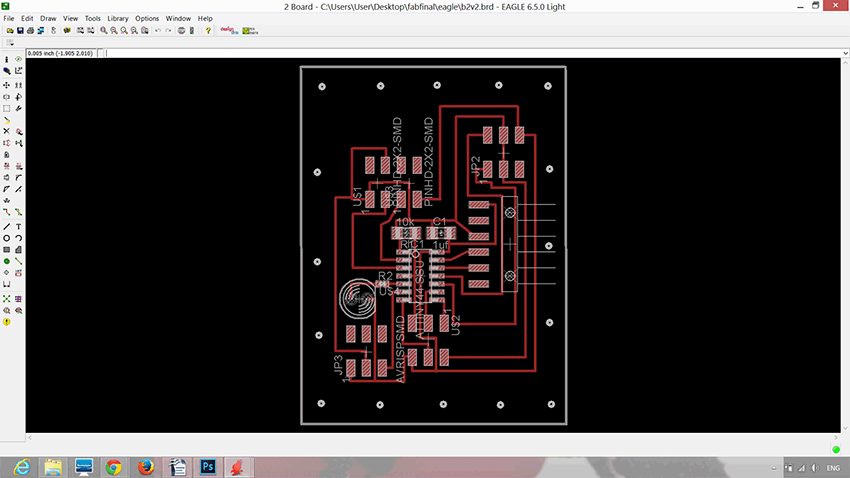
I have designed two different boards for this project you can download this board for two servo motors, led, sensor and more brd. and sch..
Second board can be downloaded as well brd. and sch..
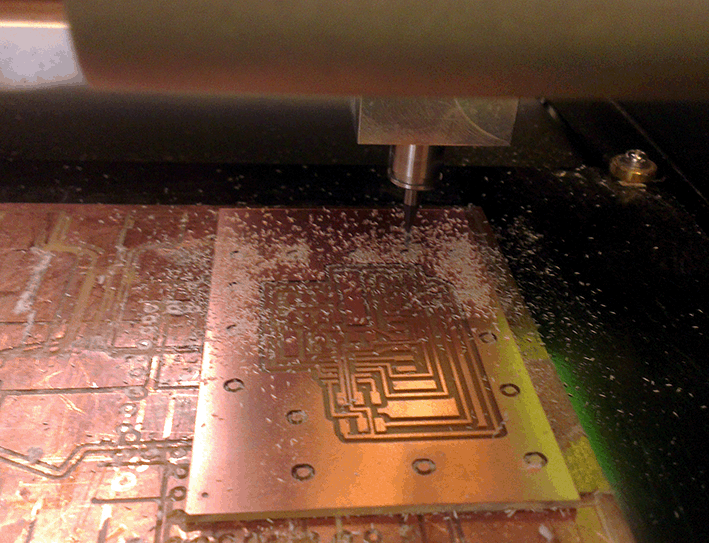
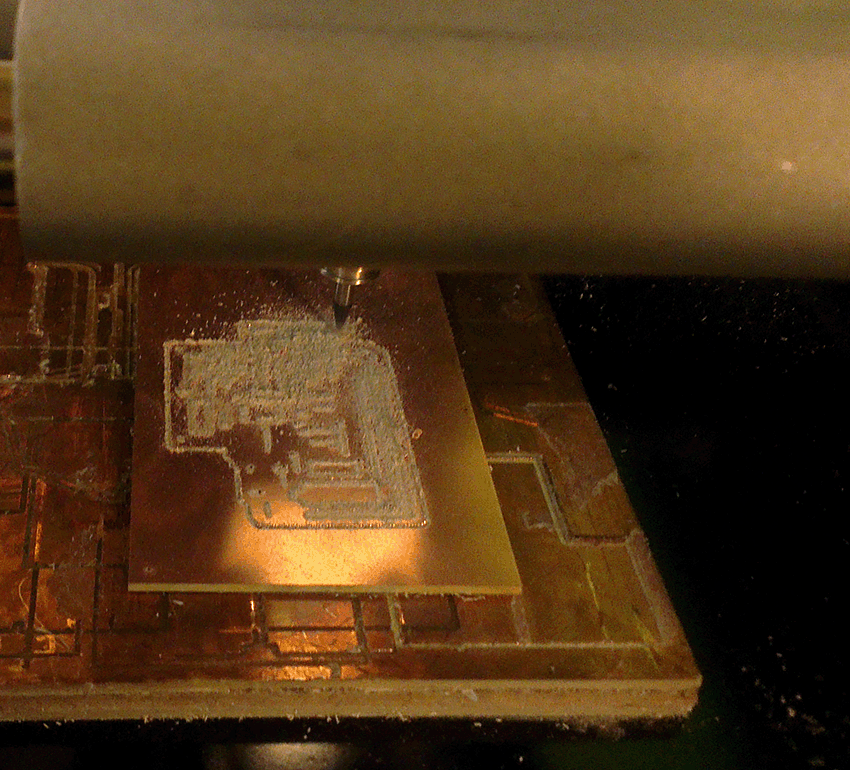
Board milling using Roland Modella:
*
*
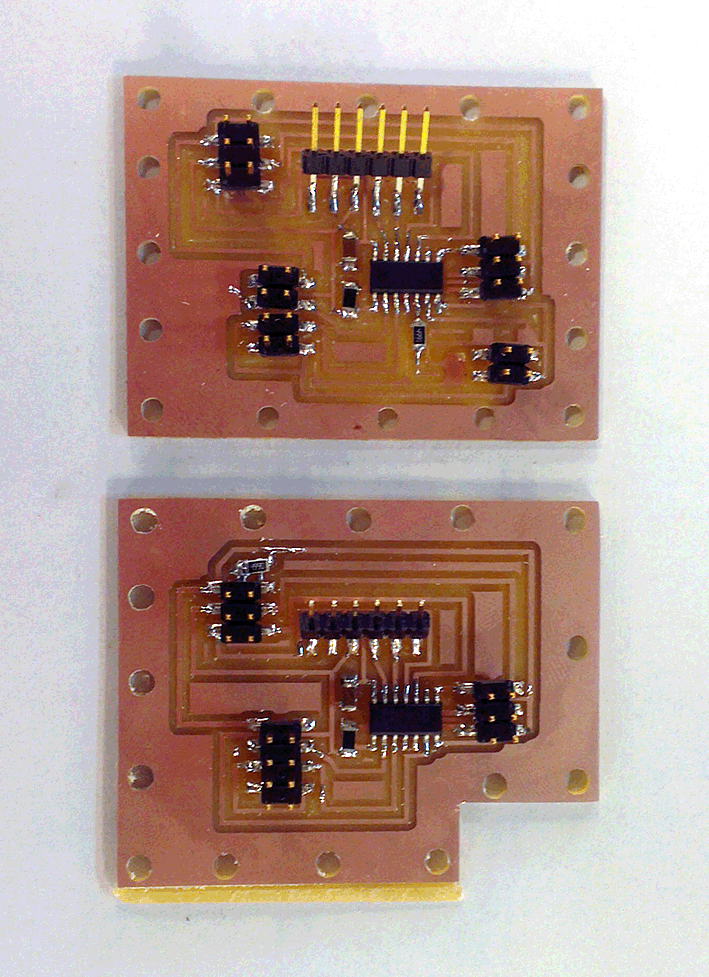
BOARD SOLDERING
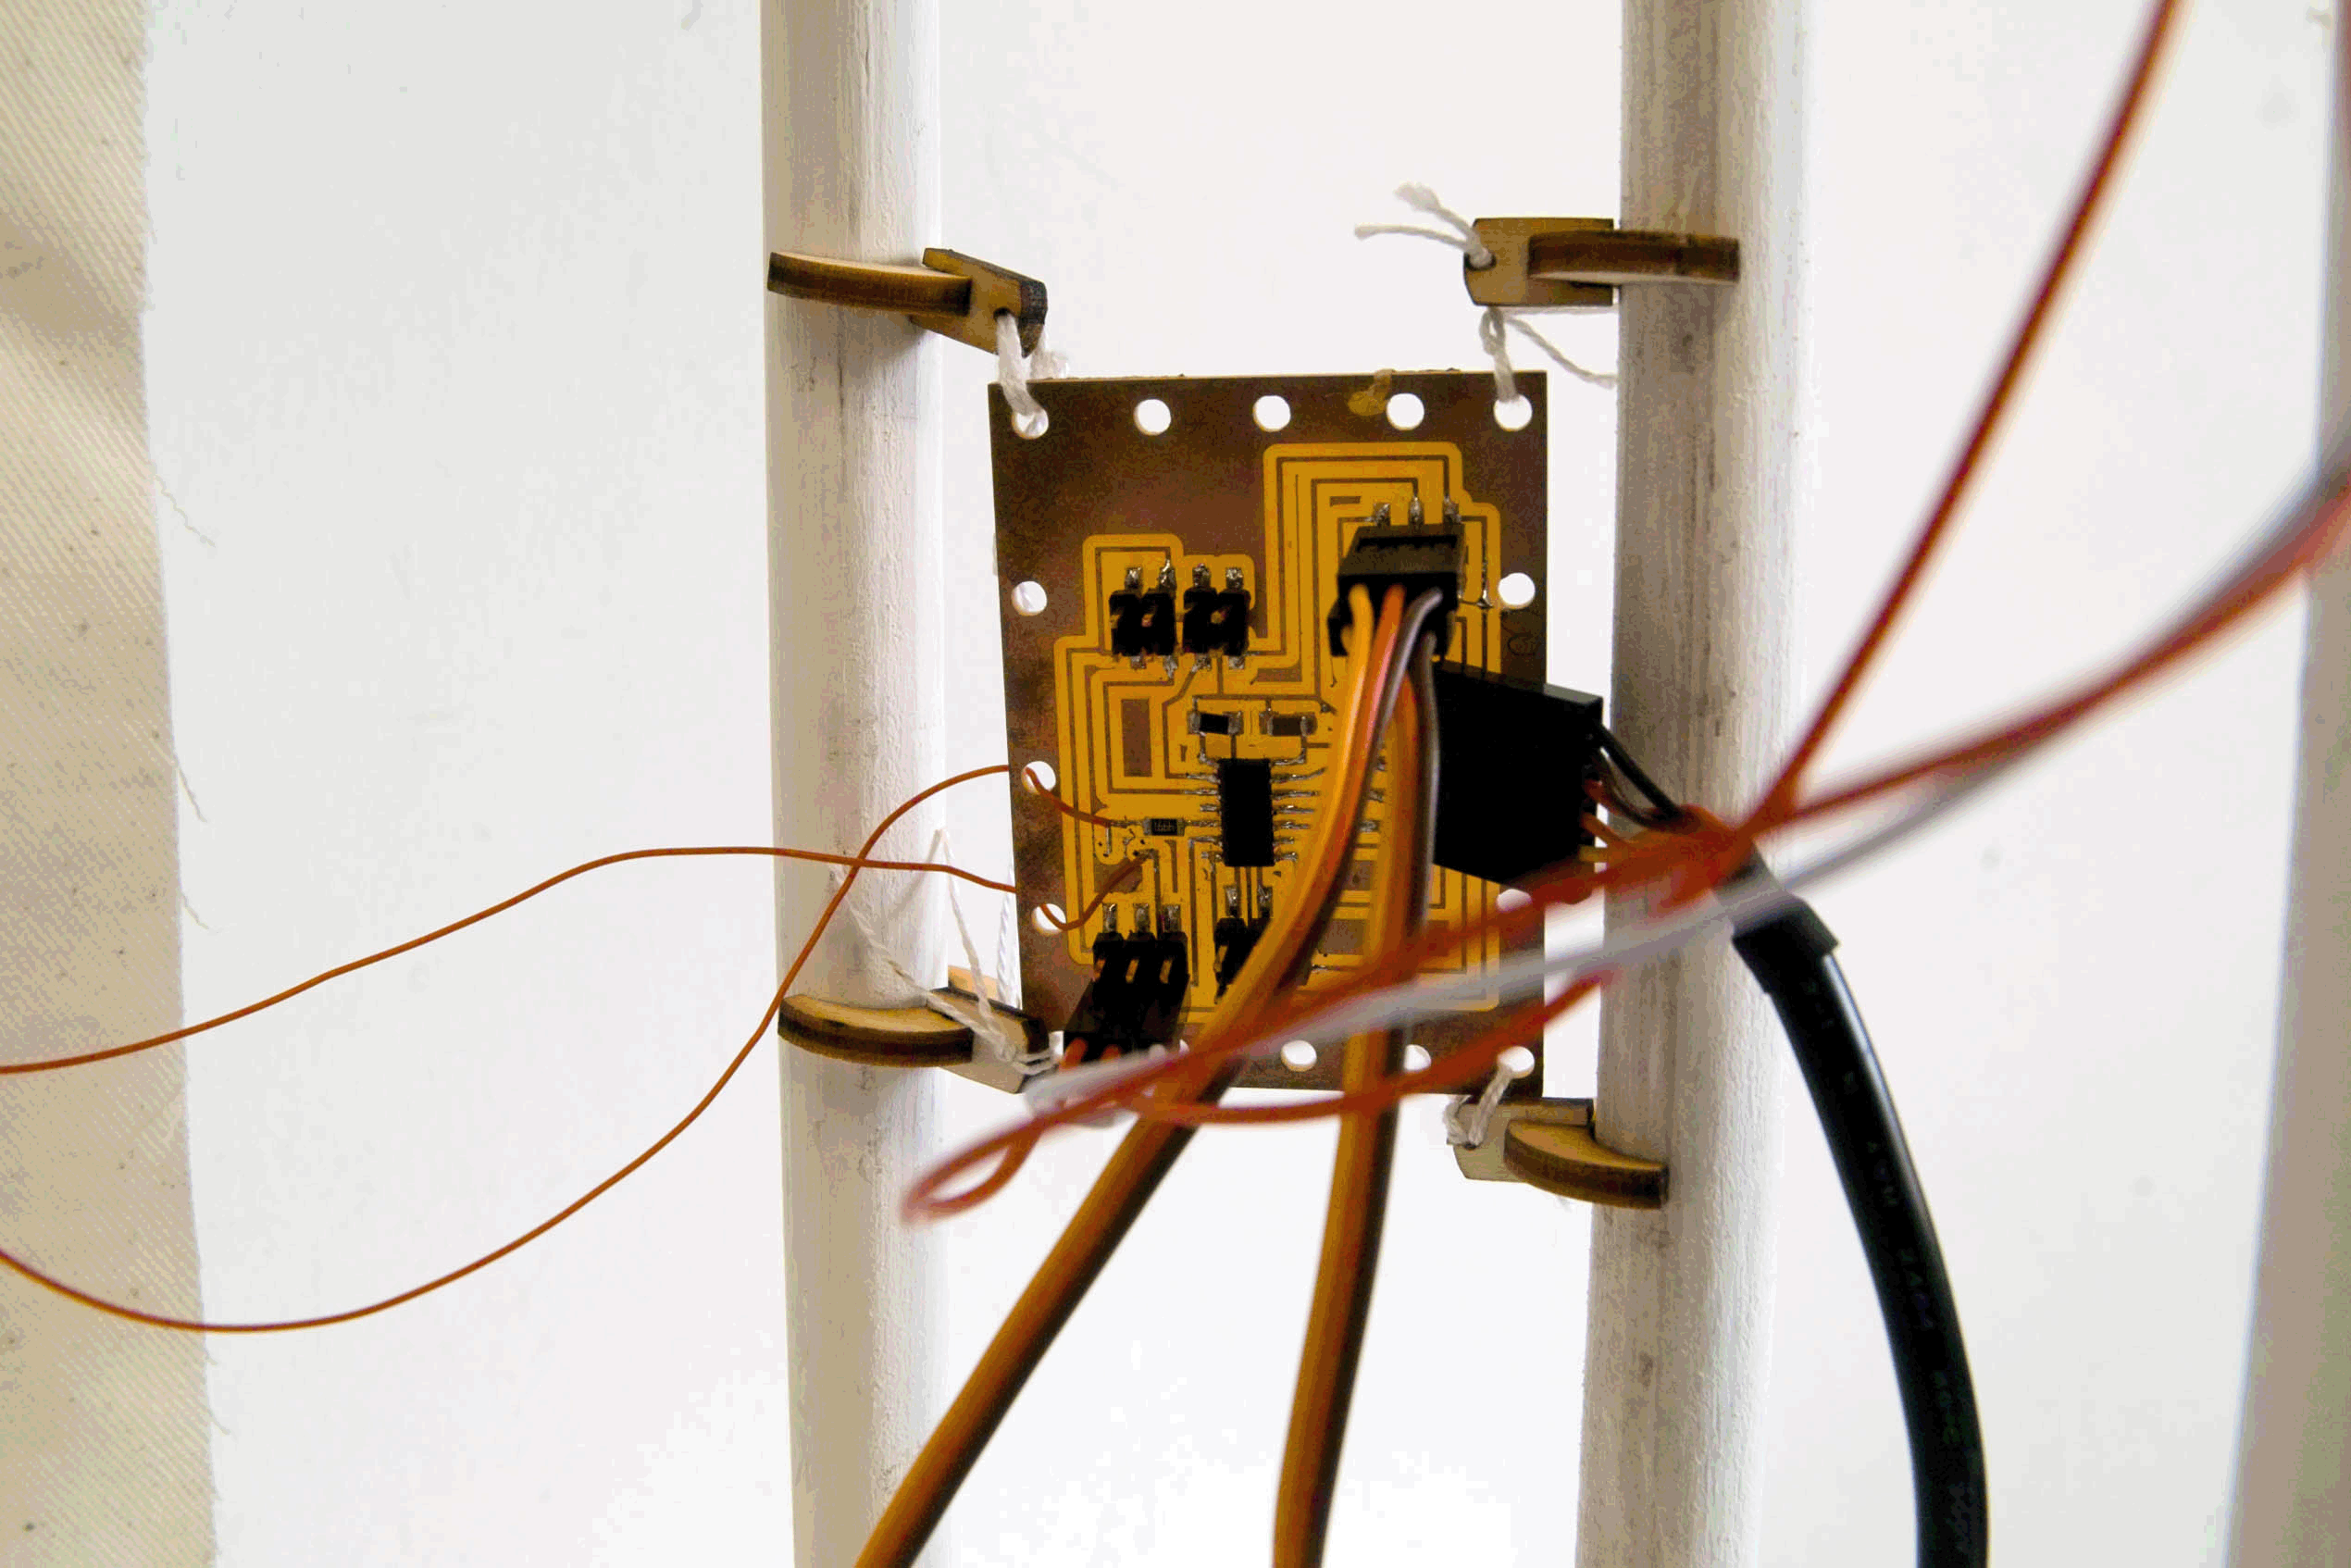
In action it looked like that:
*
LASER CUTTING
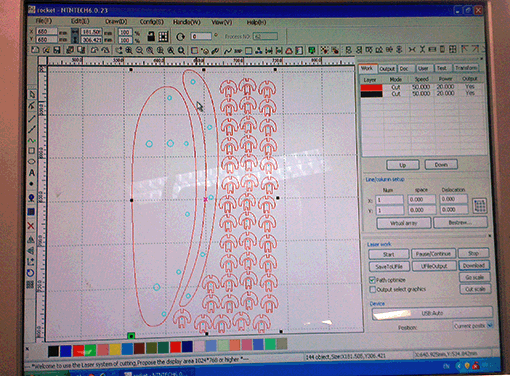
I used laser cut for small little stuff of the stage decoration, it was all cut in once using one file, (You download the dxf file)
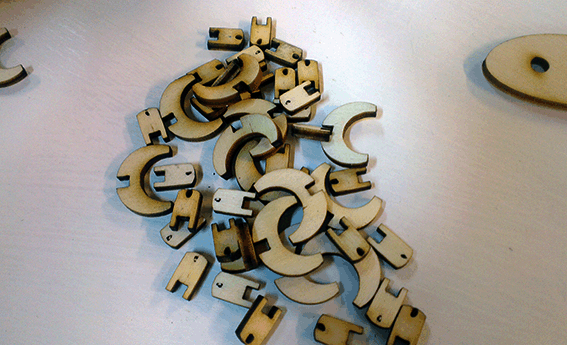
I designed those tiny hangers to hang the board and the textile back screen on the stage back columns as well as placing the sensors
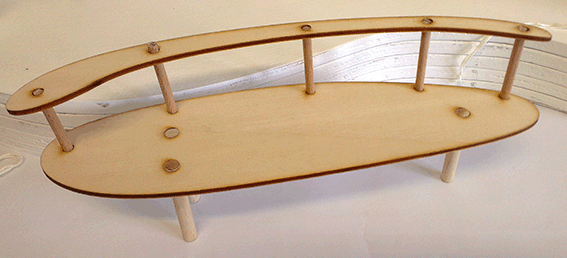
The benc on which the human character sit was laser cut too:
*
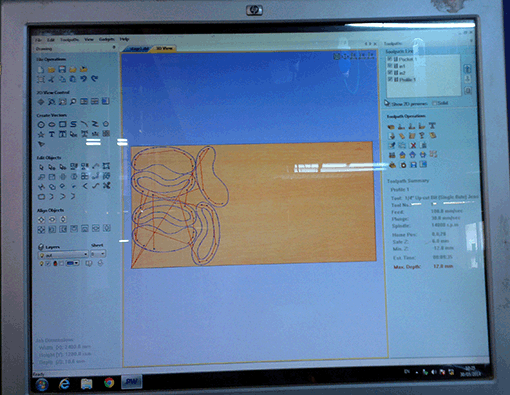
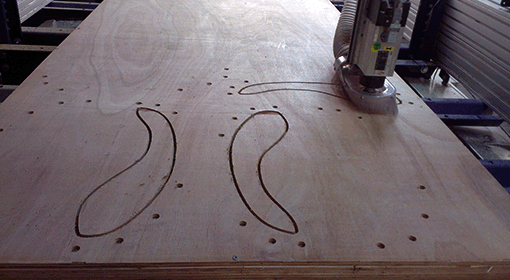
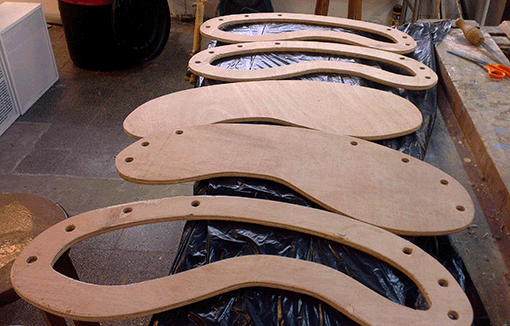
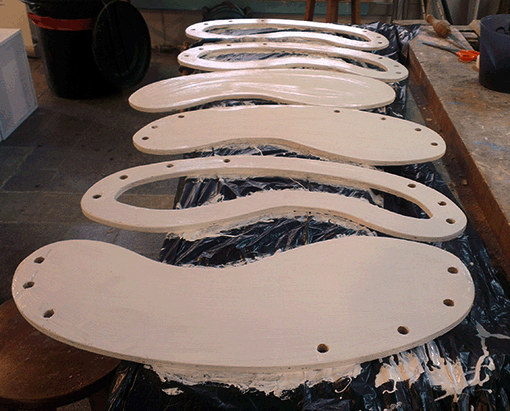
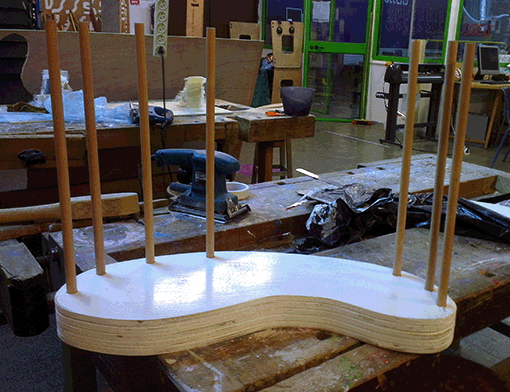
Milling and Installing The Stage
*
*
*
*
*
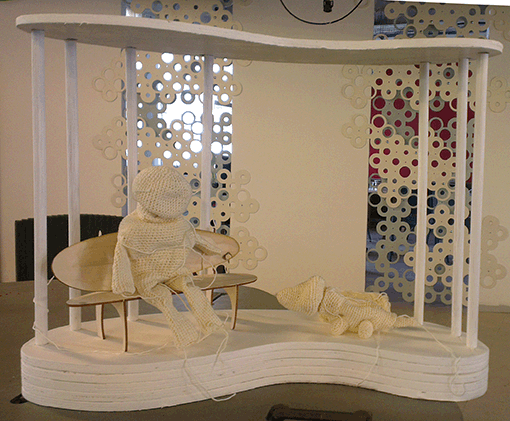
You download the dxf stage design file
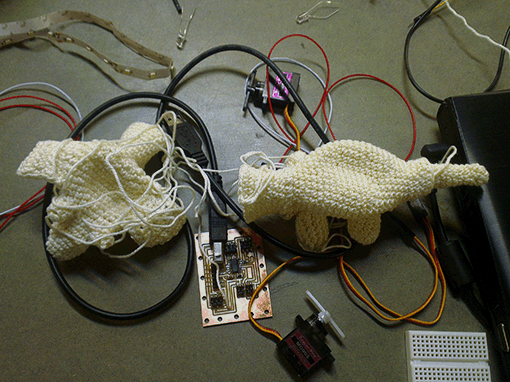
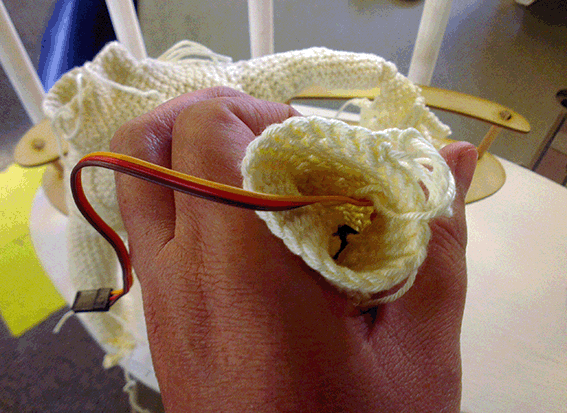
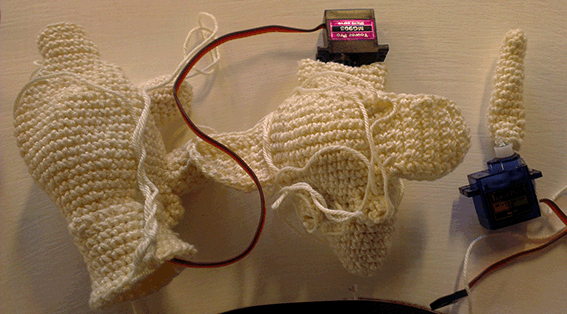
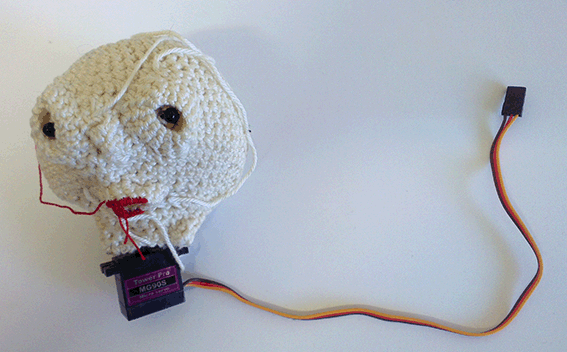
Dolls with Servo Motors
I sew the motors wings into the doll heads,and the motor body into the dolls necks:
*
*
*
*
*
*
Coding
Coding was one of longest trial and error process in this project, it was my first time to code such a project by my own.
At first my greatest challange was to get a code which work with both sensor and servo motors, as well as LED
When this goal was achived second challange was to make it work with atinny
The solution I found acording to this tutorial is downloading and installing "SoftwareServo" Libary for the arduino
I have used two code pices for this project, first one work with my own dsigned board
This code operate the photocell sensor with two servo motors, for the dog head and tail
            #include

SoftwareServo myservo;                 // create servo object to control a servo
                                       // a maximum of eight servo objects can be created
SoftwareServo myservo1;                 // create servo object to control a servo
                                       // a maximum of eight servo objects can be created
int ledPin=8;
int LEDbrightness;


int pos = 0;                           // variable to store the servo position
int pos1 = 0;                           // variable to store the servo position

int lightPin = 7;

void setup()
{
  myservo.attach(2);
  myservo1.attach(3);
  Serial.begin(9600);  //Begin serial communcation
    pinMode( ledPin, OUTPUT );  // attaches the servo on pin 1 to the servo object
}

void loop()
{


  int lightLevel = analogRead(lightPin);
  int lightLevel1 = analogRead(lightPin);

  lightLevel = map(lightLevel, 0, 1023, 0, 359);
  pos = constrain(lightLevel, 0, 359);

   lightLevel1 = map(lightLevel1, 0, 250, 0, 90);
  pos1 = constrain(lightLevel1, 0, 90);

    myservo.write(pos);              // tell servo to go to position in variable 'pos'
    myservo1.write(pos1);              // tell servo to go to position in variable 'pos'

  Serial.println(analogRead(lightPin));
    analogWrite(ledPin, analogRead(lightPin)/2);
   delay(10);
    SoftwareServo::refresh();
    delay(100);                       // waits 15ms for the servo to reach the position
}
I asked a friend to demonstrate the dog movement:
This code operate the human character head with the sound sensor:
          #include

int sensorValue=0;
int servoRightPin = 2;
int pos=0;
Servo servoRight;

void setup()
{
  servoRight.attach(servoRightPin);
  Serial.begin(9600);

}

void loop()
{
  sensorValue = analogRead(A0);
    Serial.println(sensorValue);
   delay(50);
  if (sensorValue <37 )  {

   servoRight.write(90 );
    delay(90);
  }
  else if (sensorValue >36) {
    servoRight.write(30);
    delay(100);
  }

  else if (sensorValue <38) {
    servoRight.write(10);
    delay(90);
  }

    else if (sensorValue <40) {
    servoRight.write(45);
    delay(110);
     }
      else if (sensorValue >30) {
    servoRight.write(180);
    delay(160);

      }

  else if (sensorValue >40) {
    servoRight.write(100);
    delay(35);
      }

  else if (sensorValue >37) {
    servoRight.write(80);
    delay(35);

  }


}
A friend of mine tested it while having a conversition with the doll:
Installing
*
