I used the Fab ISP from week 4 to program my Arduino IDE - Button and LED board. To my disappointment my Fab ISP, which I had successfully constructed and programed several weeks ago, did not work. I used another ISP board to run a test program on my Button and LED board that I previously designed in Eagle. The board took the program - YAY!
I will need to remake my Fab ISP board concentrating on the USB connections and pins which were problematic from the start. While working on the board I managed to damage the traces and a jumper wire proved unsuccessful.
I will also need to spend more time making sure that I have the software for programming downloaded to the correct directories. I need to attend to building my programming skills.
- Backed up to unit 4 downloading the requisite software and re-fabricating a working ISP (see unit 4)
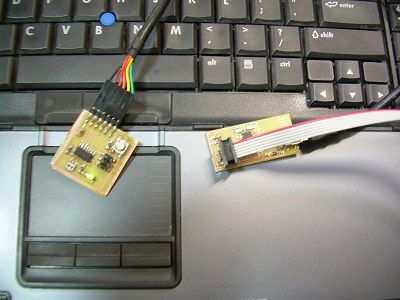
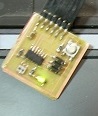
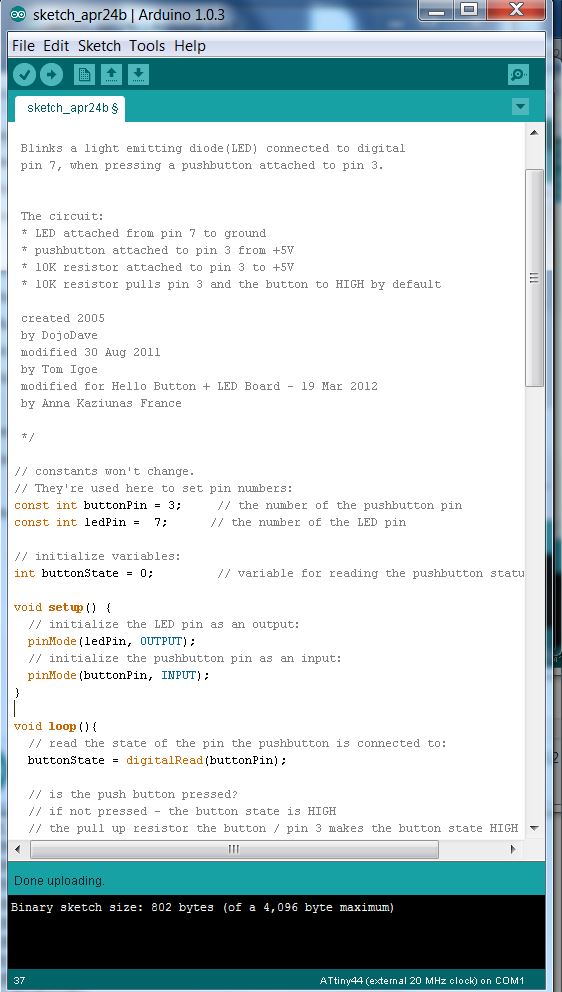
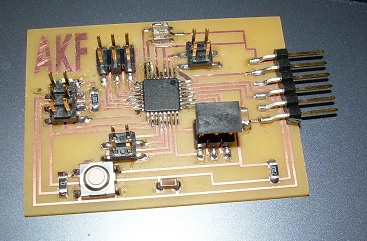
- Rebuilt the Hello button
circuit board. This time I encapsulated the
connecting pins in epoxy to help alleviate over
stressing the traces when the USB cable was
attached.
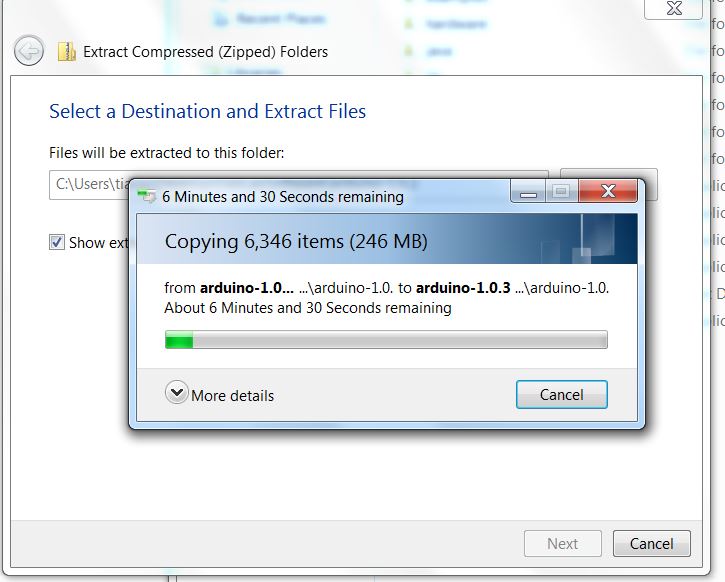
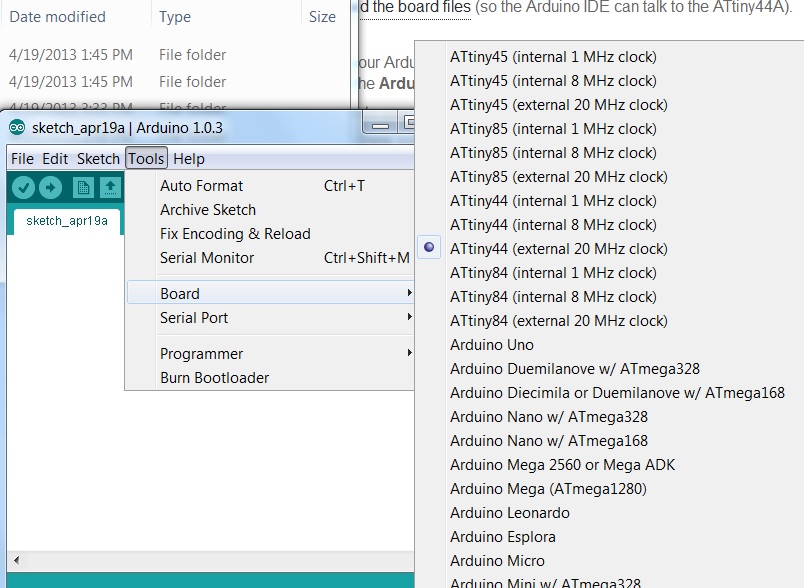
- Downloaded the software (see the following steps)
- Proceeded to fulfill the
requirements of the lab.
const int buttonPin = 2;
const int ledPin = 13;
was changed to
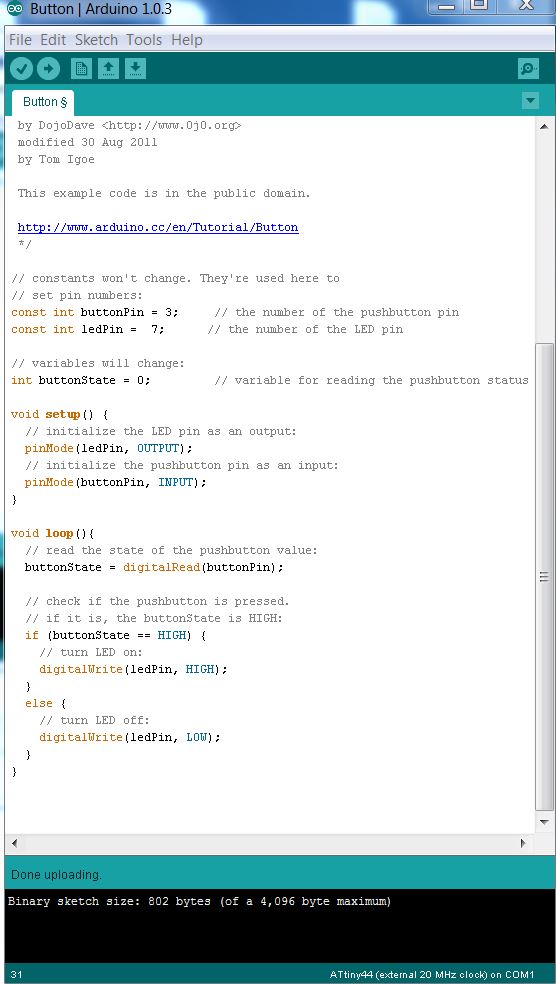
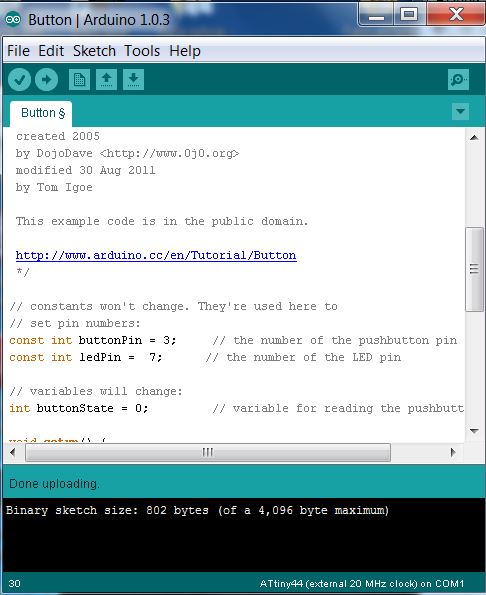
const int buttonPin = 3;
const int ledPin = 7;
Click on image to watch video
- Determining the syntax used in programming
- Learning the efficiencies of finding code already written
- Adapting code: one of
the items I have learned that can be problematic when
first learning code is that the number of opening and
closing brackets need to be equal to one
another. This determines opening and closing of
arguments. I also needed to rename the constants
from the example. The example had the constant
"led" which needed to be renamed "ledPin".
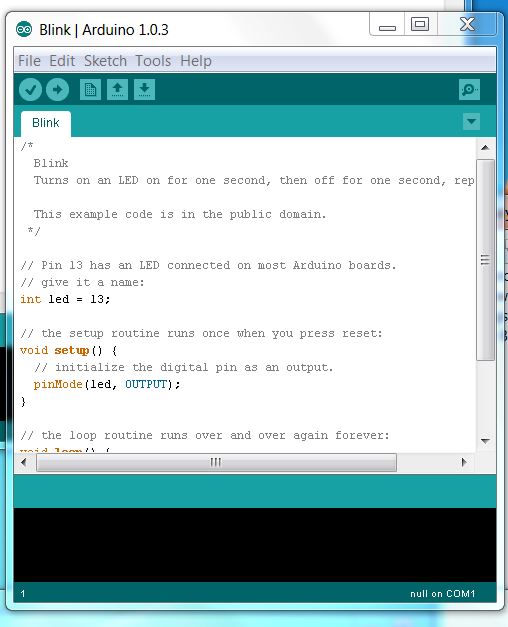
- I changed the blink rate from 1000 to 2000 to slow down the blinking
- I was able to read the
error messages and rectify errors.
I was also able to confirm
that the ISP is needed every time you upload a new
program. It had not been clear up to this point
the role of the ISP and the role of the chips on
auxiliary boards. Both the ISP and the button
board use the same integrated circuit. However,
the ISP does the programming and the auxiliary boards
perform the programmed function. The ISP is needed
every time a program is changed to transfer the
program.
Anna's directions I was
able to get the Serial
Monitor working in the
Arduino interface.
However, I was not able to
get the program to work as directed. The characters I
typed would show up
directly in the Arduino
monitor window. It was
confusing to know when to
open the Cygwin terminal and
be typing into that versus
opening the Arduino terminal
and be typing there. Upon revisiting the class video and
Anna's directions I realized
that I am trying to write directions to the board using
a C program in the Cygwin interface and then view it
in the Arduino interface. I
also was able to recognize
that when the "sudo" command
did not work I only needed to
type the "make" command (see
red and green text to the code
at the right).
This is a trivial point for those
individuals who know Linnux
and other programming
languages but a major leap
forward for myself who is
trying to gain basic understanding.
$ sudo make -f hello.ftdi.44.echo.c.make program-usbtiny
-bash: sudo: command not found
tialas@C-8466 /cygdrive/c/Users/tialas/Desktop/FabLabSoftware/echo
$ make -f hello.ftdi.44.echo.c.make program-usbtiny
avr-gcc -mmcu=attiny44 -Wall -Os -DF_CPU=20000000 -I./ -o hello.ftdi.44.echo.out hello.ftdi.44.echo.c
avr-objcopy -O ihex hello.ftdi.44.echo.out hello.ftdi.44.echo.c.hex;\
avr-size --mcu=attiny44 --format=avr hello.ftdi.44.echo.out
AVR Memory Usage
----------------
Device: attiny44
Program: 764 bytes (18.7% Full)
(.text + .data + .bootloader)
Data: 33 bytes (12.9% Full)
(.data + .bss + .noinit)
avrdude -p t44 -P usb -c usbtiny -U flash:w:hello.ftdi.44.echo.c.hex
avrdude: AVR device initialized and ready to accept instructions
Reading | ################################################## | 100% 0.01s
avrdude: Device signature = 0x1e9207
avrdude: NOTE: FLASH memory has been specified, an erase cycle will be performed
To disable this feature, specify the -D option.
avrdude: erasing chip
avrdude: reading input file "hello.ftdi.44.echo.c.hex"
avrdude: input file hello.ftdi.44.echo.c.hex auto detected as Intel Hex
avrdude: writing flash (764 bytes):
Writing | ################################################## | 100% 0.42s
avrdude: 764 bytes of flash written
avrdude: verifying flash memory against hello.ftdi.44.echo.c.hex:
avrdude: load data flash data from input file hello.ftdi.44.echo.c.hex:
avrdude: input file hello.ftdi.44.echo.c.hex auto detected as Intel Hex
avrdude: input file hello.ftdi.44.echo.c.hex contains 764 bytes
avrdude: reading on-chip flash data:
Reading | ################################################## | 100% 0.29s
avrdude: verifying ...
avrdude: 764 bytes of flash verified
avrdude done. Thank you.

to work well. However, when I typed in letters the return I got
in the Arduino i
 nterface was exactly what I had typed. This
was not correct. It really helped to be able to talk
to Abu. I changed the serial port from port 3 to
port 5 and all worked well. It was a simple
fix.
nterface was exactly what I had typed. This
was not correct. It really helped to be able to talk
to Abu. I changed the serial port from port 3 to
port 5 and all worked well. It was a simple
fix. 
I used the Arduino software and the Fab ISP programmer to burn the bootloader and test the program.
All seems to work fine on the first try.