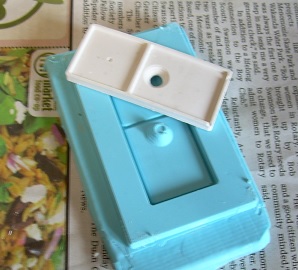
In order to facilitate organization I have decided to make a QR code holder that can be used in the Fab Lab and other labs on campus. It includes a square cavity where one can paste a paper QR code. There is a second rectangular cavity for a brief description of where the code will take you. There is a recessed hole in the center of the object that will hold a flat head screw if needed.
I am not certain that the casting material is suitable for this pressure on the screw may cause the holder to split. It will need to be tested.
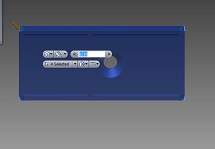
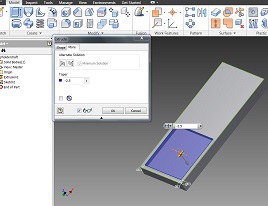
The holder is drawn in Inventor and goes quickly. I also remember to add a flat back to facilitate a cavity around the mold. So far. So good.
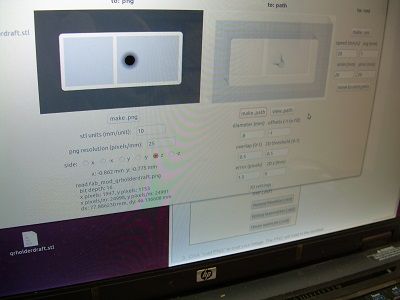
I am able to import my file and call up the drawing program just fine. I take a look at the settings and note that dx: 197.83 mm and dy: is 117.188mm. This is to big. I change st1 mm/unit to 7 and the png resolution stays at 25 mm. This results in better measurements of dx = 54.522 and dy =32.295.
The project is meant to be milled with a 1/8 inch bit. I only have 3/32 and 1/16 available. I choose the 3/32 inch bit and after more reading change the tool diameter to .8mm with a .5 overlap.
I spend 3 hours of changing settings uding the defaults, changing mm to inch settings, logging out and starting over while reading more carefully, and more. In every case I come up with the same error:
sh1: cannot create/dev/ttyUSB0: permission denied
Reaching maximum frustration I email Blair Evans to deal with the code error:
The command that you used to get permission for the port is
sudo chmod
777 /dev/ttyUSB0
Typing this into the appropriate
window gets the interface to run like a charm. It
takes 4 hours to troublehsoot and 3 hours to run the
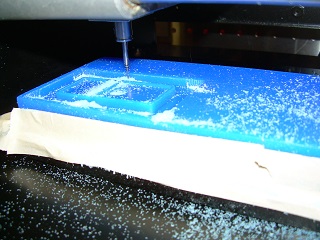
part. I am nervous about running the finishing passes as I don't want to mess up the part. I decided to take off .05 instead of .1 in the finishing cut. I should have taken off .1. It still worked but there are a few rough spots in the countersunk hole.
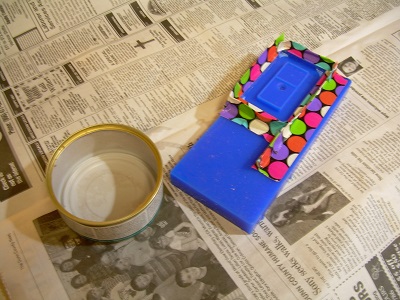
I get the mold home and find that I neglected to account for the back of the mold. I construct walls out of duct tape. On the one hand it would be good to account for this during the milling process. On the other hand duct tape is much faster and cheaper than milling the recess out of wax.
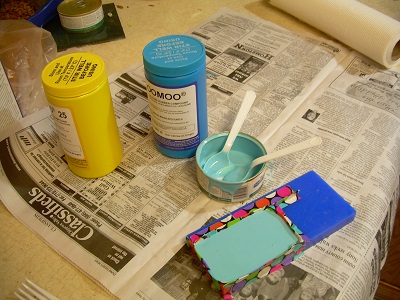
Mixing the OOMOO is straight forward. I used a clean cat food can and plastic spoons. It would be convenient to have disposable measuring devices - such as spoons or paper cups for mixing the compound. I use 2 different spoons for part A and part B so as not to contaminate the separate containers.
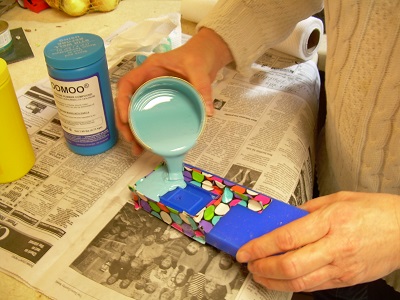
Before pouring the compound I banged the cat food container with the molding compound on the counter in hopes to get the trapped air bubbles to rise to the top. It seemed to work. Short of a vacuum bell this was the best I could do. I also tried to stir and minimize the number of air bubbles introduced into the OOMOO.
I leave the molding compound to cure. It is easy to work with and odorless. After I poured the OOMOO over the wax part I tapped the casting on the counter to remove air bubbles. I ended up with 2 small air bubbles. Darn! It isn't perfect but it looks pretty good. I put a 2.5 degree draft angle on the parts so I was pleased that the silicone mold separated from the wax easily.
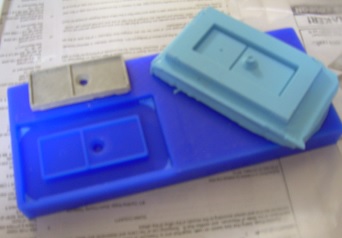
I tried the cement mixture first. I used a food scale to weigh the water and powder. I ended up with a very thick mixture that was very thick. It didn't pour into the mold. I ended up pushing it into the mold. I considered diluting it but concrete is strong when stiff so I chose to leave it. the part cured and separated from the mold nicely.
I cast a second piece using the plaster mixture. I used a food scale and followed the same procedure as with the concrete. The plaster poured in nicely and I was able to get a nice part from the mold.