|
This
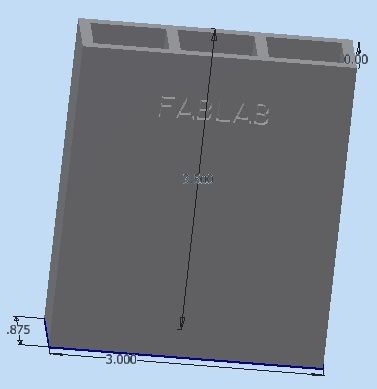
week's 3D printing and scanning exercise
shows one how items are constructed and deconstructed digitally. I chose to construct a tool holder for
the tweezers and the XActo knives we seem to use all of the
time. Instead of having to
hunt for them I wanted to buy a holder that mounted to
pegboard we have at our lab stations. I
didn't find what I was looking for. This then became an item
I could print
and custom make to my liking.
This fits in with the idea
that the Fab Lab is
intended
for a market of
one.
I made the
original model in
Inventor.
I have
experience
with the
program so
this portion
did not take
long.
|
|
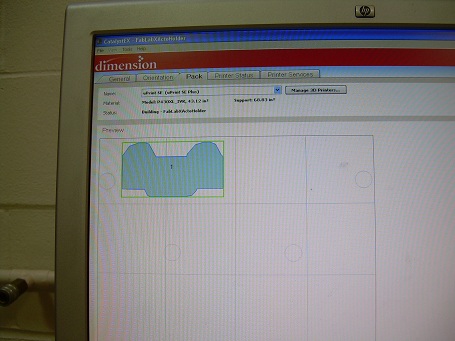
The file
went to the Stratosys 3D
printer. I loaded the file
easily and located the printing location on the base plate using
the software linked to the
printer. I ran through all of the
layers to make sure there weren't any errors.
|
|
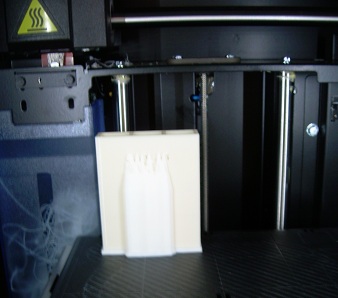
The
model took 5 hours to print which is longer than what I had anticipated. I would make
the walls of the box thinner next time to save on material and print time. |
|
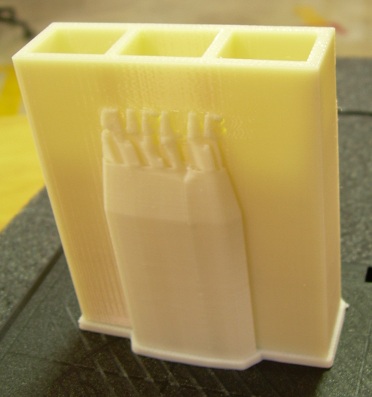
Lessons
learned when printing included:
- When using the shell command the
embossed text shells as well causing protrusions
inside the box.
- Two holes in the back and the embossing in
the front required extra support
material. I knew there would be
some but I was not
anticipating this much extra material.
- The extra material
required about 2
hours for removal.
Overall the printing
process was straight forward.
|
|
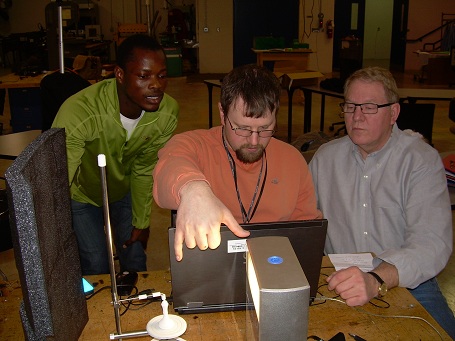
Abu, Mike, Scott and I worked to
get the Next Engine
scanner up
and running. It
took 2 hours to load the
software for the
scanner. The scanner would twitch but not
actually work to scan an object. We finally figured
out that the software did not run on
Windows
8.
When loaded onto a
machine
running Windows 7
it took less
than 5
minutes to
load
the software
and get the
scanner to
work.
|
|
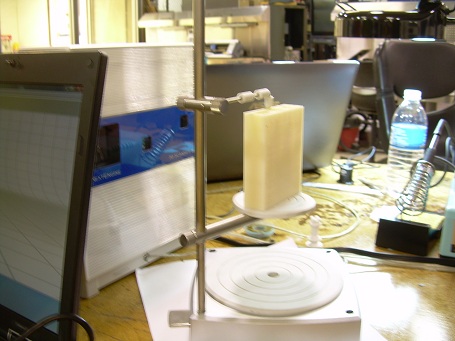
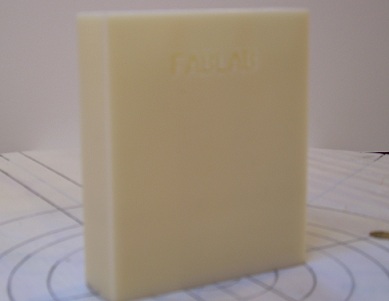
My 3D XActo holder is about to become a digitized
box. I chose to do 12 scans after
watching Mike do 8 scans and having to
spend a lot of time piecing his model back together. 12 scans
may be a little excessive given the flat geometry of the box but hopefully increased scan time saves time in
the long run.
|
|
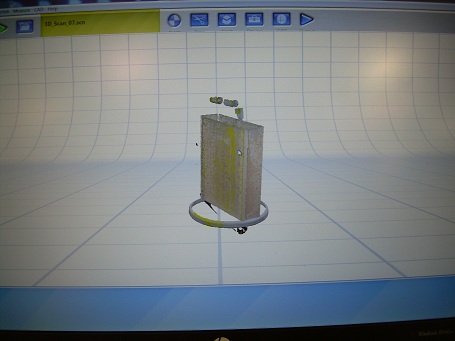
My scanned model was centered fairly well and scanned
with few flaws. Items learned from this scan included:
- Scanned objects
need to be centered
- Black
backgrounds are used to prevent background clutter
- Holders keep objects from vibrating as they are rotated
|
|
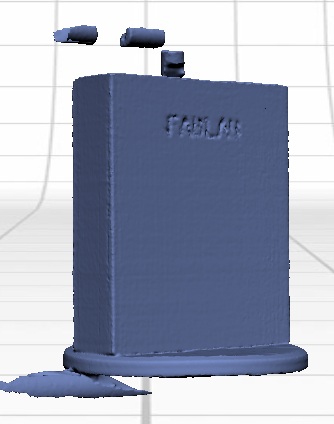
The
problem with proprietary
software - specific to a particular machine - is that retrieving files is difficult once the computer,
hardware and software are gone. I
tried exporting files from the scanning
computer to my USB
sticks. Only one or
two images were
saved. The original files are
attached to the
computer hooked to the scanner and are now
inaccessible. I went on to trim
the excess
appendages off of my model
after the scan was complete.
|
|
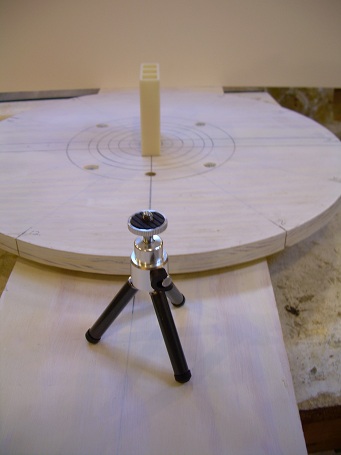
I attempted to make my own 3D printing setup in addition to working with a
purchased scanner. I used a lazy susan bearing and
hung the bottom platform off of the bottom
of the bearing. The center platform is held
stationary on a pillar that is attached
to a base resting on a table.
It was important to find the center of a square
before cutting the corners to make a circle. By making squares, finding
centers, then trimming boards to circles, the center point through all of
the pieces was maintained to
some degree of accuracy.
I looked at links online and
at the commercial printer. and saw
that there had marked concentric circles to indicate
center. I have rings to help align
objects. I included saw kerfs around the edge of the plywood circle
in 15 degree increments
to help determine camera angles.
In
addition to using scrap plywood from home
I had $8.19 in 1/2" x 2' x 4'
plywood; 1- 6" metal lazy
susan bearing; about
$8.00 in a cheap camera
tripod; and $ about 4.00
in bolts and
washers. The
action is smooth
enough. It is easy
enough to align. I used a
Nikon CoolPix L4 for
taking
pictures.
|
|
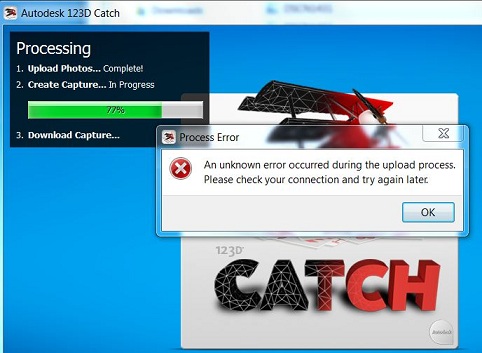
I tried taking 9 shots and importing them into Autodesk 123D Catch.
The upload went fine. The photos were compiled but
there was an error at the 77%
mark. I think there are several
problem that I will
continue to work on. They are:
- Inconsistent
exposure among photos
- Unlike the purchased scanner that uses a
black background the Autodesk software wants a
detailed background to help stitch photos together.
I need to remove
the white background -- maybe.
|

|
I wanted to make sure that the
error message I was getting was not due
to the scanned object being too similar to the
background. I took pictures of a bass bird/paper clip to be
sure. The same error appeared. I
tried taking photos using a paper plate on a
kitchen table and the error still appeared.
|
|
In both
cases 123D Catch indicated that the photos were uploaded.
During the create
capture I received:
Process Error:
An unknown error occurred during the upload
process. Please check your connectin and try again
later.
I can try the process at
a different time during the day. I am pretty sure my home
made image capturing device will
work. I
think I will need to visit the tutorials and spend more
time troubleshooting the issue. I
would also like to try using the Kinnect
sensor when time permits.
February 26:
I tried using 123D
catch from school and came up with the same
error. I then tried the
"email" response instead of the "wait" selection. The
email message indicates
that
"The application was
unable to create your
capture because not
enough of your images
could be stitched
together". It
refers me to the 123D
Catch site and the video
tutorials. I will
review them as I believe my
exposures aren't
consistent enough and
that there is not
enough background information
to allow the
stitching to
occur.
|
I took the
opportunity to photograph an indoor carousel on a recent
excursion. So far it is working to stitch the photos
of the carousel together using 123D catch. It
is taking a bit of time. I am afraid if I quit then
I will lose my work. We'll see what happens.
|

|
|
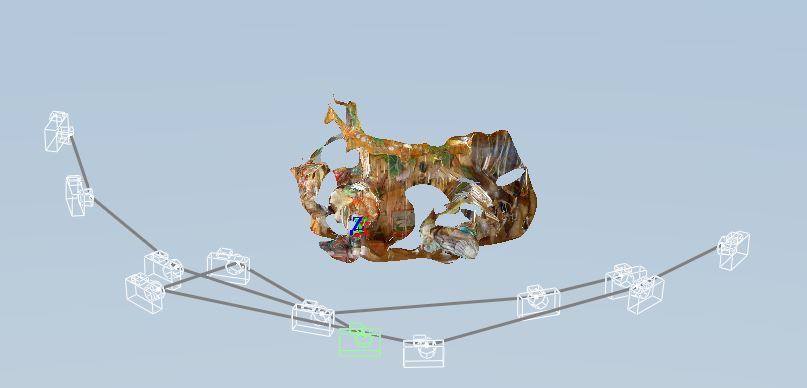
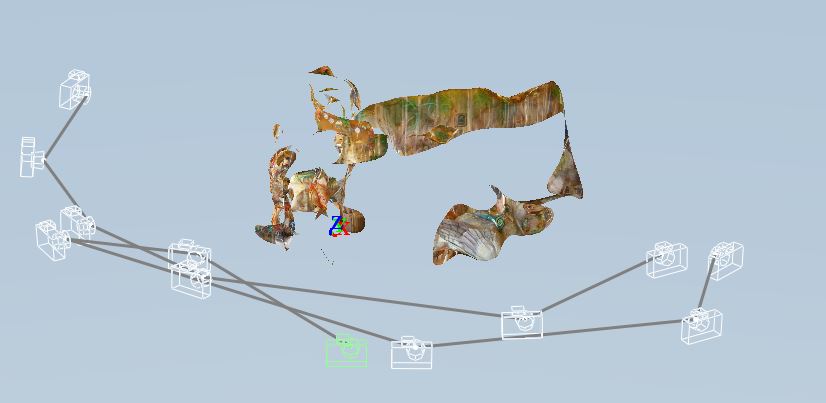
The photos I am
stitching together have more and more green arrows
indicating completion but the stitch looks much the same
as when I started. The first picture is the stitch
at the beginning of the process. The second shot
shows the stitch with photos halfway stitched. I
wish I would have taken more photos. There is too
little overlap in some of the photos to get good reference
points. I think I will also need to move more
dynamically between photos when I am stitching in order to
get the 3D effect.
|