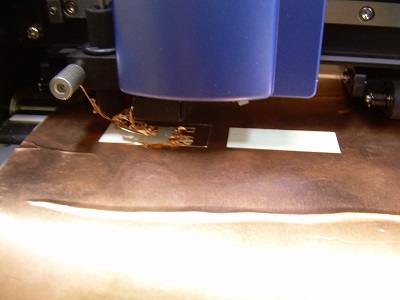
I changed from a speed of 8cm and pressure of 90 grams to a speed of 4cm and 110 grams. Still no luck
Using a lower force of 60 grams and a speed of 2 cm produced better results but there was still some lifting of the copper foil and there were places where the cuts did not go all the way through the copper.
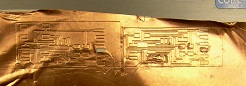
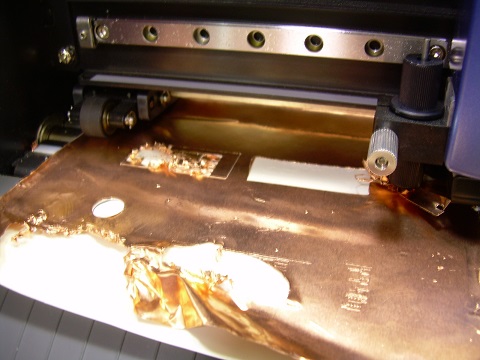
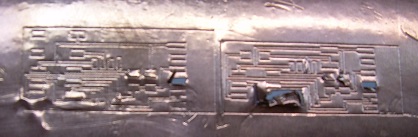
The final trials included 60 grams of force and a speed of 2cm with 2 cutting passes. This left dented lines in the copper and nothing more. The final trial was with 70 grams of force a speed of 2cm and multiple cuts. This produced lifting in finer areas and not enough blade penetration in others. I will return to the problem at at later date.
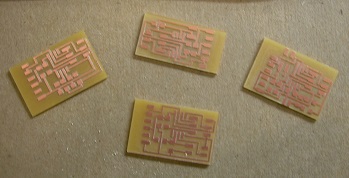
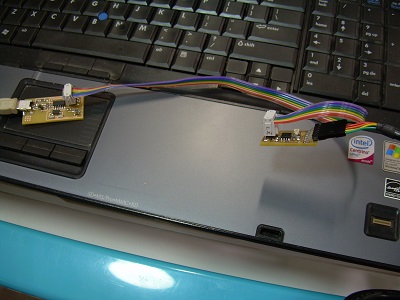
I used the Modela mill to mill 4 input circuit devices. I chose to start with the light sensor.
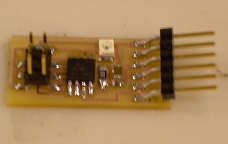
The light sensor is soldered and ready to go.
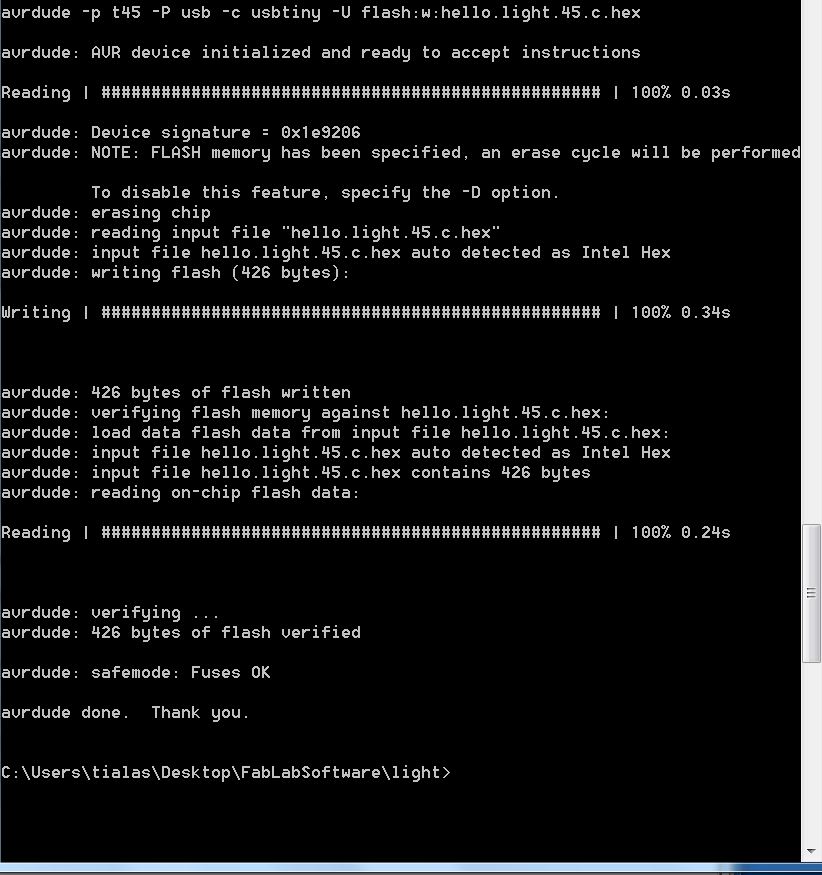
avrdude: 502 bytes of flash
written
avrdude: verifying flash memory
against hello.light.45.c.hex:
avrdude: load data flash data
from input file hello.light.45.c.hex:
avrdude: input file
hello.light.45.c.hex auto detected as Intel Hex
avrdude: input file
hello.light.45.c.hex contains 502 bytes
avrdude: reading on-chip flash
data:
Reading |
################################################## |
100% 0.20s
avrdude: verifying ...
avrdude: 502 bytes of flash
verified
avrdude: safemode: Fuses OK
avrdude done. Thank you.
make: warning: Clock skew
detected. Your build may be incomplete.
croppm@ubuntu:~/Desktop/Sensfile10$
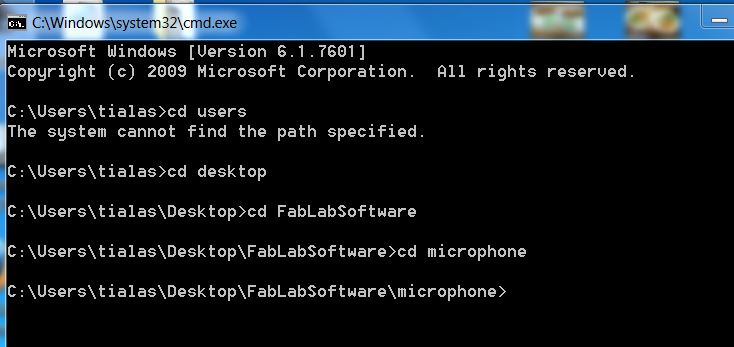
Blair and Anna are helping troubleshoot the problem. I am trying to get the the program to recognize the port I am using.
The next step is to type the USB port in
correctly. I need to watch
capitalization, use correct paths, and be very precise on my
coding instructions. The
process will continue.
Blair and Anna are helping troubleshoot the problem. I am trying to get the the program to recognize the port I am using.
croppm@ubuntu:~/Desktop/Sensfile10$
python hello.light.45.py /dev/ttyUSB
Traceback (most recent call
last):
File "hello.light.45.py", line
62, in <module>
ser = serial.Serial(port,9600)
File
"/usr/lib/python2.7/dist-packages/serial/serialutil.py",
line 260, in __init__
self.open()
File
"/usr/lib/python2.7/dist-packages/serial/serialposix.py",
line 276, in open
raise SerialException("could
not open port %s: %s" % (self._port, msg))
serial.serialutil.SerialException:
could not open port /dev/ttyUSB: [Errno 2] No such
file or directory: '/dev/ttyUSB'
croppm@ubuntu:~/Desktop/Sensfile10$
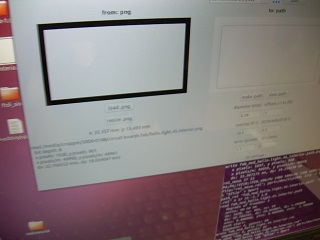
I have the python sensor
appearing on the desktop.
When I look in the Sensfile10
folder I have 2 new files.
One is hello.light.45.c.hex the
other is hello.light.45.out
I did some troubleshooting with Abu and with Anna. There are several items to look for when completing this unit. They are:
- Use Notepad++ and be sure to save files as Make files. Plain notepad converts files to text even if/when you do not choose this option.
- Make sure the ports you are plugged into are the ones identified in the code
- Double
check to make sure your syntax
- particularly paths - are correct between
what you saved and where you saved it.
The syntax and your paths need to match.
When all of the
issues are resolved
the program works well. The red
bar moves up and down as the
sensor is covered or exposed to
light..
the program works well. The red
bar moves up and down as the
sensor is covered or exposed to
light..

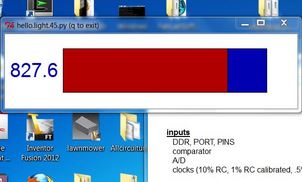
Clicking on the image to the left will link you to a video of the sensor working.