This week we focused on designing a 3D mold and producing a fiber composite in it. I helped design a tray and produced a composite of linen and epoxy resins.
In order to better understand the project for this week, I planned on working on a group project with two other students in my lab and then designing and completing my own project. Unfortunately, after quite a few adventures, I was only able to complete the group portion of the project. The description is below.
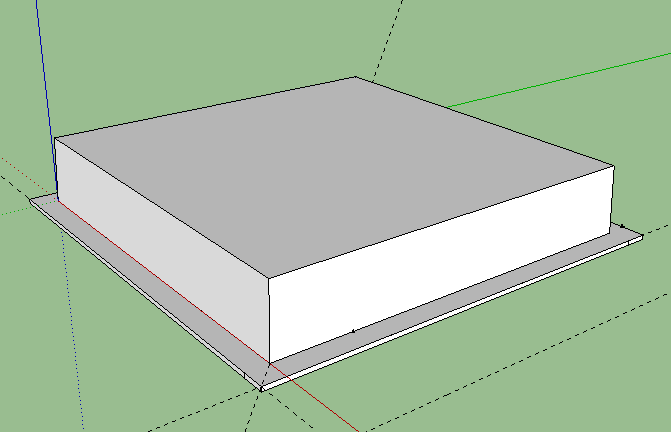
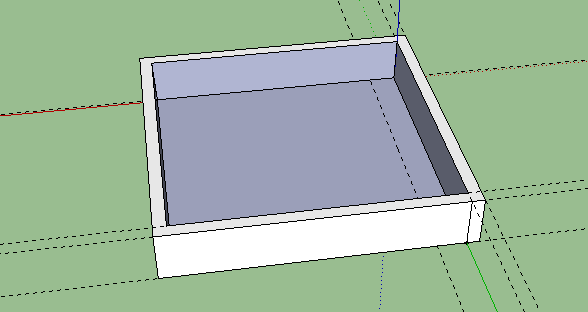
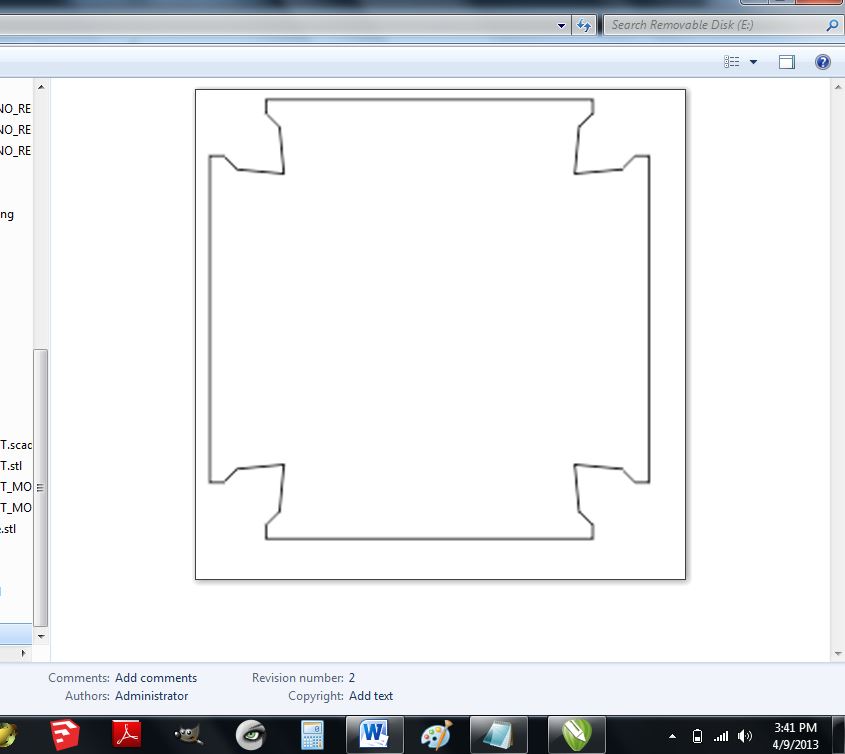
We first began by designing two molds for the trays in Sketchup: one female mold, and one male mold. After we finished designing the molds in sketchup, we exported them as .STL files and then opened them in Partworks 3D in order to create a toolpath for the shopbot to mill.
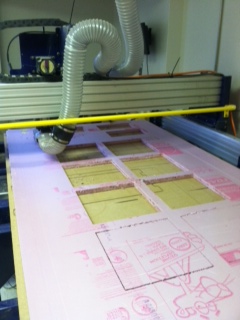
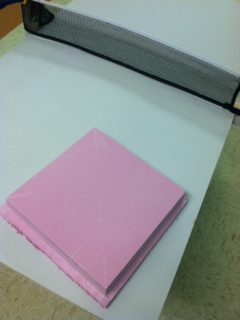
However, before we could mill the design, we needed to create squares that would be a good fit for a mold. Both of our molds were 12 x 12 x 2 inches; therefore, we needed to have material 12 x 12 that was at least 2 inches thick. We decided to use foam in order to make our mold. The thickness of the foam was slightly less than 1 inch, so we decided to cut out three squares of 12 x 12 foam in order to make sure we would have enough depth. We went into PartWorks in order to create the squares, and then we milled 6 of them (3 for each mold).
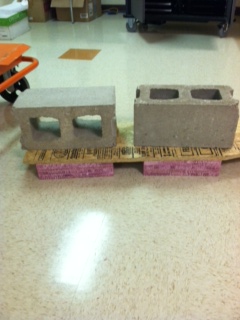
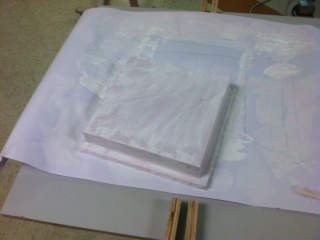
Once we had the squares cut out, we used spray adhesive in order to create a solid block of foam that could be machined. We used wood and bricks in order to hold the foam blocks down while the adhesive dried.
Once the foam blocks were ready to be milled for our molds, we drilled a thin piece of wood to the shopbot surface and then taped the foam squares to the wood. We uploaded the female mold toolpath into the shopbot program. We milled a rough cut and a final cut.
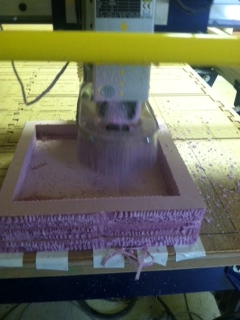
After the machine finished the milling the female mold, we were ready to move onto the next phase! However, at this point I learned a very crucial lesson: be sure to measure your mold to ensure that it has proper dimensions before you remove it from the machine bed. Had I done this, I would have saved myself ample time. Once we took the mold off the machine, we noticed that it was smaller than it was supposed to be. This was because I had mistakenly entered smaller dimensions into the PartWorks 3D file when I was setting up the toolpath. Had I checked the dimensions before removing the mold, I would have been able to just correct that mistake and remill. However, I had already changed the zero (for another milling) and removed my project. Therefore, I had to cut out more squares again in order to make another foam block.
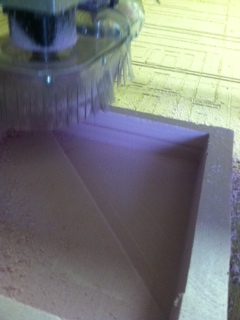
While we waited for the adhesive to dry on the new foam block, we began to work on milling the male mold with the second block of foam that we already had. After the Z zero was set, I had to reset the drivers. While my X and Y zeroes stayed the same, it seems that my Z zero changed, and the machine cut deeper into my mold than I had designed it to.
Instead of starting from scratch, I measured how much deeper the machine had milled than it was supposed to mill. I then created a 12 x 12 square in Partworks to be milled as a pocket with a cut depth set to the amount of extra material on top of the tray.
Meanwhile, we also created a design for the linen to be used to cover the mold in CorelDraw. We used the laser cutter to cut paper for the mold to make sure that it fit, and then we cut the linen.
After the male tray was ready, we used Gesso in order give it a dry, even layer on the outside of the foam.
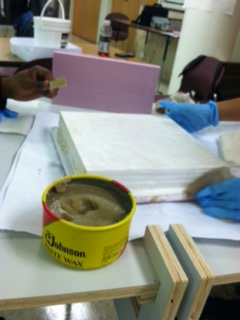
We then applied a thin coat of paste wax onto the mold so that we would be able to remove the composite after vacuuming.
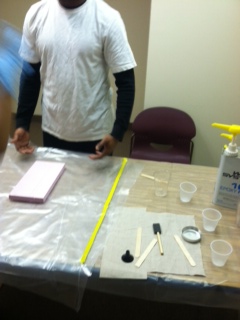
We then did a dry run in order to make sure that when we used vacuum bagging, we would have everything set up so that the Epoxy would not heat and harden without us being ready.
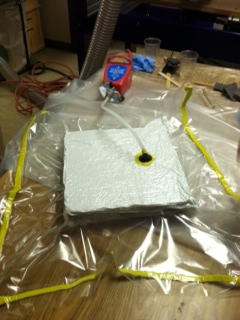
We then applied the epoxy resin to the linen as we laid 6 layers onto our mold. We then used perforated film, breather material, and a vacuum bag in order to secure the composite.
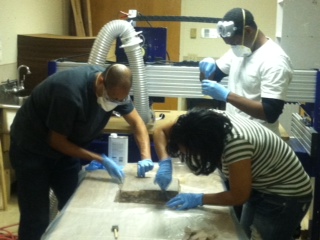
We used mastic tape in order to seal the bag. We cut a small hole in the bag above the breather material and placed the suction cup of the vacuum on top of the hole.
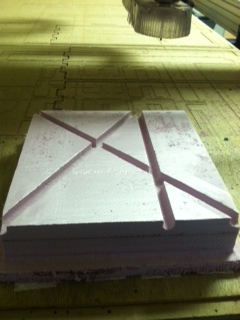
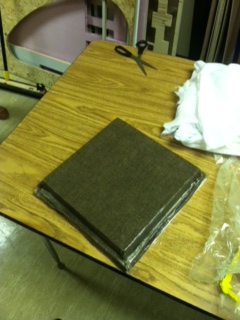
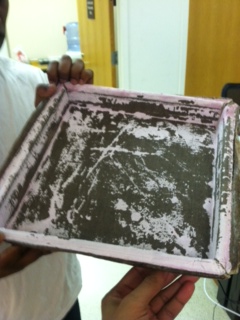
An hour and a half later we opened the bag and cut away the material to release the composite. Unfortunately, the composite did not release smoothly from the mold. Another important lesson we learned is that we probably should have applied a lot more paste wax to the mold so that the composite could have released more easily and not stuck to the mold.
We recut the female mold with the proper dimensions; however, we were not able to go through the vacuum bagging process in time.