
Who am I
My name is Francisco Sanchez Arroyo, I am 40 years old and father of two wonderful kids. I have a Civil Engineering educational background which brought me my passion for tall buildings and structural engineering.

Where am I
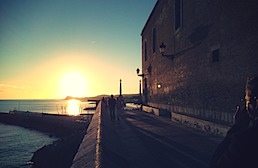
I took the Fab Academy course in Fablab Barcelona, but I live in Sitges, a very cute coast town 25 miles to the south of Barcelona that you should absolutely visit when you come to Fab10.
The original idea and the evolution
Initially conceived as a 5 degrees of freedom portable video arm for taking complex timelapse video scenes and to dance to the music, the project has been evolving quite a lot over the weeks. The materials were supposed to be hi-tech carbon fiber and stainless steel and ended up in a race for salvage or fabricate everything. I have to admit that I had no idea of how it was going to be operated.
It is not the strongest of the species that survives,
nor the most intelligent that survives.
It is the one that is the most adaptable to change.
- Charles Darwin -
Although a robotic arm is a multipurpose tool, the function which I am presenting is a light painting arm. The arm has a RGB LED in the end effector and the goal is to be able to represent geometrical figures in the air, and even decode an image into a matrix of coordinates and colors and painting it with light. That's the goal.
The result
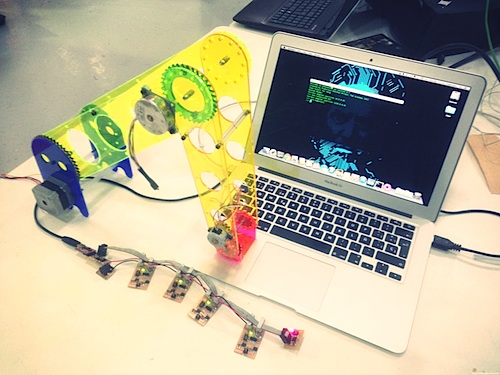
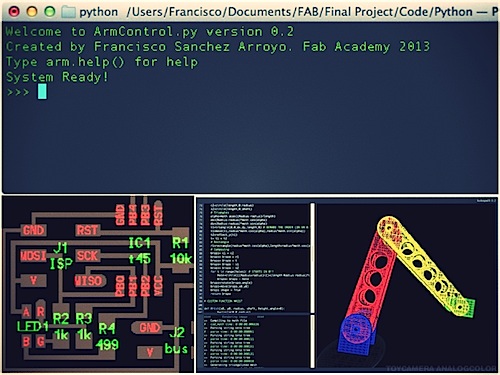
FAB 9000 is a robotic arm made from acrylic leftovers from other students, some salvaged components from electronic waste and standard stepper motors. It has been entirely designed in kokopelli (both CAD and electronics). The electronics are hybrid boards, a mix of output and input devices with network nodes.
Real Time Control
I created a Real Time Control Framework for operating the arm. It is a Python script that you import in a Python environment and loads a class with all the commands to operate the arm. When you call a method it makes some calculations and sends step by step commands via serial communication in real time to the stepper boards and the LED board, which are nodes of the network.
The language is inspired by the Turtle Logo language developed in 1967 by Danny Bobrow, Wally Feurzeig and Seymour Papert. So there are a basic set of instructions like changing the color of the LED or moving the angles of the parts. Once Fab Academy is over, I'll keep improving the code in github, adding more and more functions to the library, so that it becomes a powerful open framework for manipulating all sort of robotic arms.
Physics inside
I found a way to compute basic physics simulation inside the kokopelli CAD script. It is not a FEM/FEA solution just an example of the potential of integrating code into CAD. I found a workaround to analytically calculate the area of my parts. From here I derive the mass and it computes the required torque of the motors for every joint. A future goal is that the color of the parts will change according to the internal stress.
Easter Eggs
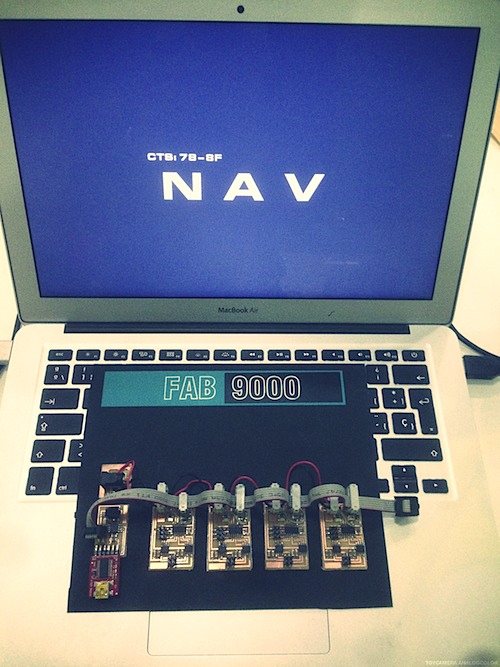
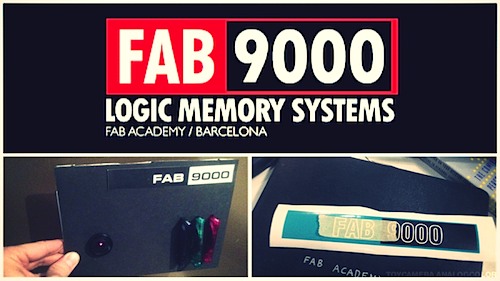
I couldn't resist to add references to my favorite movie, 2001 a Space Odyssey, so like all the 9000 computer series, it won't let you turn it off. There are also some easter eggs that you will have to find for yourself.
What worked, what didn't
Computer design through kokopelli and fab modules has proved to be a very fast and efficient way of prototyping all kind of parts. And both still have a great potential to become the definitive tools. I don't use anything else now.
Real Time Virtual Control works quite well at the targeted speeds and saved me a lot of time developing the software because all the intelligence remains in the virtual control environment and I don't have to recode the boards anymore, no matter what functionality I want to add. It is just like a modular structure. You don't need to know the final shape when you design it, you build it on the fly. And since the 4 core processor of my computer has way more processing power than the 4k ATtiny, the Virtual Control is expected to achieve results unreachable for an embedded system.
I experienced some problems with the torque of the salvaged motors probably due to incorrect settings in the PWM and delay cycles, so I finally used standard Nema23 motors for rotating, shoulder and elbow joints and a small Nema8 motor for the wrist joint.
Also trying to fabricate a timing belt was not successful. Lasercut belts had too much backslash. And a molding and casting belt did not have enough tensile strength so I ended up using a salvaged one.
Code everywhere
This project is 100% code. There is obviously code embedded inside the microcontrollers, but also the documentation is HTML code, the electronics design and CAD design is code made in kokopelli, and the way you interact with the arm is through code as well, in a virtual control Python environment. I like the idea because code can self replicate and create new code. You won't achieve this with any piece of software. Fab Academy was about learning, making and sharing, but it was also about turning codes into things, and reaching that point makes me very happy. And the most wonderful is that all of this has been unexpectedly made using the most simple but at the same time the most powerful of the tools. A text editor.
Download the code
This is the latest snapshot version from Fab Academy 2013. Ongoing development will continue in github. All my work is free code distributed under the MIT license.
Mechanical design (code
for kokopelli 0.2)
Motor Gear, arm
gear (code for kokopelli 0.2)
Molding and casting Timing Belt
(code for kokopelli 0.2)
Bridge board
(code for kokopelli 0.05)
Stepper
driver node board (code for kokopelli 0.05) (Requires a wire
bridge between GND pads of J2 Power and J3 Bus)
Stepper
driver node 1 embedded C code, makefile
Stepper
driver node 2 embedded C code, makefile
Stepper
driver node 3 embedded C code, makefile
Stepper
driver node 4 embedded C code, makefile
RGB node board
(code for kokopelli 0.05)
RGB node embedded C code,
makefile
Virtual control ArmControl.py
(code for Python interpreter)
Read the whole story
Are you interested in how I made and progressed with FAB 9000? It all started in Fab Academy week 1. At the end of January I also started a blog section with the progress of the final project. Later, in week 16 assignment, I made an extended project planning and in week 17 assignment I created a plan for dissemination of FAB 9000. On July 15th FAB 9000 was accepted in the first European Edition of Maker Faire that will take place in Rome from the 3rd till 6th of October. Come see me there! (Maker ID 196).

Acknowledgements
I would like to express my deep gratitude to Professor Neil Gershenfeld, director of Fab Academy, for his patient guidance, enthusiastic encouragement and useful critiques during my research. I would like to express my very great appreciation to Tomas Diez for giving me the opportunity to participate in Fab Academy and awakening the digital revolution in me. I would also like to thank Luciano Betoldi, for his advice and continuous assistance in keeping my progress on track. My grateful thanks are also extended to Mathew Keeter for creating kokopelli and helping me with it, to Evan Jones, who helped me in coding the arms of this project, to Guillem Camprodon for hammering with the real time control and to all my buddies in Fablab Barcelona, for their support and great life lessons. I would also like to extend my thanks to Anastacia and Anya, the operators of the laboratory for their help and patience in offering me all the resources. Finally, I wish to thank my wife and family for their support and encouragement throughout my study.
What I learned, made and shared here is thanks to you all.