Academy 2013
Molding
I had a lot of fun this week in Molding and casting. I
wanted to make an object with two sides so I decided to make
the chess piece knight I used two weeks ago in 3D Scanning and Printing. The molds
are lot more accurate than the 3D printer so I was looking
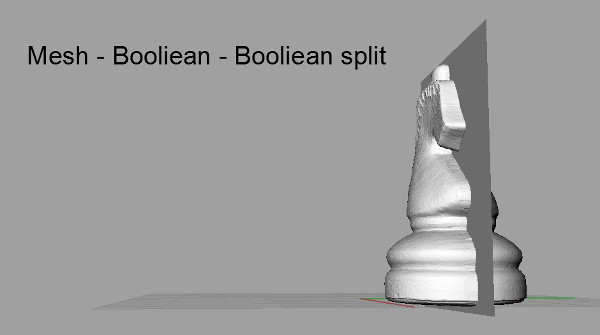
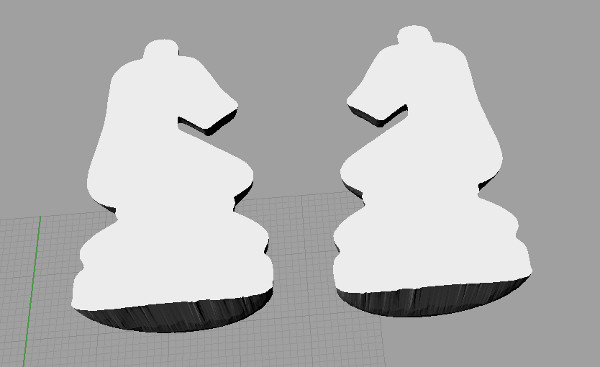
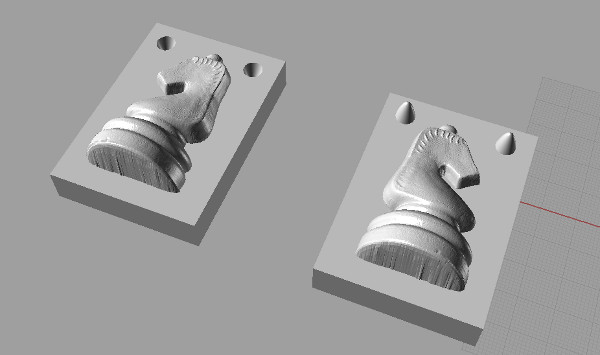
forward to see the outcome.I made the molds in Rhino 4.0. First I had to split my knight in half, I did that by making a plane where I got in Surface and I put it in the center of the knight. Next I went to Mesh, Boolean and clicked on Boolean split. This tool splits the knight in to two pieces on eather side of the plane.
Next thing I had to do was to put the knights on top of a box and make an shape on both sides of the box so I could fit them together when I did the casting part. On one of the box the shape would be going up but on the other one it would be cutting in the material. Afterwards I think I would have like to put the shapes on opposite corner insted of next to each other because it would have been more accurate.

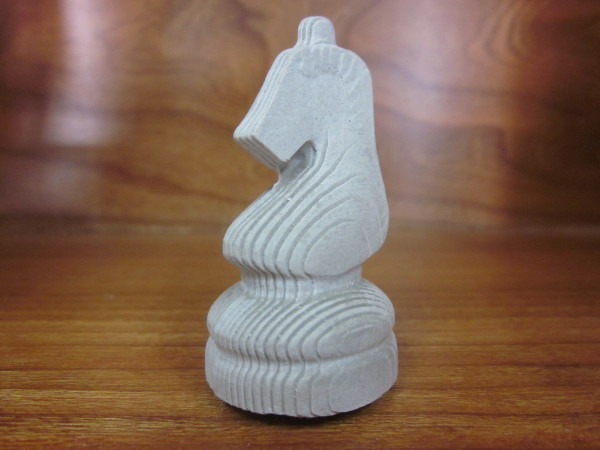
And here is a picture of the knight after the Finishing
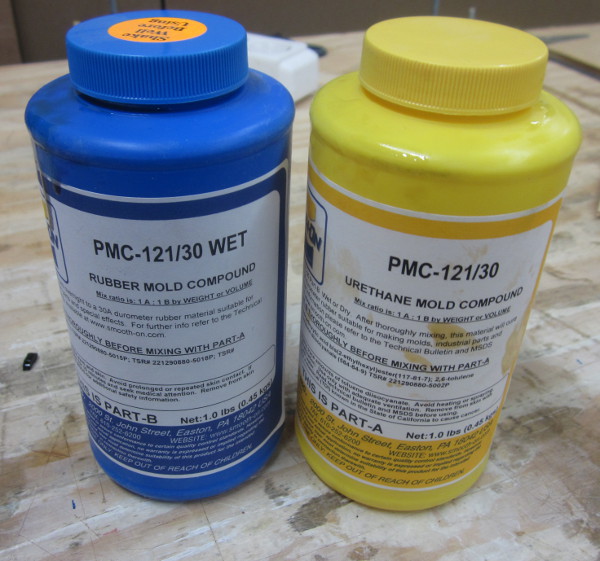
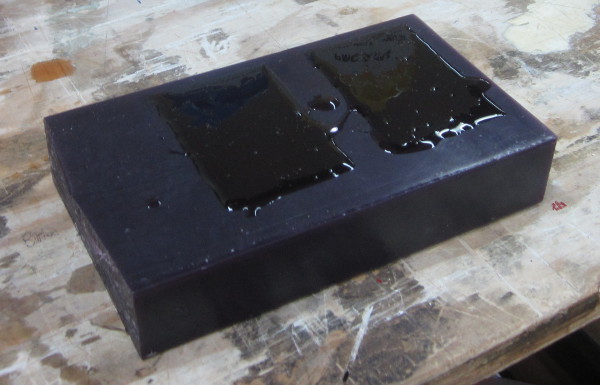
The next thing I had to do was to put two liquids in a cup and then pour them into the mold. These liquids then dry and make a silicone rubber mold. The drying process takes a long time so after I poured the liquids in the wax and left it over night.
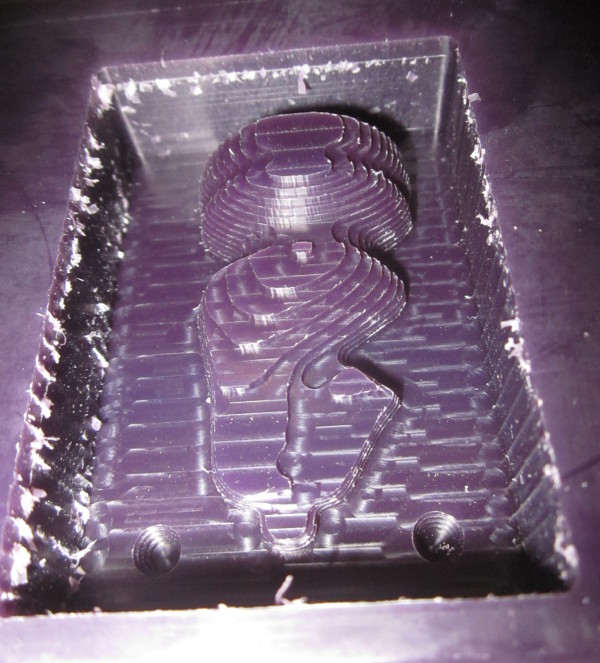
Here is the wax mold filled with silicone
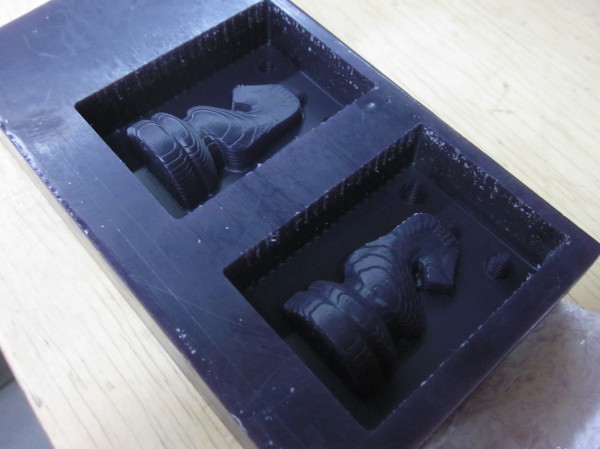
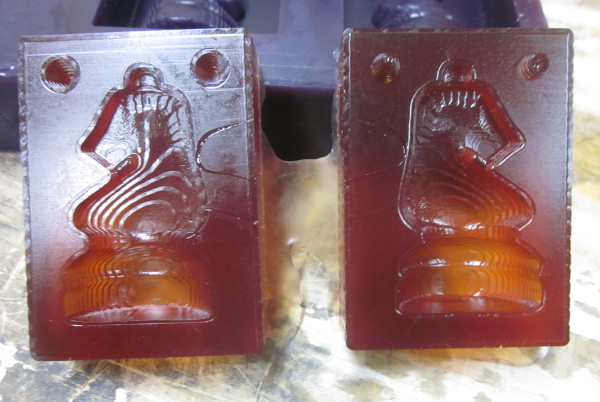
And here are the silicone rubber molds ready
Casting
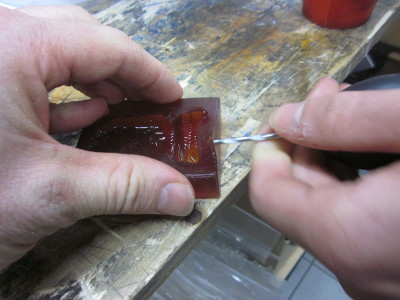
Now I had to use the mold to make a new
object. First thing I had to do was to
was to make a hole in the silicone
rubber so I could pour the something in
it. This was something I probably should
have done in the computer but with a
sharp cutter knife and a drill I made
two holes, one bigger for the material
and one smaller for air to get out.
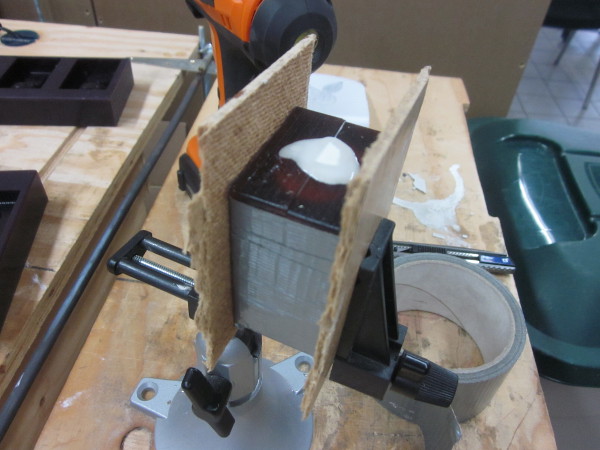
We had some Gypsum cement which I used
to make a new knight. To get the cement
wet I put some water in it, I heard
somewhere that the cement should be as
thick as an yogurt. When I was satisfied
with the thickness of it I got the
silicon rubber, first I put some soap in
it to make it easier to take the stone
knight out and then I put them together
and taped the sides so the cement
wouldn't leak out on the joins. Next I
got a stative and put the silicon on it.
Then I took my cup of wet cement and
poured it into the silicon mold. Now I
had to wait.
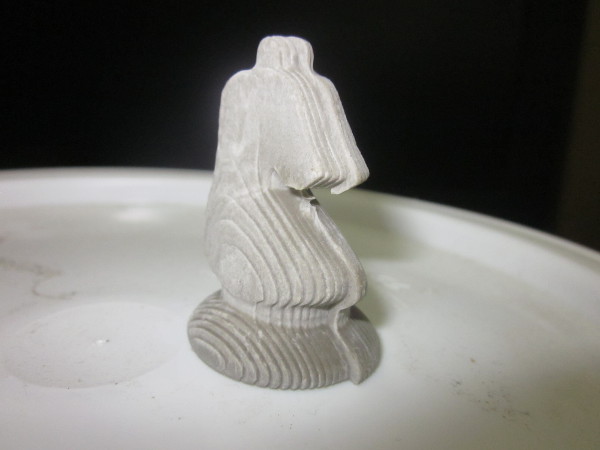
And here is the knight perfected
Making plastic object
I have tried to use liquit plastic once
before and that did not work out, the
plastic got stuck on the silicone and it
all the air bubbles blew up and destroyed
the object. Now I wanted to try that
out again for some reason it didn't
work out too. I have to ask for some
help the next time I try the liquit
plastic.
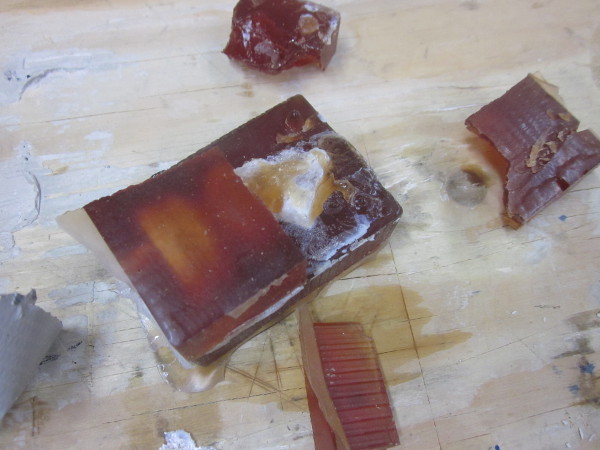
Here is the plastic
knight piece stuck in the silicon
rubber
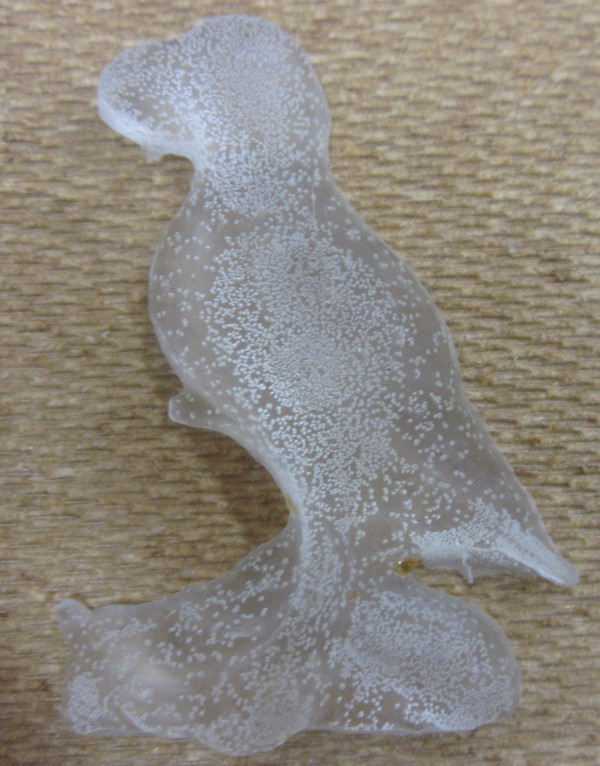
I made to much of liquit
plastic so I found an old puffin
mold and put the remnant in it and
that worked out good.
Here
is a picture of the puffin