Academy 2013

Chess pieces, knights
3D Scanning
Duck
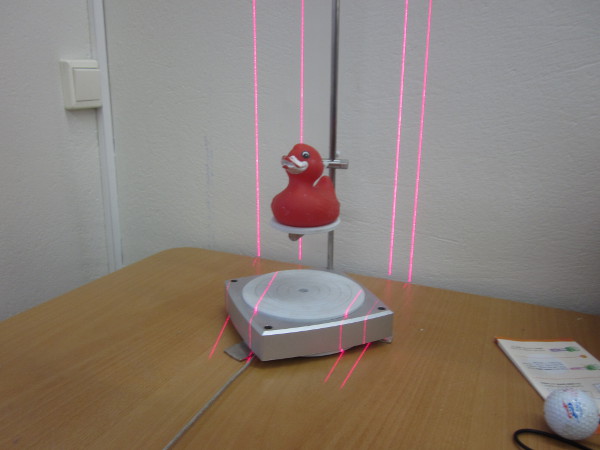
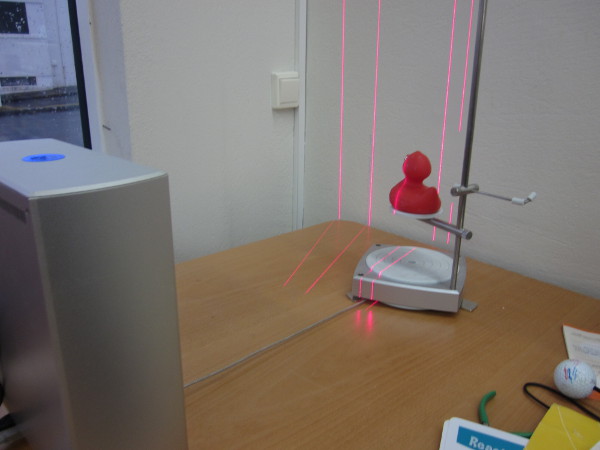
My first project in 3D scanning was to 3D scan a rubber
duck. I plugged in the 3D scanner which hadn't been used
in few months and I began the scanning. Before I scanned
in the duck I had to make sure the scanner knew how to
puzzle it together in the computer so I wrote small
numbers all over the red body of the duck. That made all
the work in the computer a lot easier.
Here is the duck ready to be scanned
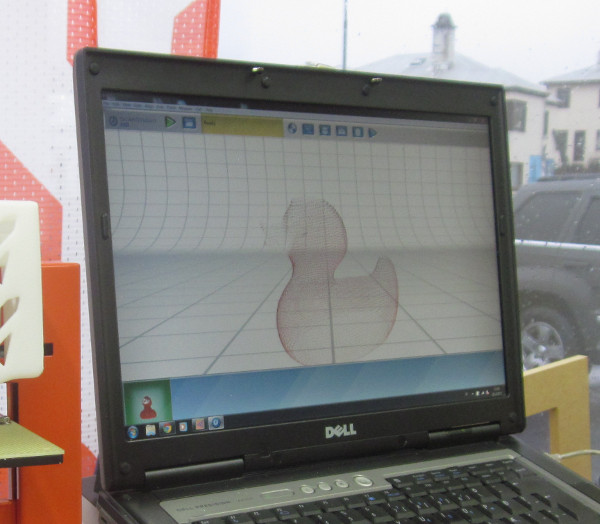
The duck ready in computer
Here is a video of the duck being scanned
Chess pieces
Here in Fab Lab we had two chess pieces made of glass,
one pawn and one broken knight. I wanted to fix the knight
somehow so my first idea was to scan in both pieces and
fix the bottom part from the pawn to the broken bottom
part of the knight, because they where the same size.
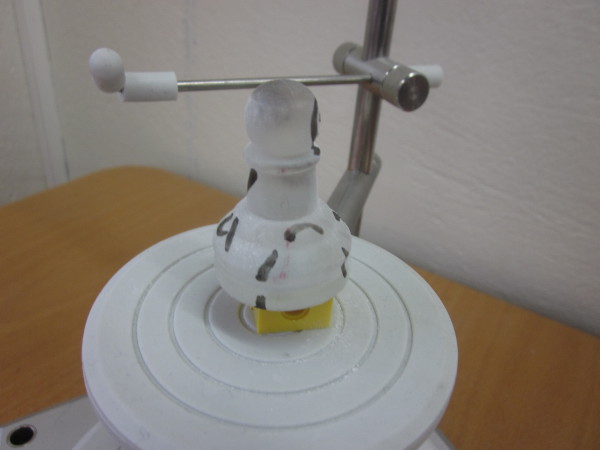
I wasn't very optimistic because the scanner wasn't 100%
accurate but I gave it a go anyway. I had to draw lines
and shapes on the pawn and cover it in chalk to make it
the glass more blurry
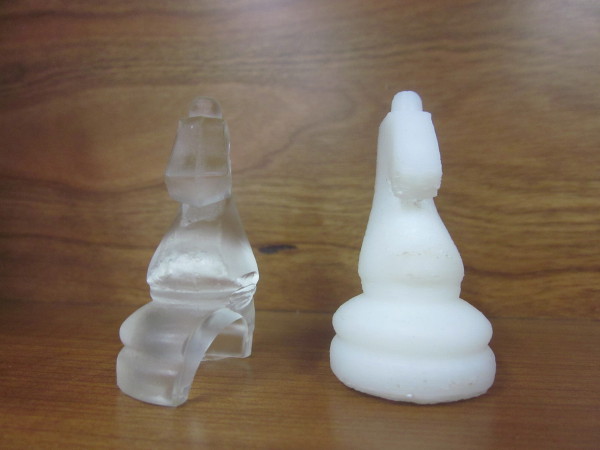
Here is a picture of the pawn
Here is the outcome
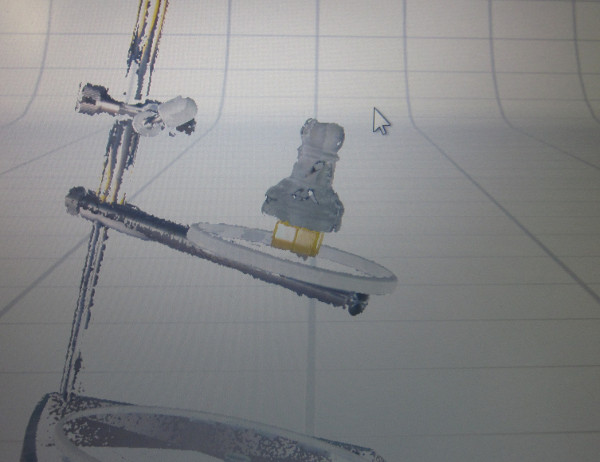
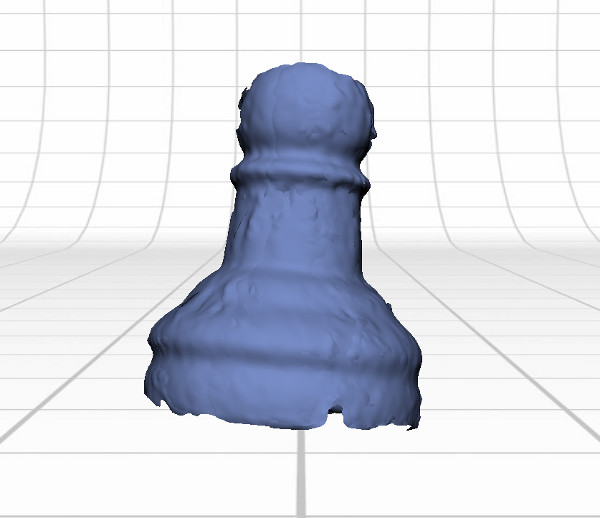
Like you probably see on these pictures
above the scanning wasn't completely accurate so I decided
to go with an another method.
Modela scanning
Scanning with the Roland Modela is something I'd never try so was exited to see how that would turn out. The idea of using the Modela was perfect because it was a lot more accurate than the Laser scanner and also it only scanned one side of the piece which was the only thing I needed to make a new knight.
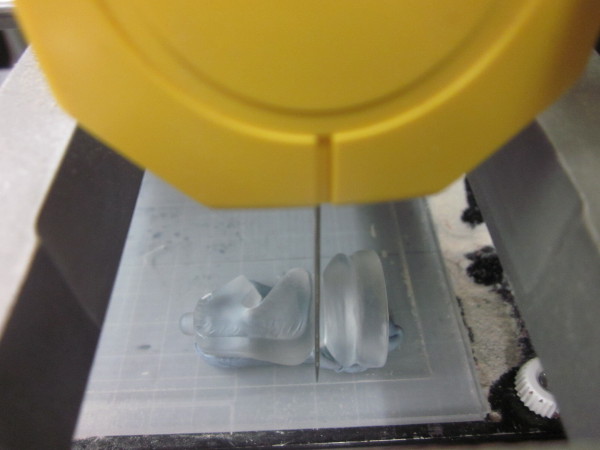
To get me started I watched this video here Frosti made some years ago.After watching the video I put the broken knight in the machine and to make the knight stable I used a lot of blue-tack. After the knight was comfortably placed on the board I changed the milling machine into a 3D scanner by taking the drill out and put a long needle on instead.
Here you can see the knight blue-tacked to the board and the needle ready to scan
Before I could open the program I was going to use I had to change the port like in the video. These are the instuctions for how to do that:
- My Computer - Propertise
- Harware - Device Manager
- Ports (COM&LPT)
- Communication Port (COM1)
- Resources - Basic configuration 000
- Ok - Yes
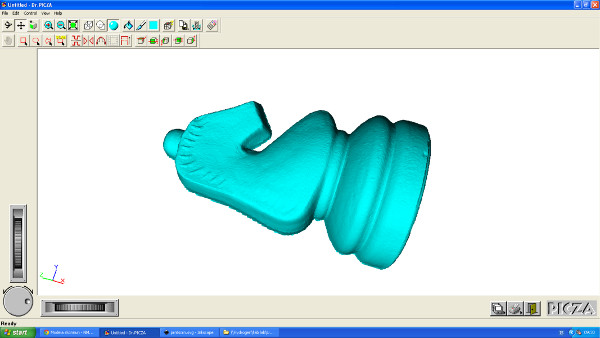
After that the scanning process was quite easy, I opened program called Dr. PICZA. First I clicked on Scanning area and in there are all the settings for the machine. I began to scale the blue square so it was covering the area of the knight, by double clicking on the small boxes around the blue square you move the needle to that point.
Next I defined the highest point of the object, by doing that I am saving a lot of time in the scanning process.
The third thing I did was to tell the machine how often it should touch each millimeter on both X and Y axis. My settings where 0.25 per millimeter but the program allows you to go down to 0.05 per millimeter.
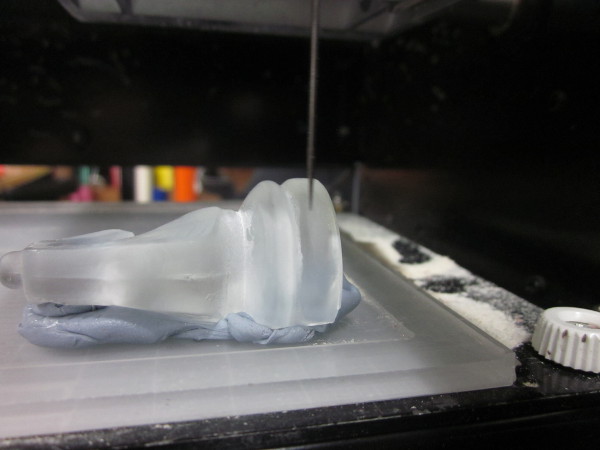
After all that I pressed Scan and the needle started scanning. This tecnince is a lot more accurate but takes a long time
Here is the needle searching for the object
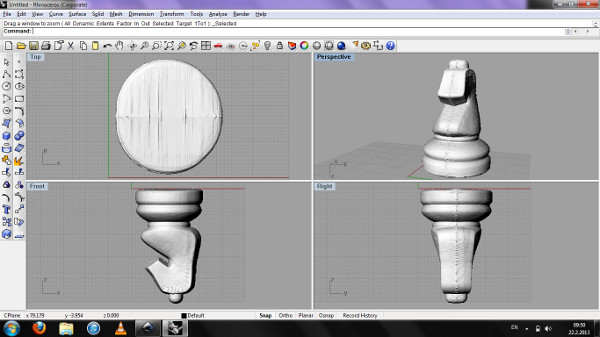
Like I sad erlier this is just over half a knight so now I had to design the rest of it in 3D program. I choosed Rhino 4.0.
At first I mirrored the object and put it next to the other half so now I had a whole knigt. The only problem was that it was a bit fat because the scanning took a litle bit more than half a knight so I moved the other half inside of the other one. After that the two pieces where sticking out of each other on the joints. I fixed that by going into Mesh and click Boolian Intersection.
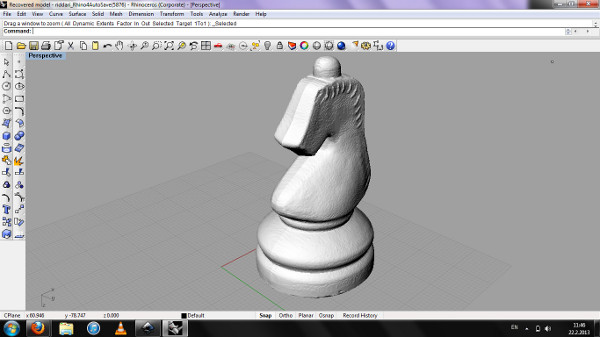
Now I exportet my knight as a .stl and it was ready for printing.
Here he is again fixed and ready to be printed
Scanning with 123D catch
Few weeks ago this man called Stjáni came to us
and was asking if we could make a statue of him and his
friend, we told him that wouldn't be a problem and told
him to sit down and stay still. Then we took out our
camera and we started taking pictures of him. I opened
123D catch and uploaded the photos in the program. When
you use 123D make sure that the backround does not change
and take pictures from all angles. Also do not use flash
og any auto setting on your camera.
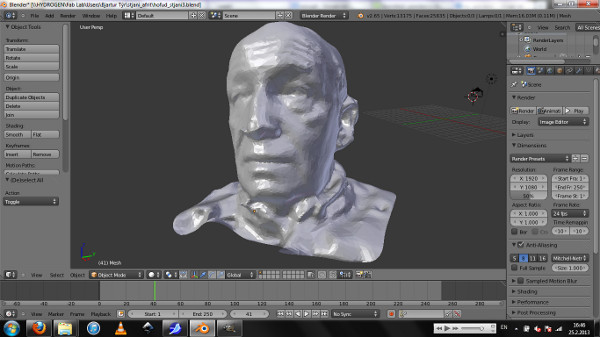
When we got the result back we saw that there weren't
enough pictures on the back of his head and there was a
small hole back there.
His grandson came to Fab Lab and wanted to do something
fun and we told him he could finish his grandfathers head,
he is now lerning to use Blender and trying to close up
the holes and then we will teach him to print it out in
the 3D printer.
3D Printing
Knot
Our 3D printer has been having some troubles for couple
of weeks now so the first project this week was to fix
that. The problem was that the board was way to low and
when it startet printing nothing happend because it was
printing in the air. I got the board up and to the right
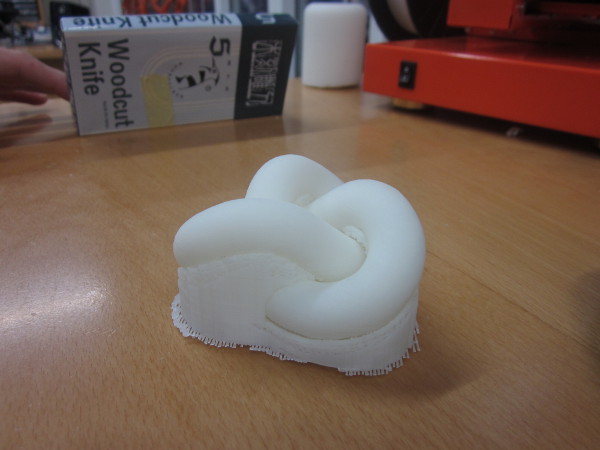
place and changes the plate. Now I wanted to see if the
printer was working right so I printed out this knot which
was already in the program Up!
Printing out from Up! is surprisingly easy, you get tools
like scale, rotate and move and then you press auto place
to put the object to the centre of the platform. Next
thing to do is press print and than you're good to go.
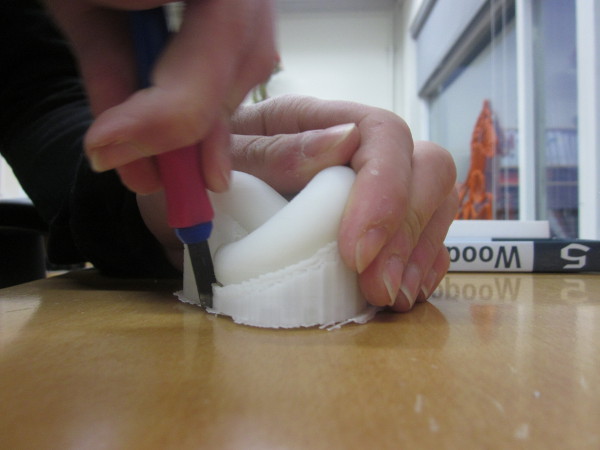
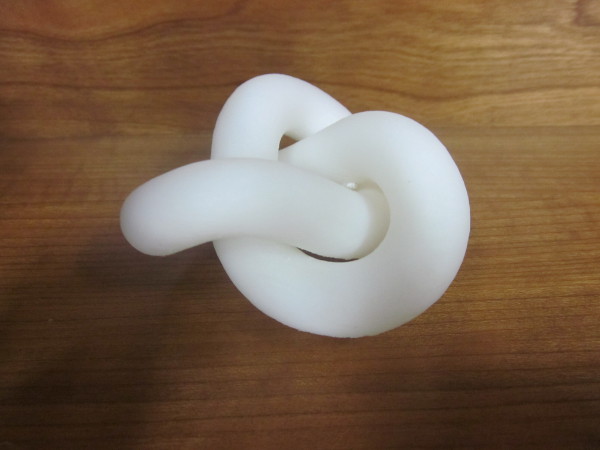
Here are some pictures of the knot in
devolpment:
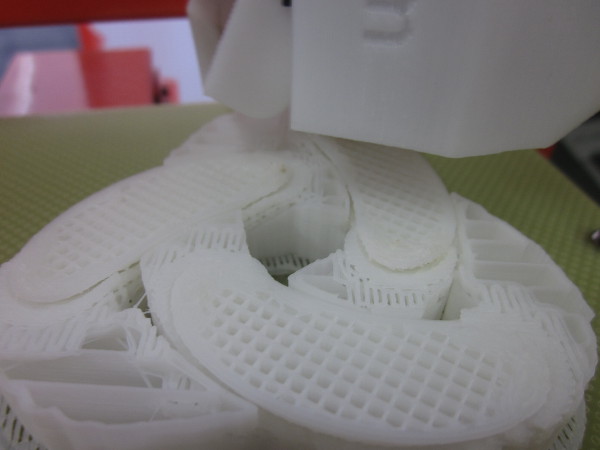
Here is a video of the 3D printer in action, printing out
the knot
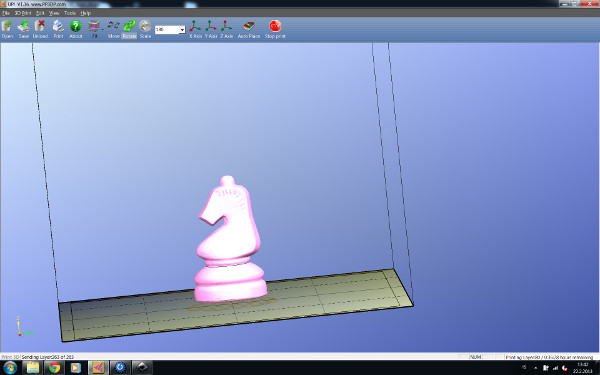
Printing out a chess knight
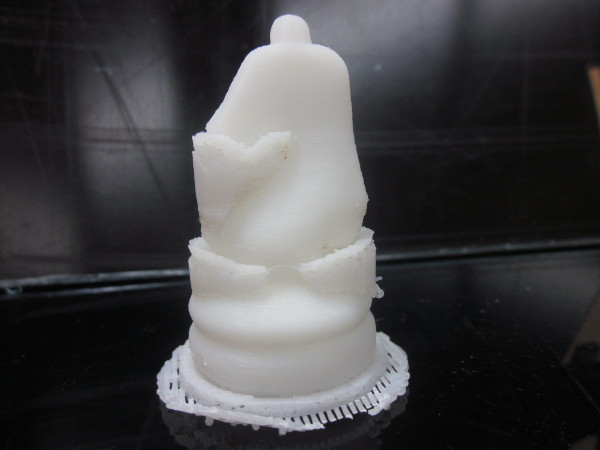
After getting the 3D printer running again I brougt out my knight and opened the .stl file for it. I didn't scale it because the size was already just like the original one so I pressed auto place and the knight was in the centre, then I pressed print and it took about one and a half an hour to print it out.
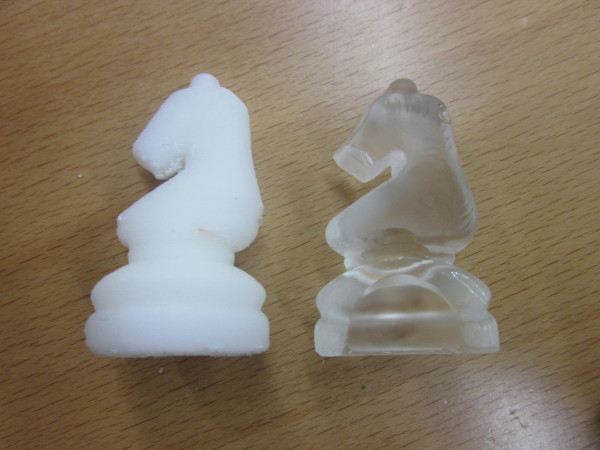
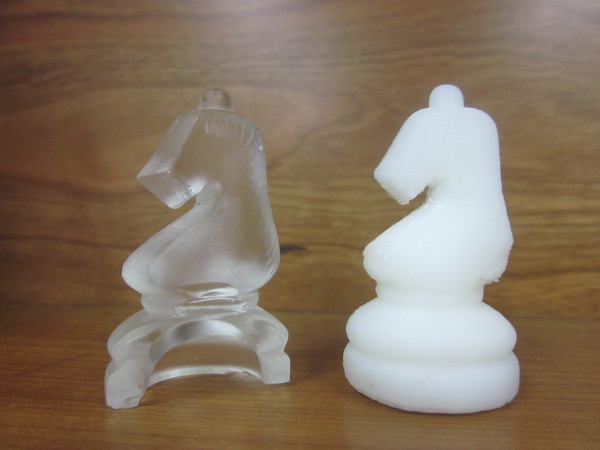
Here are some pictures of the knight after
it was printed with the original glass one