Mechanical and Machine Design
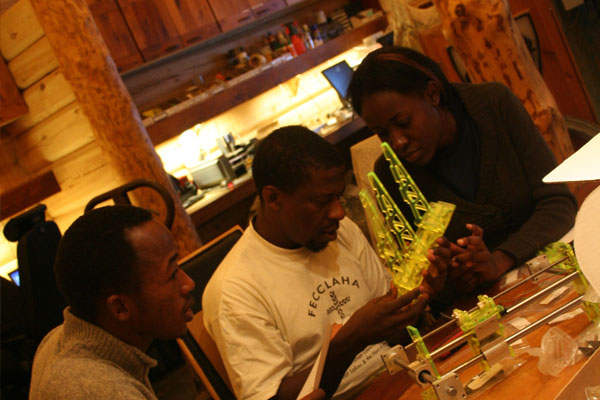 |
The first 3D printer I ever build was in the Norway Lab. A wonderful place of sauna's, northern light, kind and warm people, and a super cool space
with all the machines you'd ever want (well, ok, we could add some... but you get the picture). O yeah, I also met my wife there :) |
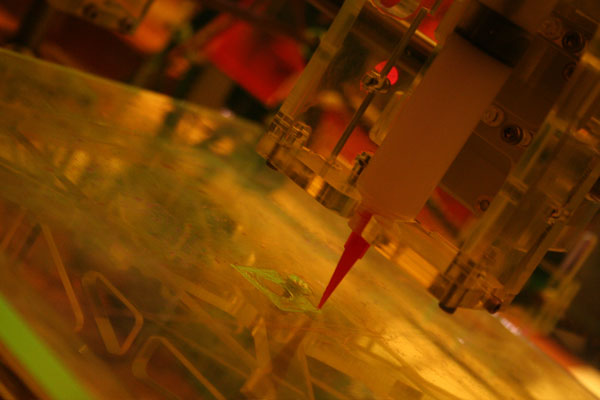
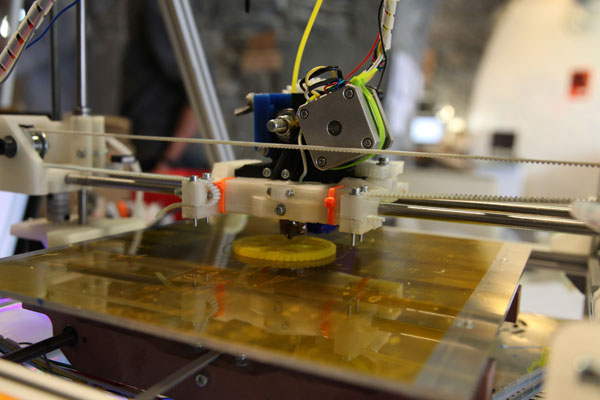
To the left you'll find a nice video with pictures from that printer building workshop. Evan Malone was there to lend us a hand... These printers basically did the same as most (low cost) printers do nowadays; extruding material that solidifies once it's placed where you want it to be. The materials are such that every layer sticks to the previous one, and the one after. The printers we build in Norway used syringes to extrude a plastic, which did not work great, but then again this was in 2008. Printers we build now use plastic fillament that gets pushed into a heated nozzle and extrude material that way. Cool building technique used for the Fab@home was fixing nuts in the plexi with soldering irons. You can see this being done in the youtube vid. Basically you laser cut a circular hole in the plexi, then put the tip of a soldering iron into a nut, and push it gently into the hole. This will 'sink' the nut into the plastic and will keep it in place once cooled off... |
|
 |
 |
 |
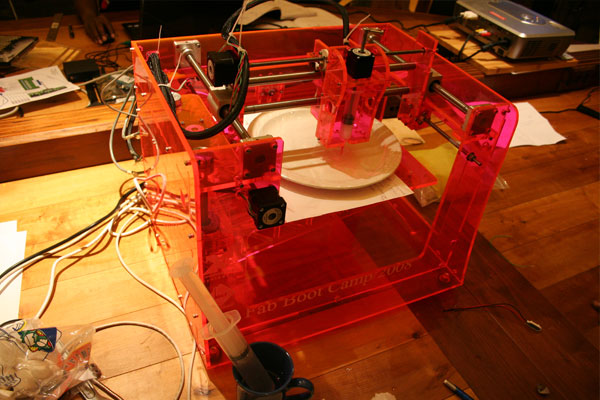
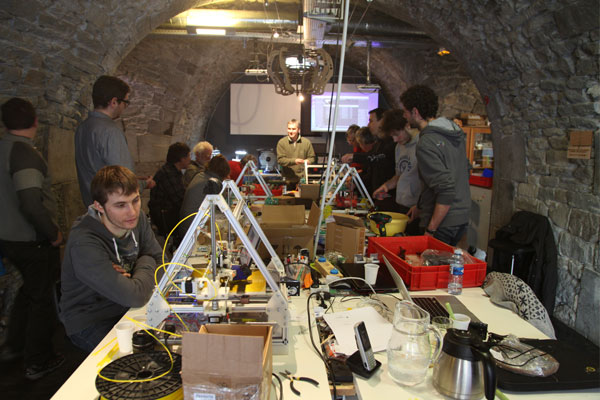
We currently run 3D printer building workshops once every 2 months in our lab. (Wanna come build one? Sign up here)
and as I said before, the printers we are building use the fused fillament technique; they extrude plastic fillament trough a heated nozzle and deposit this on a platform. We accept 5 people (or teams) max. and since we started this
we have build about 16 printers in the lab... |
 |
 |
 |
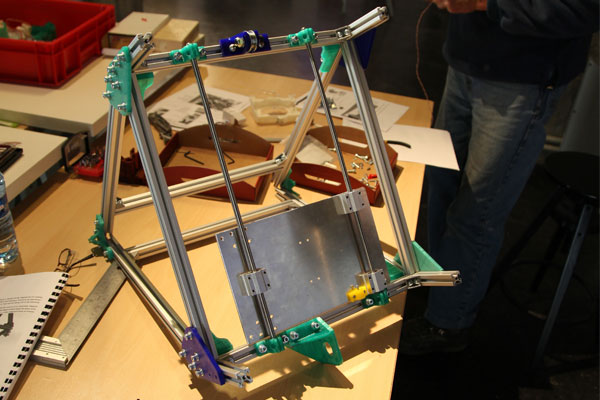
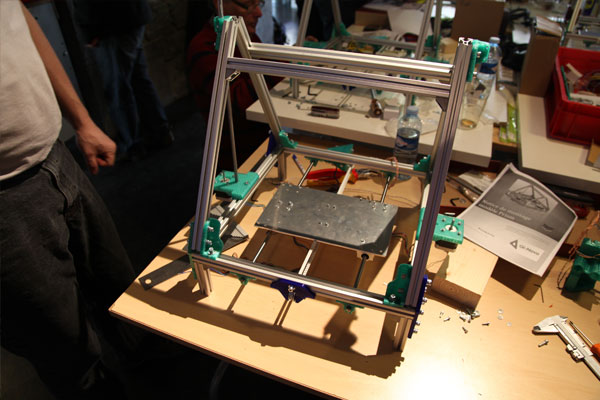
Fun thing is that sometimes during the workshops participants come up with a smarter way to fix certain components, so we print them during the workshop and all the printers leave the lab
as an upgraded model :) The printers we build are RepRap Prism based, with aluminium profiles that are fixed together with 3D printed pieces. We advice the participants to print some of the pieces once they finished
their machine, in case they break (like the gears on the extruder). This way all our participants are 'autonomous' with their machines once they leave the lab. They often come back anyway, for a chat or to help
when they know there is another workshop. We don't sell the kits for the printers without the workshop, because we want people to be able to understand, and even repair their machine when needed. These printers have the extruder head that moves in the X and Z direction, and the printbed in the Y. The Z is done with threaded rods, and the X and Y with belts. |
 |
 |