week 7, mar 6
weekly assignment: molding and casting
tools
hardware:the milling will be done with our SHERLING milling machine.
software:
object and mold design: AUTOCAD
STL optimizing: NetFabb.com
GCODE generation: FAB MODULES
milling machine control: LinuxCNC (emc2)
materials:
machinable wax block, size 87/79/37mm
silicone rubber: smooth-on mold max 30
gypsum
designing
the idea was to design an architectural repeating element that can be stacked one above the other at different angles to create a wall or some other spatial construct.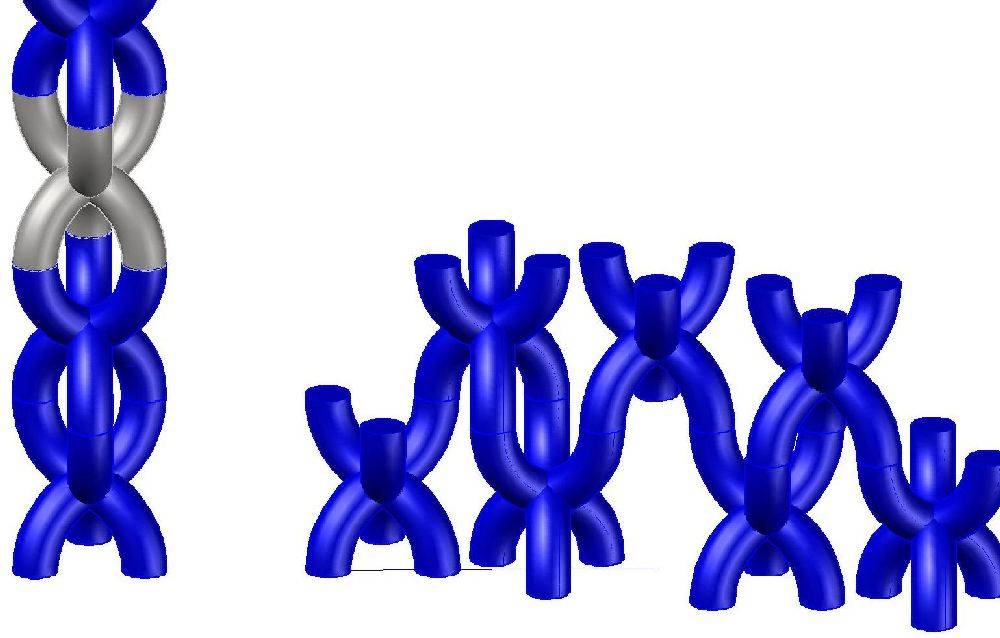
the geometry of the element was to have 3 "legs" and 3 "arms", like 3D "X". i checked different basic forms for the legs and arms: circles or squares.
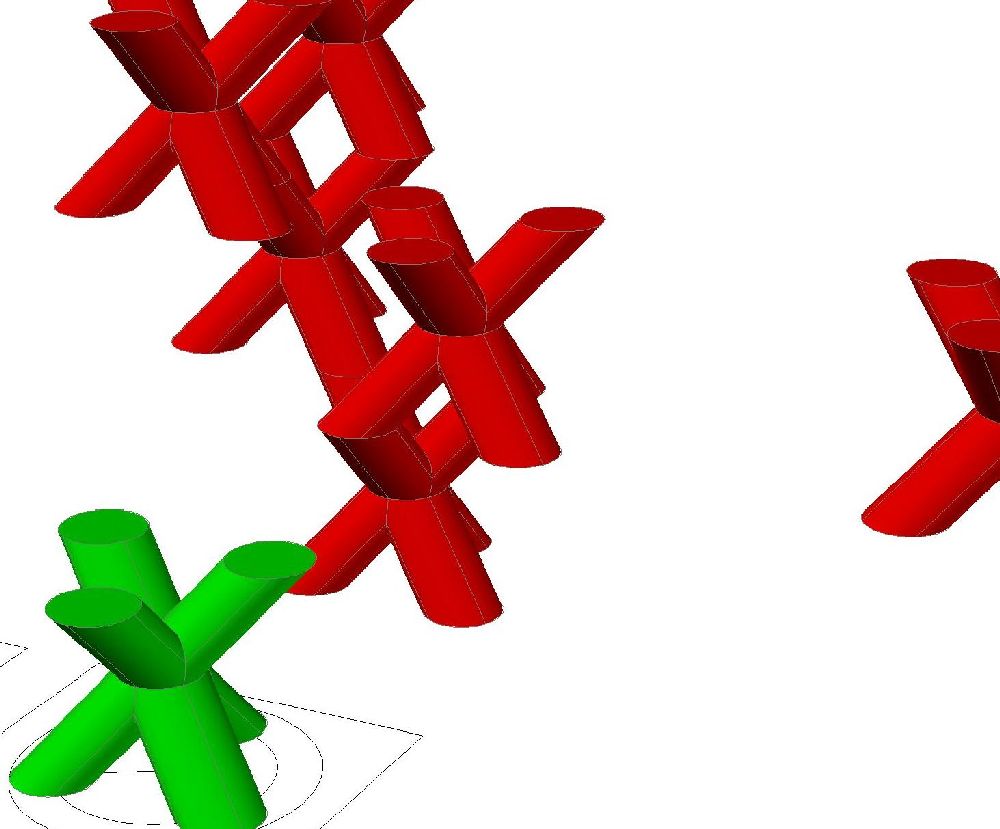
i also tested different shapes for the legs lenghts, like straitgh or curvy.
eventually i settled for the design below, made as can be seen at the right upper corner by lofting 3 lower squares with 3 upper squares (thru a "wavy" path, the normals to the 2D squares).
each pair of squares were lofted thru a common middle shape, a circle, which made the following mold making simpler.
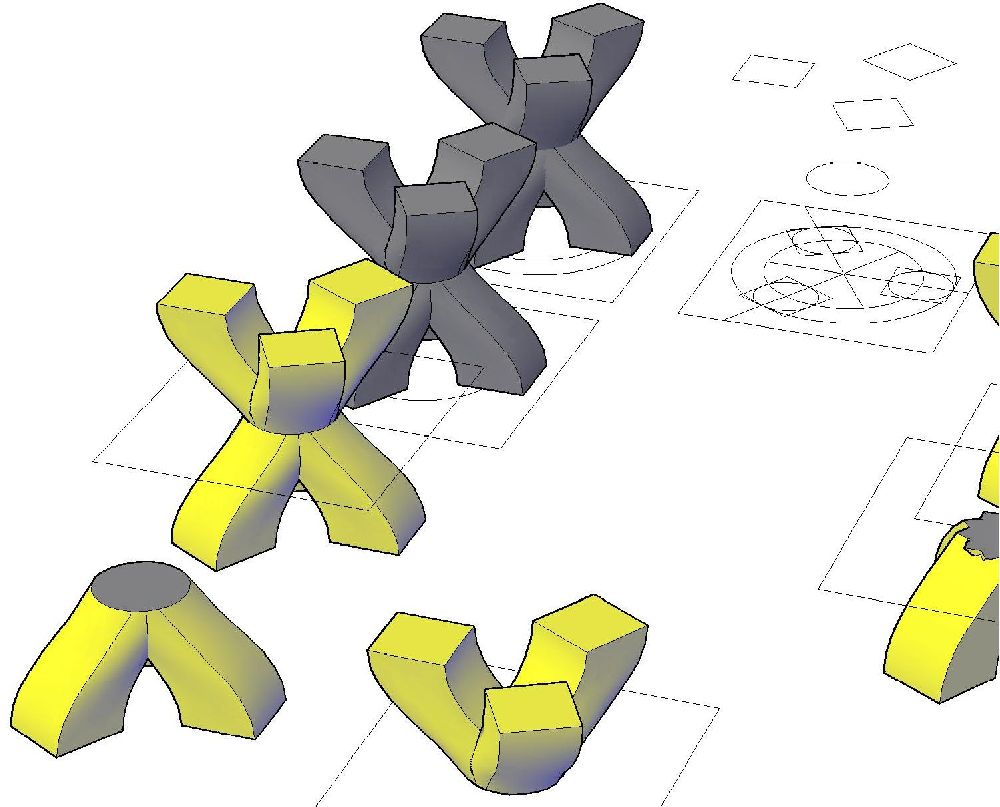
each basic element was cut in half at mid height to facilitate the cast extraction from it's mold plus to give the element additional height. thet became possible since each lower was identical to it's upper half, only rotated.
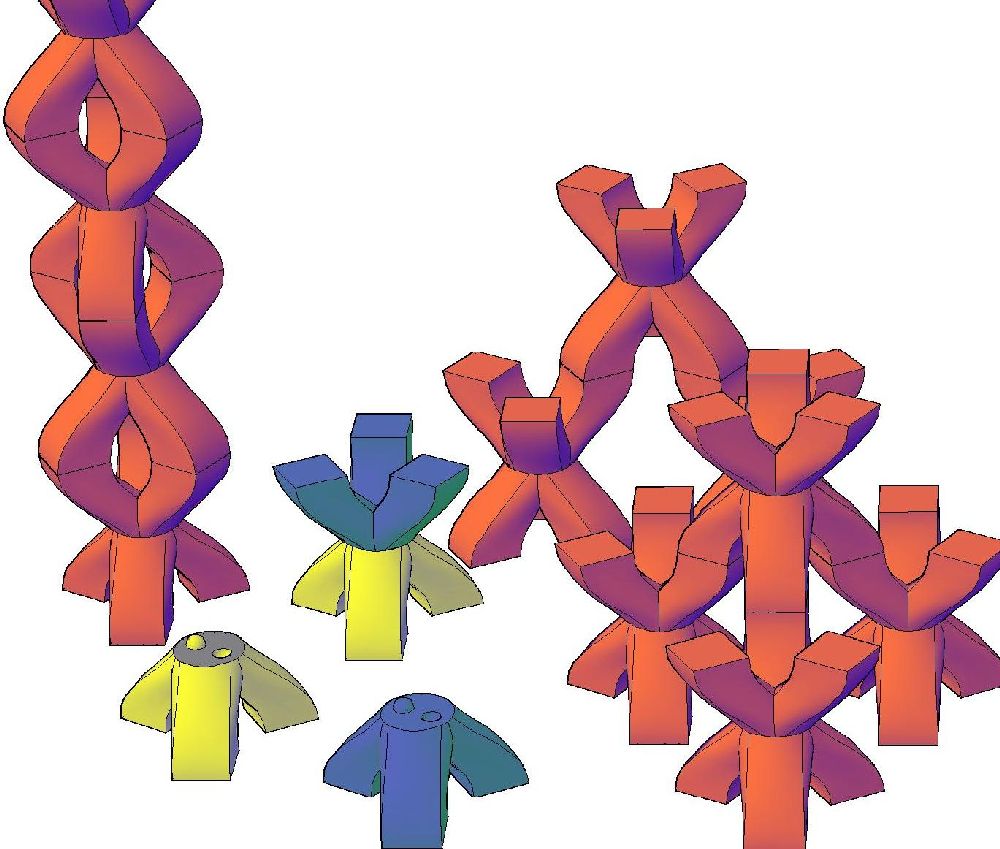
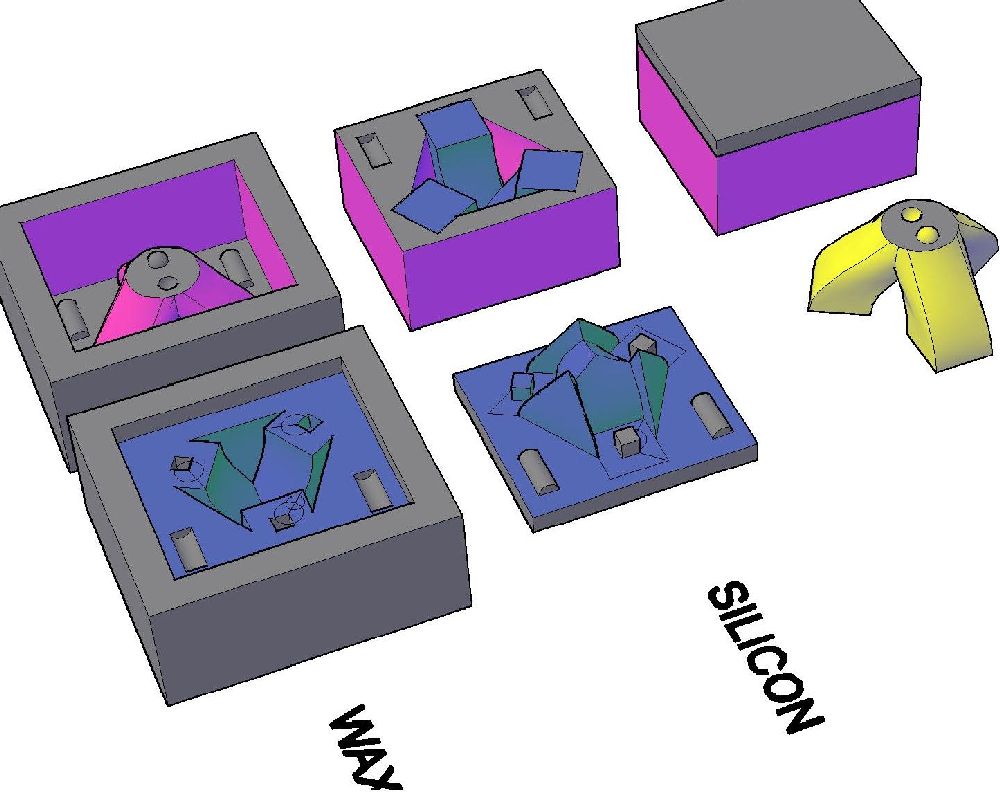
using boolean operations i tried to simulate the casting process.
in the picture below one can se the WAX molds at the left, the SILICONE molds in the middle and the final casted element at the right.
it was at this point more or less that i realized that i forgot to take into account the width of the bit(!!!).
i tried to make another simulation taking that into account (by filleing sharp coners) in i expect to have some inaccuracies in the final cast that i hope to be able to fix.
anyway it was too late too make changes )-:
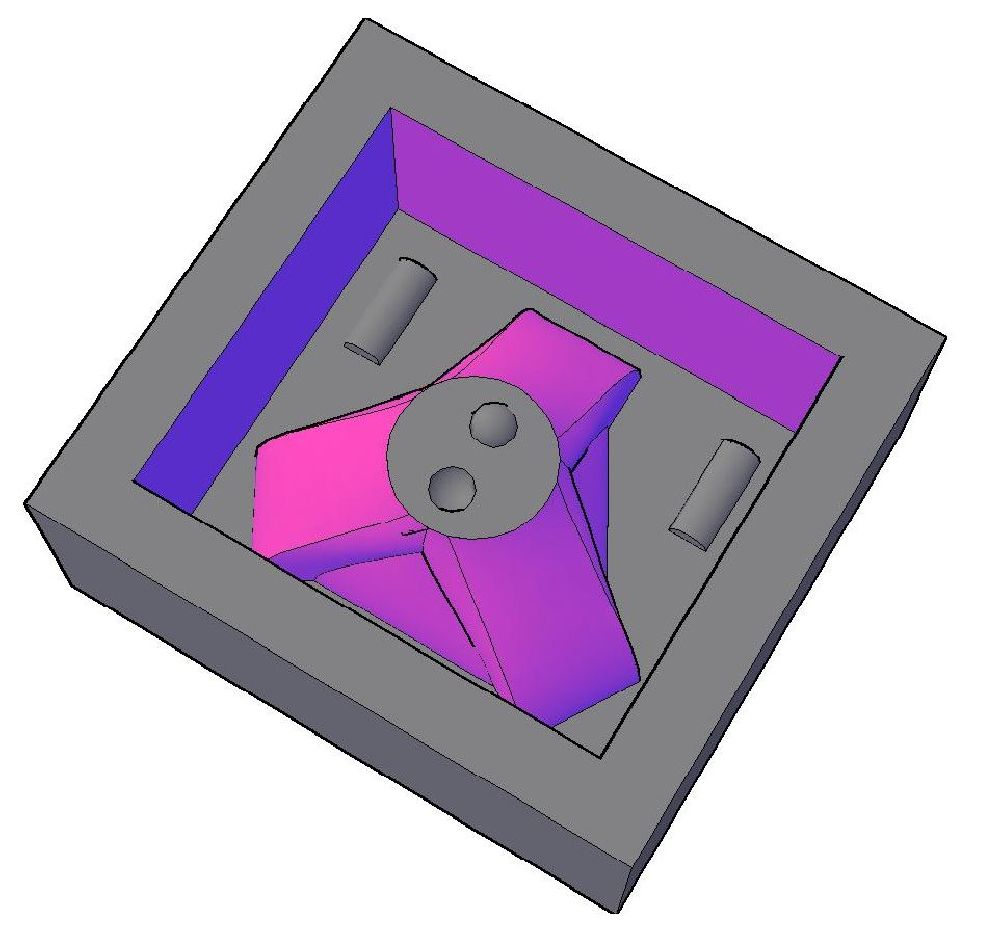
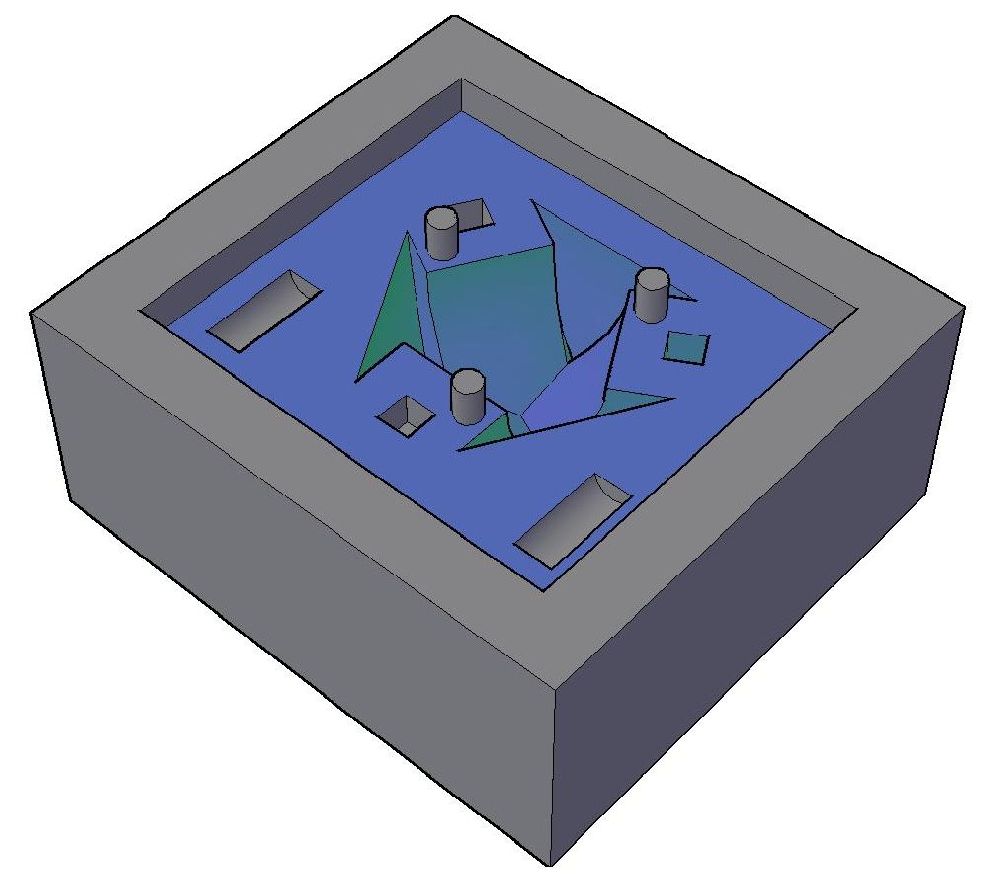
these below are the final molds models.
you can see the registartion marks (half cylinders) and the 3 ventilation sprues.
milling
the G-CODE generation was done with following parameters:ROUGH run:
FINISH run:
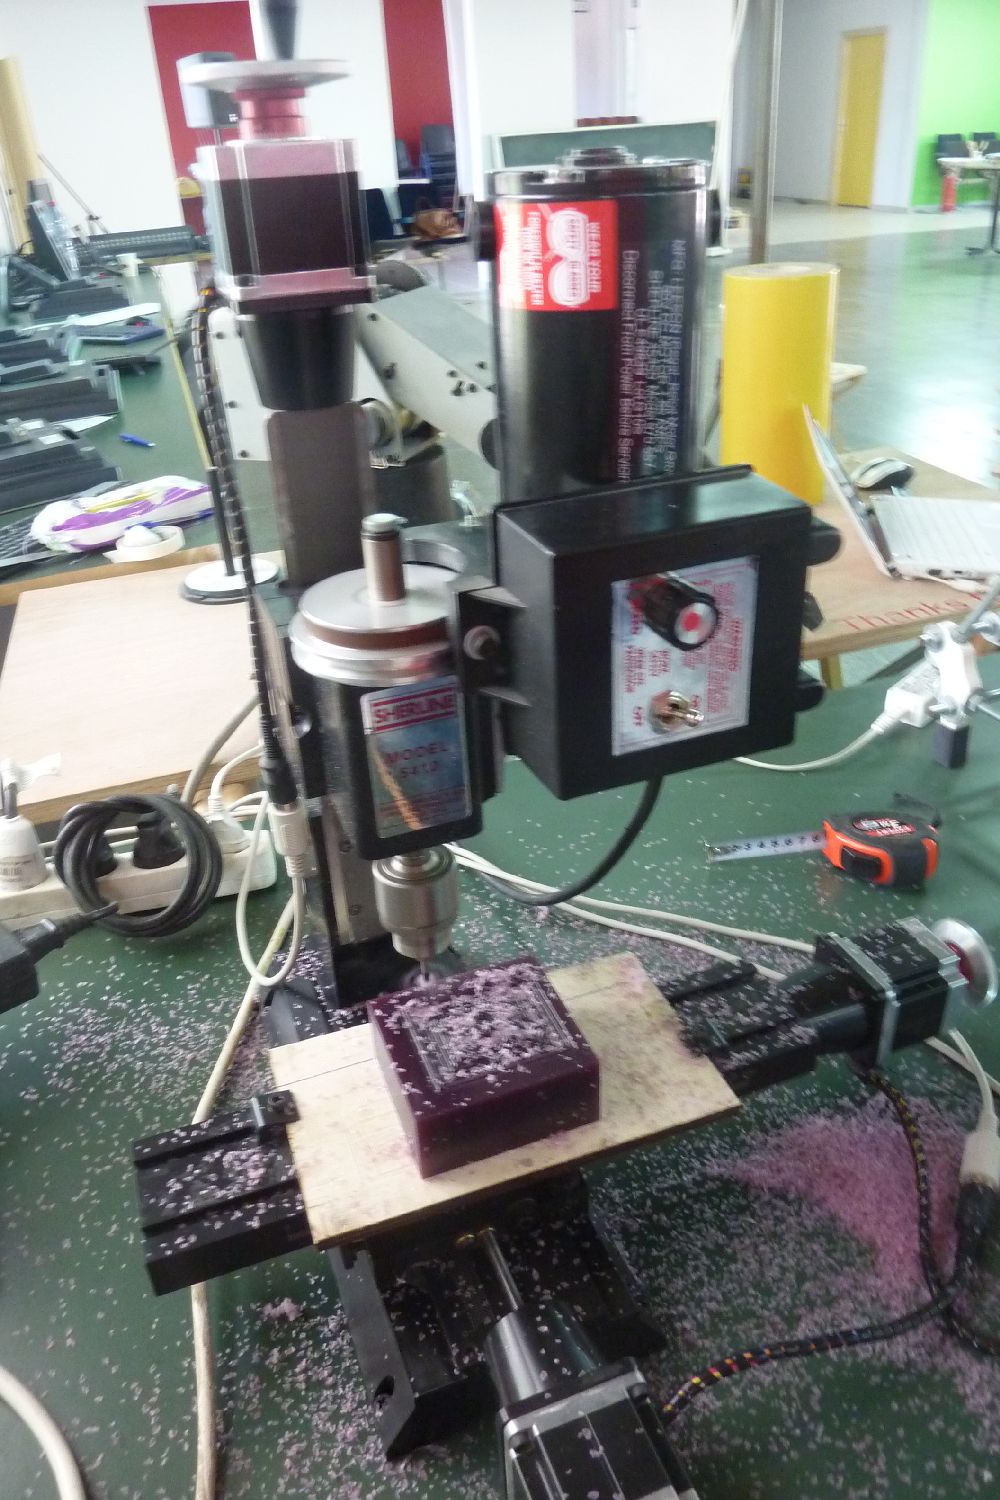
this is our SHERLING milling machine:
 larger image
this is the WAX block we used:
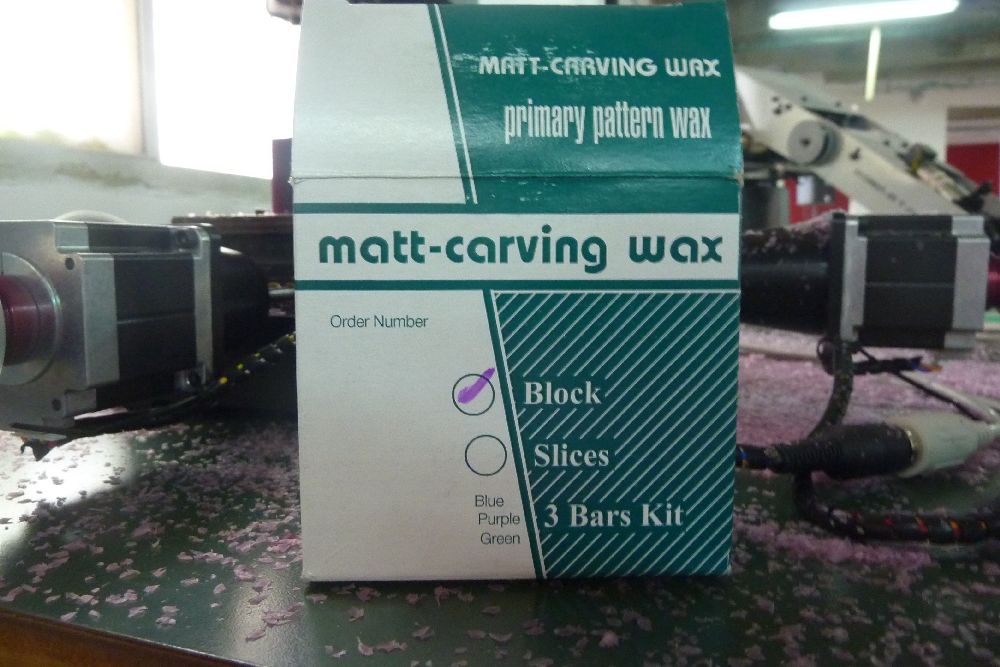 larger image
and here you can se the milling in action:
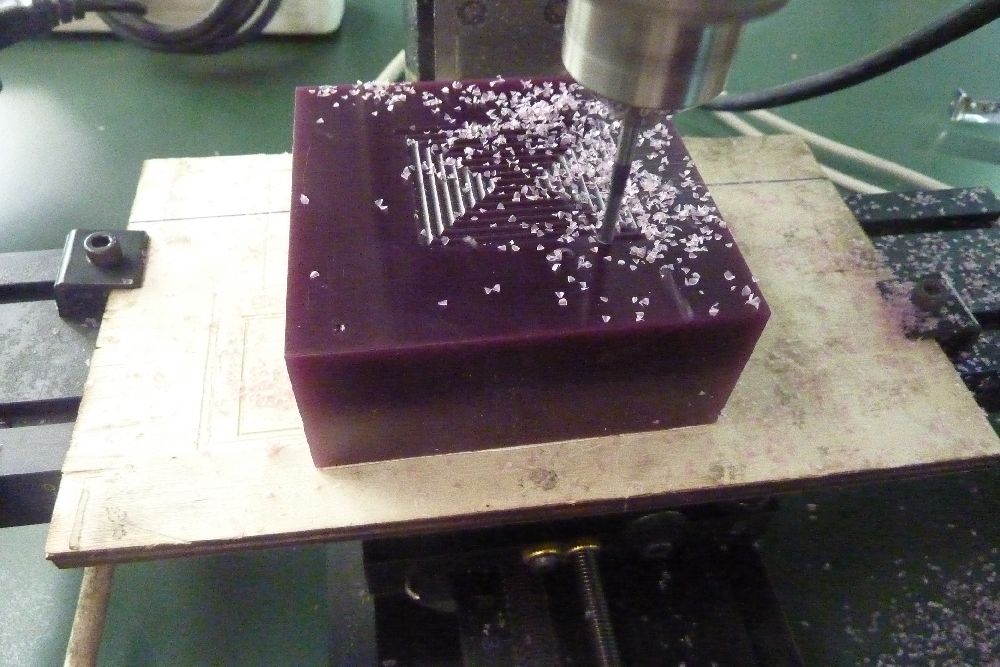 larger image
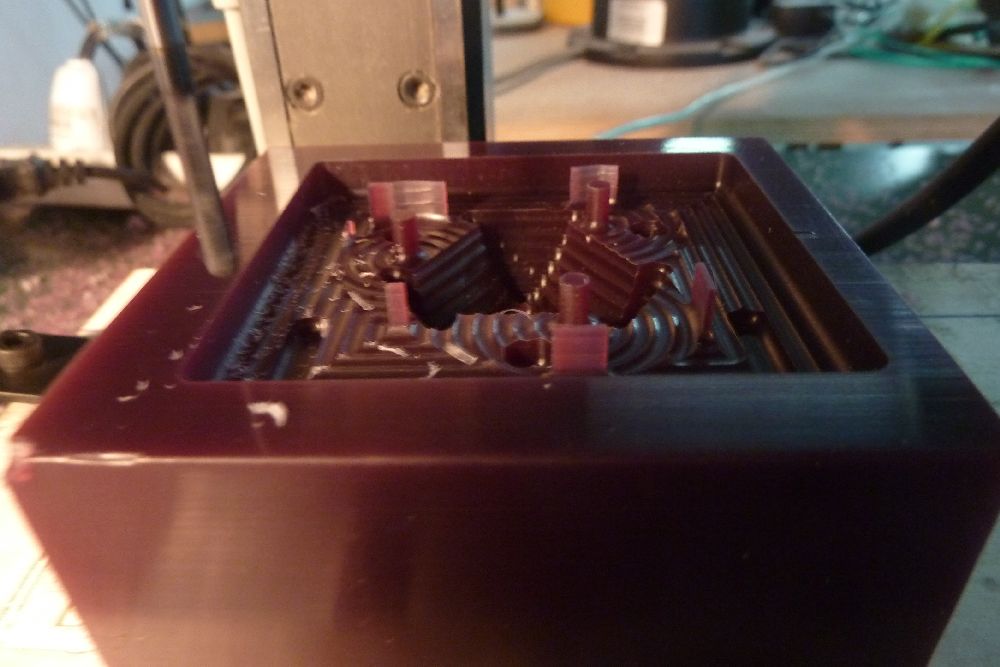 larger image
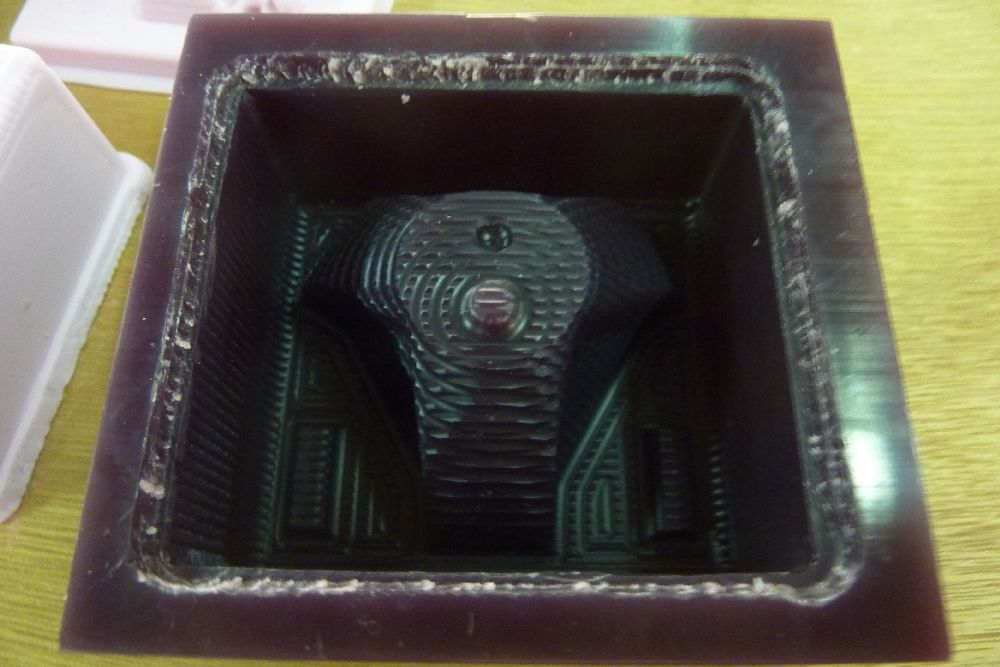
the finishing run for the first part took like forever so for the seconf part i changed some parameters to make it run faster before the shop closed:
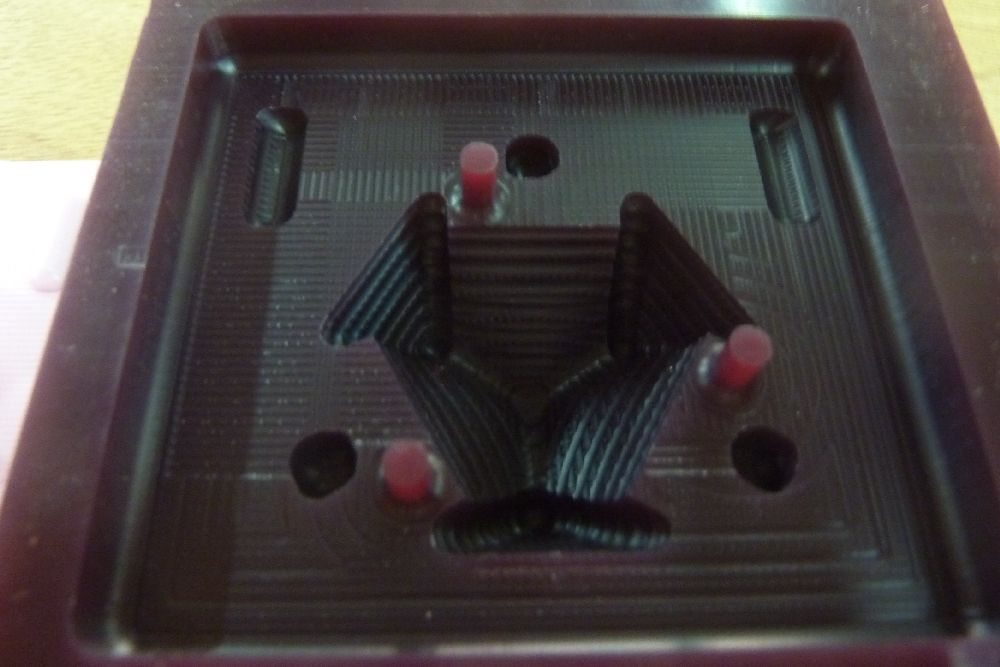 larger image
 larger image
silicone casting
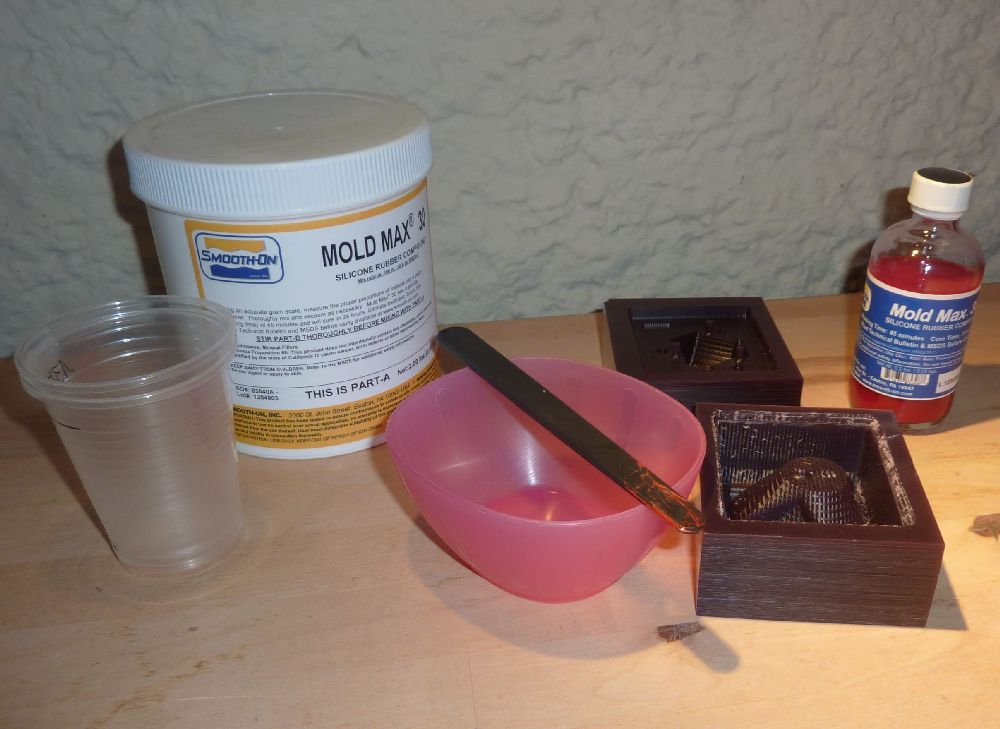
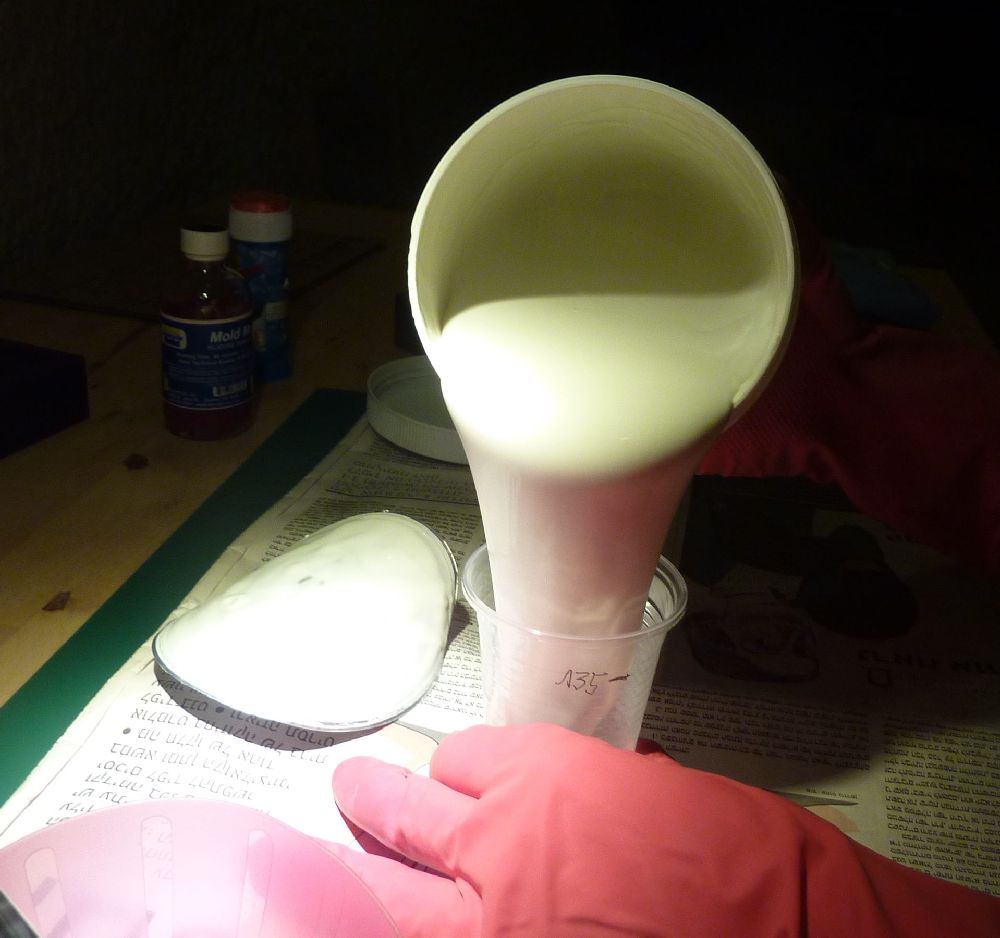
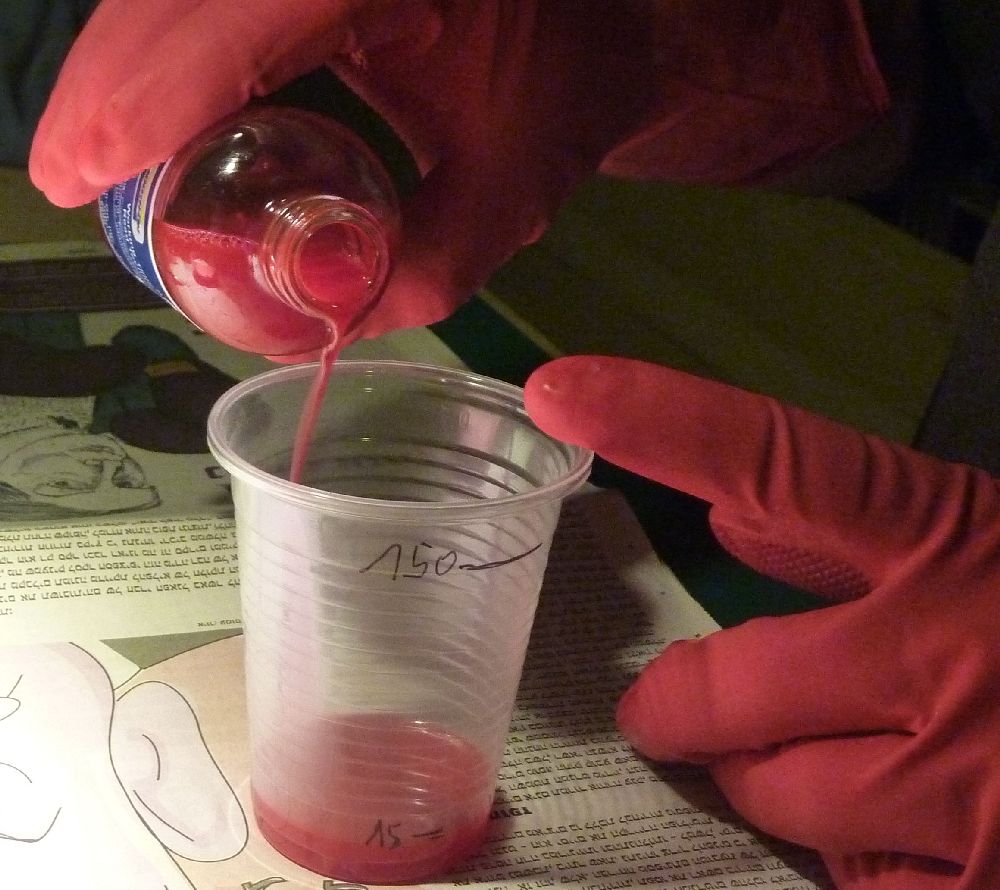
i used smooth-on mold max 30.it is a compound of two materials, PART A looks like a white visquous rubber, PART B is a red liquid.
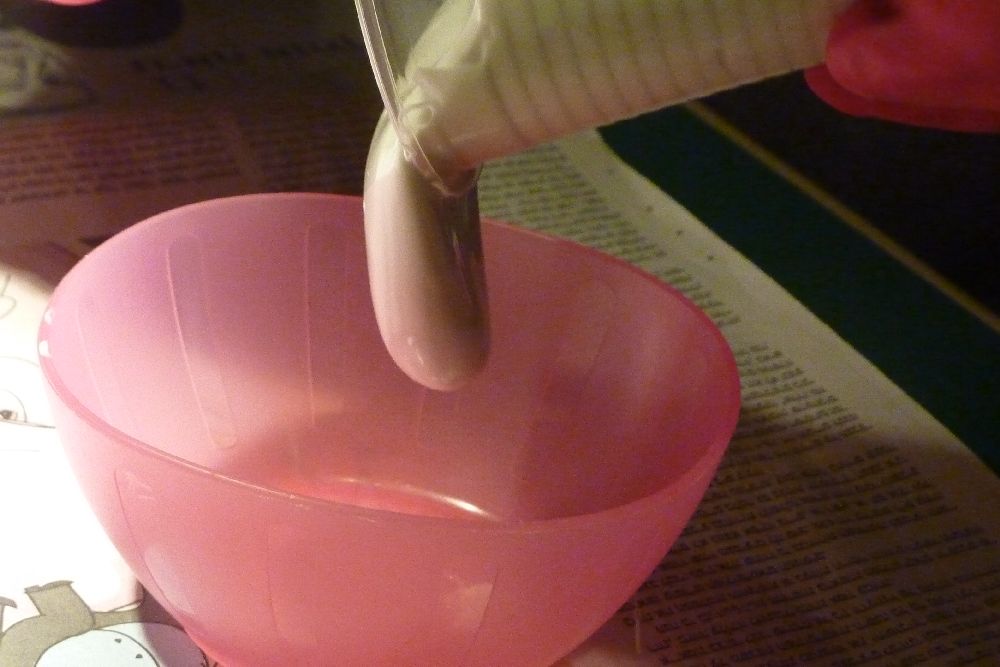
according to the product's using recomendations, the mix ratio is is 100A:10B, measured by weight. in order to calculate the needed weights for each part you have to first know your casting volume (can be found out easily in your 3D software) and then divide that number by the product's specific volume, which in the case of MOLD MAX 30 is 23.5 cu. in/lb, which translated to kilos is 855cm3/Kg.
since i needed 130 cm3, that resulted in 130/855= 0.152kg.
that means, roughly. 136gr of PART A and 14gr of PART B.
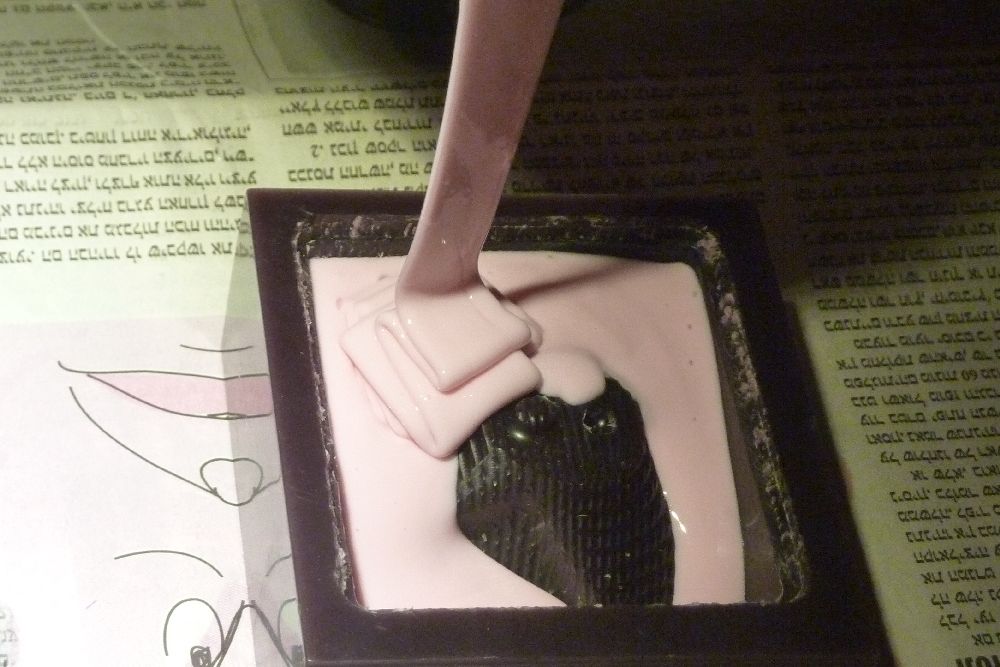
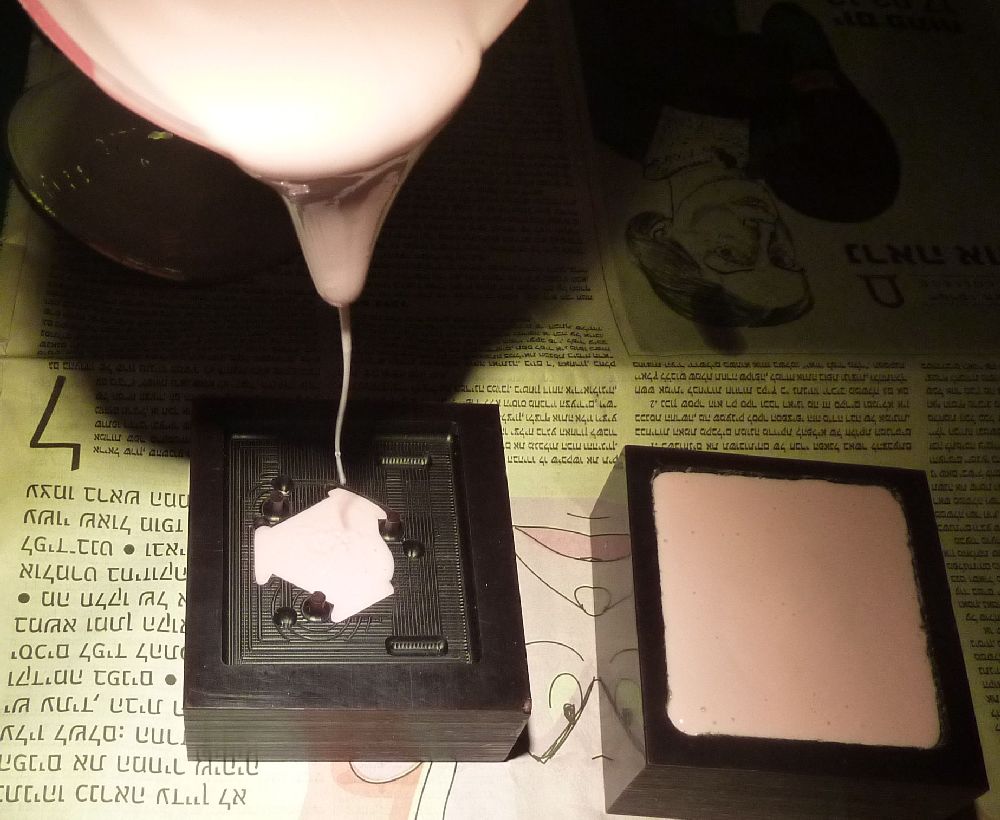
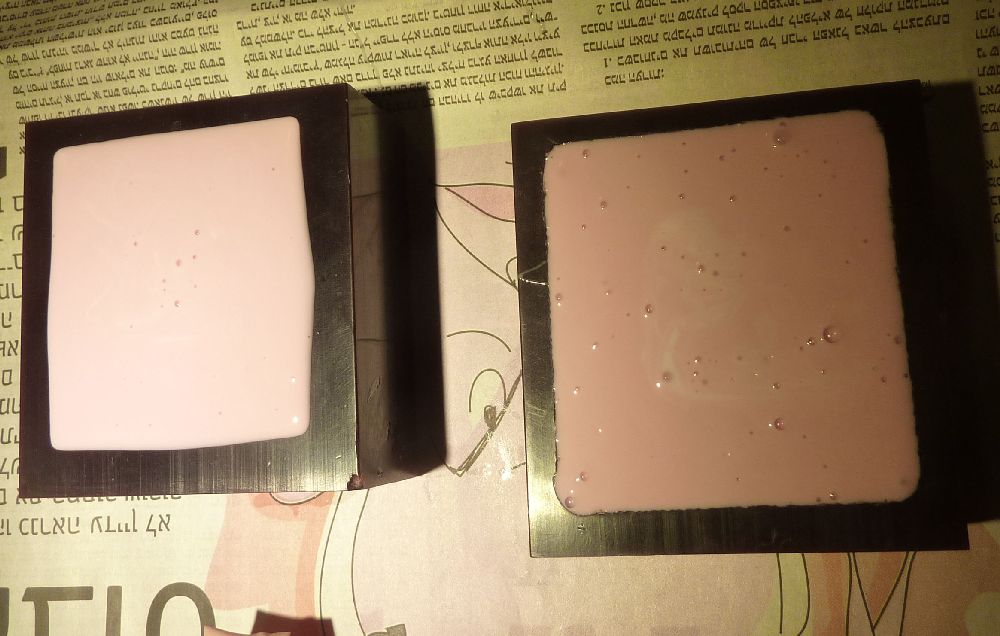
since i did the casting at home, and i didn't have a presicion weight, i left all the calculations for another time and just measured voulumes by the same ratio, hoping that the silicone would cure alright!
in the following pictures you van see the process:
 larger image
 larger image
 larger image
 larger image
 larger image
 larger image
 larger image
 larger image
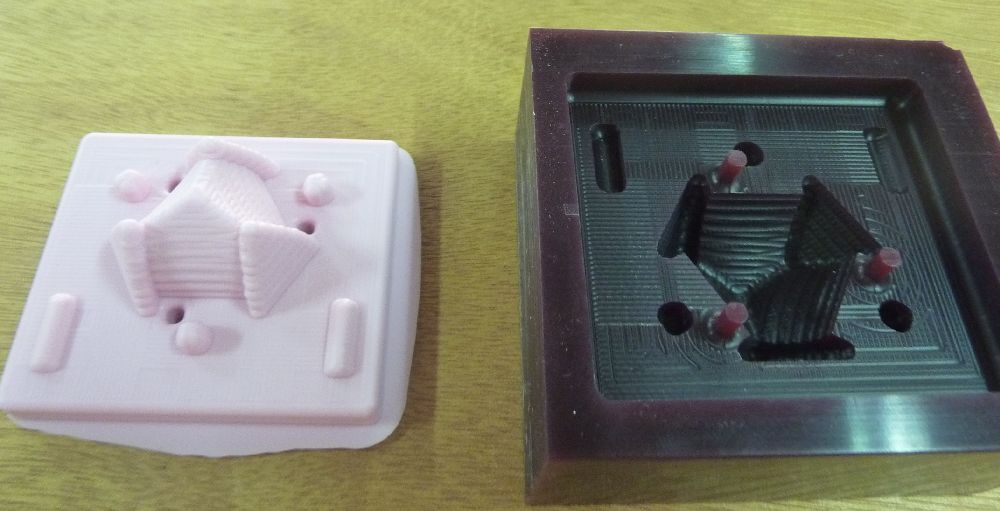
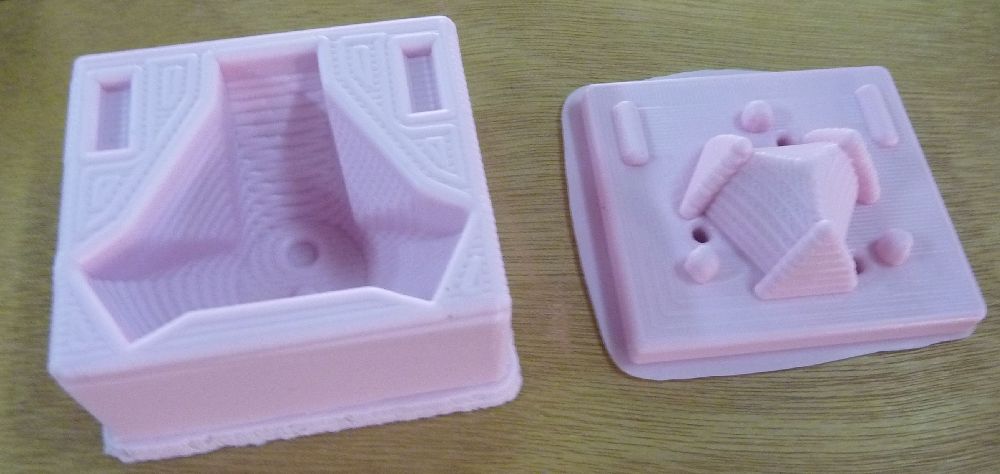
the recommended curing time is 16 hrs' but since the weather was warm i demolded after 14hrs, and was very happy to find out that it turned out OK!!!
 larger image
 larger image
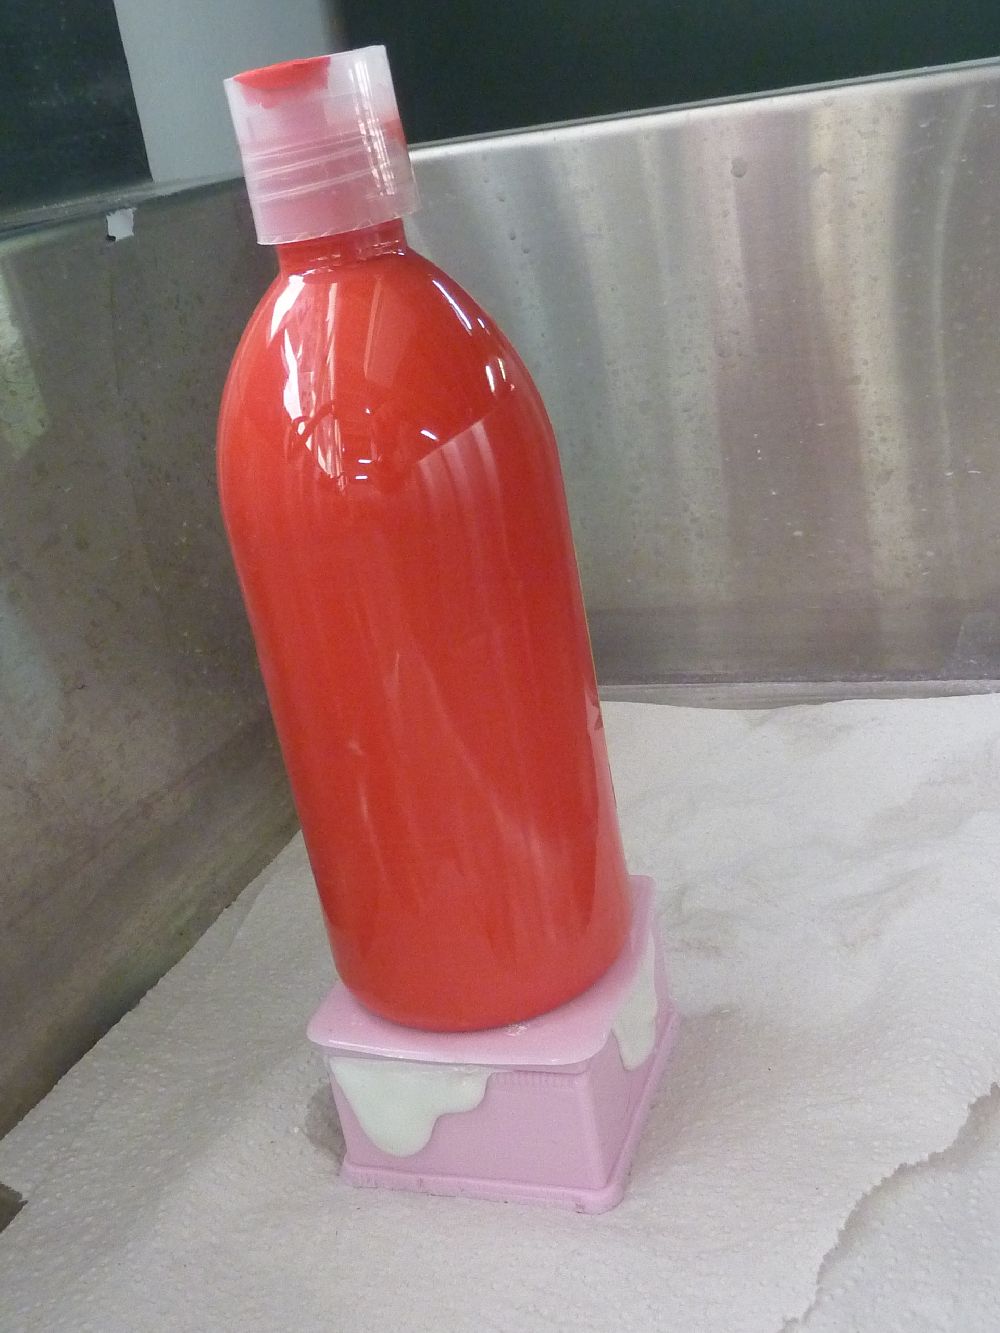
gypsum casting
 larger image
 larger image
 larger image
 larger image
 larger image
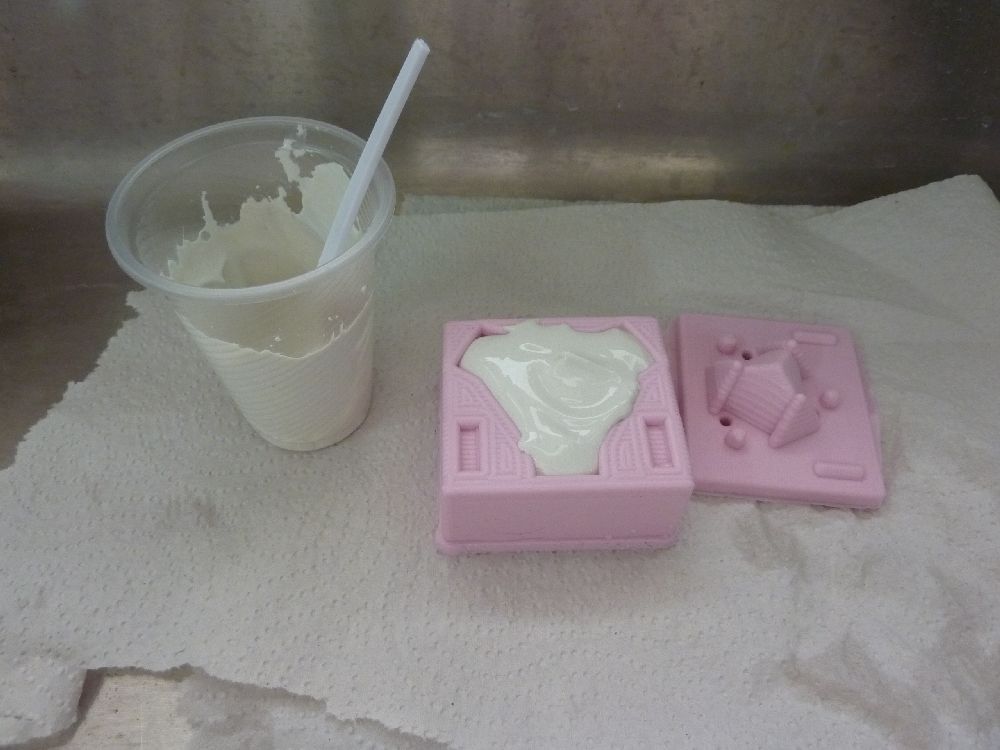
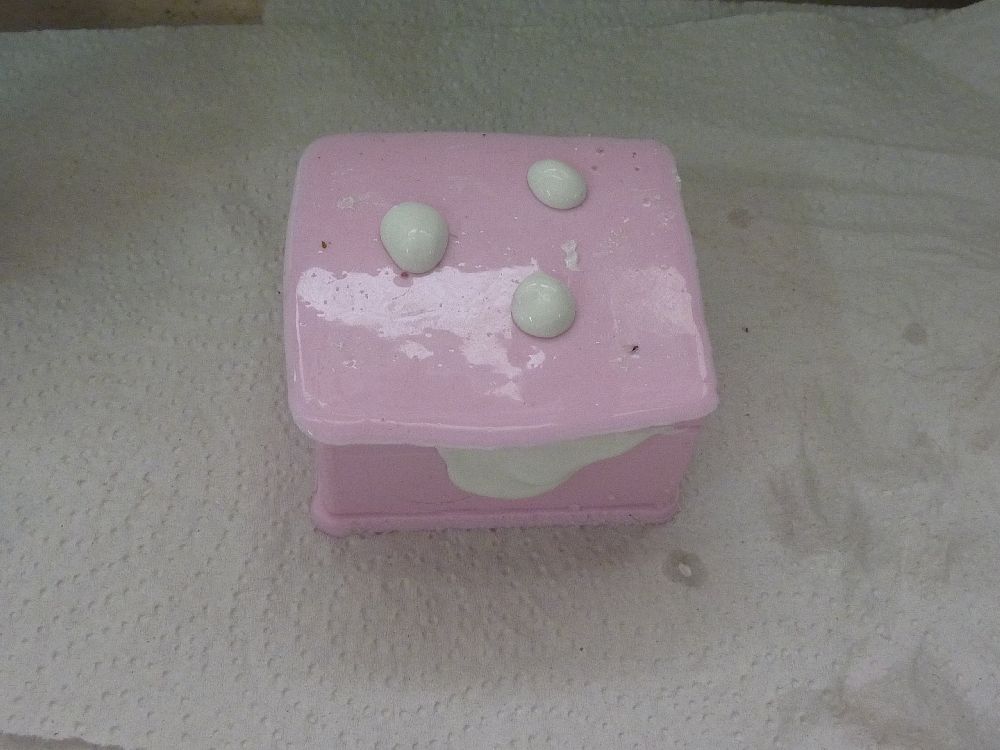
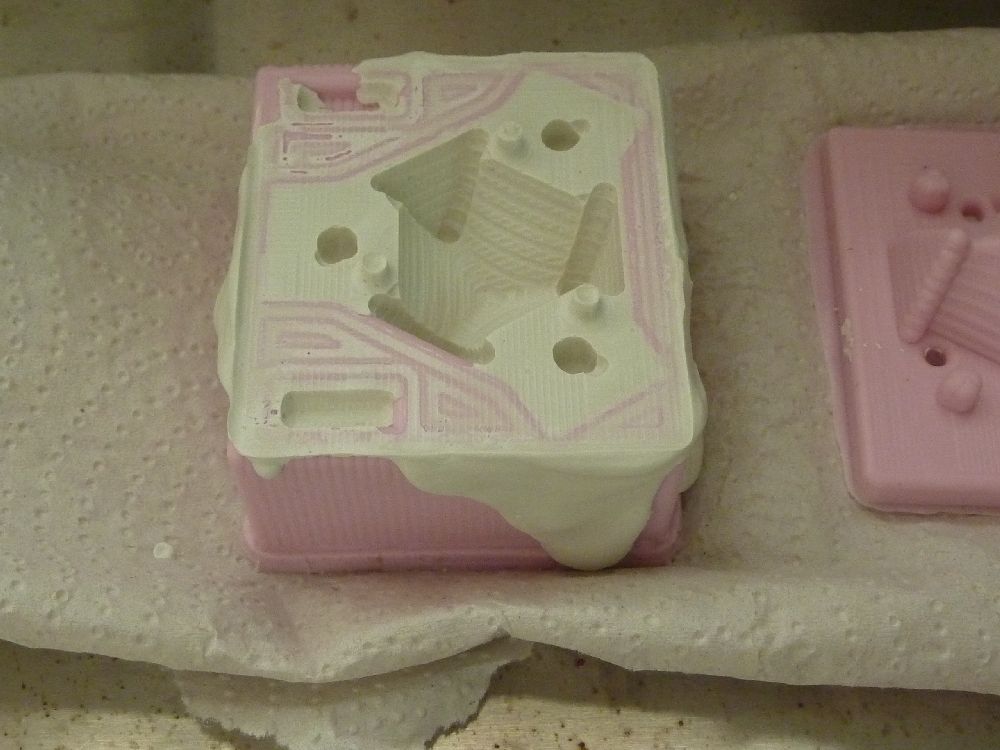
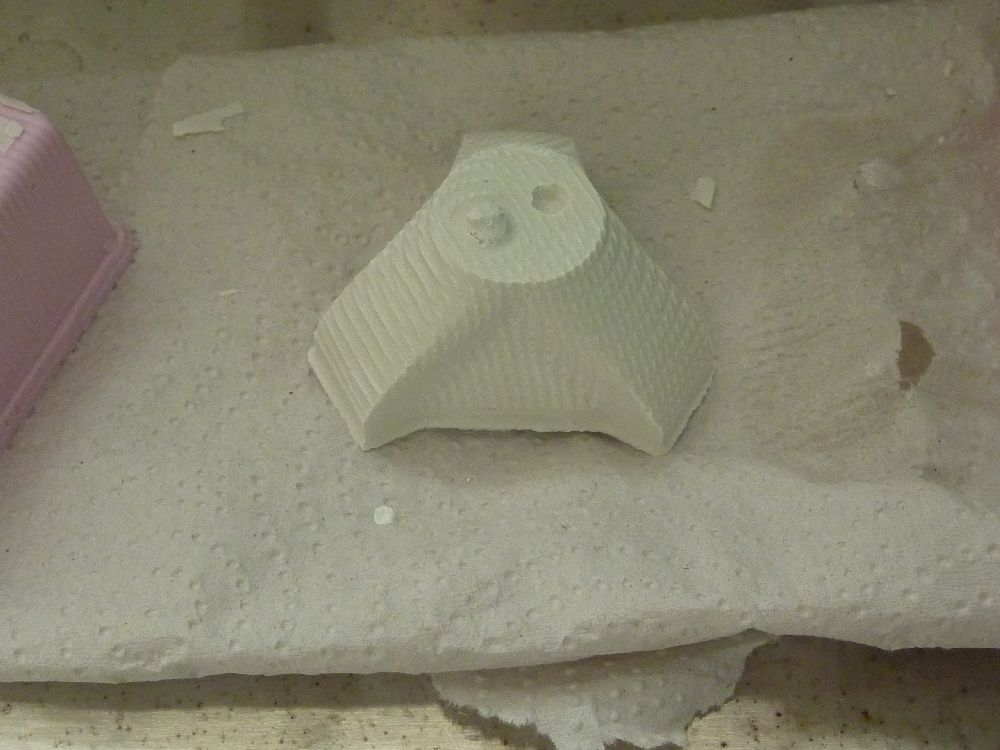
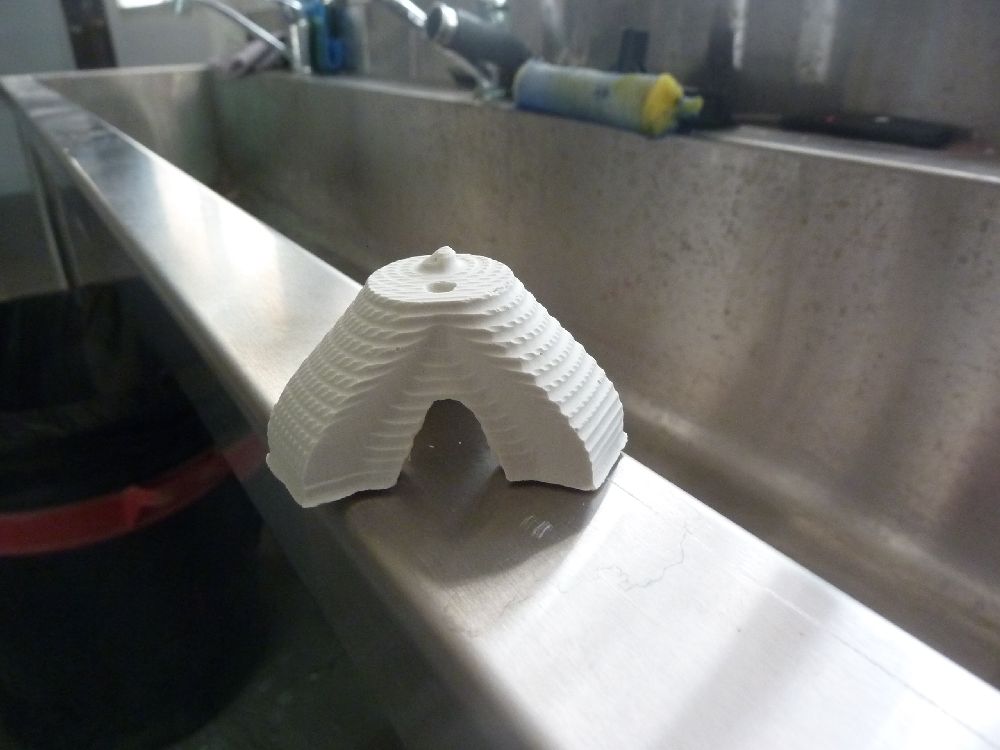
i demolded the gypsum cast after about 35 min, and it was already nicely dry.
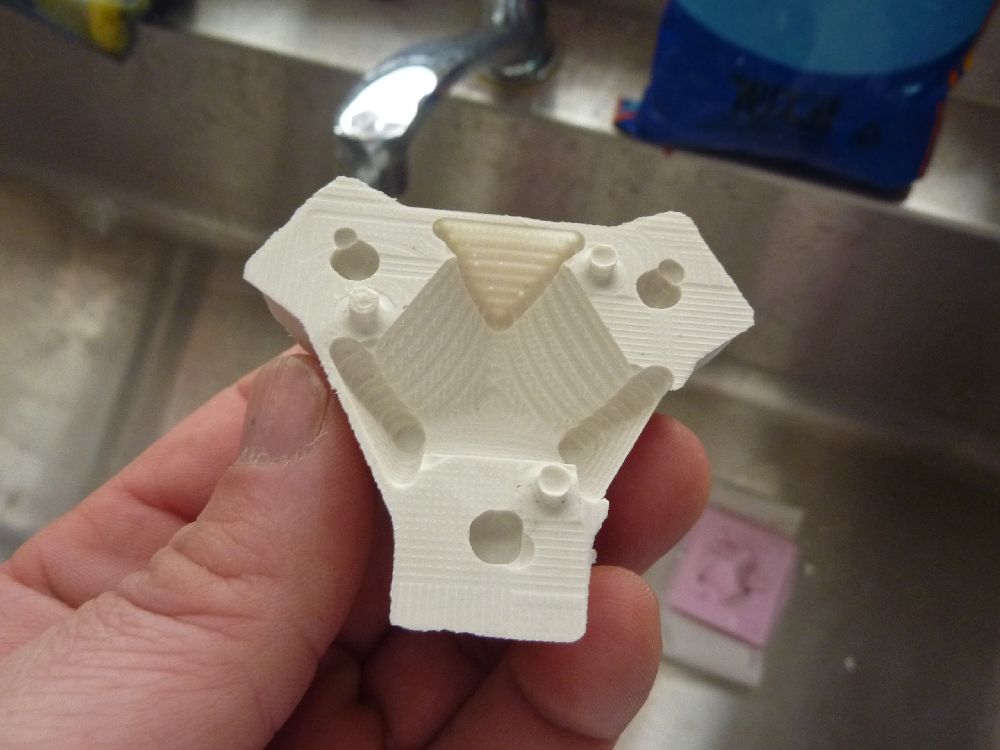
as i expected, there was some "leakage" of gypsum between the two mold halves, due to my not taking into account the diameter of the bit, but these were pretty thin so i just snapped them off.
 larger image
 larger image