EMBEDDED
PROGRAMMING
buttom temporized led blink on a ATMEL ATtiny44 from R.Ferrero on Vimeo.
This
week,
we have programmed the Led-Button board we make during the electronics
design
assignment.
First
of
all, be sure you have installed all the necessary drivers, the arduino
ones and
also the FabISP drivers.
Then we must connect our board with the FabISP, connect the board to the PC with FTDI cable to power it, and also connect the FabISP.

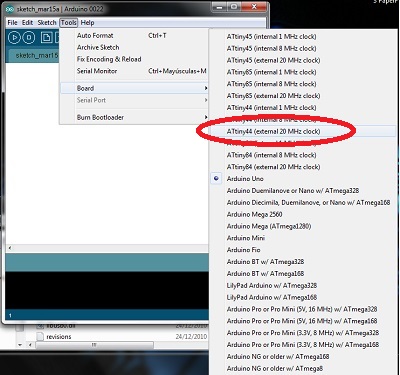
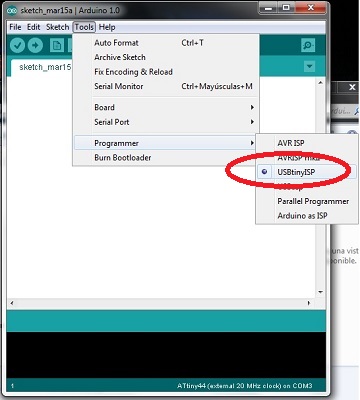
Once we have two boards correctly connected, we must to configure the correct boars on the arduino IDE tools menu. We set “ATtiny44 (external 20 MHz clock)” as our main board and “USBtinyISP” as a programmer.


Then
we are
ready to burn the bootloader on the new ATtiny44.
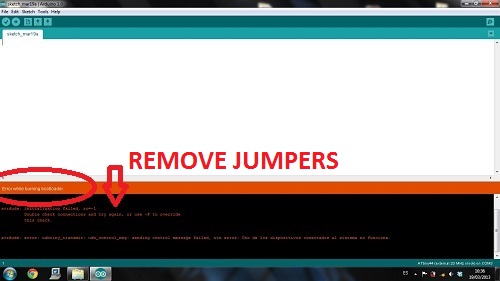
Be sure you are removed the jumpers of the FabISP, if you don’t remove also the jumper that link the tinny with the reset pin, when you try to burn the bootloader, you will receive an error message.

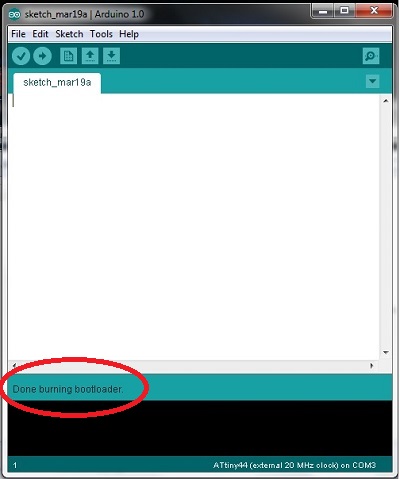
If the bootloader have been burned Ok, you will see this message “Done burning bootloader”

Well,
now
you can try to download the button example to the new board to check
everything
is Ok, and then modify the program to get that your Led-Button board do
something.
What I have programmed is a temporized led blink, when you push the button, the led start to blink during 5 seconds, and then turn off until we push the button again.
You can see the video on the top of the page.
Greetings from Leon, have a nice week :-)