This week I continued with the development of the final project. I applied the composite to the piece wich is placed in my head. The idea is to place the composite in the outer layer to give it strength, and I casted the inner layer in silicone with the molds created in the Molding and casting week. so that you have a soft material in contact with the skin.
I had to prepare a mold to shape the composite:
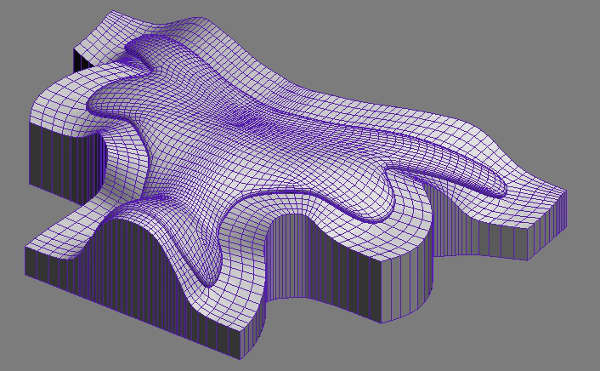
This mold was developed in 3D Studio max, taking the previous work I had made in Molding and casting week.
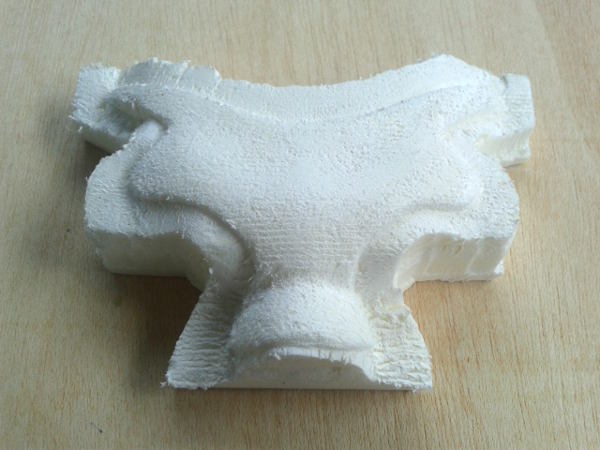
This piece was milled in 30 mm foam panel; in the CNC with two strategies, one with a 6 mm flat end mill:
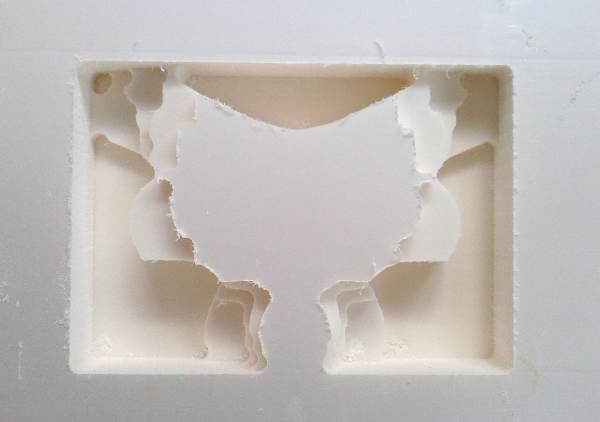
And the second one with a 3 mm ball end mill:
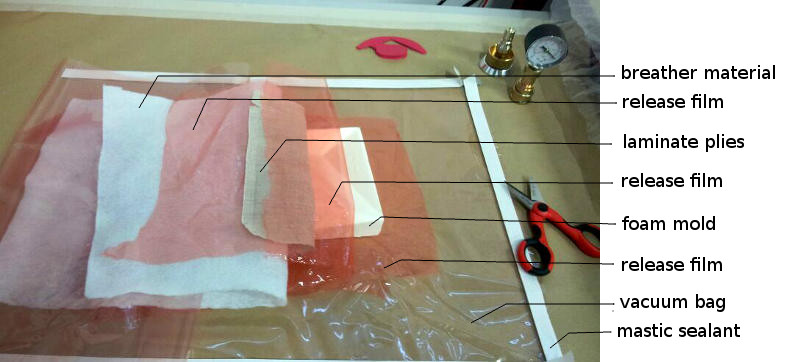
After this, in FabLabLeon we prepared the vacuum bagging lay-up as shown in the picture, as a test for this assignment. We used linen as fiber and resin as matrix:
And this was the successful result:

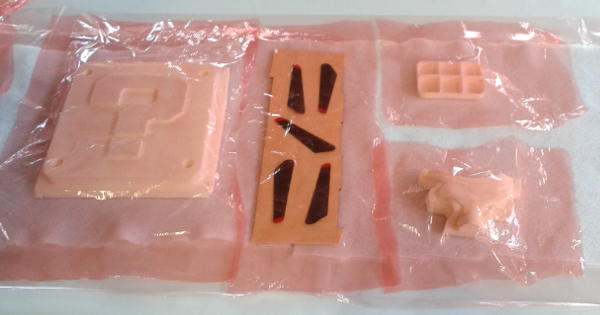
After this test we were ready to make the vacuum bagging of our own pieces. Here in FabLabLeon we did it together. We made the composite out of linen as the fiber and resin as the matrix. In the next picture we are preparing the layers:
And next, we removed the air from the envelope until the epoxy adhesive cures.
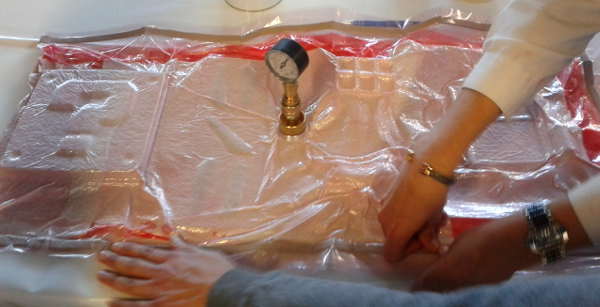
We had to pump almost continuosly since we had some air losses in the envelope, here we are pressing the mastic sealant trying to find the holes through we were losing the air. Here is a close up of my piece. As you might see some unpleasant wrinkles appear in the surface of the piece:
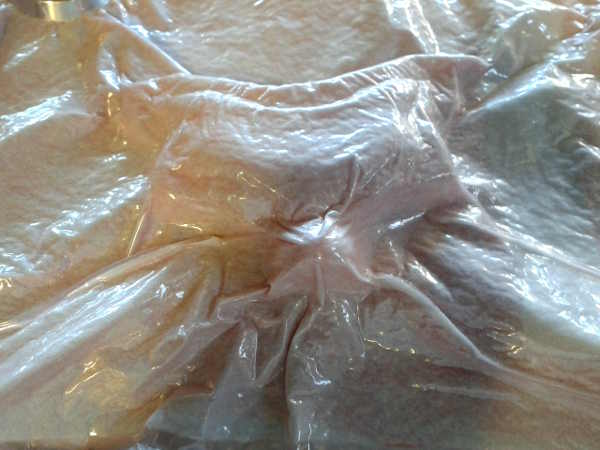
After 12 hours of curing we removed the layers of the envelope and took the result. In my case the result wasn´t very good, since I got big wrinkles in the surface of the piece, and as shown in the next picture, it was very difficult to cut the perimeter of the composite:
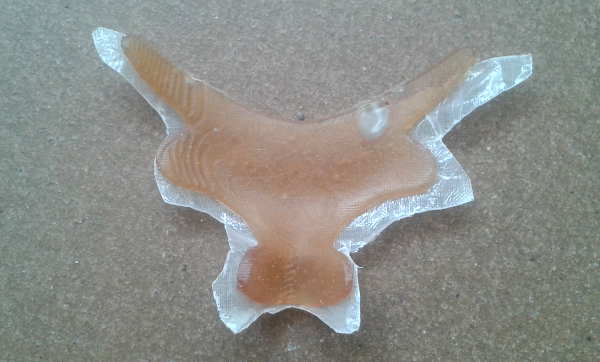
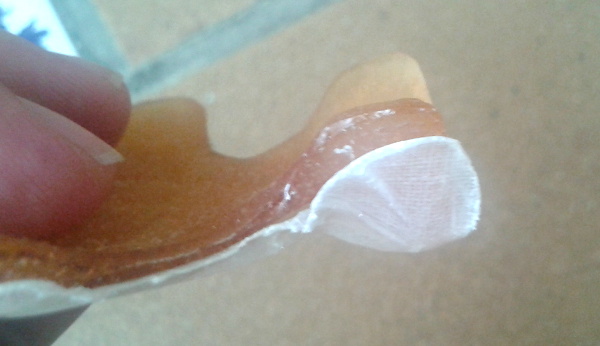
And here you have the final result, the soft inner layer of the mask out of silicone and the strong composite outer layer:
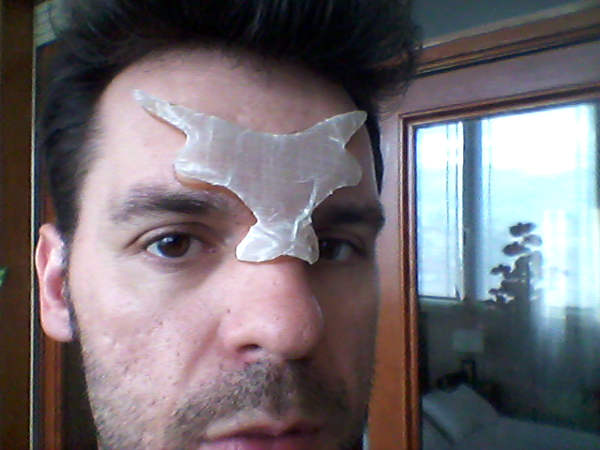
Japi wearing the mask:
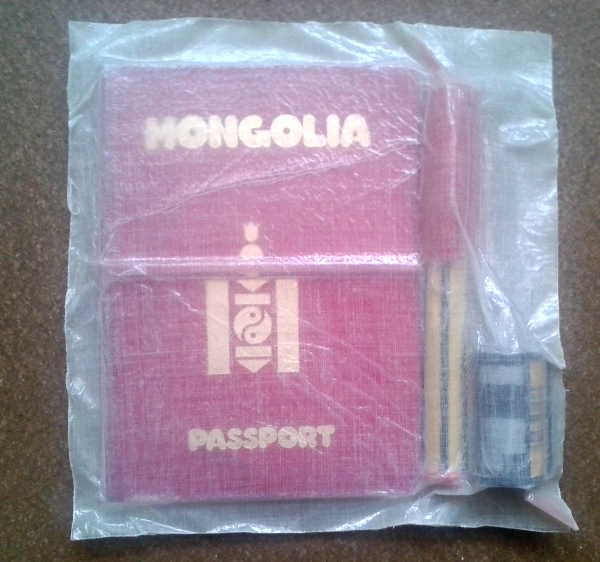
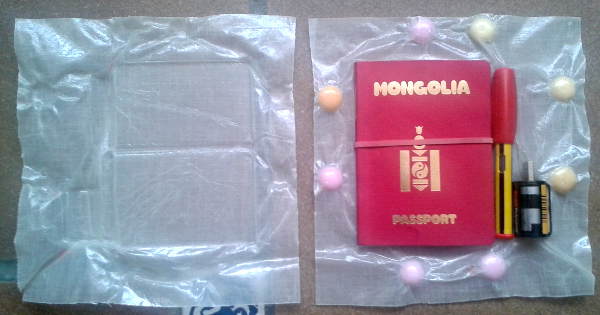
This week I also made a kind of wrapping wallet or handbag, a totally customized object to keep my Mongolia Passport, my Pen and my Pen Drive:
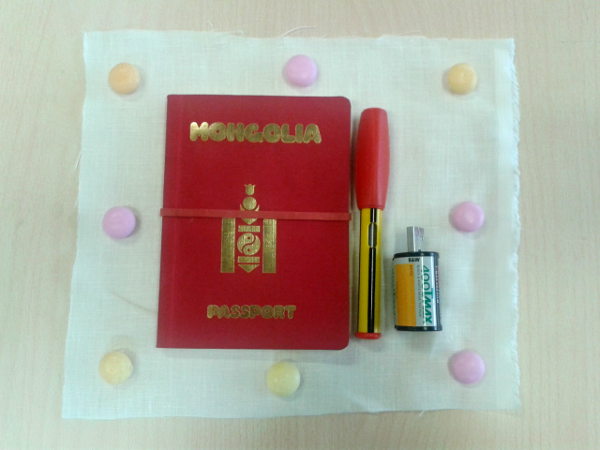
In the perimeter I placed these candies, wich you could remove after the vacuum bag process to create a press fit between the two composite layers. This is a closed mold with two layers of composite, but you must split them; so a release film is needed between them. This was the result after the vacuum bag process:
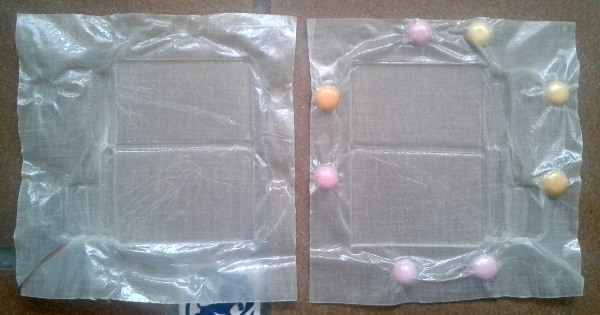
I couldn´t remove the candies,because the resin went into that cavity, so I decided to cut that area, since the wrinkles in the borders act as press fit. And this is the final result:
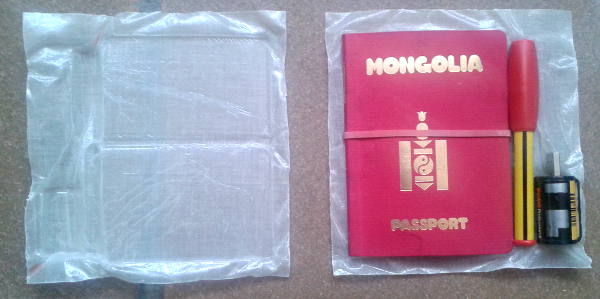
A totally customized wrapping wallet:
