This week I decided to make the hello.reflect board, since it is the most similar hello. example to the pulse sensor I am using in my final project.
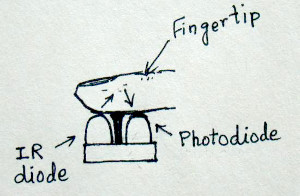
The pulse sensor measure the heart rate by sensing the change in blood volume in a finger artery while the heart is pumping the blood. It consists of an infrared LED that transmits an IR signal through the fingertip of the subject, a part of which is reflected by the blood cells. The reflected signal is detected by a photo diode sensor. The changing blood volume with heartbeat results in a train of pulses at the output of the photo diode.
This, will be developed further in the course. I am new in electronics, so I decided to start with the hello.reflect example.
I downloaded the files from the input devices site. To mill the traces I used the hello.reflect.45.traces png And to cut the board the hello.reflect.45.interior png The procedure to do this was already explained in Electronics production week. This was the result:

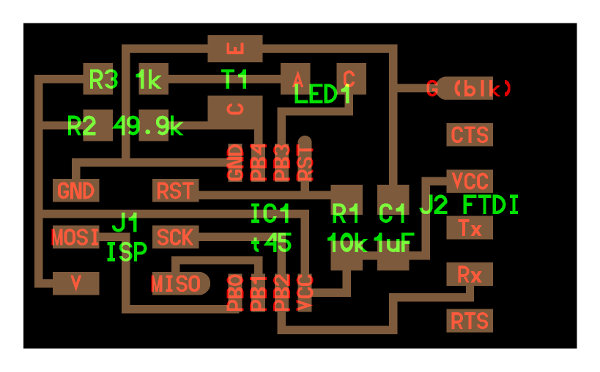
Once the board was ready I collected the components following the hello.reflect.45 png:
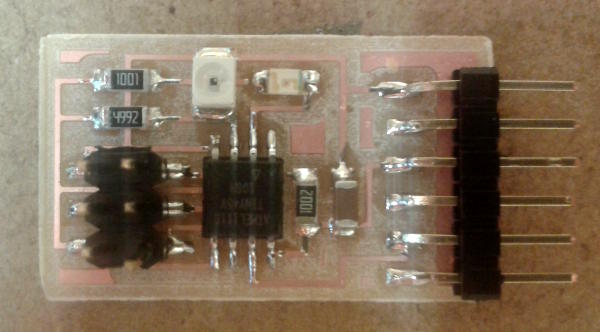
And the board after soldering the components:
After this I wanted to test the board with the ARDUINO IDE with a simple example, to see if everything was working fine. I connected the hello reflect board to the FabISP programmer and both boards to the computer, as shown in the next picture:

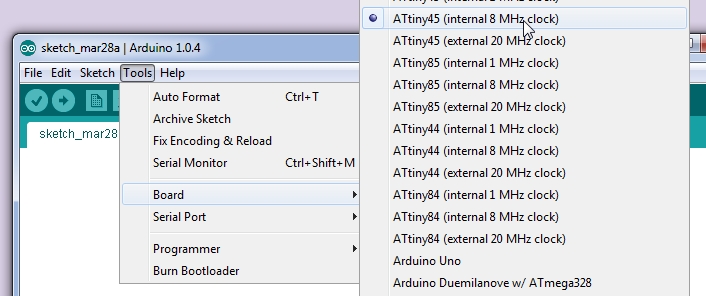
Once in the ARDUINO IDE I selected the ATtiny (internal 8 MHz clock) in tools > Board:
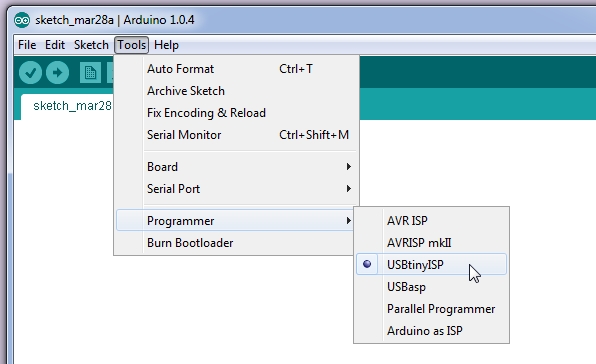
Second select the USBtinyISP from Tools > Programmer
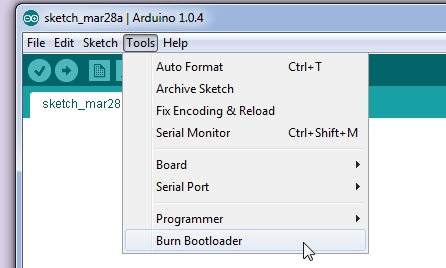
And finally to burn the bootloader in Tools > Burn Bootloader
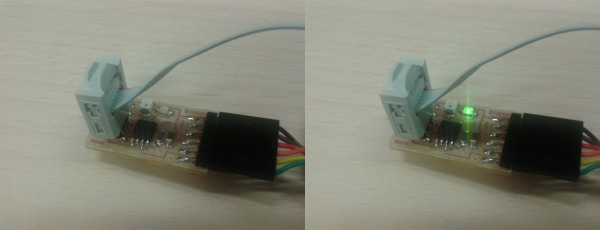
After the succesful burning, I opened the Blink basic example to test the LED. I set up the LED pin to 3 as shown in the picture:

I uploaded the program and the LED was blinking!!
Since the hello.reflect program by Neil is writen in C I couldn´t open it in the ARDUINO IDE, so I went to Ana Kaziunas Input Device Examples - in C tutorial.
I am running windows 7 64 bits so I downloaded Python 2.7.3 Windows X86-64 MSI Installer
I also needed to download and install the PYSerial to have acces to the serial port
And finally Tkinter
With all these dependencies installed I opened the comand line window and changed the directory where my files were placed, and flashed the microntroller:
Microsoft Windows [Version 6.1.7601]
Copyright (c) 2009 Microsoft Corporation.  All rights reserved.

C:\hello_reflect>make -f hello.reflect.45.make program-usbtiny
avr-gcc -mmcu=attiny45 -Wall -Os -DF_CPU=8000000 -I./ -o hello.reflect.45.out he
llo.reflect.45.c
avr-objcopy -O ihex hello.reflect.45.out hello.reflect.45.c.hex;\
   avr-size --mcu=attiny45 --format=avr hello.reflect.45.out
AVR Memory Usage
----------------
Device: attiny45

Program:     522 bytes (12.7% Full)
(.text + .data + .bootloader)

Data:          0 bytes (0.0% Full)
(.data + .bss + .noinit)


avrdude -p t45 -P usb -c usbtiny -U flash:w:hello.reflect.45.c.hex

avrdude: AVR device initialized and ready to accept instructions

Reading | ################################################## | 100% 0.01s

avrdude: Device signature = 0x1e9206
avrdude: NOTE: FLASH memory has been specified, an erase cycle will be performed

         To disable this feature, specify the -D option.
avrdude: erasing chip
avrdude: reading input file "hello.reflect.45.c.hex"
avrdude: input file hello.reflect.45.c.hex auto detected as Intel Hex
avrdude: writing flash (522 bytes):

Writing | ################################################## | 100% 0.46s


avrdude: 522 bytes of flash written
avrdude: verifying flash memory against hello.reflect.45.c.hex:
avrdude: load data flash data from input file hello.reflect.45.c.hex:
avrdude: input file hello.reflect.45.c.hex auto detected as Intel Hex
avrdude: input file hello.reflect.45.c.hex contains 522 bytes
avrdude: reading on-chip flash data:

Reading | ################################################## | 100% 0.32s


avrdude: verifying ...
avrdude: 522 bytes of flash verified

avrdude: safemode: Fuses OK

avrdude done.  Thank you.
To run the python program you have to know in wich port your ftdi cable is connected. To do so, in Start Menu > Devices and Printers > You click on "Unspecified" > Hardware Tab:

Mine was placed in COM3, so then again in the command line:
python hello.reflect.45.py COM3
And the hello.reflect started to work:
