Week 8: Embedded programming
In this week’s task I carried out further development of the speed sensor I need for my final project – to build training/racing cycle rollers. I built on the simple program I loaded in to my speed sensor circuit at the time that I built it in the electronics design week.
For the final project, the embedded program needs to count the number of rotations of the roller per second and send the result to a lap top for display and further processing by the laptop’s software.
Given my lack of knowledge of programming languages, I decided to continue using the Arduino development environment to allow me to learn basic coding principles. The two key components to develop were to find a way of incrementing a counter once when the magnet passes the Hall sensor and counting the number of times this happens in one second. The Arduino examples library includes a sketch which shows how to perform edge detection. This formed the basis for my using a variable to detect the state of the Hall sensor and how it compares to the state it was in, the last time the program looped. If it has changed from LOW to HIGH, i.e. if a leading edge is detected, a counter is incremented.
Once I had worked out this function, I needed to find a way of counting the number of edges occurring in one second and then re-setting the counter for the next second’s count. I designed a loop timer using the number of milliseconds the program has been running since starting and added 1000ms to set an end point for a loop. Originally I tried to use an “if” statement to try to control the loop. However, a “while” loop was actually needed so as to allow the loop to keep re-running until the second has ended. Once I understood this properly, I nested the edge detection code within a loop that counts for one second. At the end of one second the current pulse count is “printed” to the serial port and then the timer and counter are reset.
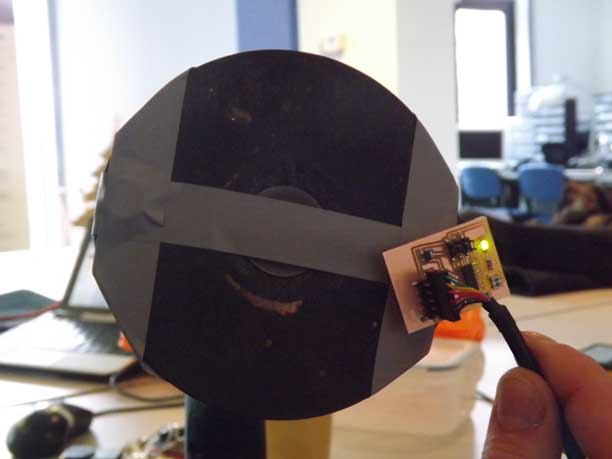
The program was compiled successfully and loaded on to the chip using the Attiny44 interface in the Arduino IDE. It was possible to see the count written to the serial port using Arduino’s serial monitor. Pulse counting was then successfully tested up to 15 pulses per second using 2 magnets attached to a disc rotated by an electric drill at up to 500 rpm.
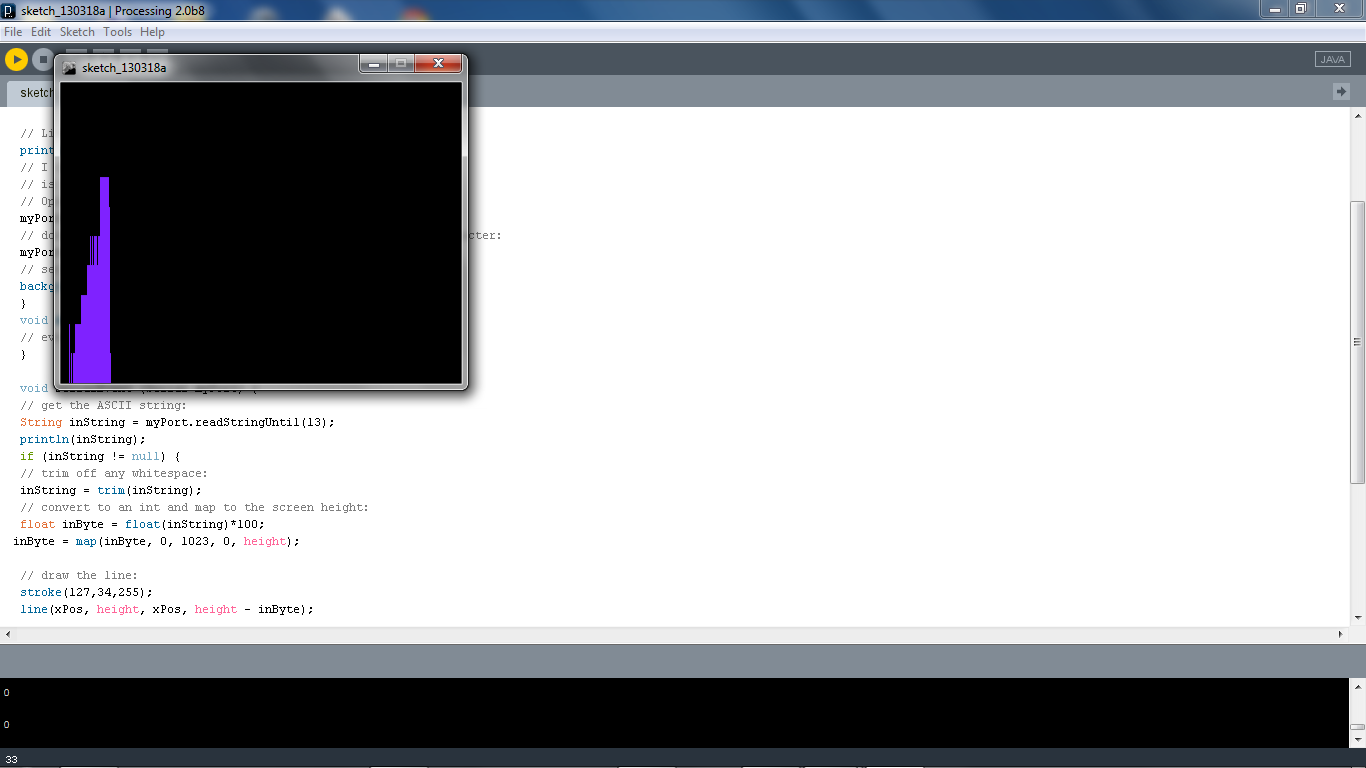
The next stage of the development was to display the pulse count graphically on my lap top. A proof of principle was achieved using Processing graphical display software based on an example in the Arduino library. The software displays a basic bar chart of each second’s reading.