Welcome to this week’s progress on our Fab Academy journey. this week we will be undertaking the task set for Labs group assignment: review the safety data sheets for each of your molding and casting materials, then make and compare test casts with each of them
Safety
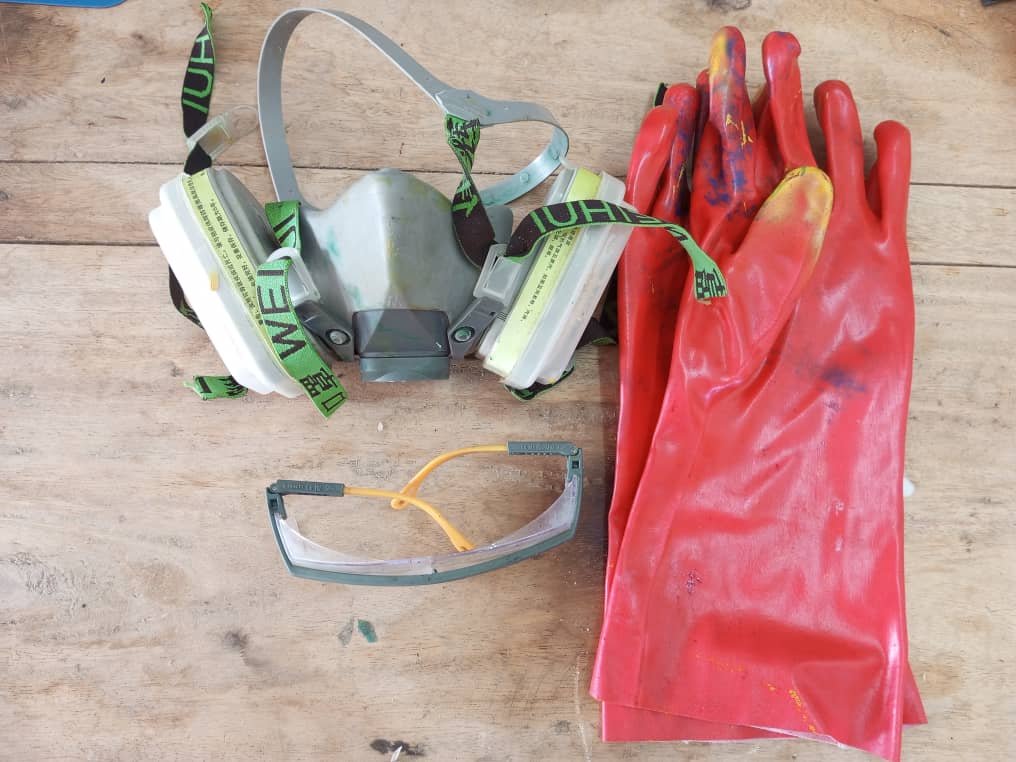
Being safe whiles we work is our number one priority. The picture below shows the basic personal protective equipment we idenified for the process.
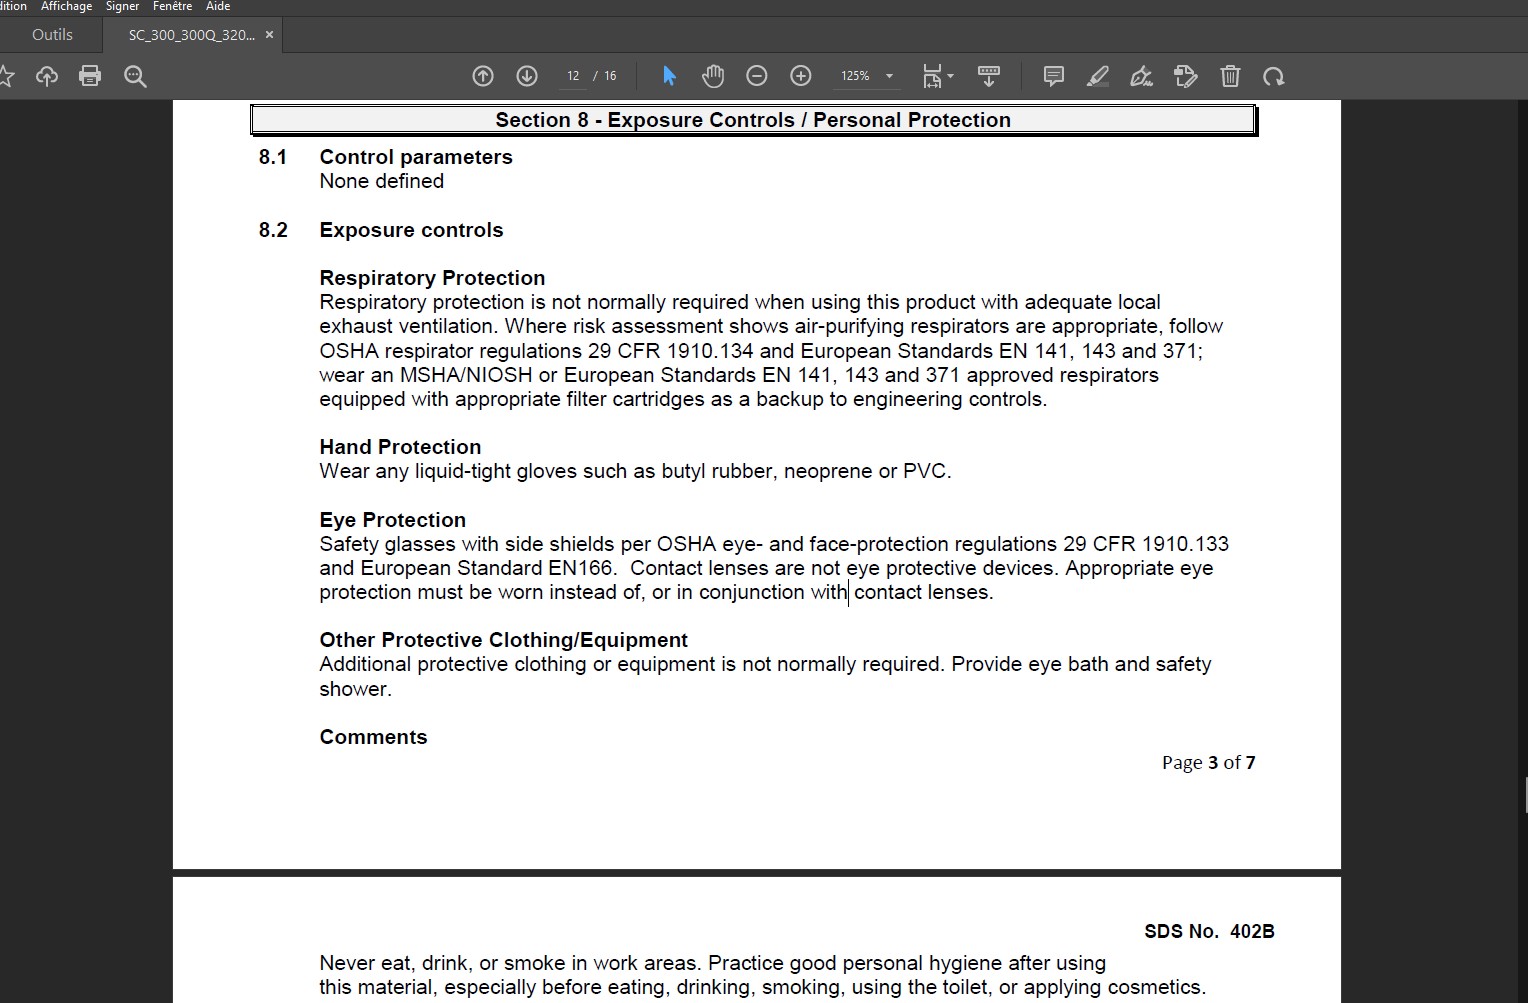
Data sheets
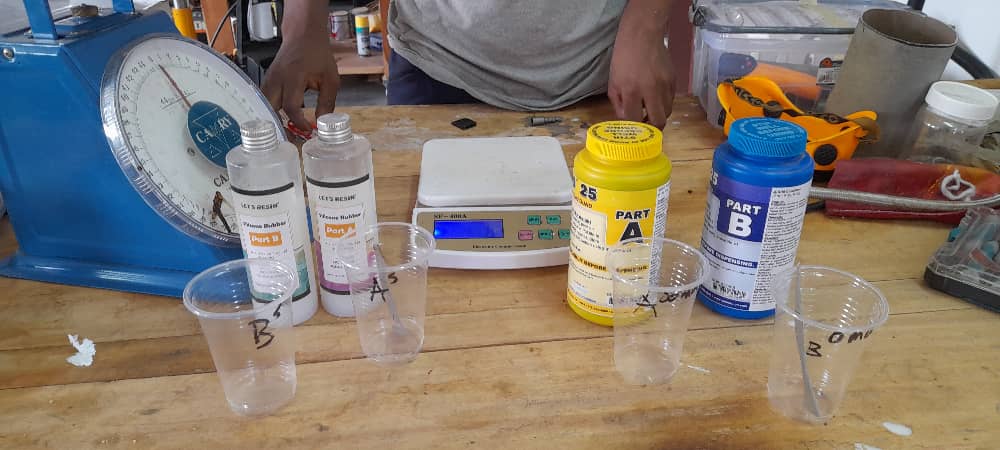
Each product has a data sheet which gives instructions on how to use it, general safety measures to take, mixing ratio’s, curing times, etc.
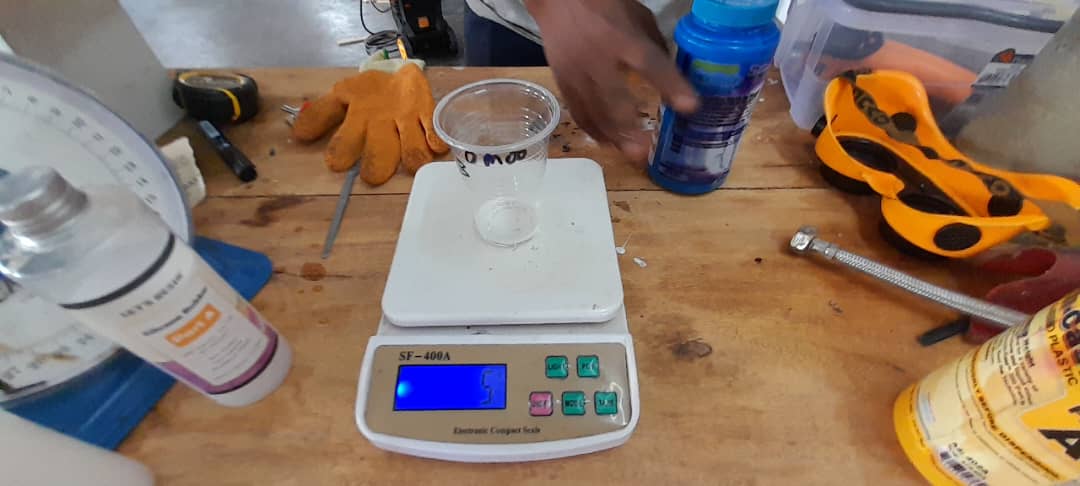
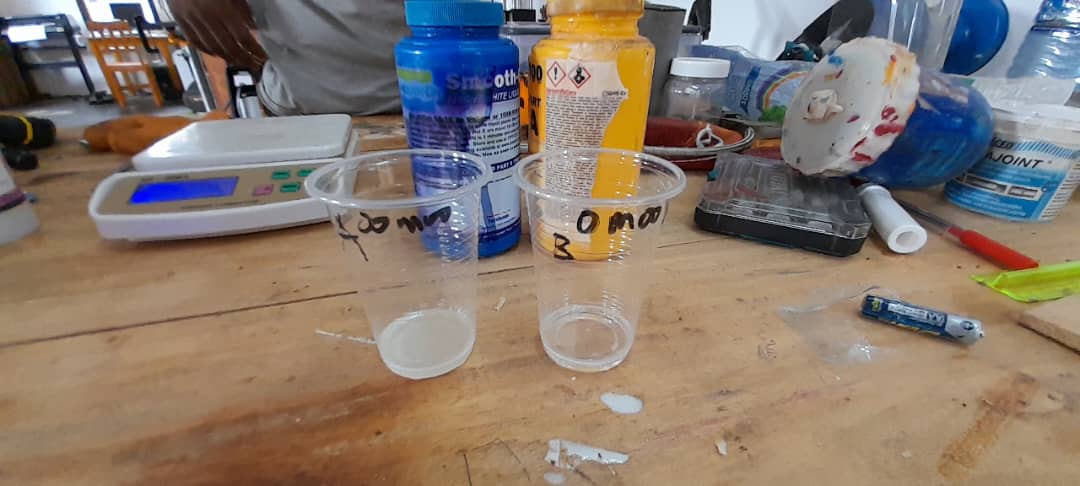
Each product also has a safety sheet that more elaborately describes the hazards of using it. For each product there is a mixing ratio to use for the two substances. This is often given in both volume (e.g. 1A:1B) or weight (e.g. 100A:130B). We used the weight ratio and made sure to use a digital scale to measure it very precisely.
Each product has a pot life, which is the time you’ll have between mixing the two components and when the material’s viscosity doubles (apparently). It’s used as a proxy for understanding how much time you’ll have to mix and pour the product into your mold before it’s already started setting. These can be as short as 2 minutes to 30 minutes and longer. Each product has a curing time, which is the time needed for the product to fully set (most products also have some post-curing time in a heated environment to get even better results). This can range widely as well from only 20 minutes to 16 hours.
For the best mold creation you want to have as few bubbles in the product as possible.
-While stirring always make motions that are on the horizontal plane (back and forth), and not moving up and down. Stir gently, not vigorously, but stir well, you want to have the two products fully mixed and homogeneous.
-Another technique to reduce bubbles in the final result is to pour the product into the mold very slowly, with a uniform flow, and from a single spot (at the lowest point) and let the product seek its level up and over the mold. It’s best to let any leftover mixed product stand in its container and let it fully cure before throwing it away.
Materials
for the whole process we will be using two types pf materials.
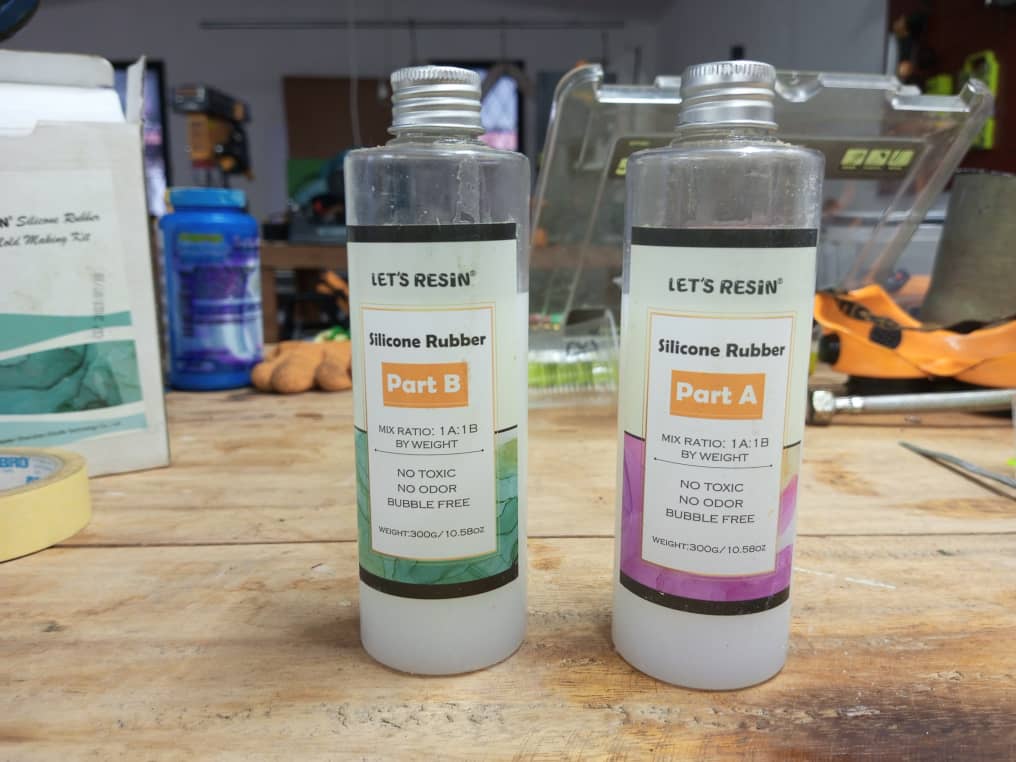
- Silicone

- plastic Resin
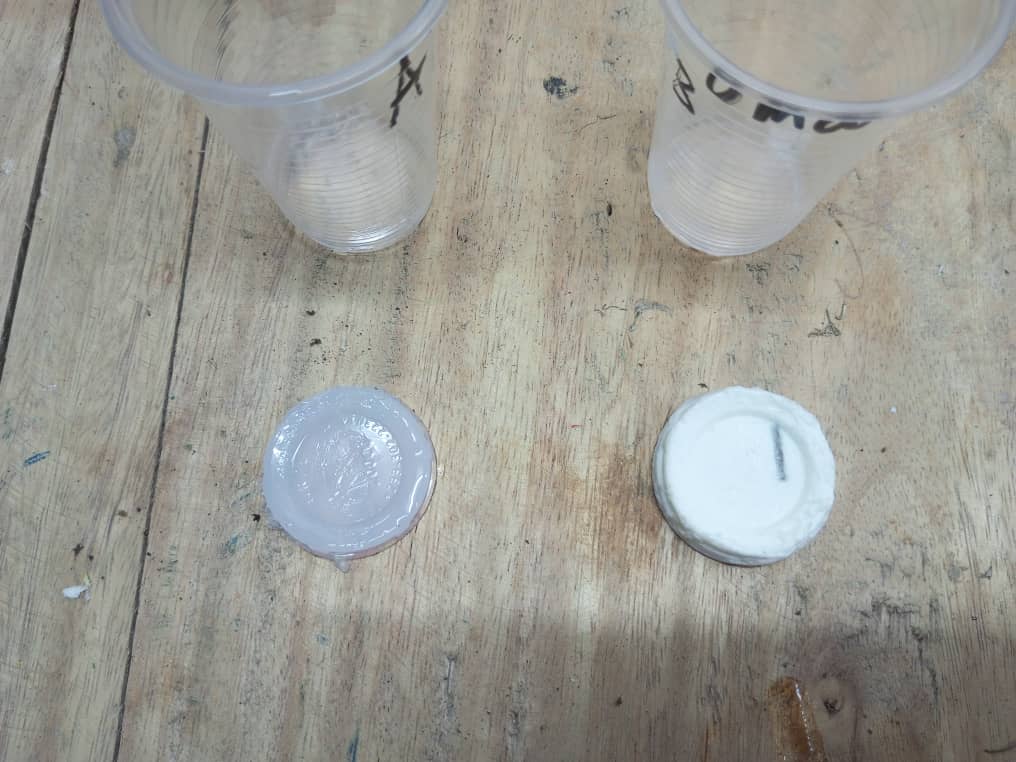
Testing Casting