2. COMPUTER AIDED DESIGN
# 2. COMPUTER AIDED DESIGN
INTRODUCTION
After joined session 2 from Prof.Neil (computer-aided design), I got more inspirations to learn new things while deepening the knowledge and experience that have been obtained in the previous week. Explanation from my instructor (FabLab Kamakura) helped me to organize all assignments then done until the document upload.
Assignment
- Learning model for (raster, vector, 2D, 3D, render, animate, simulate) a possible final project,
- Compressing our images and videos
- Posting them on our class page.
LEARNING OUTCOME / FAB ASSIGNMENTS
- Evaluate and select 2D and 3D software.
- Demonstrate and describe process used in modelling with 2D and 3D software.
GOALS AND SCOPE
- Modelled experimental objects/part of a possible project in 2D and 3D software
- Shown how we did it with words / images / screenshots
- Including our original design files
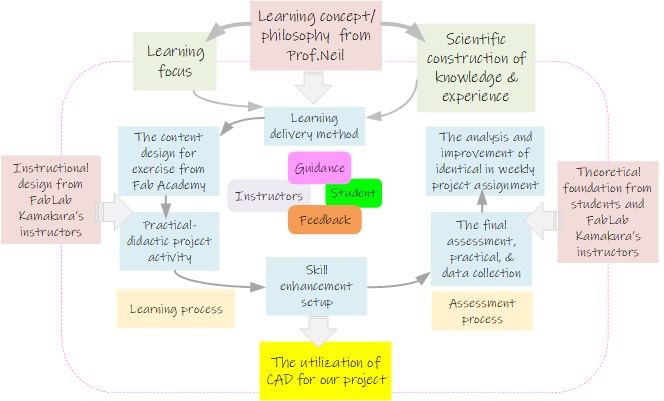
This is my learning scheme for CAD (week 2),
LEARNING PROCESS
Raster and vector are two types of digital graphic images and have their own characteristic, advantages and purpose. So they are both competing and also complement each other. We can find brief explanation from many sources, such as this site.
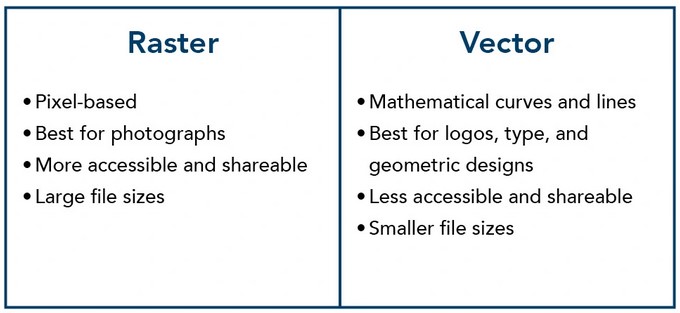
Raster
Common raster software is software for processing photos, such as Adobe Photoshop, Corel Photopaint, Gimp, etc.
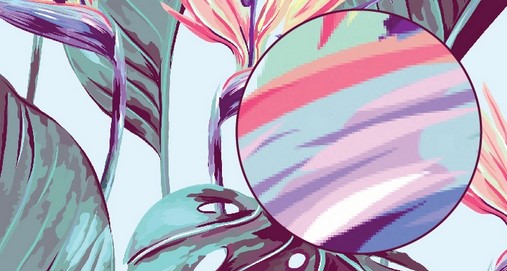
Vector
While the vector softwares are Adobe Illustrator, Corel Draw, and Inkscape.
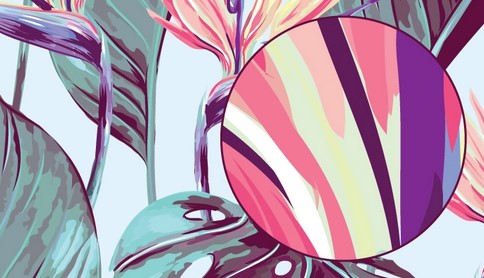
That’s an example of each software that has the main focus on rasters and vectors. Why do I say the main focus? Because nowadays, those boundaries are increasingly blurred. The software’s capabilities are a bit overlapping, for example Photoshop also has vector editing facilities.
2D DESIGN (using INKSCAPE)
Pencil
Pencil2D is a free and open-source 2D animation software for Windows, macOS and Unix-like operating systems. It is released under the GNU General Public License and uses the Qt framework. It is used for making cartoons using traditional techniques, managing vector and bitmap drawings.
I can download and learn tutorial from this site
This software looks simple but very powerful to create 2D and animation…
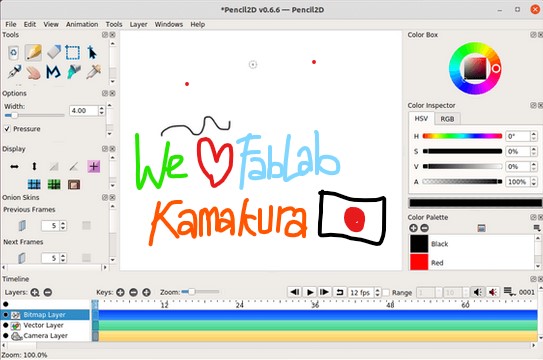
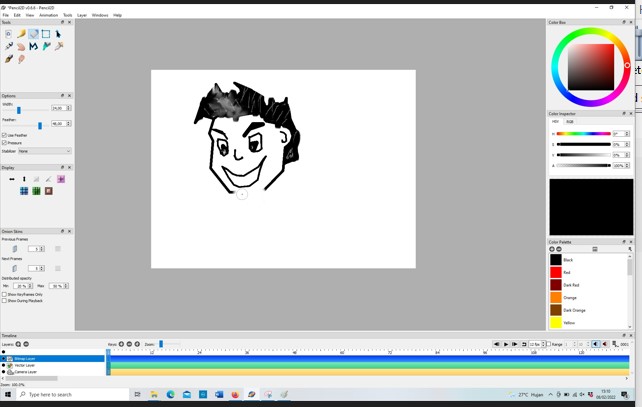
This is small example design using Pencil2D to create my Avatar :)
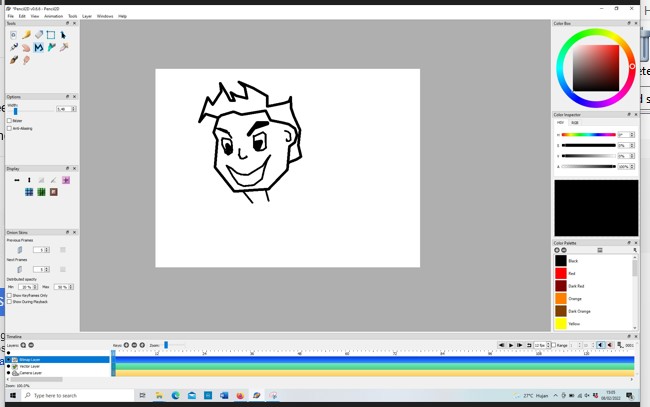
In this section I use tools such as pencil, pen, payline, and eraser. The use of software in this section is similar to free drawing in general using a mouse. Just left click and select a tool, then move it according to the object to be designed by pressing the left button on the mouse.
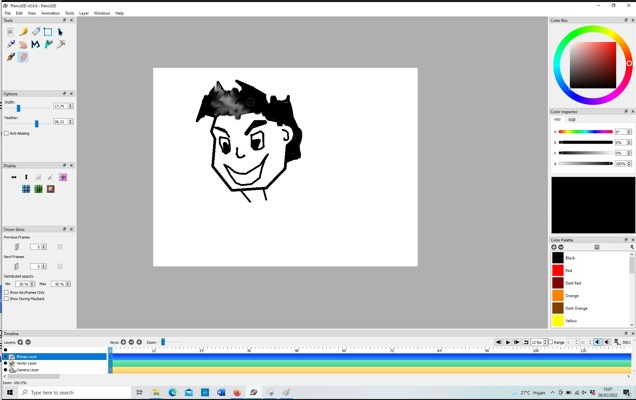
Just like in the previous section, here I use the Paint Bucket Tool to add black color to the hair of the avatar object. We just click the tool, choose a color and place it on the drawn object.
The smudge tool is used to edit polylines or curves in hair. I want to give the effect of gray hair and a bit of white light.
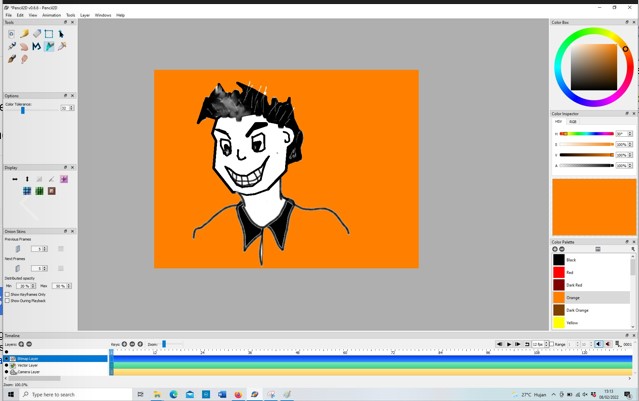
I used Eyedropper tool to set orange color from the stage. Like the previous method, just select the tool, select the desired color, and place it on the object you want to change its color by pressing and holding the left mouse button.
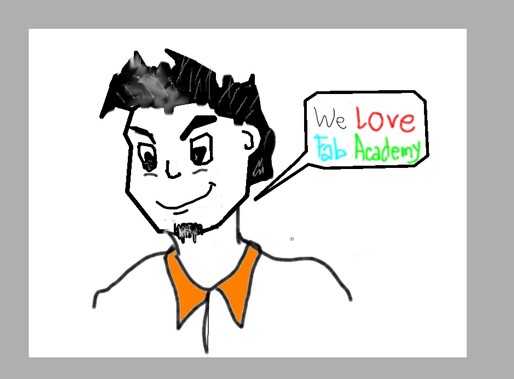
In this section I combine all the available tools to design an avatar and add text. Actually there are many things such as simple animations that can be done with this software. I will develop again for the next project or assignment.
This is simple example what I am doing in each of the images where I made my avatar:
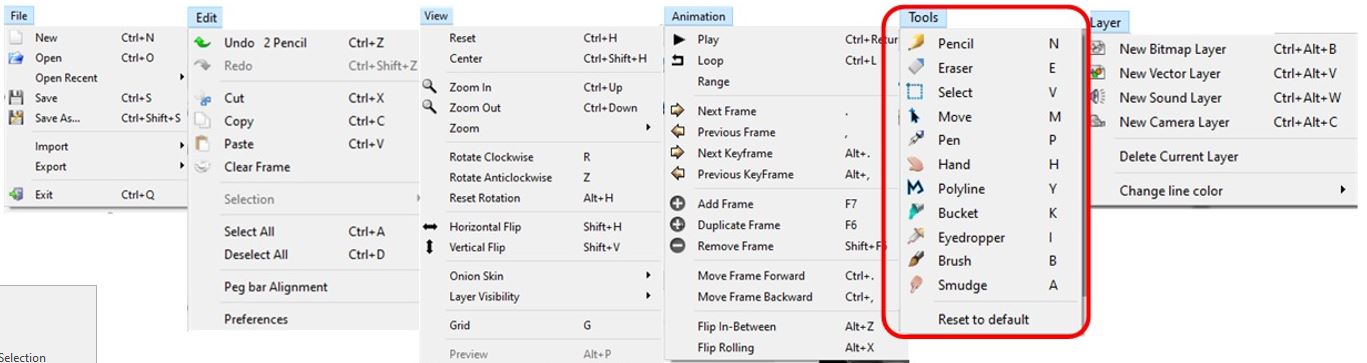
-
Clear Frame () is used to erase content of selected frame
-
Pencil tool (N) is used to sketch with pencil
-
Eraser tool (E) is used to erase object
-
Select tool (V) is used to select an object
-
Move tool (M) is used to move an object
-
Pen tool (P) is used to sketch with pen
-
Hand tool (H) is used to move the canvas
-
Payline tool (Y) is used to create line/curves
-
Paint bucket tool (K) is used to fill selected area with color
-
Eyedropper tool (I) is used to set color from the stage; [ALT] for instant access
-
Brush tool (B) is used to paint a smooth stroke with a brush
-
Smudge tool (A) is used to edit polyline or curve; liquify bitmap pixel; [A]+Alt: smooth
Finally, I saved my design in (*.pclx) format in my drive.

Inkscape
Inkscape is a free and open-source vector graphics editor used to create vector images, primarily in Scalable Vector Graphics format. Other formats can be imported and exported. Inkscape can render primitive vector shapes and text. Inkscape can be installed easily by following the instructions turorials.
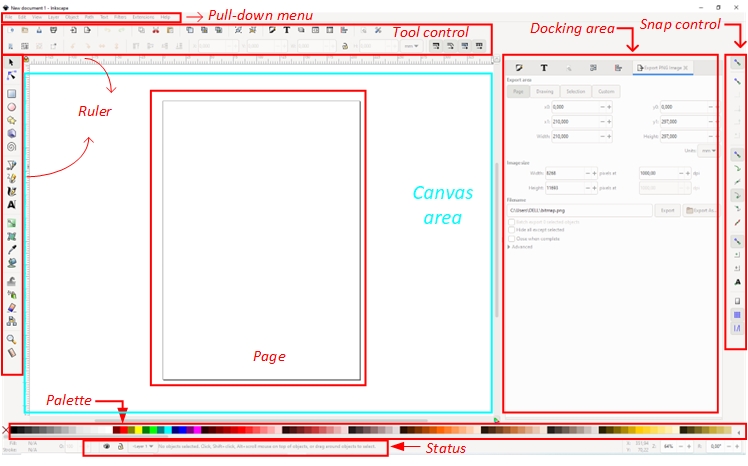
This is the worksheet when we open inkscape. The visualization shown is similar to drawing software in general.
.
The tools and schematics of working with Inkscape are similar to other 2D vector design software, where I used lots of sketches and layers to draw and edit objects.
 .
.
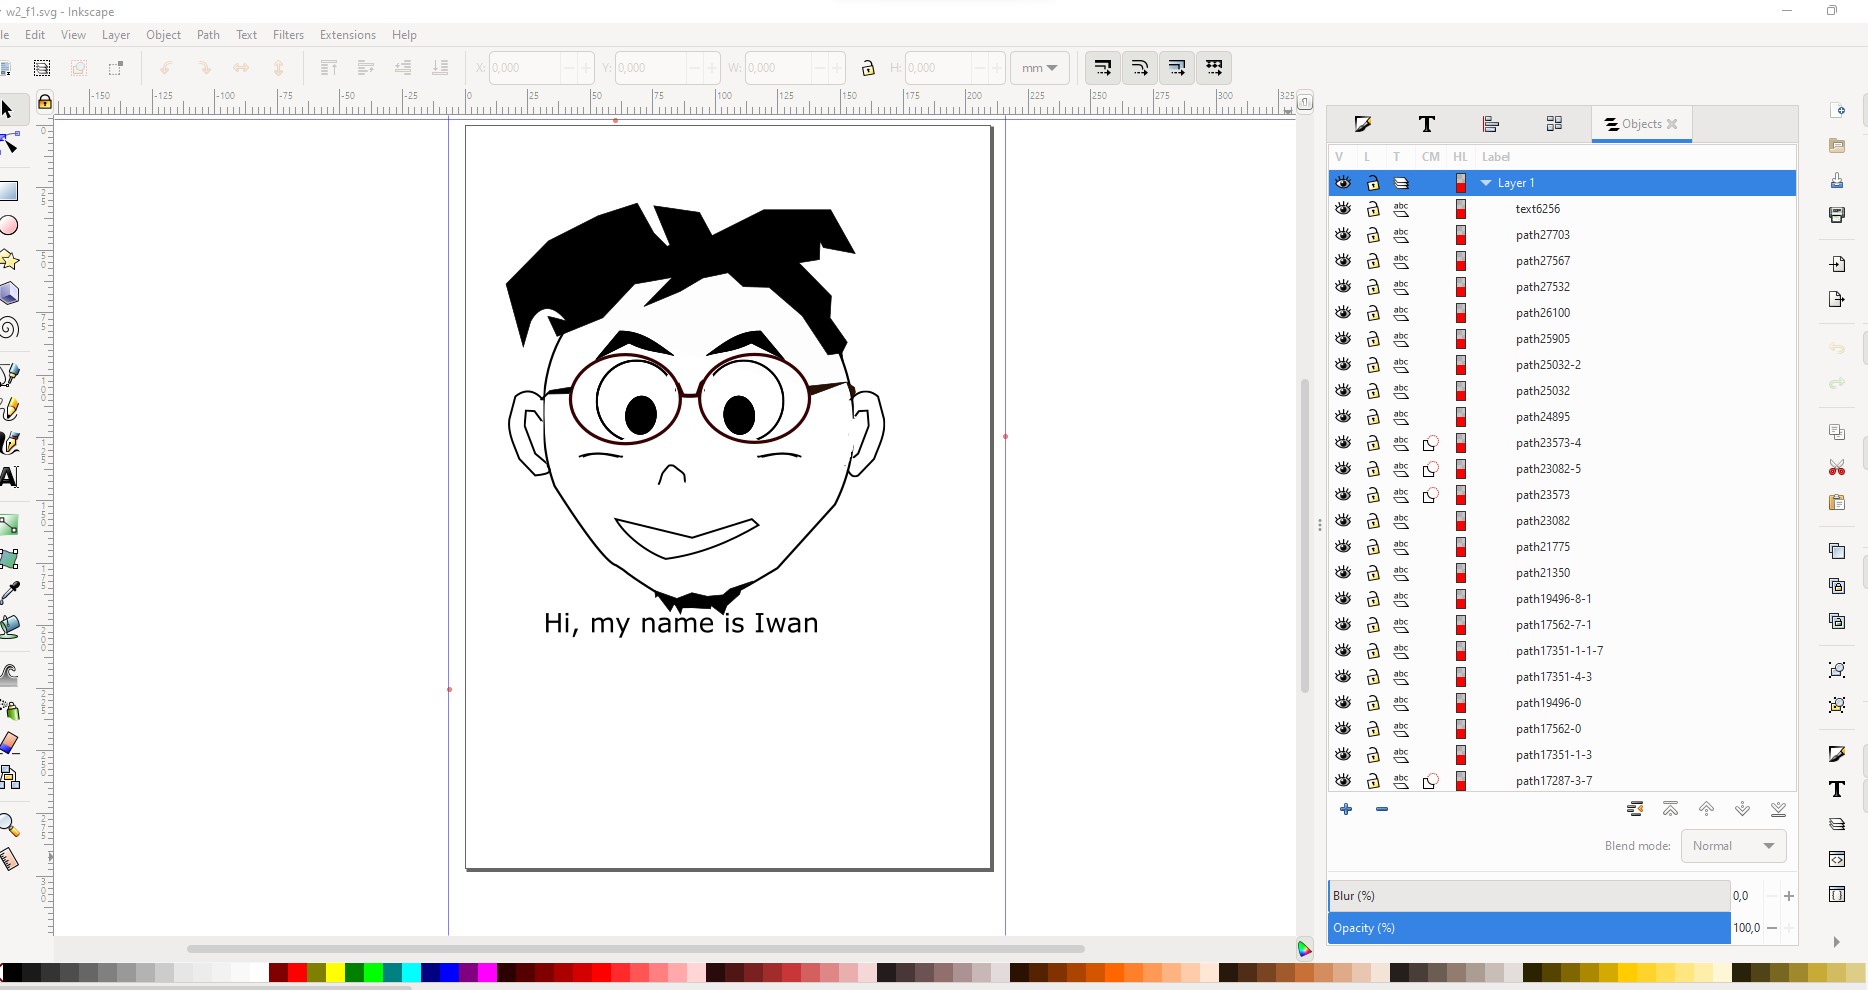
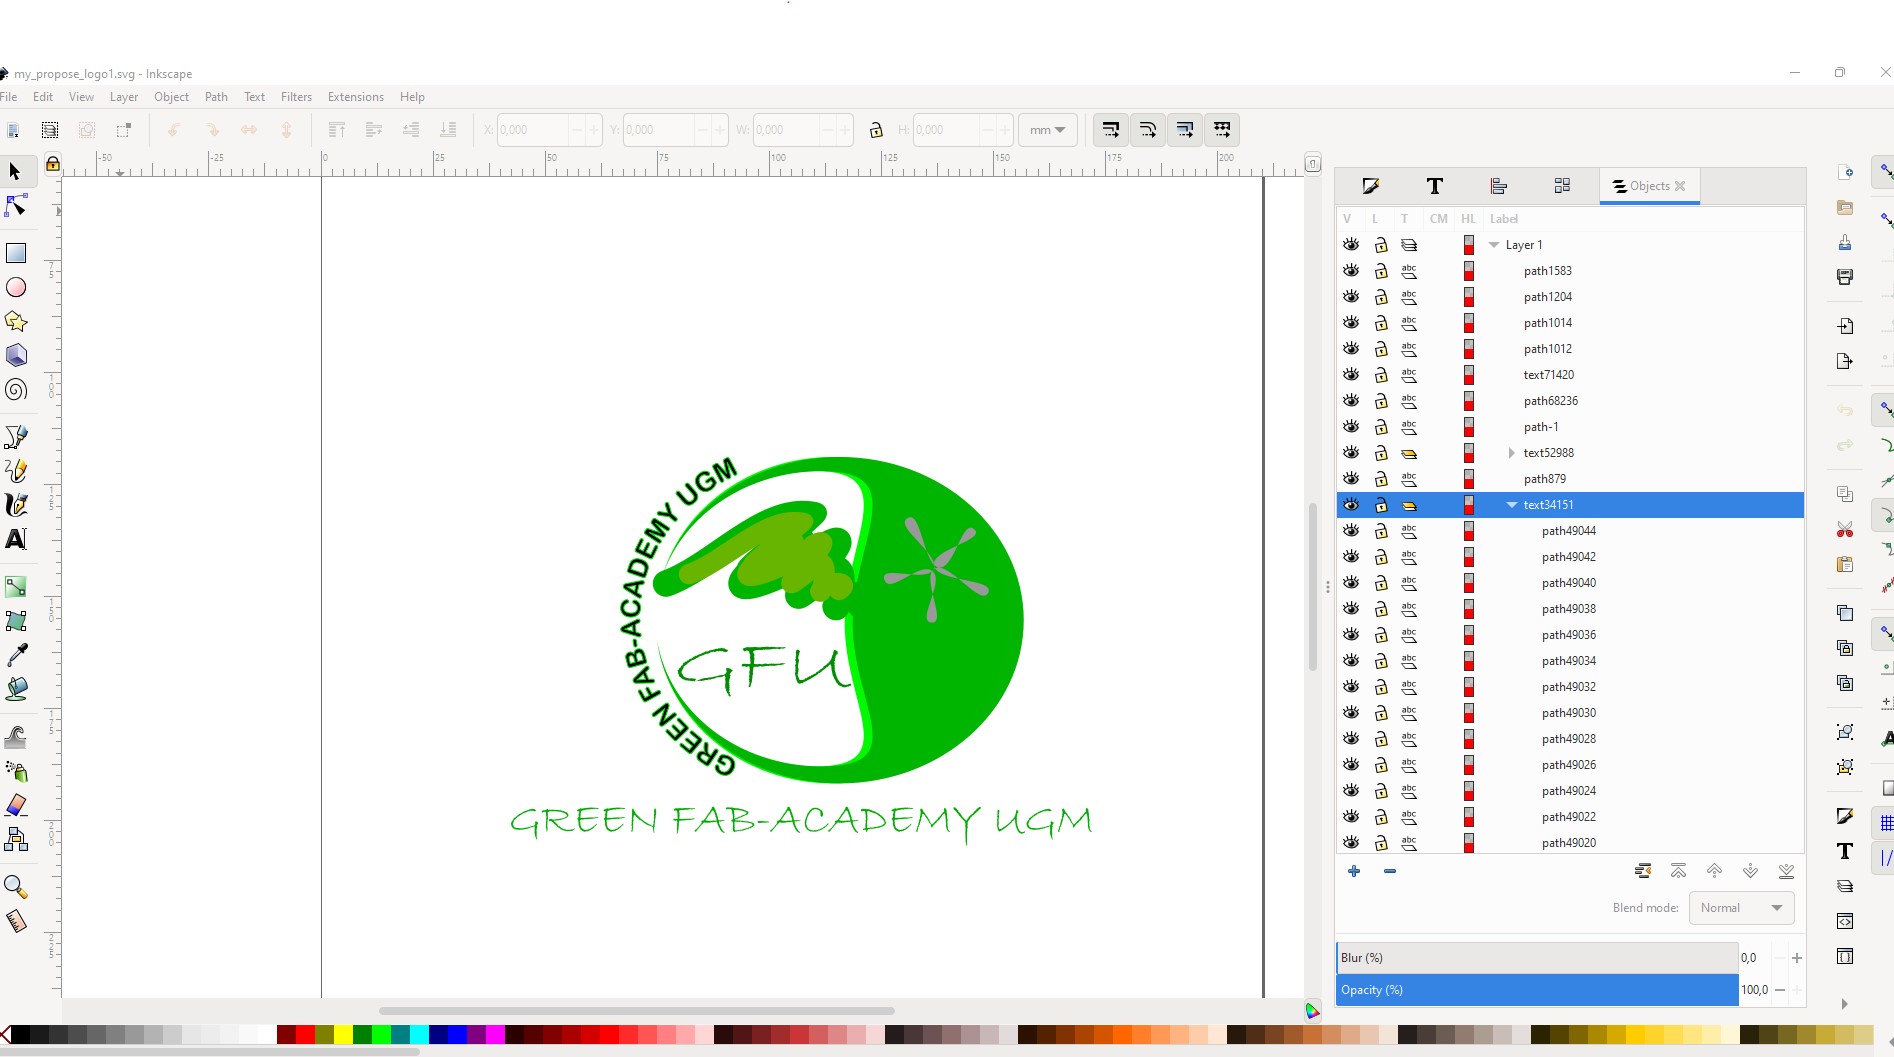
These are some examples 2D design using Inkscape for logo and my avatar design.
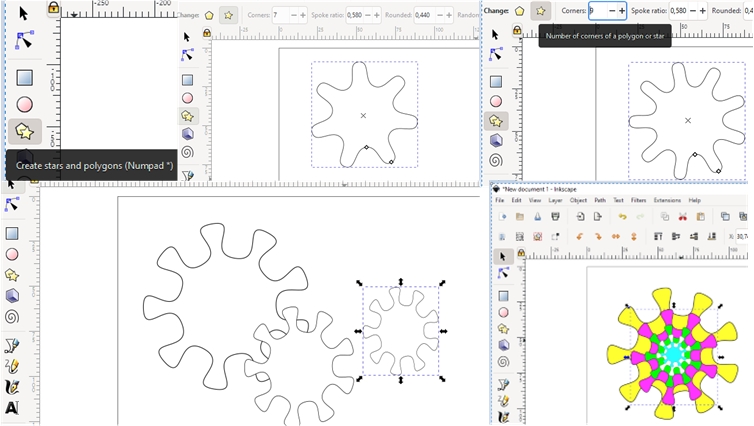
The following is a simple example of using one of the drawing tools to create a field with many sides (stars and polygons) on the horizontal tab to the left of the work plane. After we click, place the cursor on the worksheet area and drag it diagonally while pressing and holding the left mouse button to adjust the size. Furthermore, in Tool control, the corners tab is used to change the number of fields; spoke ratio to adjust the sharpness of the angle, and rounded to adjust the circular ratio.
Next I click and duplicate (Ctrl+D) the object, then drag and resize it 5 times with different sizes and place it in the center of the object. And color it by clicking on the object and then choosing a color on the Fill and Stroke Tab on the worksheet to the right of the page (worksheet).
simple example for our proposal logo....
you can see my simple avatar :P
After spending my time to learn and use Inkscape to support my assignment, the variety of what can be done with Inkscape is vast and sometimes surprising. It is used to make diagrams, logos, programmatic marketing materials, web graphics, and even for paper scrapbooking. People also draw game sprites, produce banners, posters, and brochures.
It is the ideal tool for drawing logos and icons, creating (animatable) graphics for websites, for composing posters and flyers, or for making patterns for use with cutting machines and laser engravers.
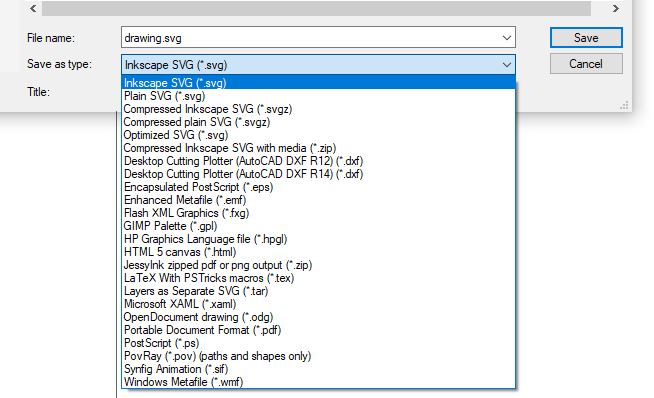
When finished, we can save the format as we want.
It offers a rich set of features and is widely used for both artistic and technical illustrations such as cartoons, clip art, logos, typography, diagramming and flowcharting.
Gimp
GIMP is a cross-platform image editor available for GNU/Linux, macOS, Windows and more operating systems. It is free software, you can change its source code and distribute your changes.
Whether you are a graphic designer, photographer, illustrator, or scientist, GIMP provides you with sophisticated tools to get your job done. You can further enhance your productivity with GIMP, yeaah…
We can learn this software briefly from this site
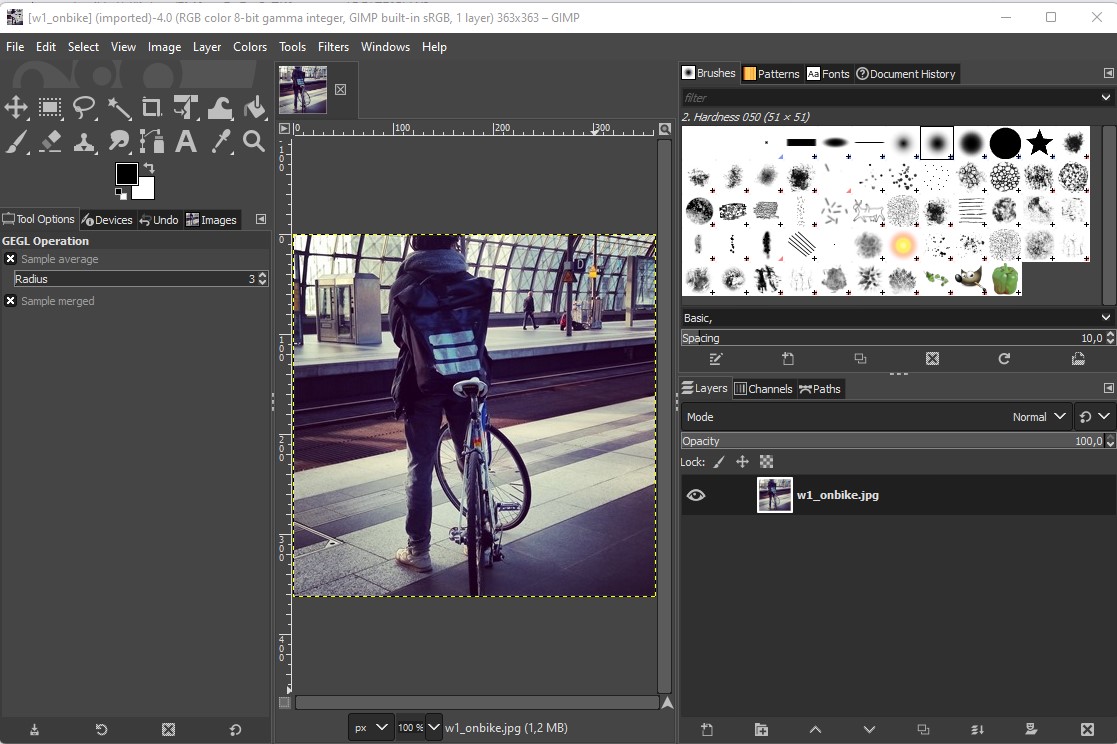
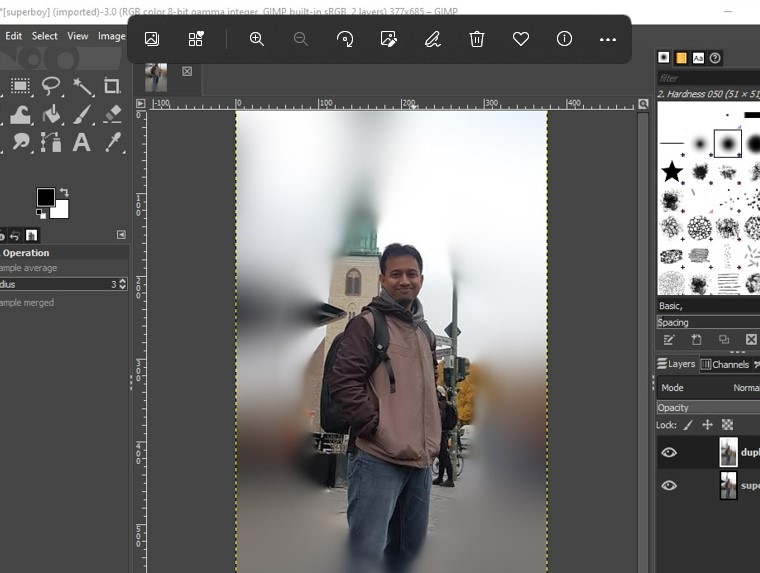
For example, I tried to edit photo profile from original format to center blur.
The first step is to open GIMP and open our picture. After the we duplicate (Ctrl + D) to benchmark the original with the modified picture. We can rename by double click the name of the picture in the right side.

To manipule in blur style, we can klik tab “Filter”, select ‘blur’, select ‘Focus blur’
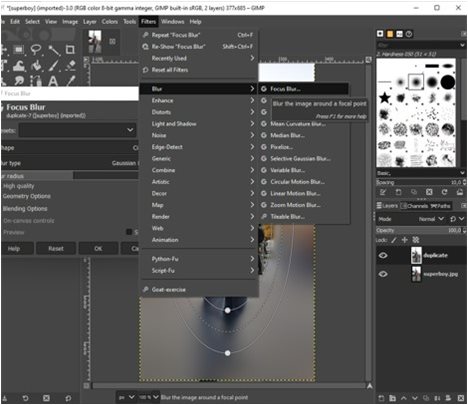
we can adjust the position of the blur by setting the position of the dotted radius line.
3D DESIGN
This week’s assignment encouraged me to be able to learn and master a lot of software for working on weekly assignments as well as initiating my Final Project. The main problem is that I have absolutely no background and knowledge of design with software. It took me a lot of time trying and remembering a lot of commands to be able to produce the image I wanted. I’m having trouble remembering commands and integrating them in compiling and documenting the steps for doing a task. What’s really interesting is that the longer I study, the more interesting things become and the more motivation I will be to become a designer in the future.
If we want to get inspiration or examples in 3D design with STL format, you can visit this site.
Blender
For this session we will use blender 3.0.1 version site
For complete tutorial in general, we can get from here
This is the interface can be seen in this image below.
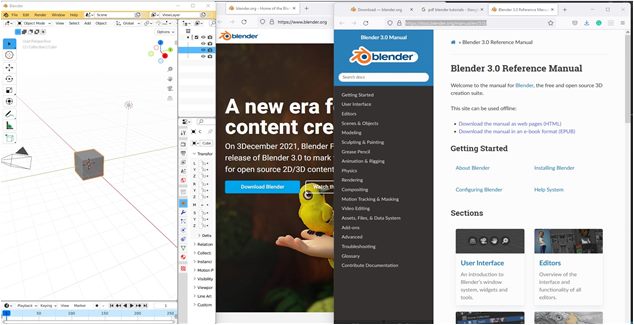
We can learn tutorial for navigation from this site
This software can be used to create concepts for new objects and even for designing 3D printable models. While not as accurate or as easy to use as CAD software like fusion, Blender is a good alternative.The common misconception is that Blender is a very complex program with 100’s of tools all stored away in various places. he truth is that learning how to use Blender will take time, patience, and plenty of dedicated practice before you get comfortable with the software.
Fusion
Fusion 360 is a cloud-based 3D modeling, CAD, CAM, CAE, and PCB software platform for product design and manufacturing. Fusion 360 offers a very intuitive assembly interface, being versatile and friendly enough for different applications and levels of experience.
We can check some examples 3D design using Fusion 360 from this site
To download and get started on Fusion 360, follow this link to create your Autodesk account and download the software onto your computer.
If you are a current student or an educator, you can have free access to Fusion360 if you use your University email address!
If you want to learn more about Fusion 360, here is the complete product guide.
- User Interface Overview
- Cloud Based CAD - Open, Close, Export, Upload and Save Data
- Setting and Preferences
- Adjust Display Settings
- Using the Toolbox
- Direct Editing
- Bodies and Components Part 1 and 2
- Creating a New Component for Assemblies
- Editing Non-Native Imported Geometry
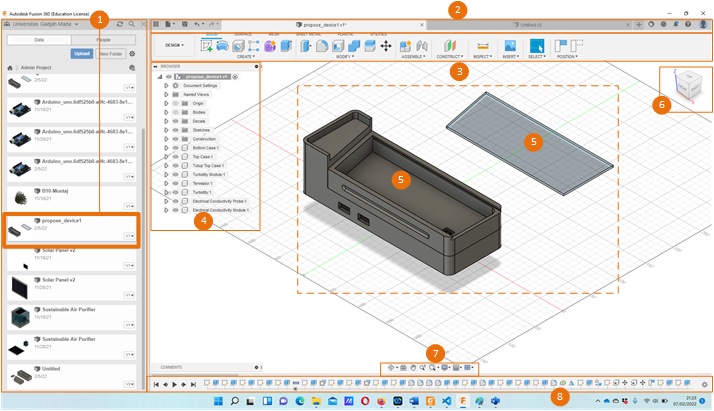
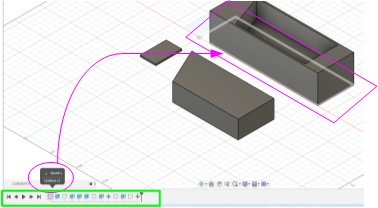
My proposal design
I started learning how to use Fusion360 (Academic License) to develop my idea in Final Project. I took more time until now to learn how it works to support my proposal devices (Milk Quality Checker using pH and temperature sensor)
NOTE
At the beginning for device 3D design we have to start from small parts or component which will be installed or connected in the construction system. The most important things is the size, structure, volume, and dimension variable (length, width, diameter, angle, etc.) They must attach appropriately and precisily to make sure the size, allowance, and maintain the error or unsuitable position in the set of devices. After we check, test, and measure their performance we continue to design the case/box for mounting all the system devices.
What we have learnt on this week
- Improve manual skech
- Start with Fusion 360 for whole sketch
- Divide each part of component
- Draw / design using Fusion 360 for example
Important Files (as example)
USEFUL LINKS (for refferences)
-
https://www.shutterstock.com/blog/raster-vs-vector-file-formats
-
https://docs.blender.org/manual/en/latest/editors/3dview/navigate/index.html
What
-
Great pleasure and interesting journey to start working with 2D and 3D CAD.
-
2DPencil and Inkscape are amazing to draw and share our idea… then
-
Fusion360 I have chosen for improving to advance design.