Week7- Computer-Controlled Machining
Introduction
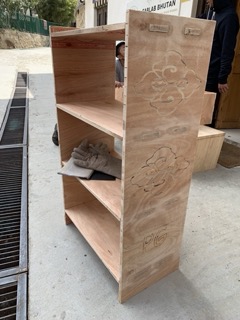
Lockdown still ongoing and it is work from home or should I call it FabAcademy from home. I was excited for this week as I wanted to buy one ikea shelf which cost Nu.2600 but now I can make one for myself and choose the paint of my own choice. Why buy when you can DIY!
Assignment
group project:
- do your lab's safety training test runout, alignment, fixturing, speeds, feeds, materials, and toolpaths for your machine
individual project:
- make (design+mill+assemble) something big (~meter-scale)
- extra credit: don't use fasteners or glue
- extra credit: include curved surfaces
Group assignment
The group assignment is here
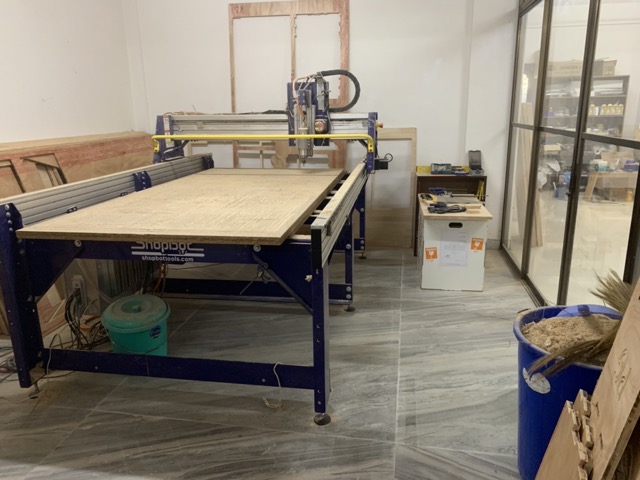
Shopbot
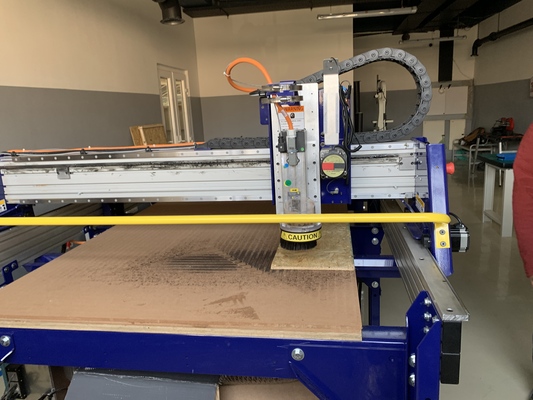
The machine: Shopbot alpha 96X48
Softwares: Fusion 360, Shopbot 3, Shopbot editor, V-carve
Safety measures
-
Always wear shoes.
-
Always wear safety glasses to avoid flying debris.
-
Always wear N95 mask to cover your nose and mouth.
-
Avoid wearing loose clothes, strings that hang.
-
Dont wear scarfs.
-
Always tie your hair.
-
Dont lean on the machines.
-
Dont go near the spindle while in operation
-
Dont leave the machine unattended during operation.
-
Be ready to press the emergency switch incase of accidents or emergencies.
Shopbot alpha 96X48
The shopbot has 2 supplies:
-
for control box- 1kW (to move the xyz motion)
-
for spindle- 3kW
  Note:
  - There shouldnot be internet connection in the windows which is connected to the shopbot and you should disable the update because there shouldnot be any disturbance while the job is inbetween.
  - Always keep the power settings in high performance and keep the computer to sleep option as never.
Shopbot 3- Controller
There are 5 inputs
- 1= Z zero-plate
- 2= x-limit switch
- 3= y-limit switch
- 4= detects daults and resets
- 5= z-limit switch and inverse
Settings
- A challenge of getting a good CNC cut is in selecting the best cutting speed (feed rate) and router/ spindle RPM (speed of rotation).
- In fablab Bhutan, the shopbot doesnot start the spindle start automatically when cut command is given from the software. When we cut command is given, the cutting doesnot start unless we manually start(press the Green button for 3 seconds) the spindle from the control box on the side of the shopbot and click stop (press the Red button for 3 seconds) at the end of the cutting. We can also change the speed using the potentiometer on the control box. At 4000 rpm, the shopbot cuts properly. As the speed decreases, the cut will not have good finishing.
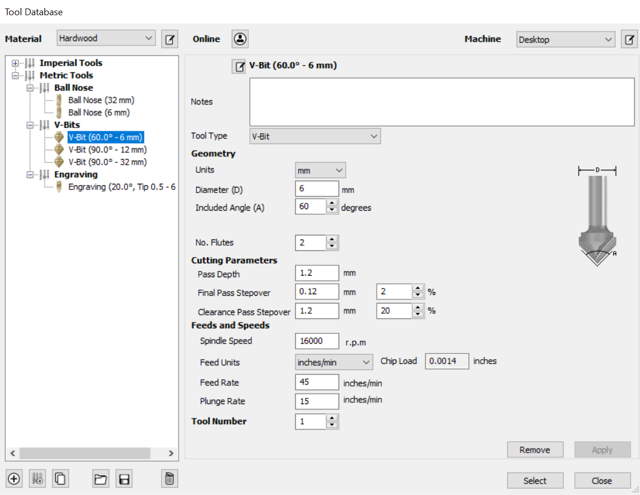
Milling tools
- I used 8mm dia for cutting
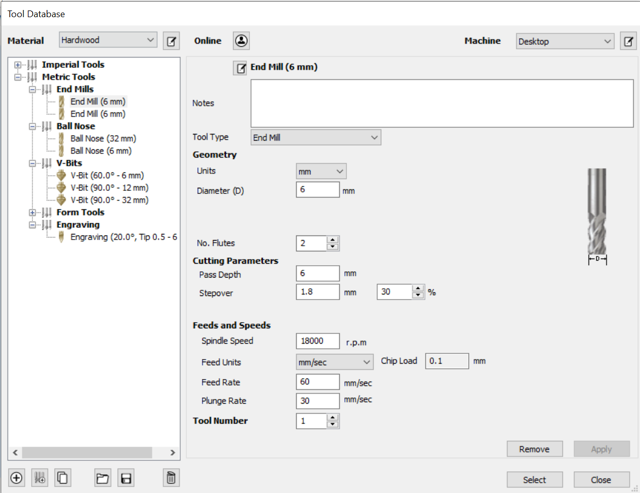
- I used 8mm V-carve for engraving designs
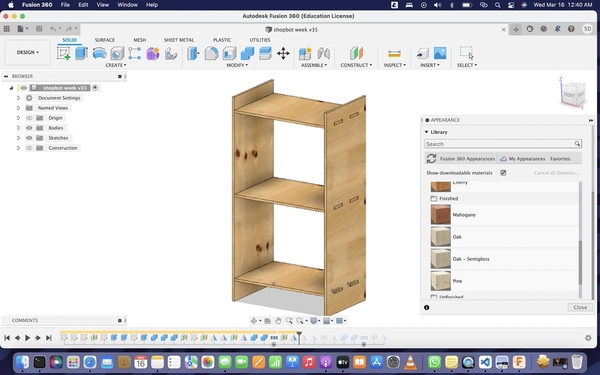
Designing in Fusion360
- I used Fusion 360 to design a shelf since I am quite comfortable with this software since i have been using it since Pre-Fabacademy .
-
Setting the parameters

-
Draw the shelf supoort
-
To install the dogbone extension, follow this instruction and watch this tutorial
-
The dog-bone connection :
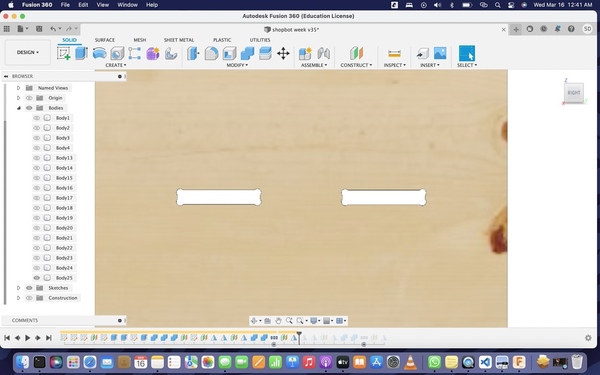
-
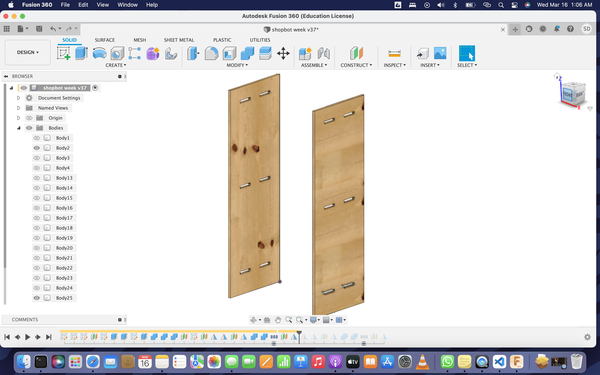
Draw the shelf holder
You can draw one shelf holder and then use the mirror feature to duplicate the same part 2 times.
-
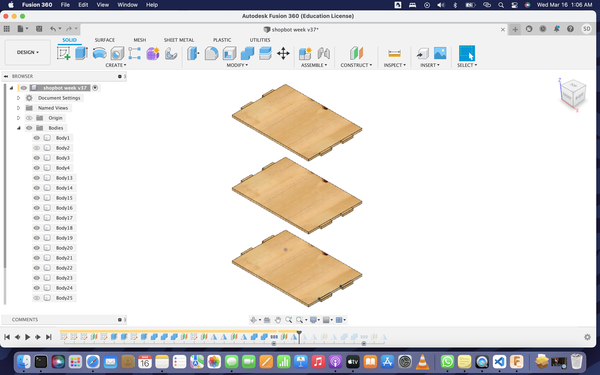
The shelf
-
Export the file in dxf format
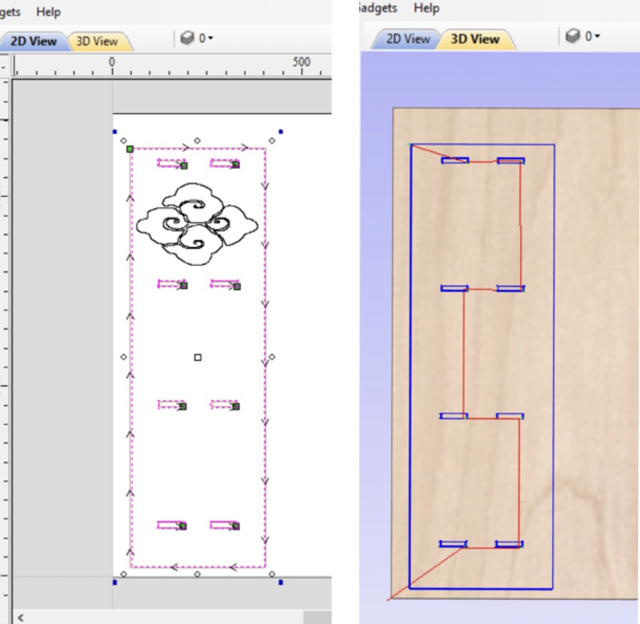
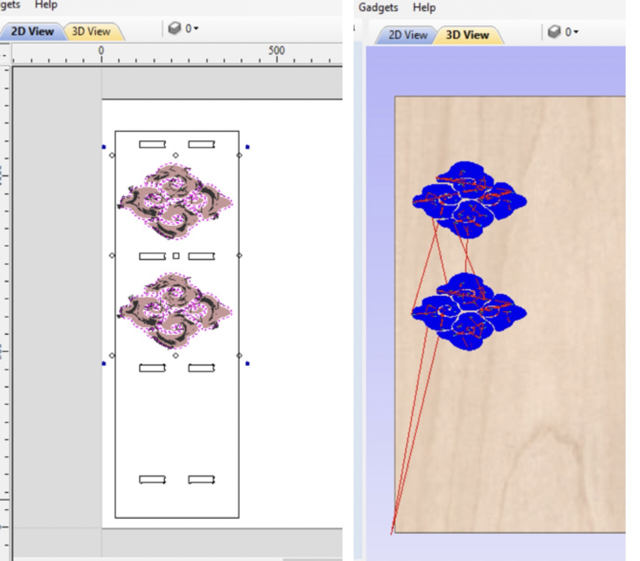
The design of the shelf using a dog bone connection:
Aspire and shopbot 3
    Note- For my shelf, I need to create 3 toolpaths.
    1. Shelf side cutting toolpath
    2. Shelf side engraving toolpath
    3. Shelf table cutting toolpath
-
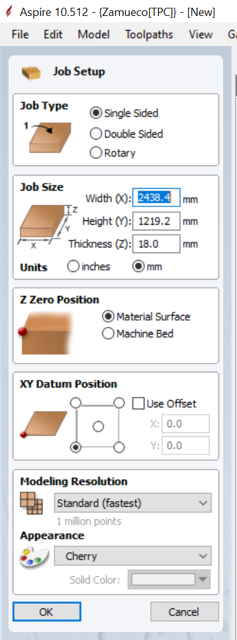
Open aspire software and create a new file. Give the width, height and thickness of the material you are using and click OK.
-
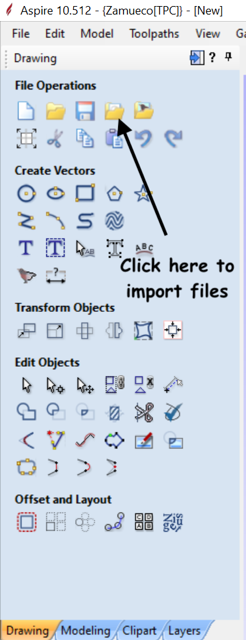
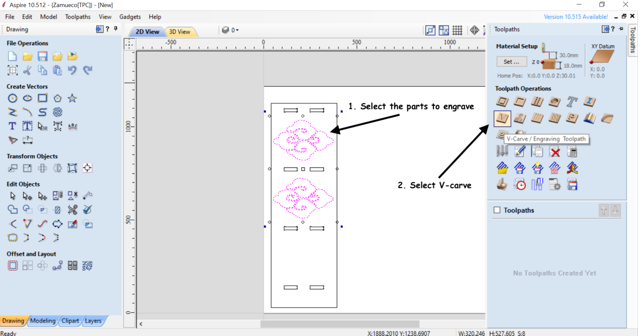
Click on import vectors on top-left corner and select the file (Note that the file should be in dxf format)
-
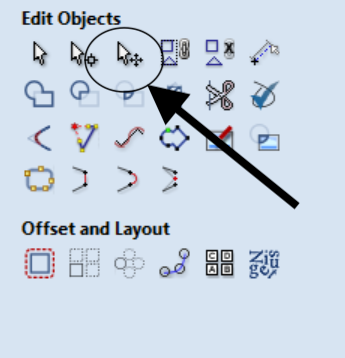
Click on this to select or move the parts.
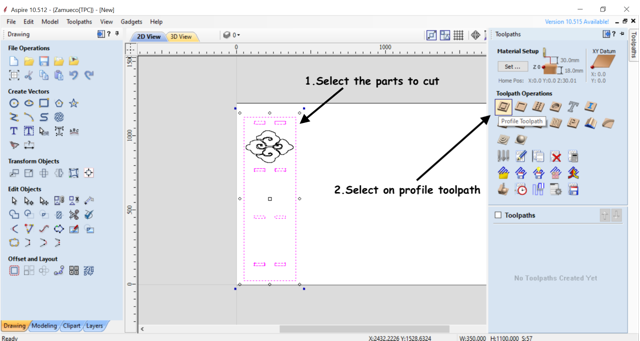
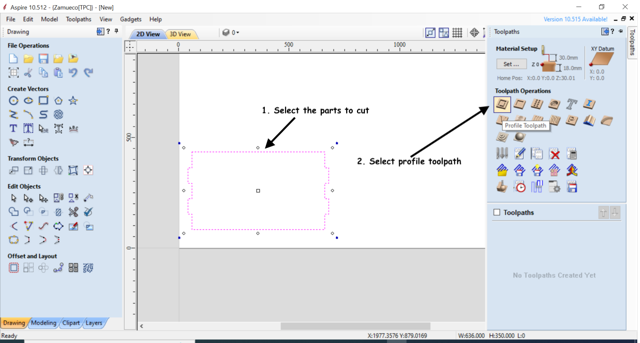
For shelf-side cutting
-
Select the parts you want to cut and click on the toolpath on the top-right corner and select profile toolpath.
-
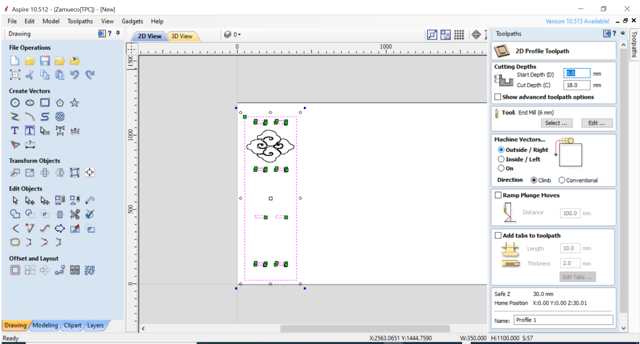
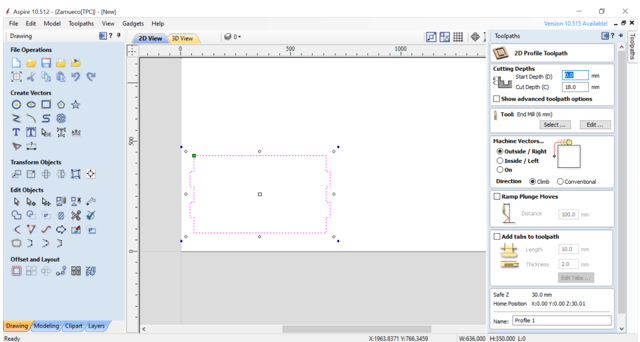
Give the cut depth= 18mm since I want to cut the material (the total depth the end-mill will cut) and click on calculate.
-
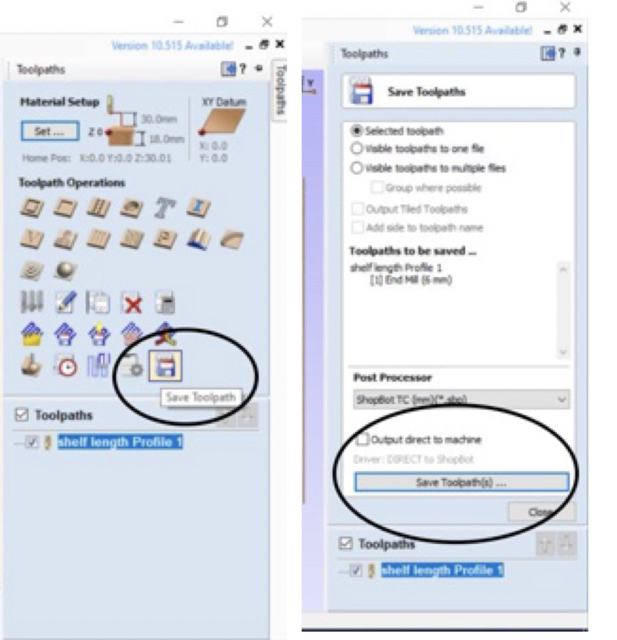
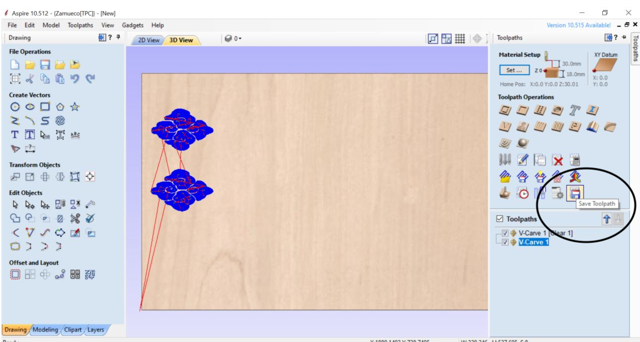
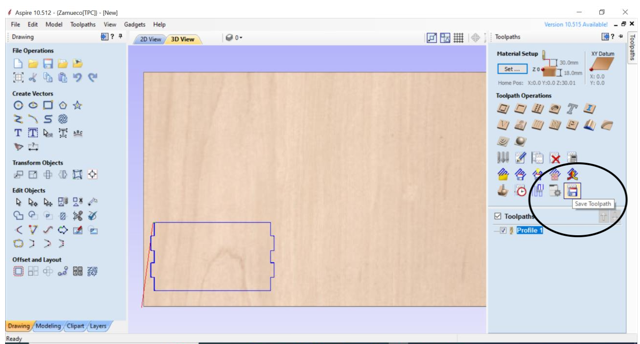
Save the toolpath in a desired location, for that, click on save toolpath icon and click on save toolpath button
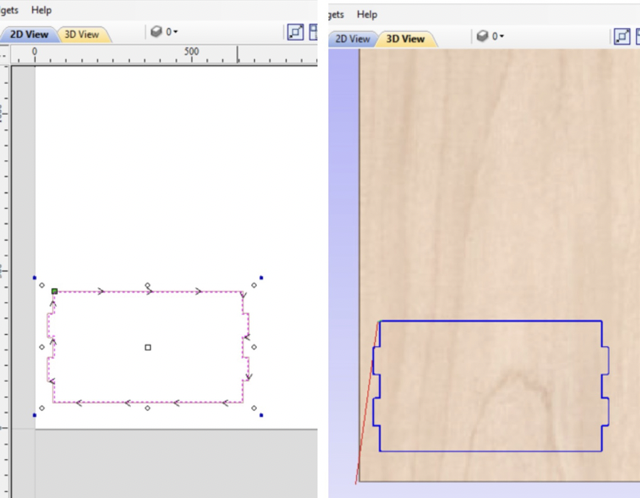
Toolpath
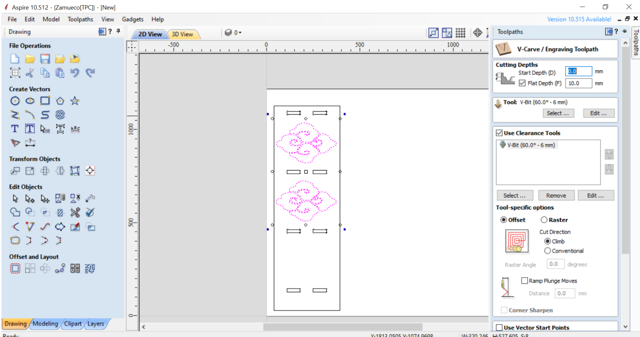
For shelf-side engraving
-
Select the parts you want to engrave and click on the toolpath on the top-right corner and select profile toolpath.
-
Give the flat depth= 10mm since I want to engrave and not cut through the material.
-
Save the toolpath in a desired location, for that, click on save toolpath icon and click on save toolpath button
Toolpath
For shelf-table cutting
-
Select the parts you want to cut and click on the toolpath on the top-right corner and select profile toolpath.
-
Give the cut depth= 18mm since I want to cut the material (the total depth the end-mill will cut) and click on calculate.
-
Save the toolpath in a desired location, for that, click on save toolpath icon and click on save toolpath button
Toolpath
Cutting
-
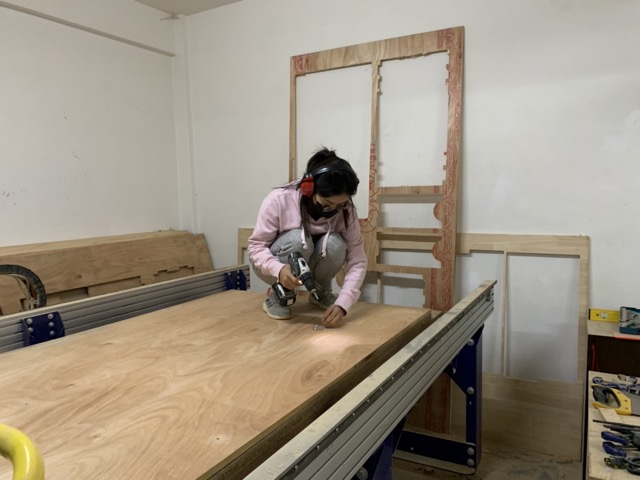
Make the holes to insert screws to the sacrificial board to hold the board.
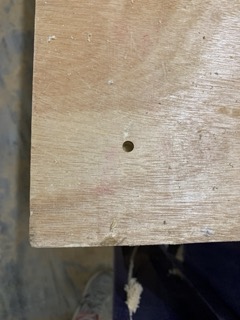
-
Drill the screws to the board using a drilling machines. Note that the screw should be longer than the board so that it can hold the board while cutting.
-
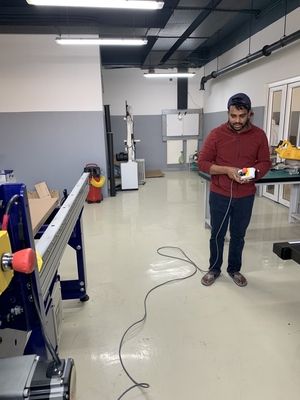
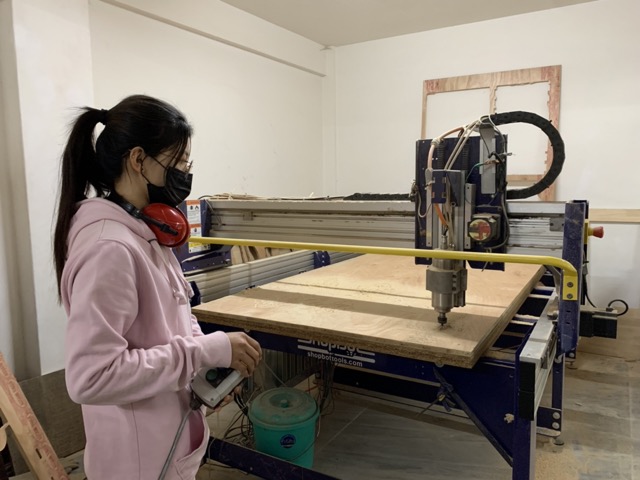
While running the job, always keep the remote on your hand ready to press the emergency button incase of any accidents. Plan when to cut the job since you cannot leave the job running unattended any time (especially during meal times 😟)
-
During FabAcademy, I learnt 3 very valuable lessons
1. Learning to make almost anything

2. Its okay to make mistakes, rather its more important to troubleshoot and debug

3. Always clean your own mess
So for this week, I learnt how to make something big in shopbot I learnt new features in Fusion 360 and I cleant the mess I made
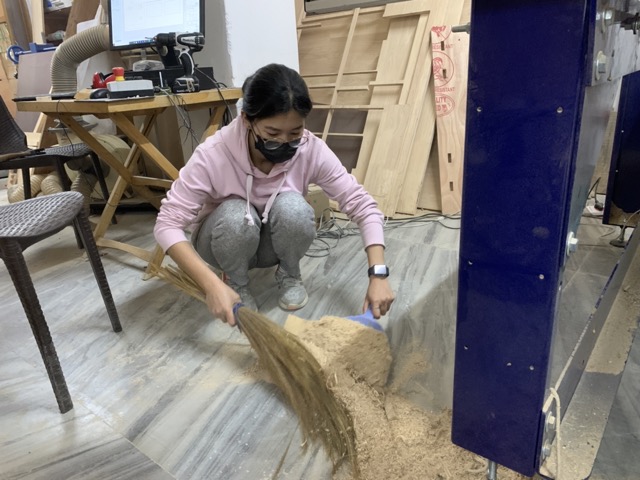
After finishing my work, I made sure the shopbot room was clean before I left.
s
- After cutting, file the edges and the corners of the pieces.
-
Day1 of sanding s

-
Day2 of sanding
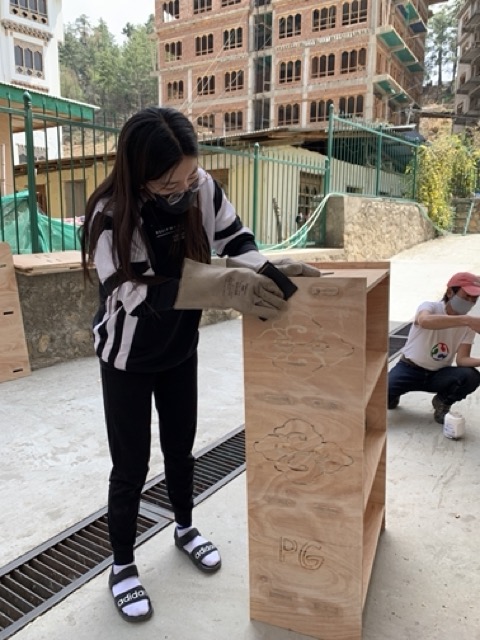
Final product