16. Interface and application programming
Group assignment:
compare as many tool options as possible.
For the group assignment refer here
Individual assignment:
Write an application that interfaces a user with an input &/or output device that you made.
OBJECTIVES OF THE WEEK
- Getting started with Processing software.
- Learning how to make colorful cnavas, shapes and text.
- Communicating Esp32 and processing using Arduino IDE.
This week we have to create application using any platform to interface with our input or output device. There are many open source platform to connect different programs and I am going to use Processing and python to interface with my devices.
Getting started with Processing
Processing
Processing is a free graphical library and integrated development environment (IDE) built for the electronic arts, new media art, and visual design communities with the purpose of teaching non-programmers the fundamentals of computer programming in a visual context.
Processing uses the Java language, with additional simplifications such as additional classes and aliased mathematical functions and operations. It also provides a graphical user interface for simplifying the compilation and execution stage.
The Processing language and IDE have been the precursor to other projects including Arduino, Wiring and Processing.js. Source: wikipedia
Step 0: Getting Started with Processing
- ‘setup’ vs ‘draw’ functions, commenting
- function = code block
- ’once’ vs ‘repeating loop’
- slash slash = commenting
//Basic Processing Program


//setup is an initialization function...runs once at the beginning of the program
void setup(){
  (insert some code here...);
}

//draw is a loop function...runs repeatedly until stopped
void draw(){
  (insert some code here...);
}
Step 1: Make a Colorful Canvas
- Learning: Working Area (Canvas) sizing, Background color, greyscale, RGB convention
- Let’s make a boring grey, 500px by 500px square canvas >> size(xSize, ySize), background(number)
void setup(){
  size(500,500); //pixels
}

void draw(){
  background(100); //greyscale...0 is black, 255 is white
}

Let’s make a red, 400px by 400px square canvas >> size(xSize, ySize), background(R, G, B)
void setup(){
 size(400,400); //pixels
}

void draw() {
  background(90,0,0);  //RGB
}

Now you can modify the size and color as per our choice.
Step 2: Draw Shapes & Text!
- **Learning how to make ‘2D Primitive’ shapes (rectangle, circle, etc…and text)
Rectangle
- Lets draw/color a rectangle
void setup(){
 size(400,400);
}

void draw() {
  background(90,0,0);
  rect(width/2, height/2, 20,20); //origin upper left
}
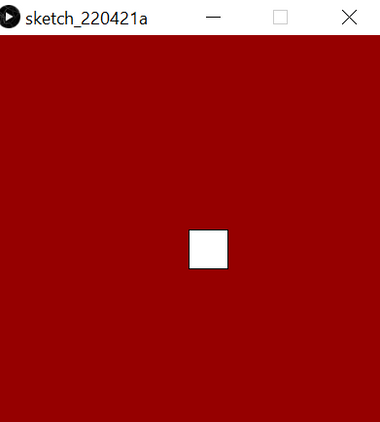
Resize the size and color as per our need and if we wanted to place the rectangle to a specific area inside the canvas use rectMode function.
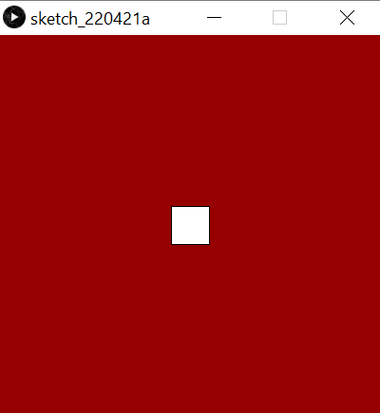
## rectMode(CENTER);
void setup(){
 size(400,400);
}

void draw() {
  background(50);
    rectMode(CENTER);
  rect(width/2, height/2, 20,20); //origin upper left
}
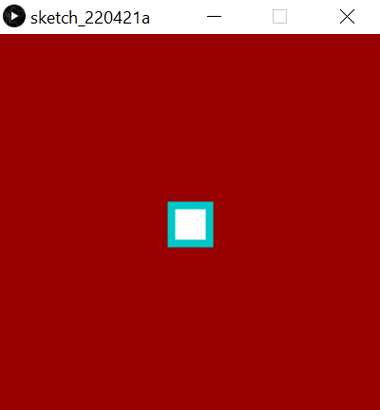
Now let’s learn how to use some stroke(), noStroke(), strokeWeight() and color as the agrument.
void setup(){
 size(400,400);
}

void draw() {
  background(150,0,0);
  rectMode(CENTER);
  stroke(0,200,200);
  strokeWeight(8);
  rect(width/2, height/2, 40,40); //origin upper left
}
Circle
To make circle simply replace rect function by Ciecle as shown in the code below.
void setup(){
 size(400,400);
}

void draw() {
  background(150,0,0);
  stroke(0,200,200);
  strokeWeight(8);
  circle(width/2, height/2, 40);
}

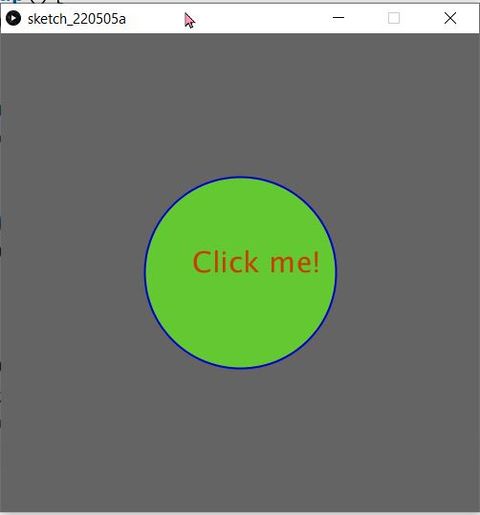
Text
Let’s learn how to write something on the canvas. Let’s write ‘click Me’ on canvas.
void setup(){
  size(500,500); //pixels
}

void draw(){
  background(100); //greyscale...0 is black, 255 is white

  stroke(0,0,200);
  strokeWeight(2);
  fill(100, 200, 50);
  circle(width/2, height/2, 200);

  stroke(100,100,100);
  fill(200, 60, 0);
  textSize(30);
  text("Click me!", width/2-50, height/2);
}
Explore more about Processing on your own and I am pretty sure you will find it interesting.
Now let’s try to communicate Arduino and processing using Arduino IDE
Sending data from Arduino to Processing over the serial port.
Let’s start with Arduino first. If you haven’t downloaded Arduino IDE, first download the arduino software from HERE.
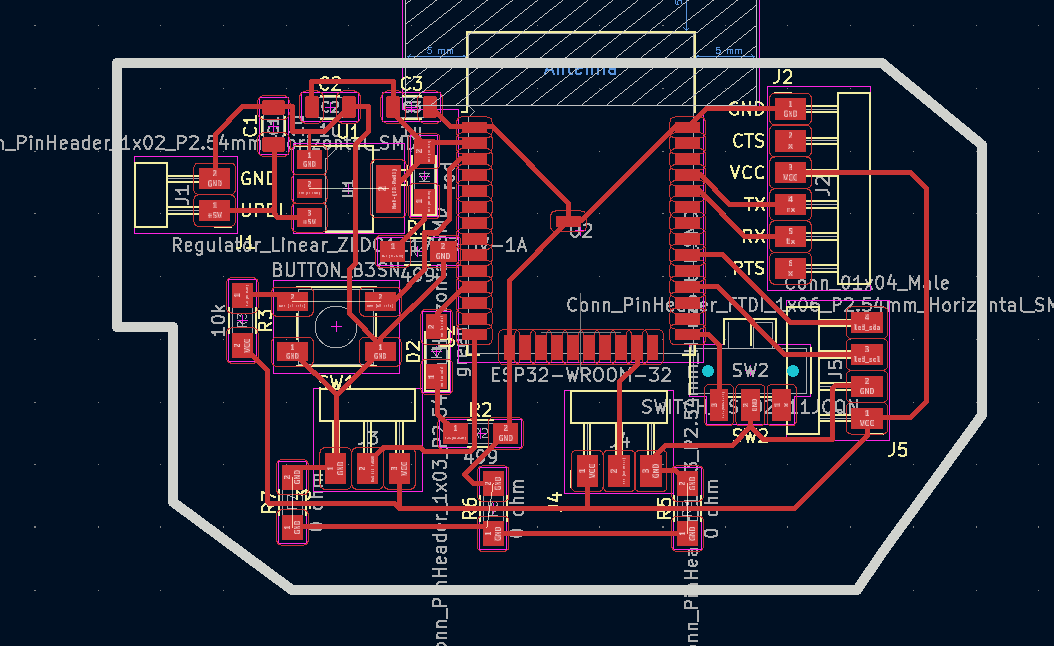
You’ll also need an Arduino-compatible microcontroller,FTDI cable and in my case I have used self made ESP32.
Now open the Arduino software and something like this should pop-up.
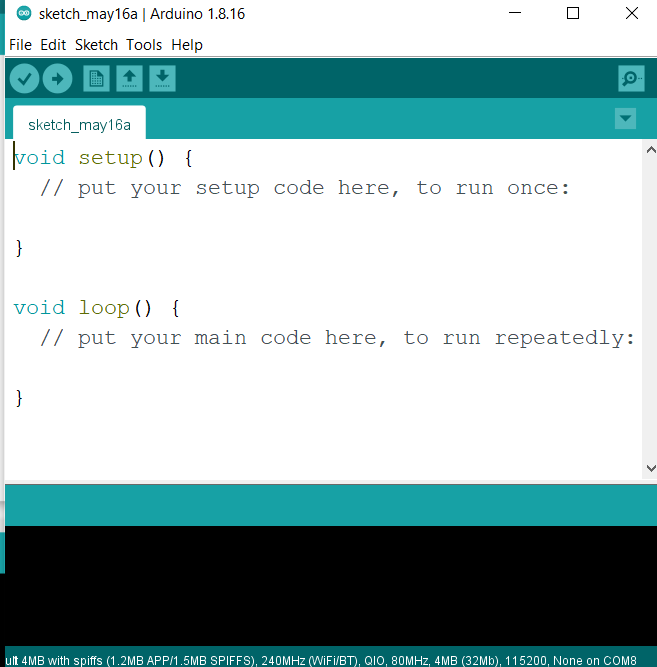
Now copy and paste the code below in void setup() and in void loop().
void setup code
void setup()
{
//initialize serial communications at a 9600 baud rate
Serial.begin(9600);
}
The setup is where we setup our program. We are using it to start serial communication from the Arduino to our computer at a baud rate 115200.
After setup() method, prepare the loop which runs repeatedly. Let’s start with a simple Hello world programming. Let’s send the string ‘hello world’ over a serial port repeatedly. COpy this code in void loop()
void loop()
{
//send 'Hello, world!' over the serial port
Serial.println("Hello, world!");
//wait 100 milliseconds so we don't drive ourselves crazy
delay(100);
}
Now plug in the ESP32 board, select the ‘Board Type, Serial Port, Baud Rate’ under ‘Tools’ and hit the ‘upload’ button to load the code.
Now lets prepare Processing software to see if we can detect the ‘Hello World’ string from Arduino in Processing.
Preparing Processing software.
First task is to download the Processing software. DownloadProcessing
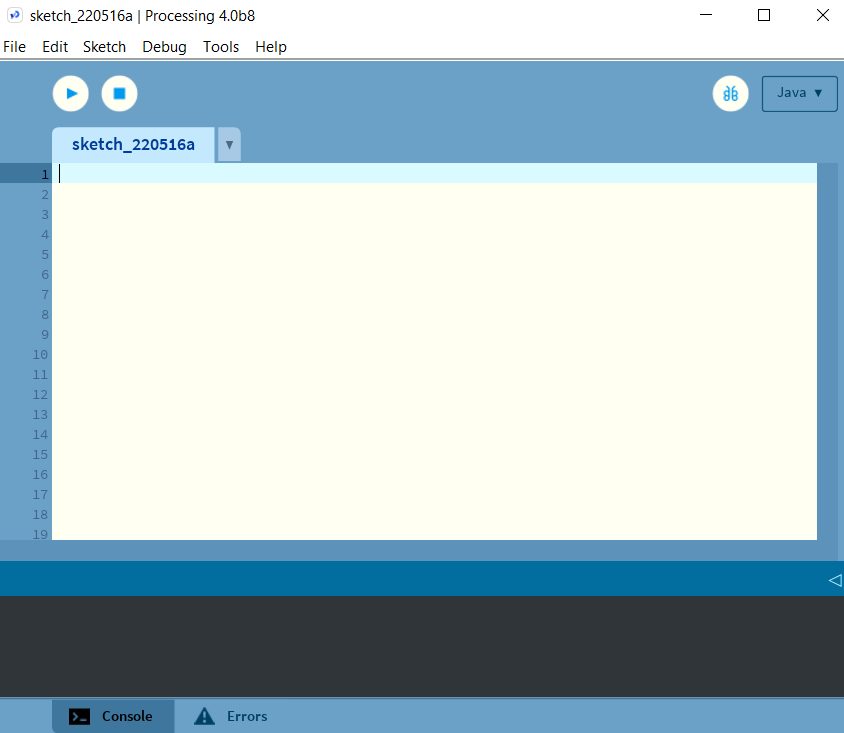
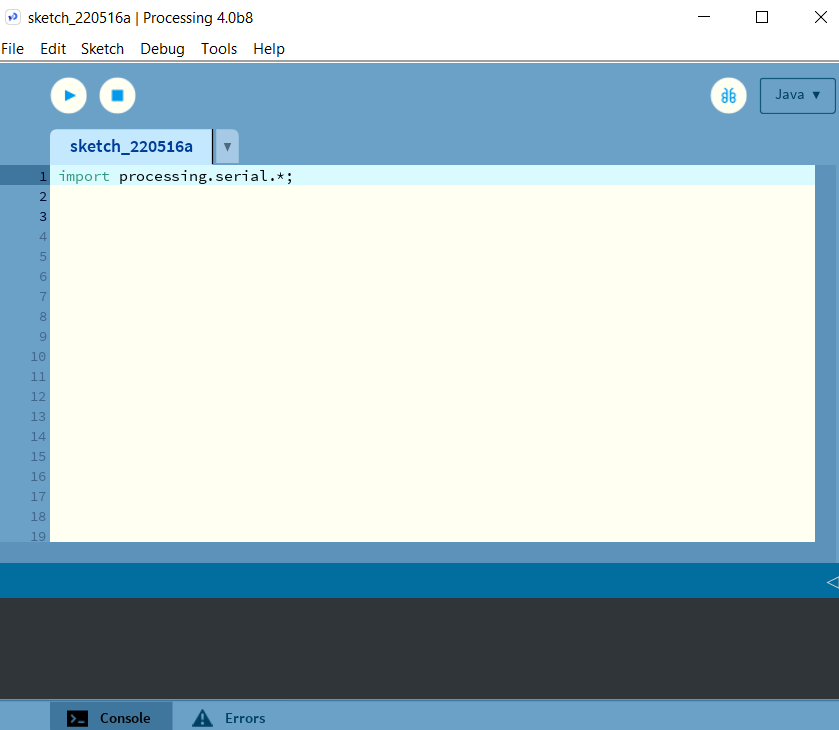
Once Processing is installesd, open it up and you should see something like this.
Now got to Sketch>> Import Library>> as shown below.
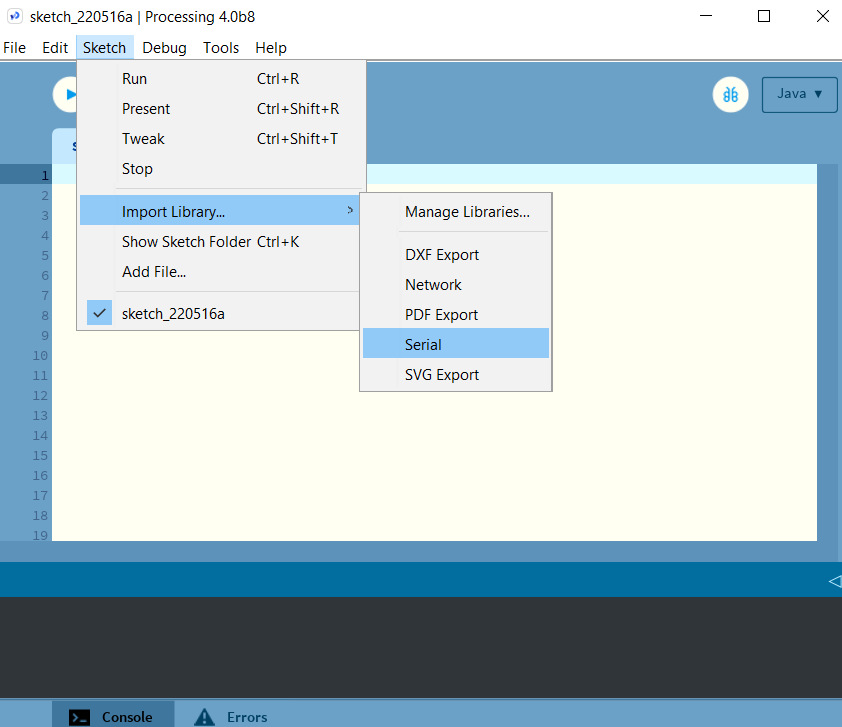
You will see a line like import processing.serial. at the top of your sketch.
Now in this window, declear some global variables which can be used anywhere in our sketch.
Add these two lines beneth the import statement.
Serial myPort;  // Create object from Serial class
String val;     // Data received from the serial port
To listen to any serial communication we have to get a serial object and in my case I call it myPort (but we call it anything), it will let us to listen to a serial port on our computer for any incoming data. We also need a variable to recieve the actual data coming in.
In my case I am sending a string, the sequence of characters ‘Hello World’ from Arduino and to receive the string in Processing we have to prepare Processing which have similar coding style void setup() and void draw() instead of loop. For the setup() in processing, I am going to find the serial port my Arduino is connected to ad set up my serial object to listen to that port.
void setup()
{
   // On Windows machines, the port generally opens COM1.
   // and fisrt port on mac.
  // Open whatever port is the one you're using.
  String portName = Serial.list()[1]; //change the 0 to a 1 or 2 etc. to match your port
  myPort = new Serial(this, portName, 9600);
}
Make sure the same baud rate is used in both Arduino and Processing so that it communicate at the same rate.
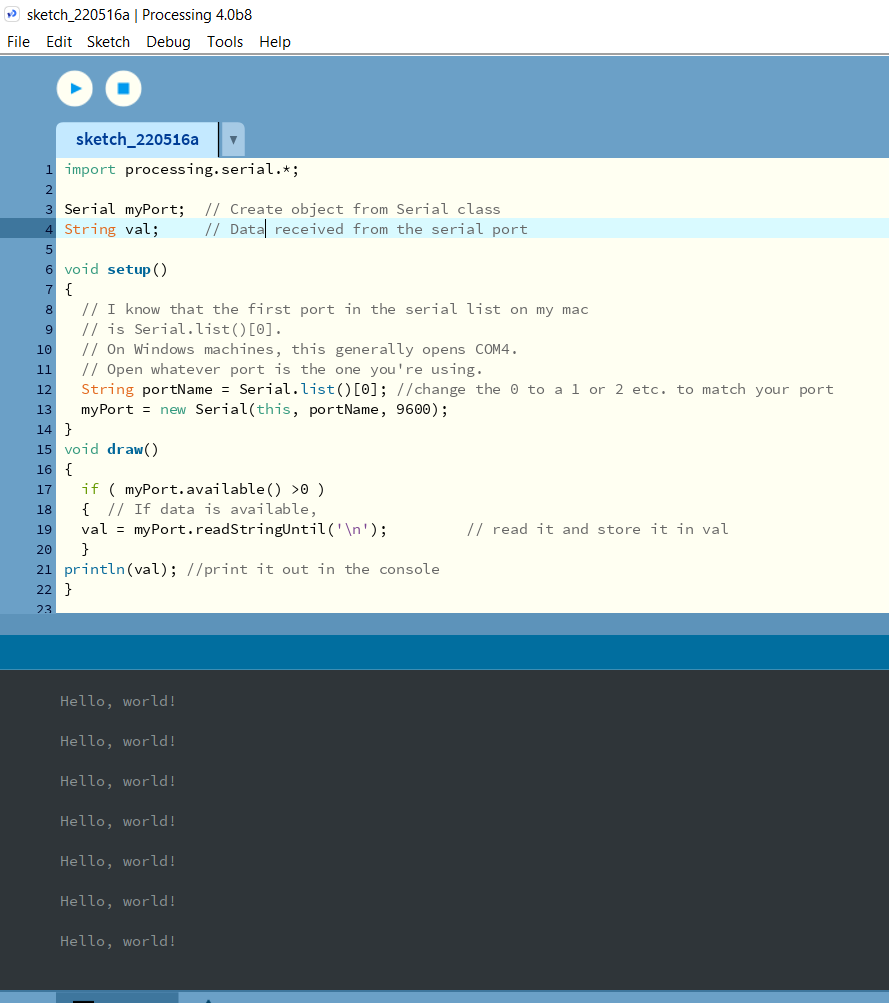
Now in the void draw() loop, preare it to listen to serial port and get data from the serial port and if it’s available, read and store it in ‘val’ and print it in the console.
void draw()
{
  if ( myPort.available() > 0)
  {  // If data is available,
  val = myPort.readStringUntil('\n');         // read it and store it in val
  }
println(val); //print it out in the console
}
Now hit the run button with the esp32 plugged in with the arduino code loaded, you will see the ‘Hello World’ string in the Processing console over and over like this.
Sending data from Processing to Arduino.
Sucessfully sent the data from Arduino to Processing. What if we wanted to send data from Processing to Arduino.
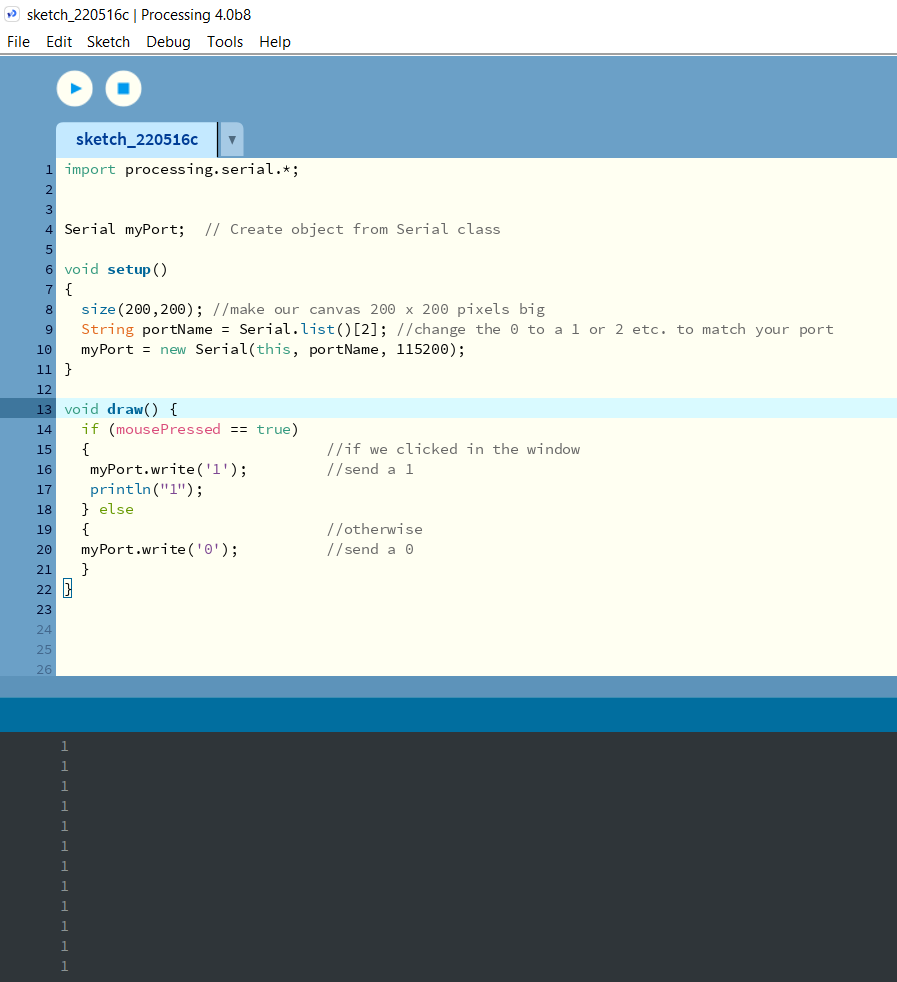
The process is much similar to my last sketch. I have imported the serial library and decleared a global serial object variable for the port and in the setup() method I find the port and inirialized serial communication on that port serial available at 115200 baud.
I even used the size command to give a little window to click in, which will tigger the sketch to send something over the serial port to arduino.
import processing.serial.*;

Serial myPort;  // Create object from Serial class

void setup()
{
  size(200,200); //make our canvas 200 x 200 pixels big
  String portName = Serial.list()[2]; //change the 0 to a 1 or 2 etc. to match your port
  myPort = new Serial(this, portName, 115200);
}
In the draw() loop, send whatever data we want over the serial port by using the write command from the Processing Serial Library. Let’s send ‘1’ over the sketch whenever we right click our mouse on the Processing window and ‘0’ when we are not clicking the mouse. We will also print it on console to see that we are actually sending something.
void draw() {
  if (mousePressed == true)
  {                           //if we clicked in the window
   myPort.write('1');         //send a 1
   println("1");
  } else
  {                           //otherwise
  myPort.write('0');          //send a 0
  }
}
Then run the code and you should see a bunch of 1’s on the console area whenever you click the mouse on the window.
Now let’s prepare Arduino to look for the 1’s coming from the processing.
....to Arduino
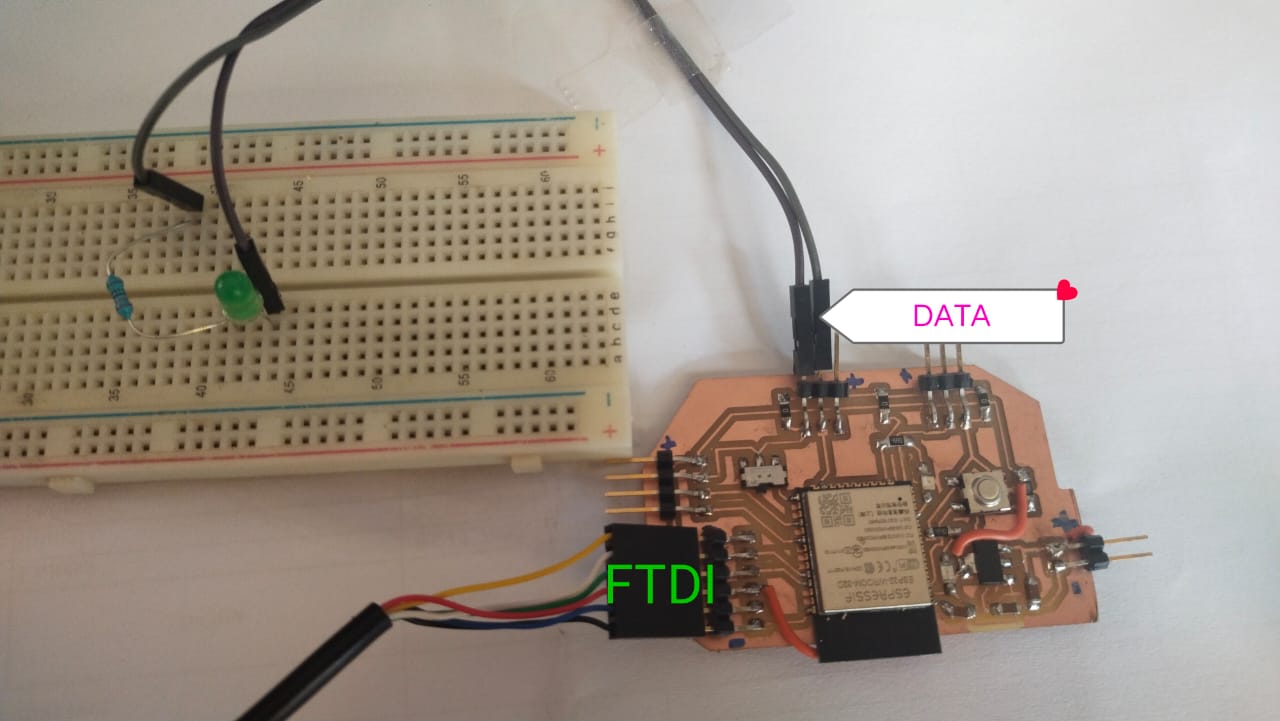
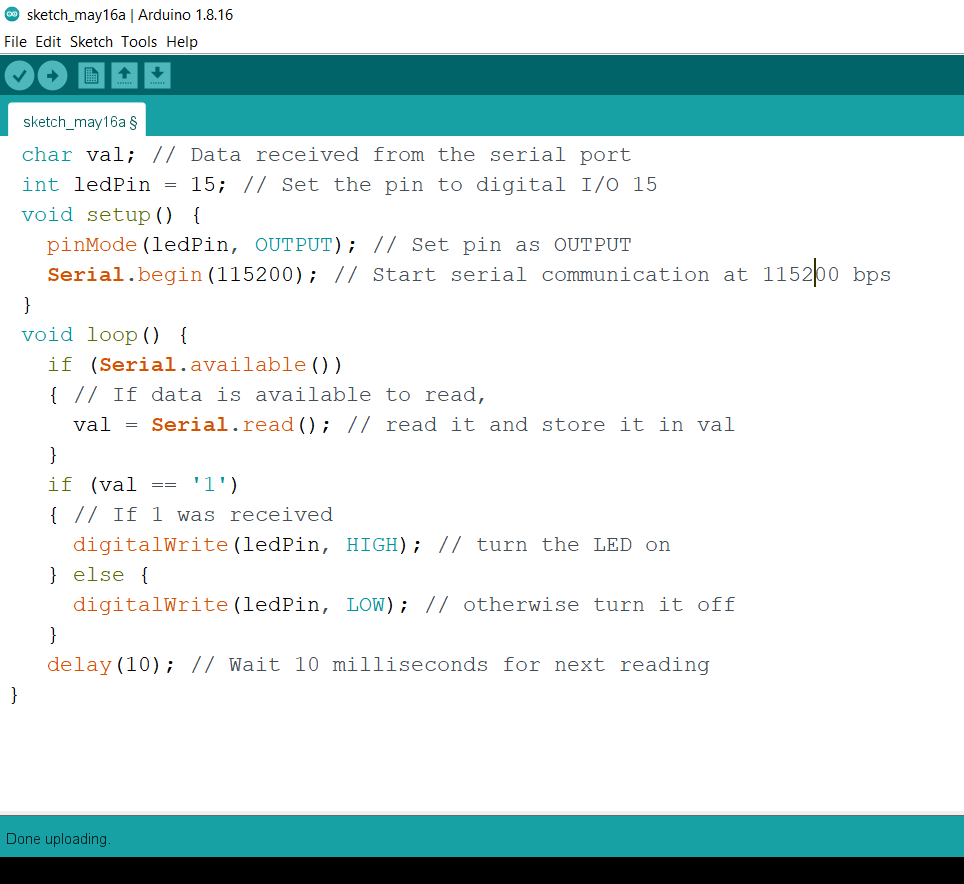
In the Arduino Ide we are going to look for the 1’s coming from Processing and if we see them let’s turn on the LED on the pin no 15 of the ESP32.
Circuit connection of Led on ESP32 board.
Now on the Arduino sketch we need two global variables one for holding the data coming from processing and the another to tell the Arduino on which pin the Led was hooked.
 char val; // Data received from the serial port
 int ledPin = 15; // Set the pin to digital I/O 15
Next, In the setup() mothod, set the Led pin as output and set the serial communication at 115200 baud rate.
 void setup() {
   pinMode(ledPin, OUTPUT); // Set pin as OUTPUT
   Serial.begin(115200); // Start serial communication at 115200 bps
 }
And finally in the loop(), we will look for the incoming data . If we see ‘1’, set the Led to HIGH/ ON or if we don’t turn the Led off. Add a small delay.
 void loop() {
   if (Serial.available())
   { // If data is available to read,
     val = Serial.read(); // read it and store it in val
   }
   if (val == '1')
   { // If 1 was received
     digitalWrite(ledPin, HIGH); // turn the LED on
   } else {
     digitalWrite(ledPin, LOW); // otherwise turn it off
   }
   delay(10); // Wait 10 milliseconds for next reading
}
Now upload this code on the Arduino and run the Processing sketch from the previous page and you should be able to turn on the Led attached to pin 15 on the Esp32, just by clicking the Processing canvas.
RESULT
Learning Outcome Of the week.
- Learnt how to send data from arduino to processing over the serial port.
- Learnt how to receive data from arduino in processing.
- Learnt how to send data from Processing to Arduino.
- Learnt how to receive data from Arduino to processing.
Orginal Files
Get the orginal files from here API files