The flow of this Assignment is as follows:
- Rationale behind the Name
- Objective / Need and Application
- Process:
- Sketch / Design
- Designing
- 3D Printing and Laser Cutting
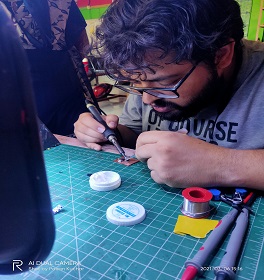
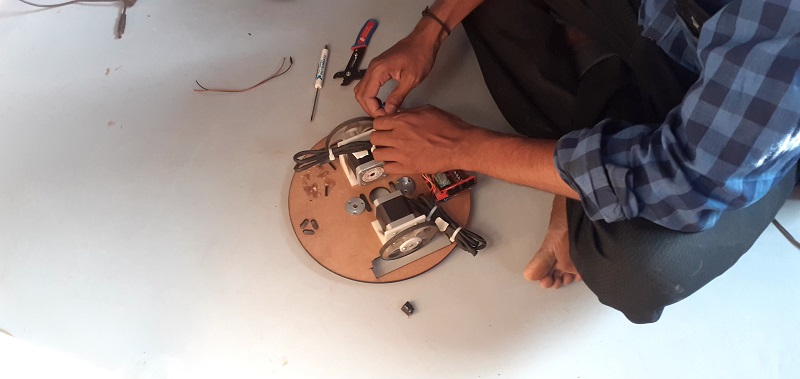
- Assembling the Components and Parts
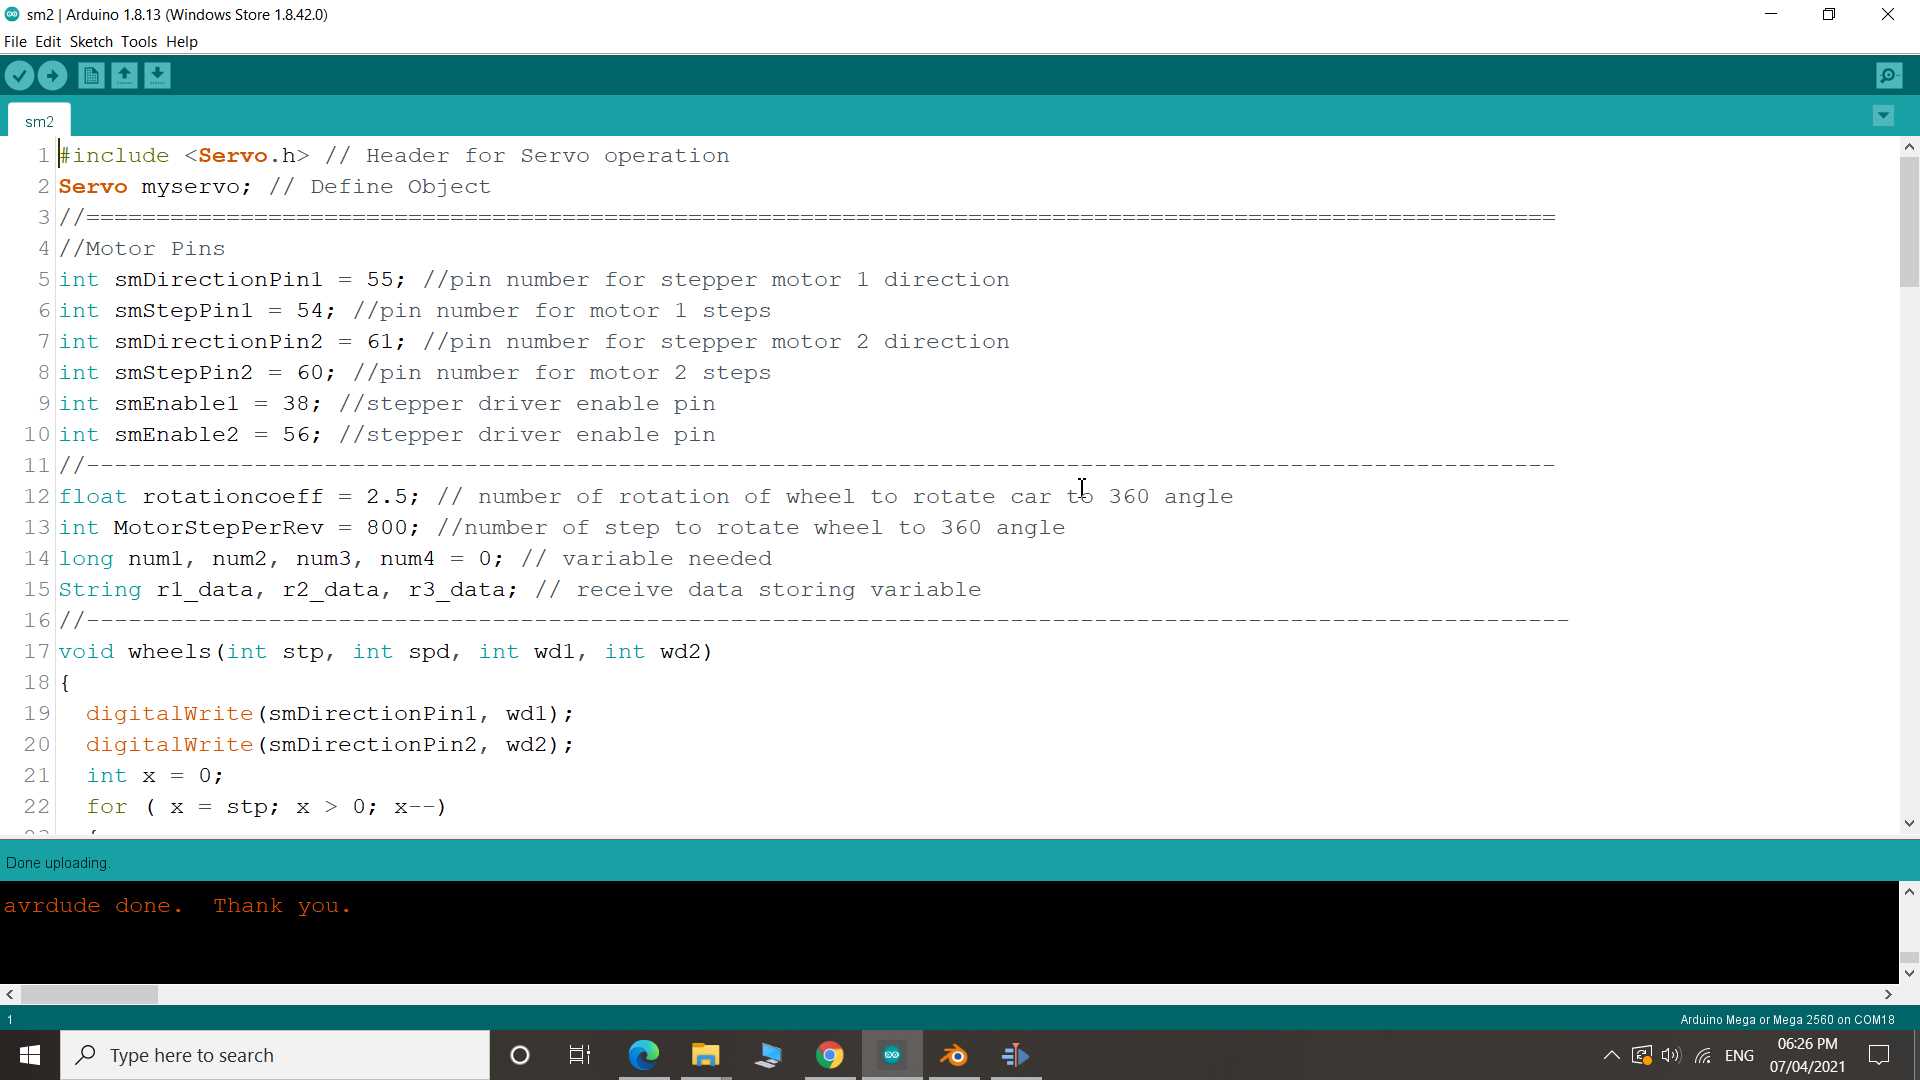
- Firmware Building
- Test Run / Manual Testing
- End Result:
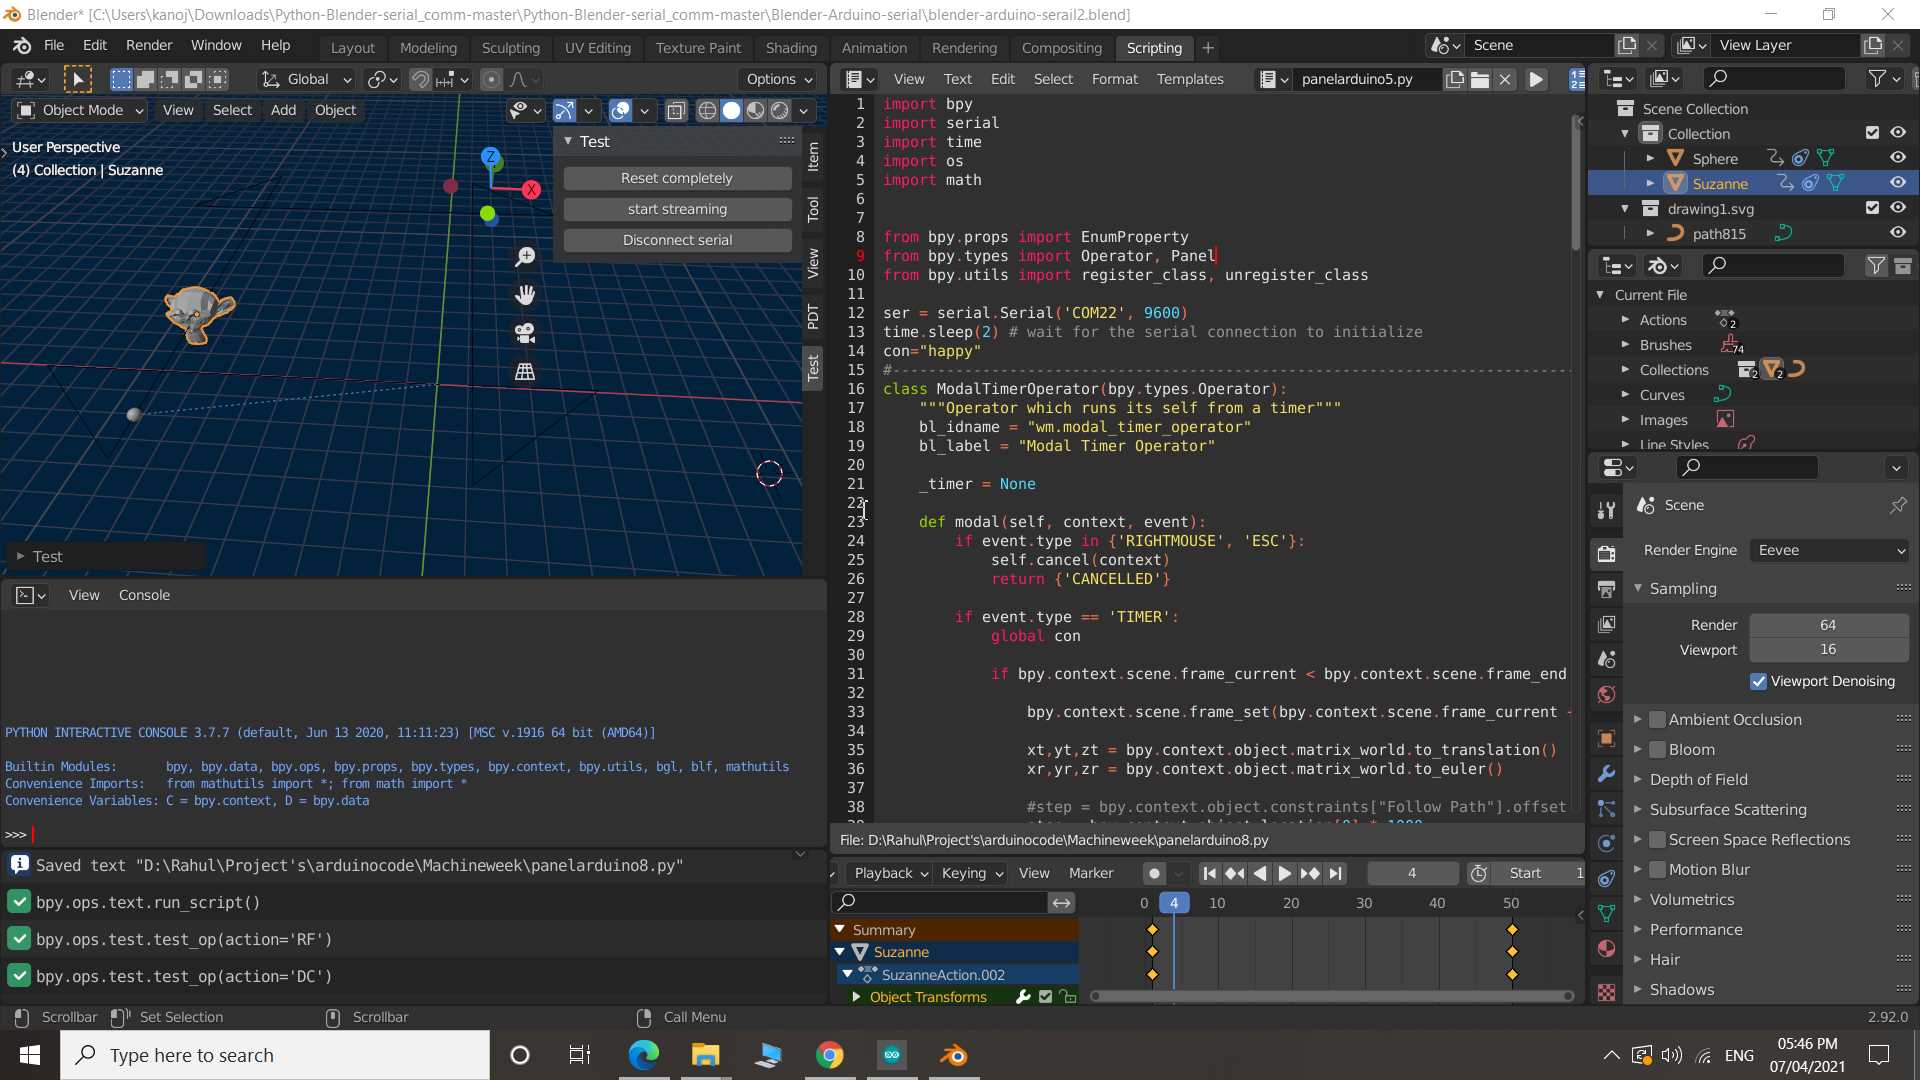
- through Blender
- through G-Code
- through Firmware
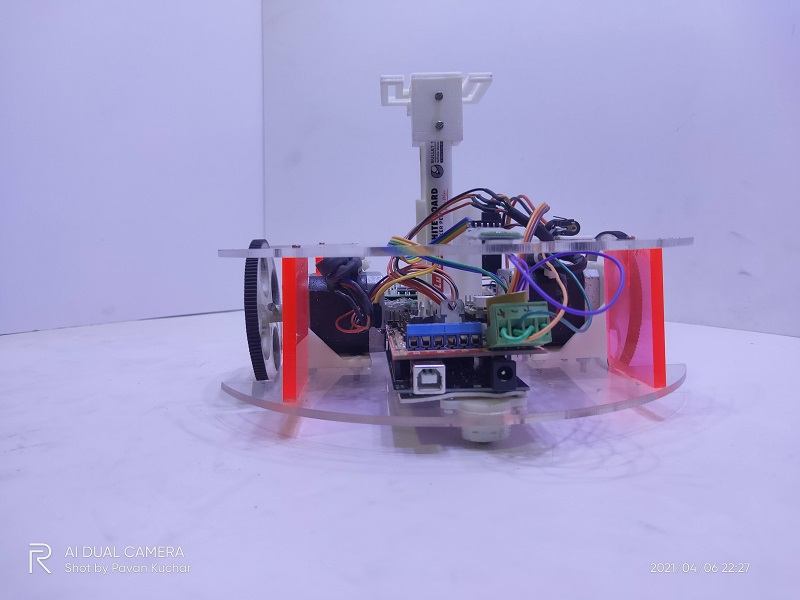
ChitraCAR by FabLab-0 @ Vigyan Ashram:
Rationale behind the Name - चित्रCAR
We thought of making a Plotter but not constrained by the boundry.
We had a legacy and reputation of our Predecessors to uphold.
We wanted to brand our Machine and give a classy Punchline for it. We thought of many names like CarBot, Imager, RouterBot, Painton Wheels etc. But nothing sounded good.
Then we thought to get back to the basics and add the ethnic flavor to the name for its identity. As the Machine has Wheels so its an Automobile. We designed it rectangular and wheels. So it must be a Car. Although we are short of adding aesthetics to the design but its a Car though.
Another part was about drawing or plotting. So, the name कला which means Art or Skills. But the name चित्र fits perfectly as the Machine would be drawing the designs or images. So the name चित्रCAR was agreed upon by us and thus coined it.
Opening Quotes:
- "Design is not just how it looks like and feels like. Design is how it WORKS" - Steve Jobs
- "The fewer moving parts, the better." - Christian Cantrell
- When you want to know how things really work, study them when they’re coming apart.” - William Gibson
- “Normal people believe that if it ain’t broke, don’t fix it. Engineers believe that if it ain’t broke, it doesn’t have enough features yet.” - Scott Adams
- “The trick to having good ideas is not to sit around in glorious isolation and try to think big thoughts. The trick is to get more parts on the table.” - Steven Johnson
- “There’s nothing I believe in more strongly than getting young people interested in science and engineering, for a better tomorrow, for all humankind.” - Bill Nye
- “I have not failed, but found 1000 ways to not make a light bulb.” - Thomas Edison
- “Knowing there is a structure, hidden or felt, to the random gives pleasure.” - Cecil Balmond
.jpg)
.jpg)
.jpg)
.jpg)

.jpg)
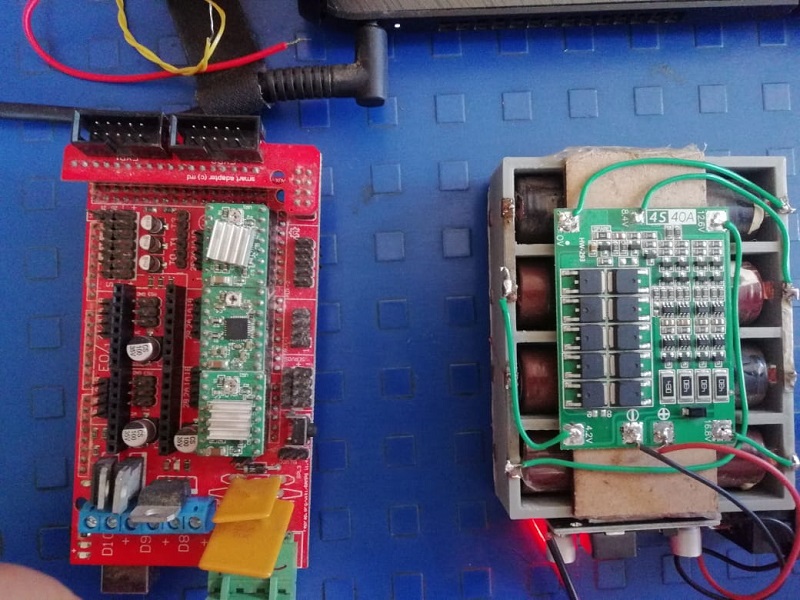
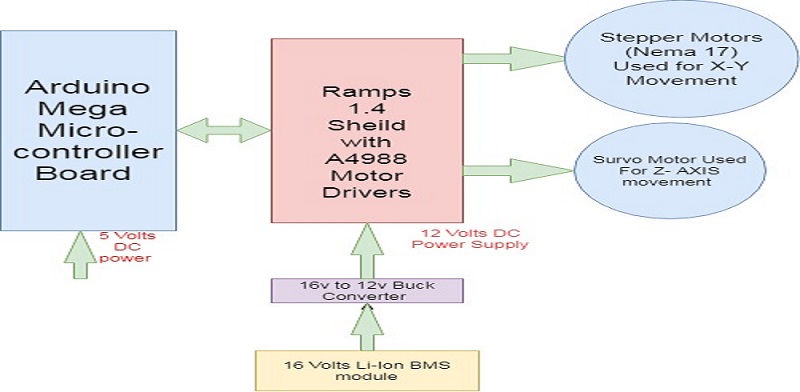 Circuit Diagram