
3D Scanning and Printing
Individual assignment:
- Design and 3D print an object (small, few cm3, limited by printer time) that could not be easily made subtractively
- 3D scan an object, try to prepare it for printing
Group assignment:
- Test the design rules for your printers
- Document your work and explain what are the limits of your printers
Software used:
- 1. Autodesk Fusion 360
- 2. Ultimaker Cura
- 3. Qlone 3D Scanner
Machine used:
- 1. Ultimaker Extended 3D Printer
1. 3D Printing
In this week, I did two designs for 3D printing:
1. The first design is a simple rocket that could be printed by a 3D printer (Additive Fabrication Process)
and also could be produced by using a milling machine (Subtractive Fabrication Process)
2. The second design is a hexagonal cup with a ring on its side that made as a single chain.
This design could be produced by using an Additive Fabrication Process only. And couldn't be done subtractively, because there is an intersuction between the ring and the cup.
First Design: Simple Rocket
First, to print a 3D object you should have a 3D design to print it.
Therefore, I did a simple 3D rocket design by using Fusion360. I did this simple design just to try using 3d printers and because I like rockets.
Steps:
1. Create sketch >> Centre Circle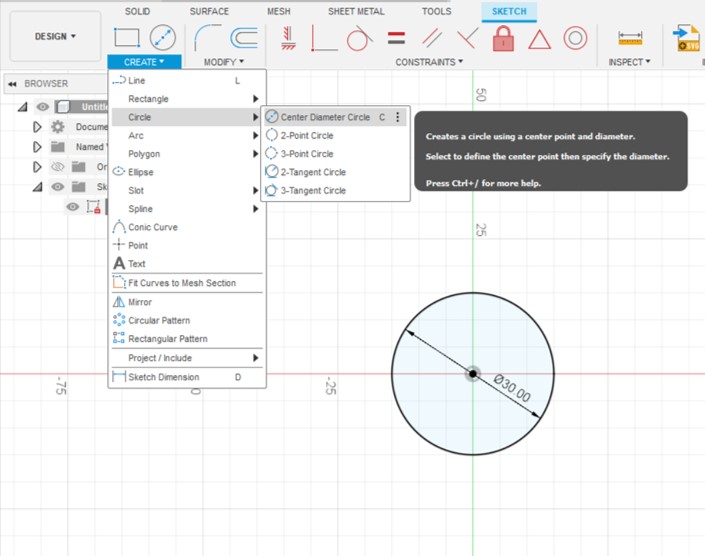
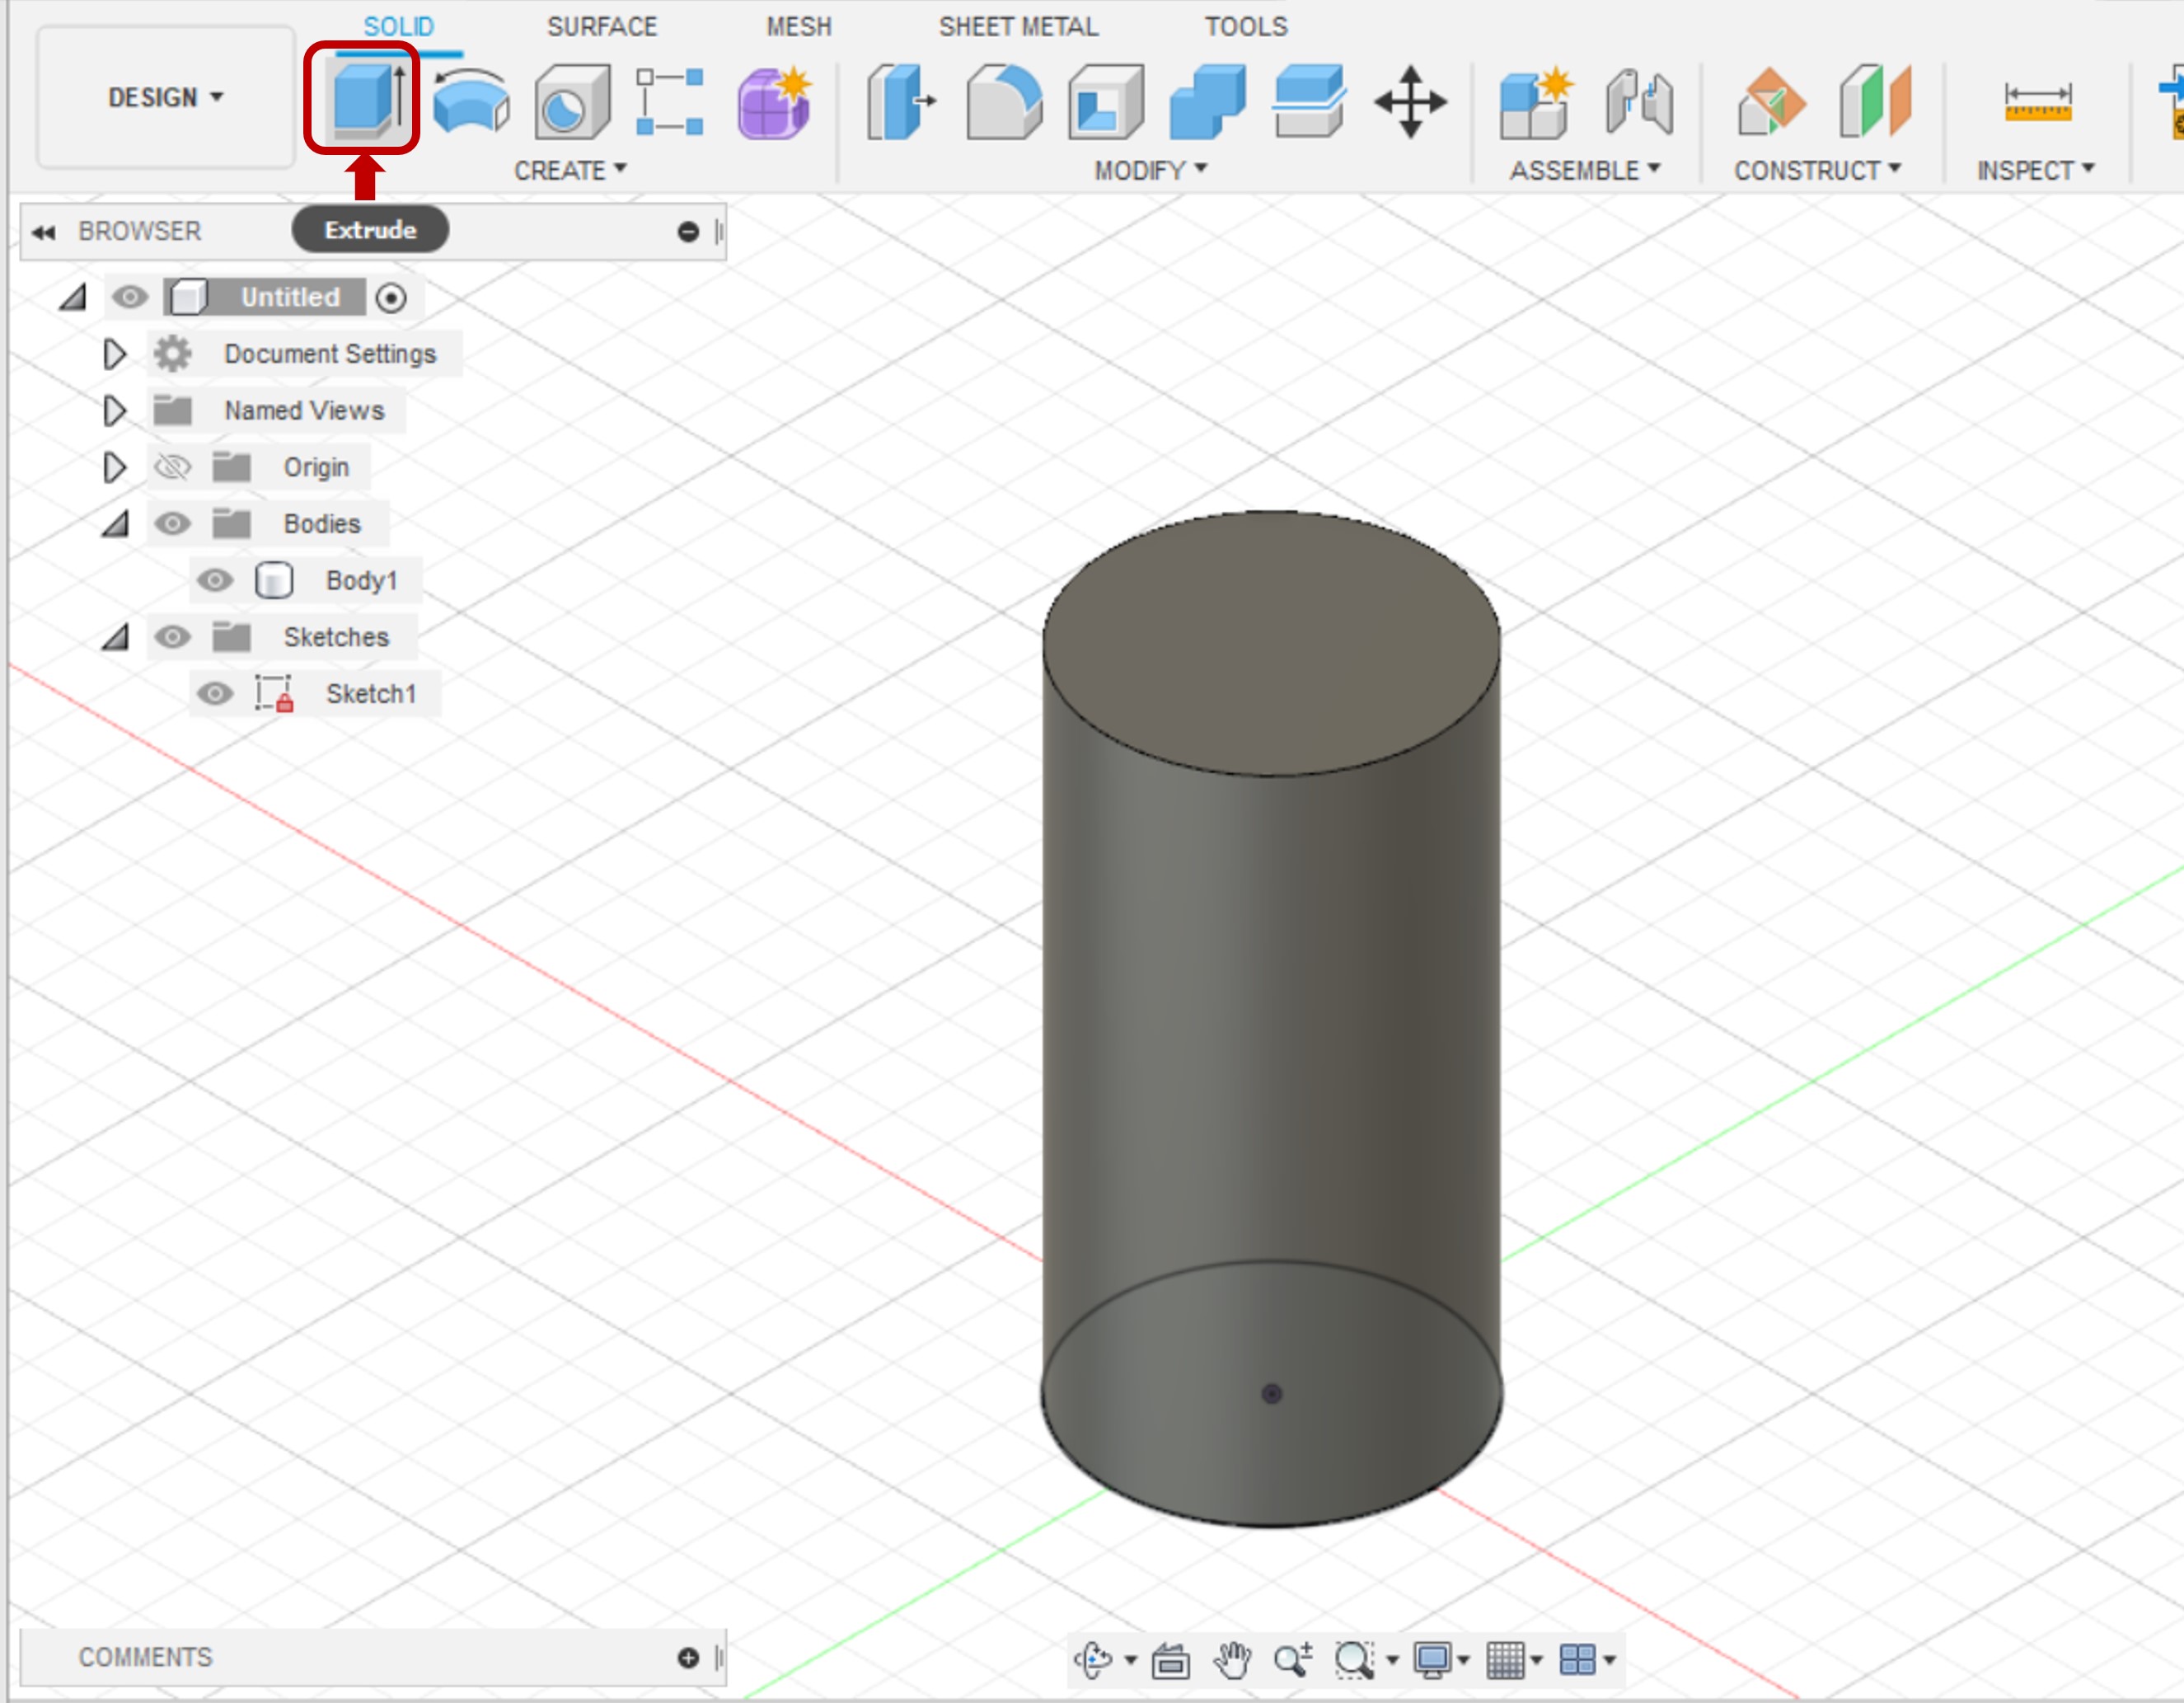
2. Extrude the circle
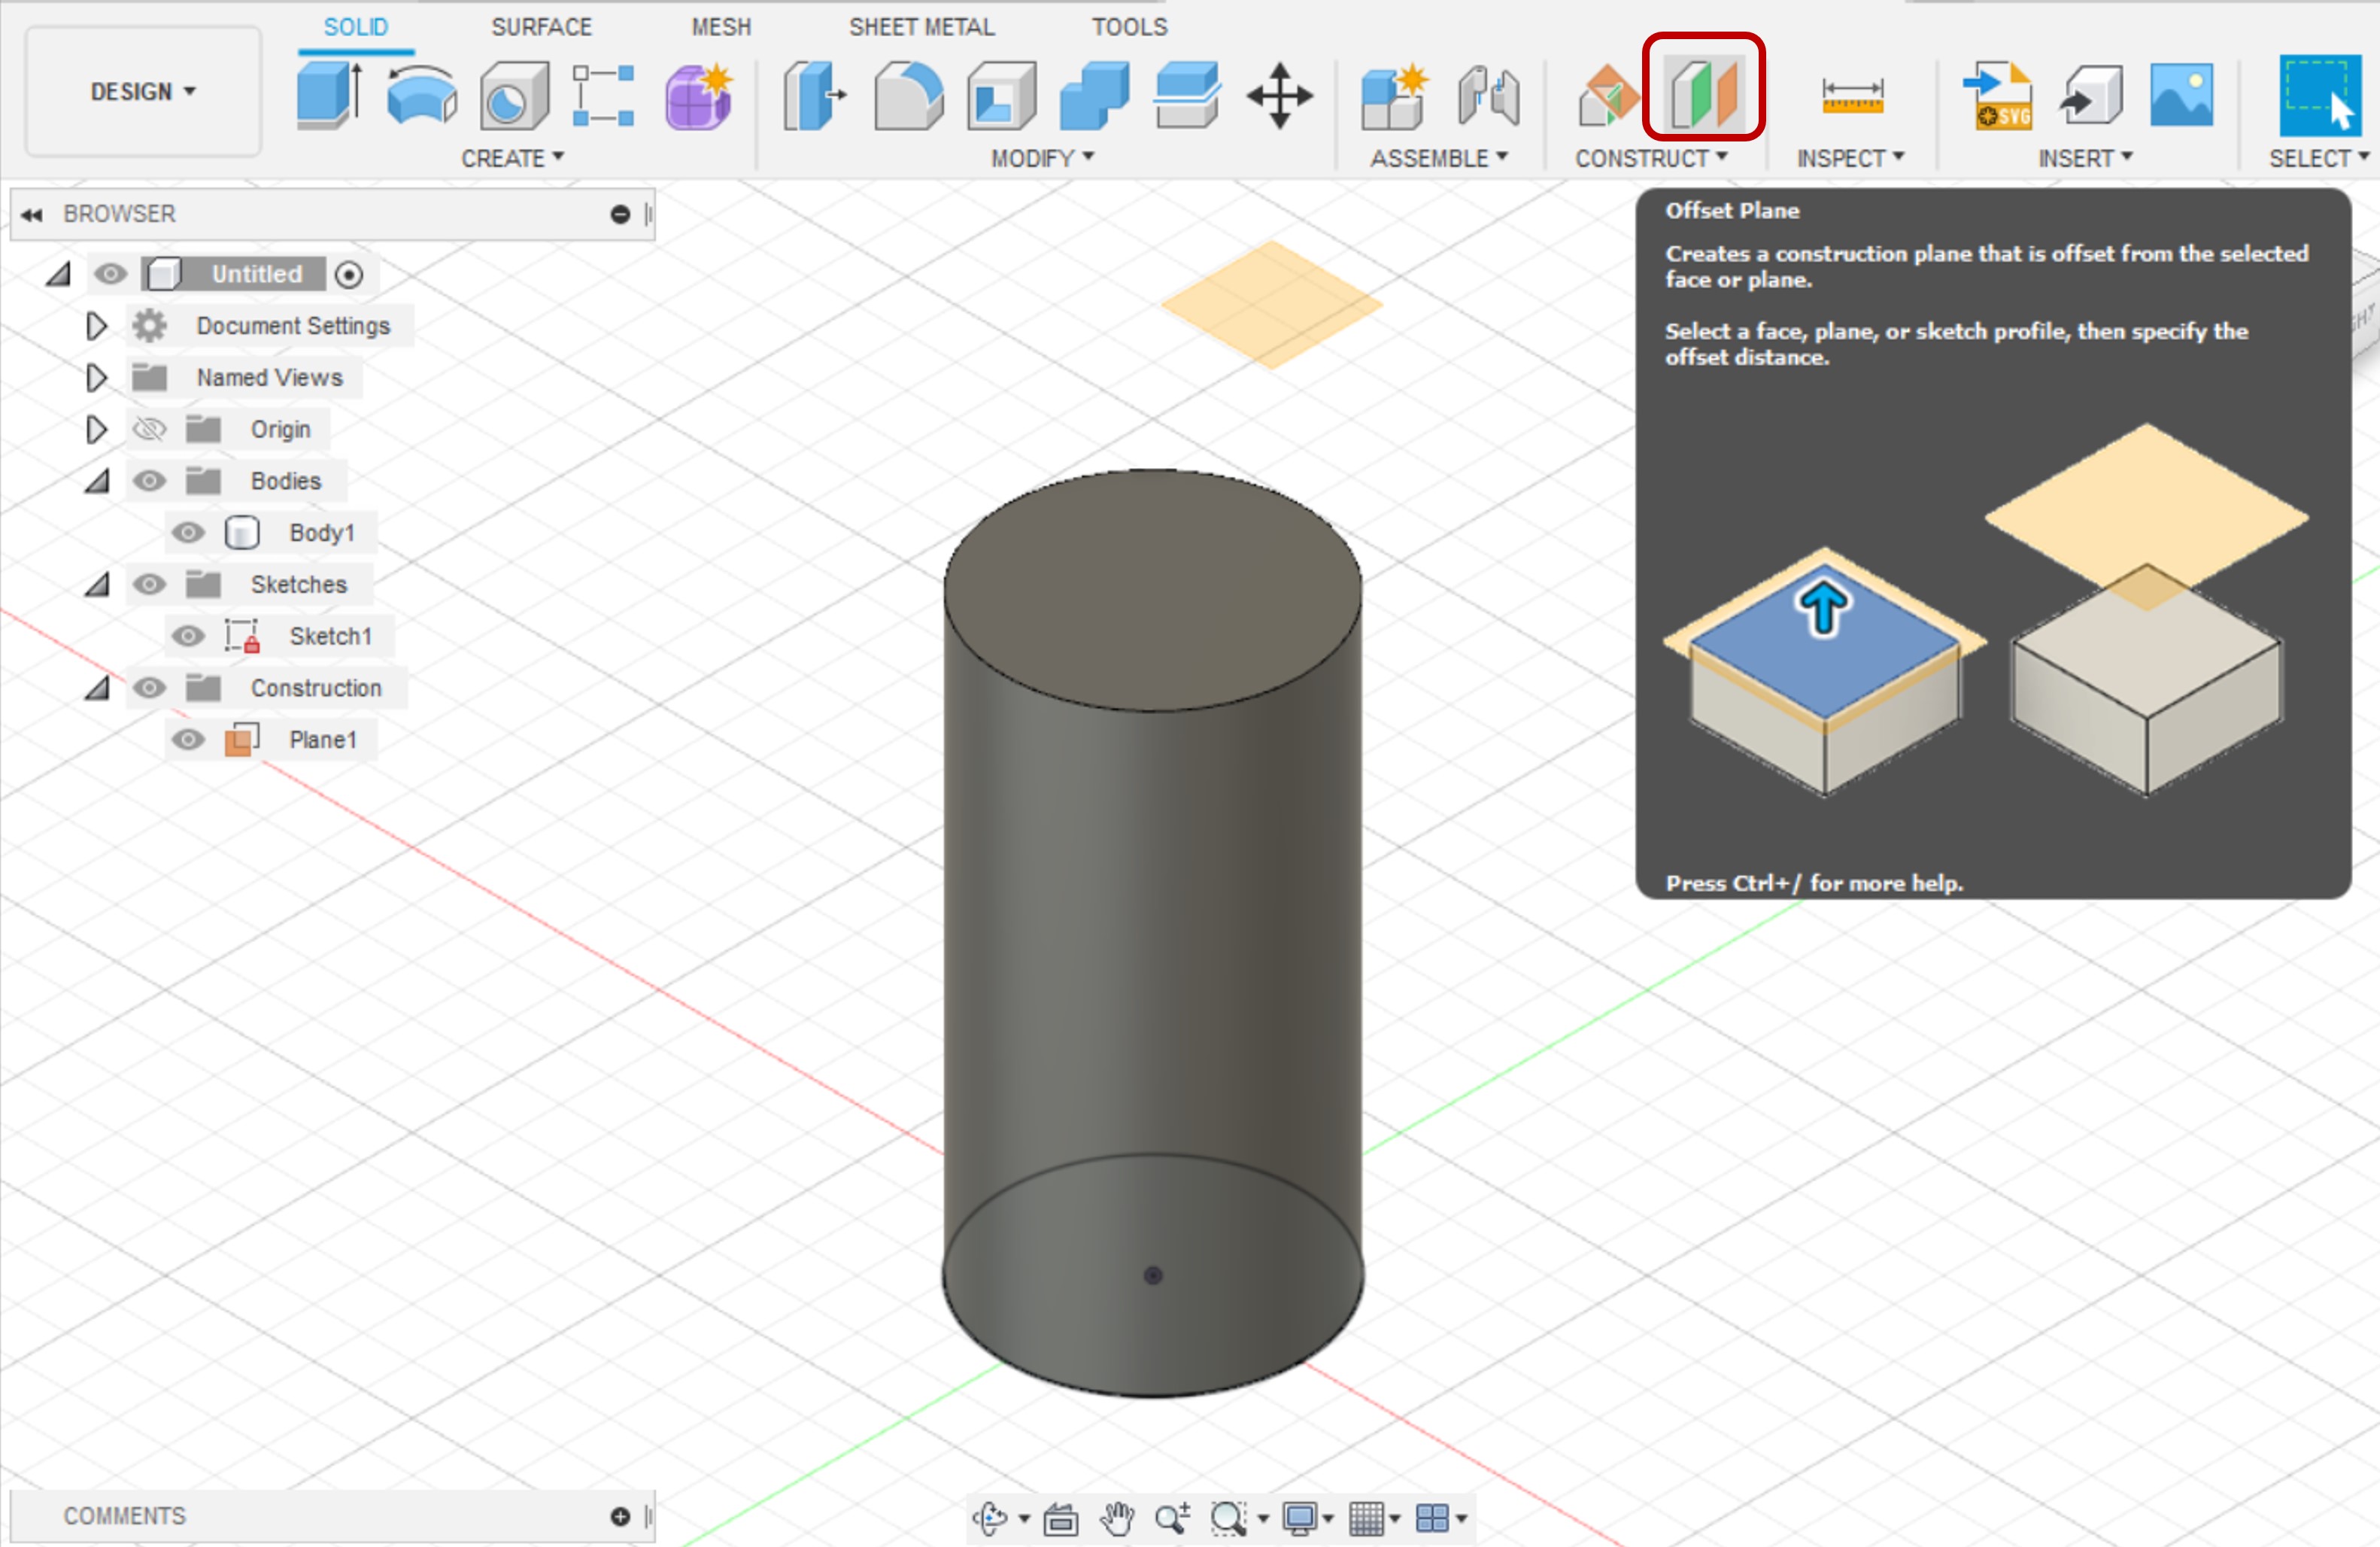
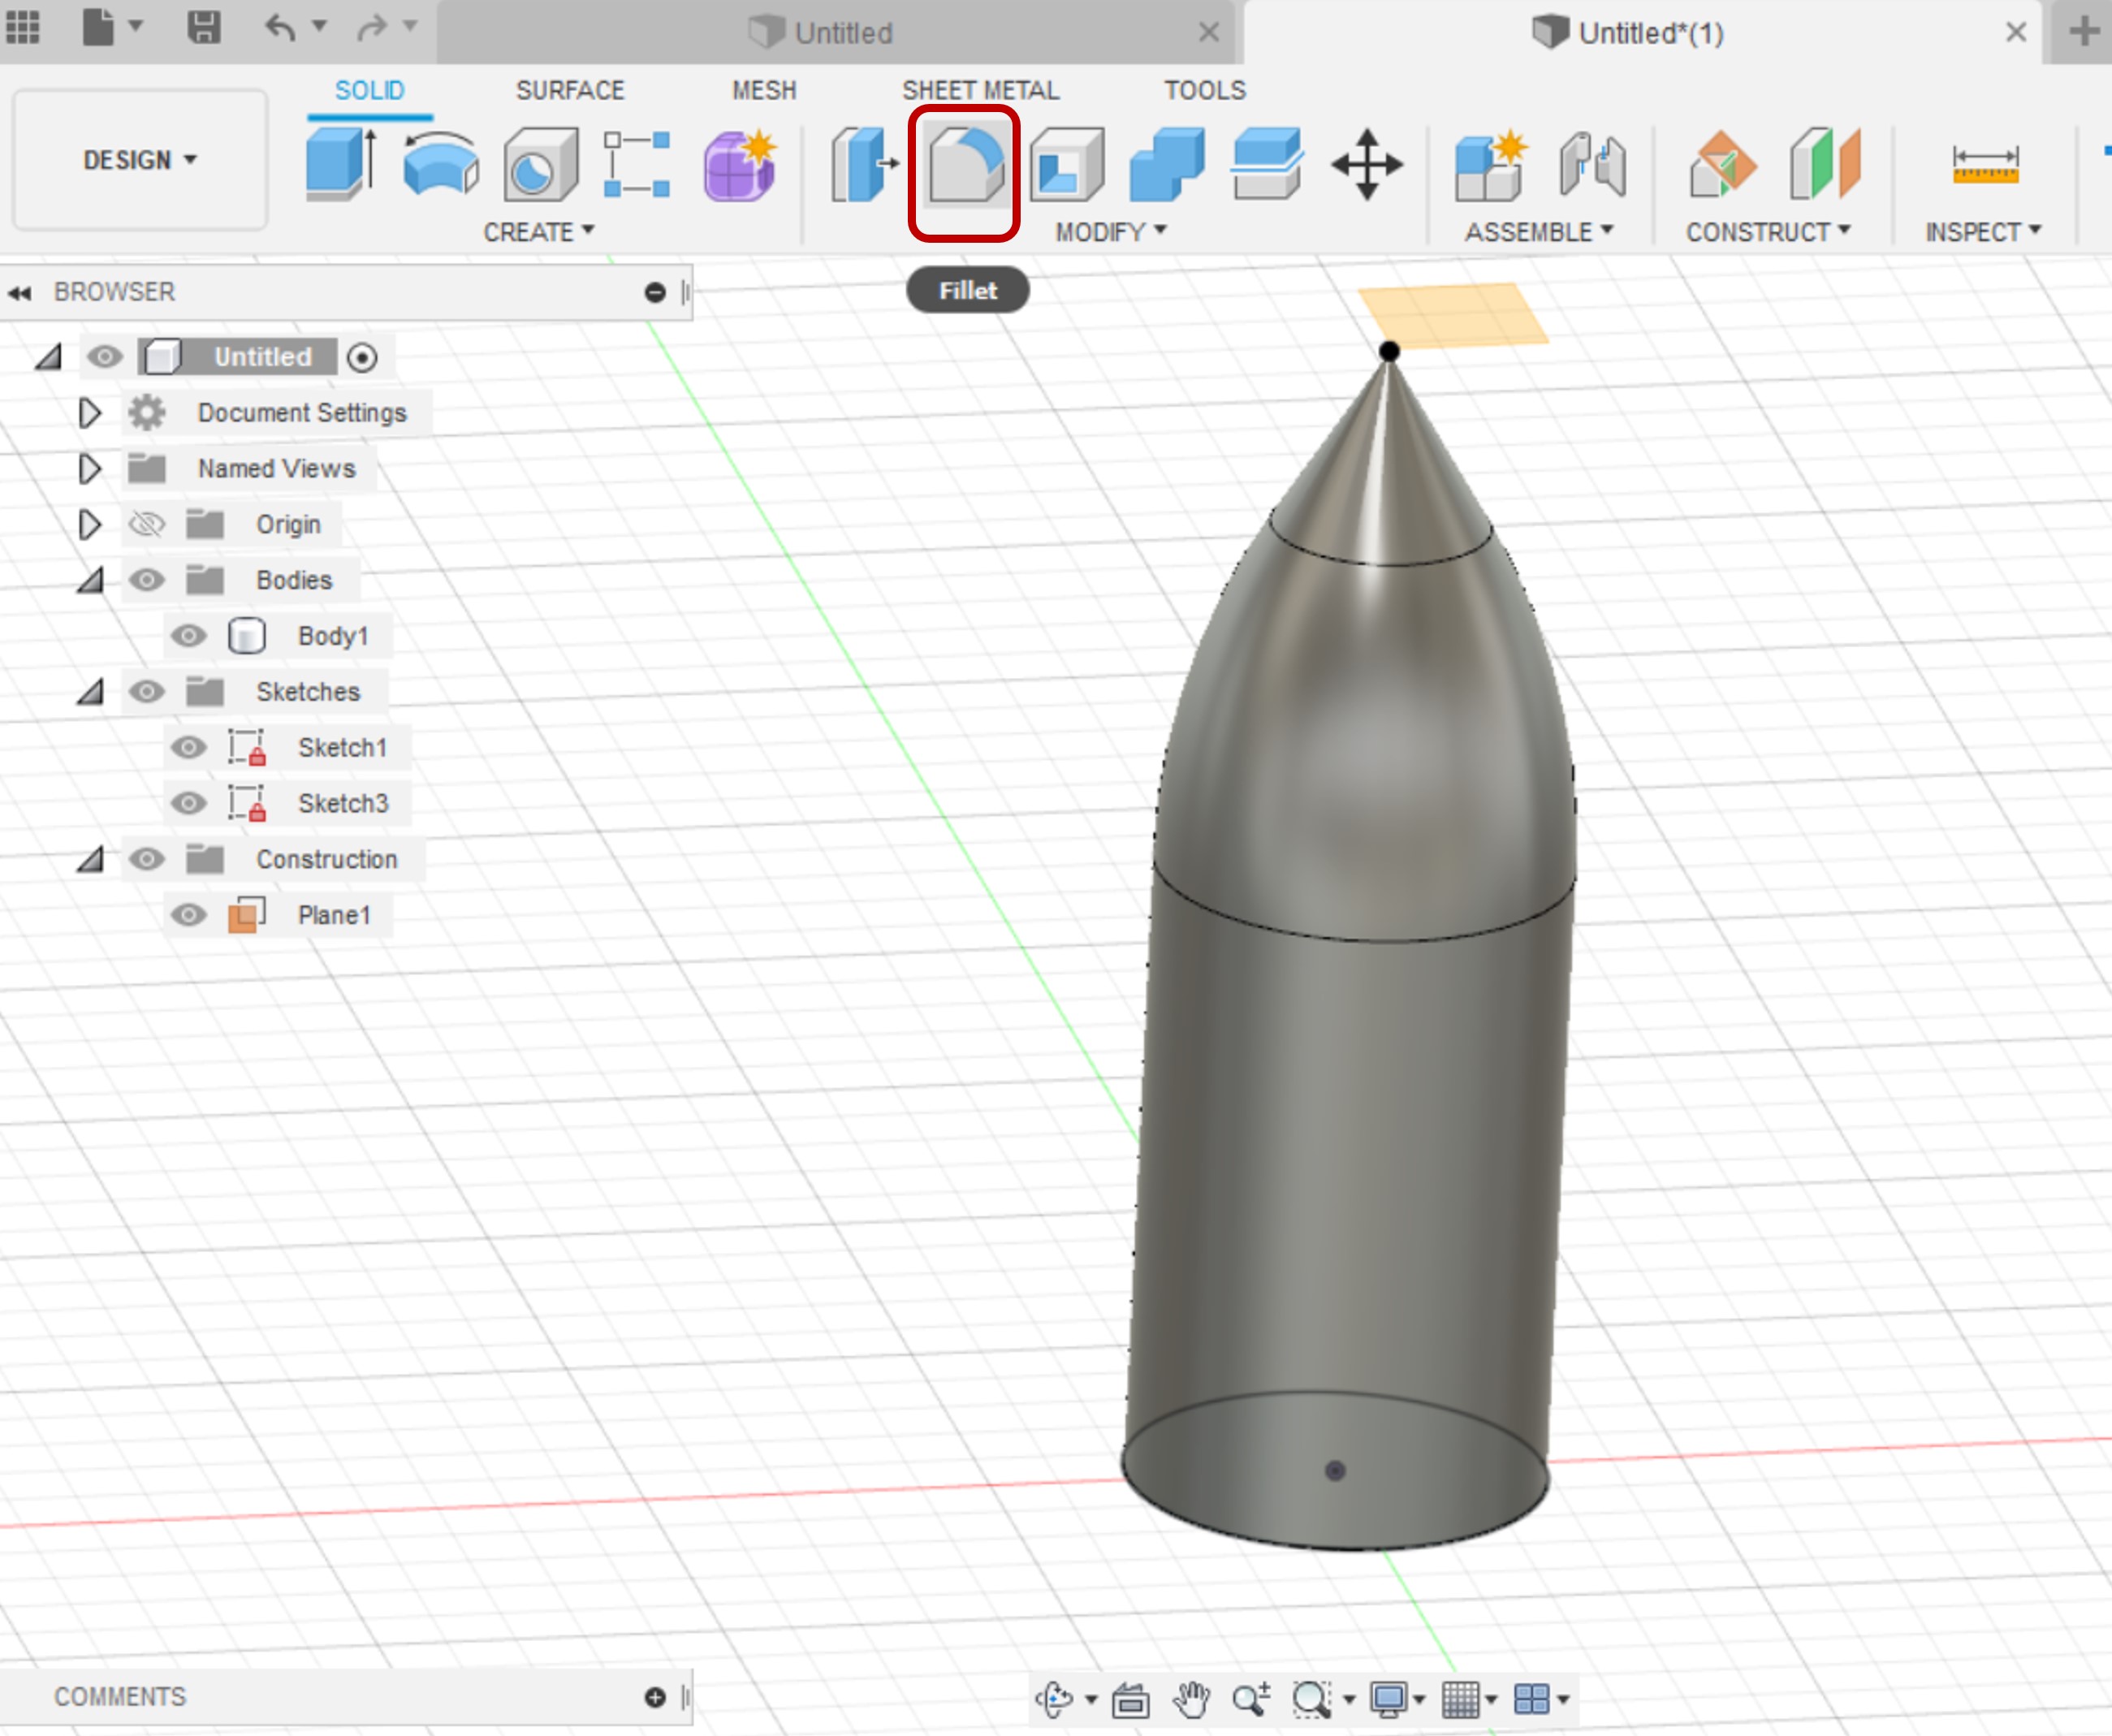
3. I used Offset Plane tool to make the top of the rocket. I created a sketch on this plane and I put a point.
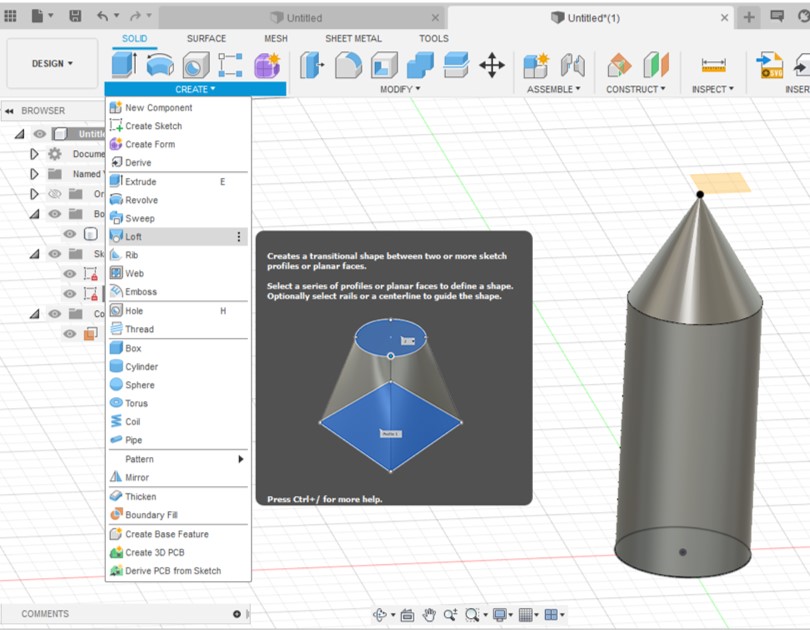
4. I used Loft tool between the top surface of the cylinder and the point to make a cone.
5. Fillet tool to make a smooth surface between the cylinder and the cone.
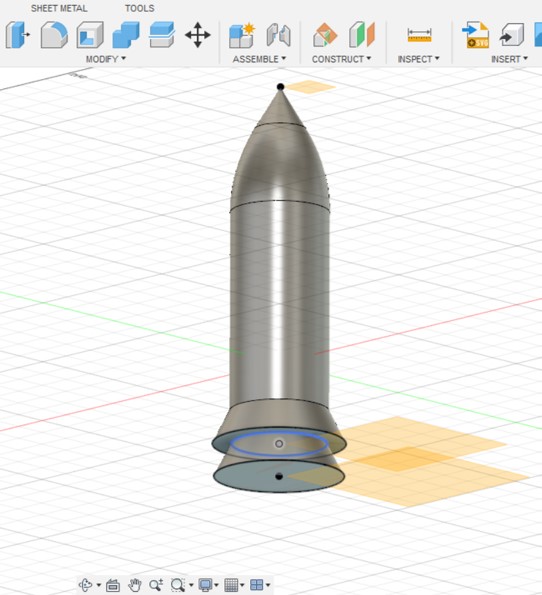
6. Then I used the offset plane tool again to make the thrusters. The Loft tool used between each two circles.

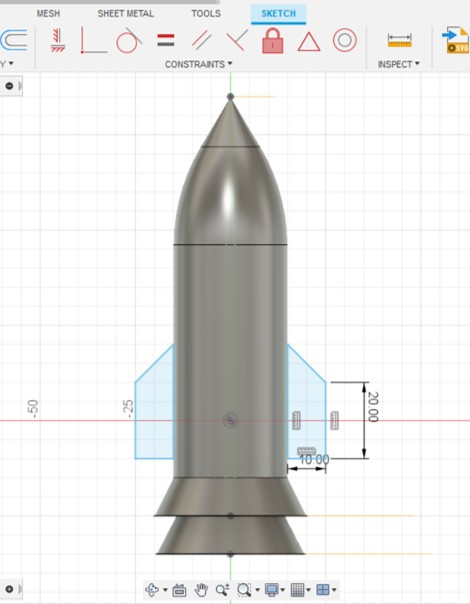
7. And finally I drew a sketch of the wings and I used Extrude tool to extrude the wings.
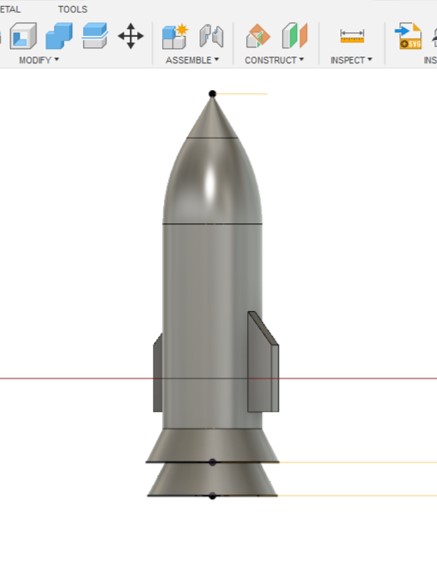
Then I saved the design as stl file.
Sketchfab
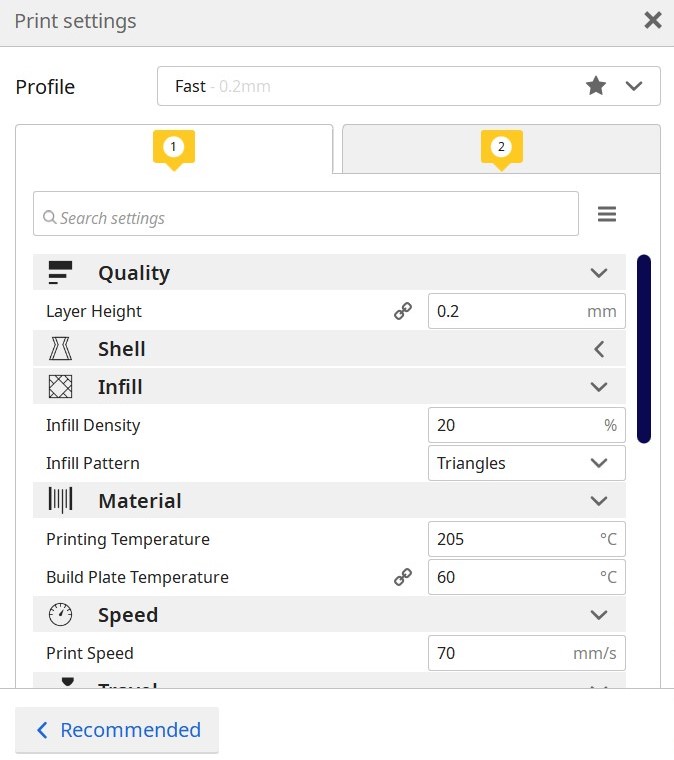
After finishing the design, I downloaded Ultimaker Cura software.
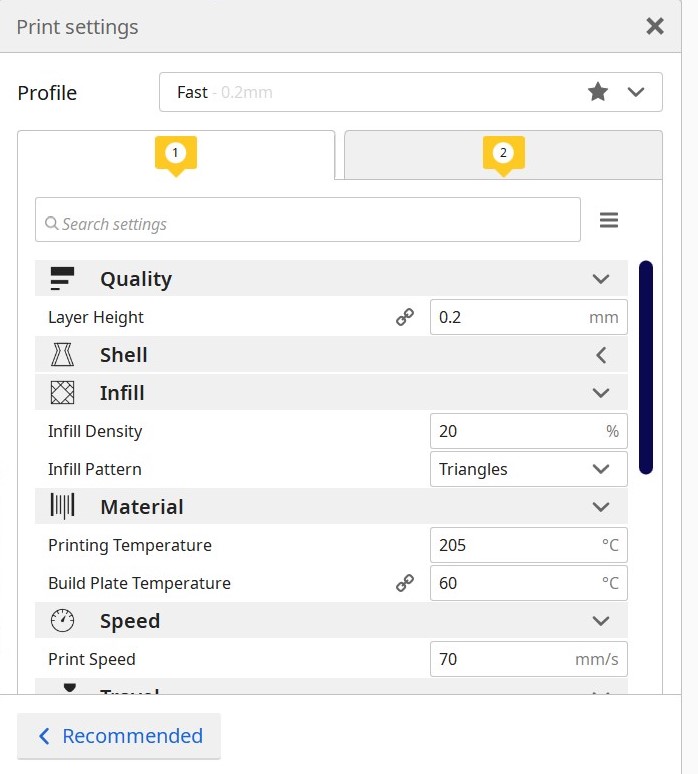
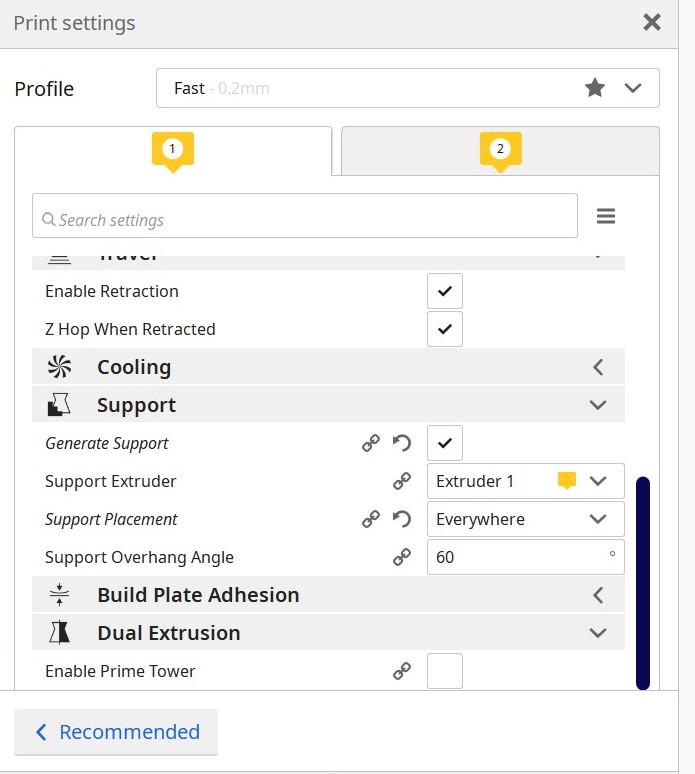
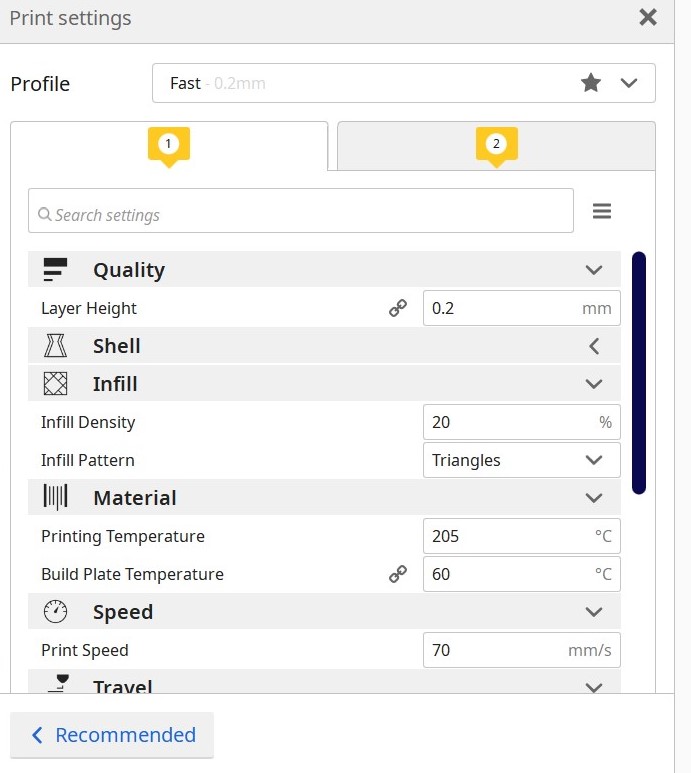
This 3D printing software is used to set all printing settings before puting the design in the 3D printer to ensure that the print will be clean and successful.
The following images shows the settings I used.

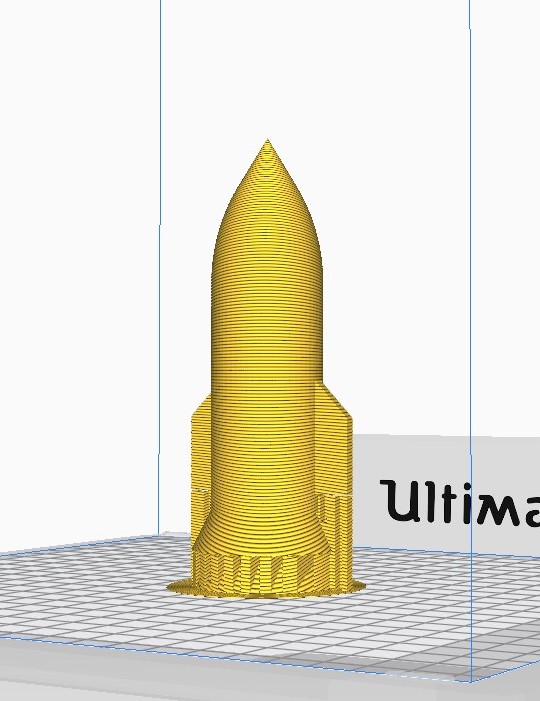
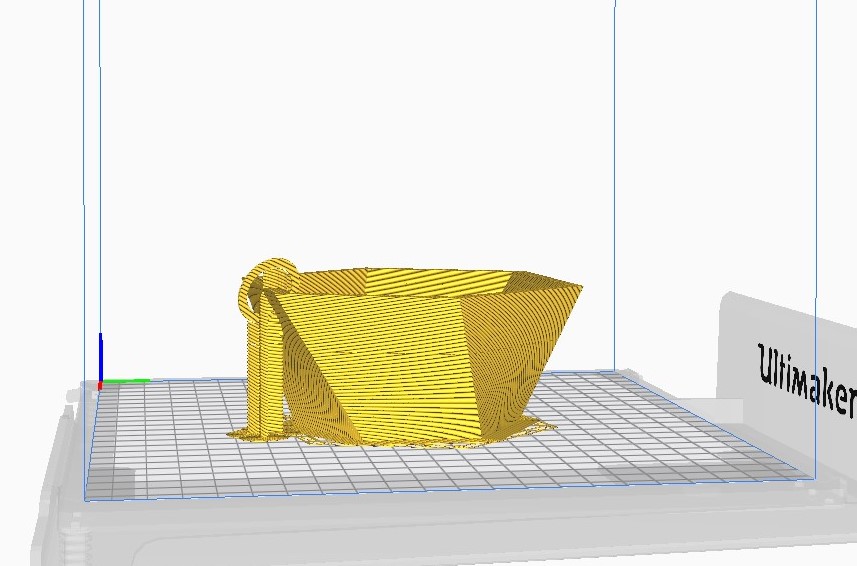
Then I clicked on Slice then Preview and the result is shown in the following image.
The software added support at the sides below the wings of the rocket and below the thruster.
The purpose of the support is to prevent the material while its hot from falling down because of gravity.
Then I saved the file and put it in a flash and insert it in the 3D printer .
Ultimaker Extended 3D Printer
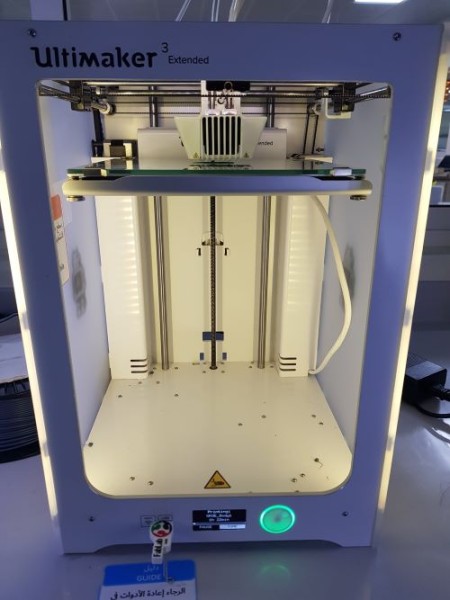
The first thing I did before starting printing was to change the material used in the printer and replace it with another material with different color. In this assignment we used the PLA material.
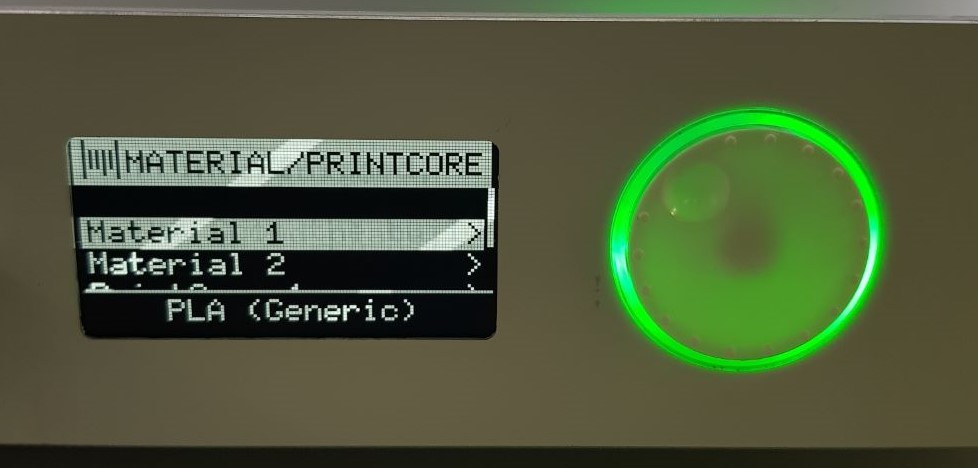
Steps to change and Load Material in Ultimaker Extended 3D Printer
 |
 |
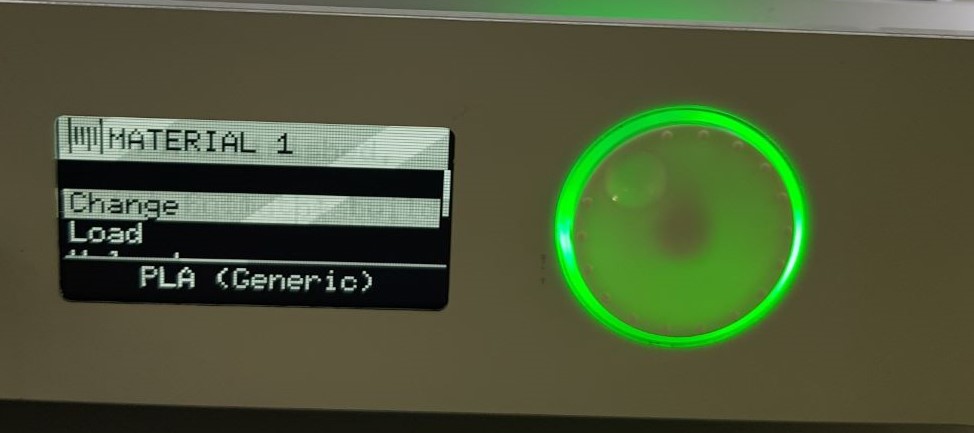 |
| 1. From the main menu choose Material/Printcore | 2. Material 1 | 3. Choose change then the material will be removed automatically |
 |
|
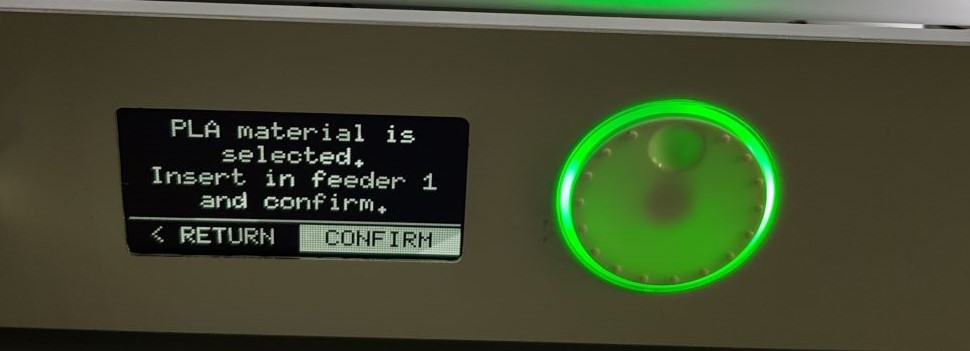
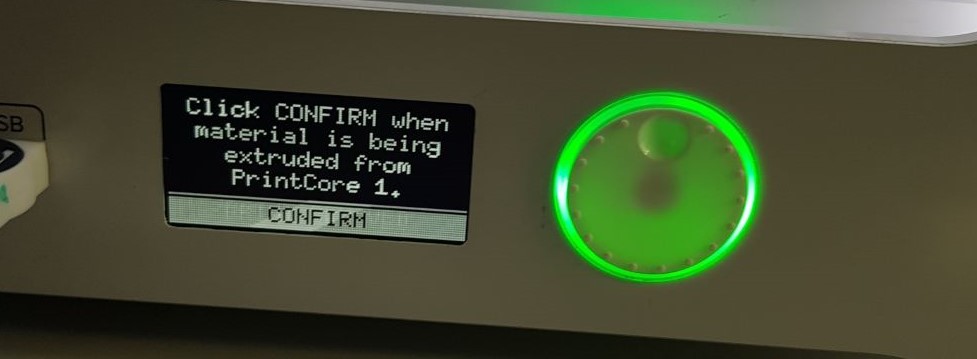
| 4. Place the new material on the holder and choose the type then insert it in feeder1 and confirm | 5. Material Extruded |
 |
 |
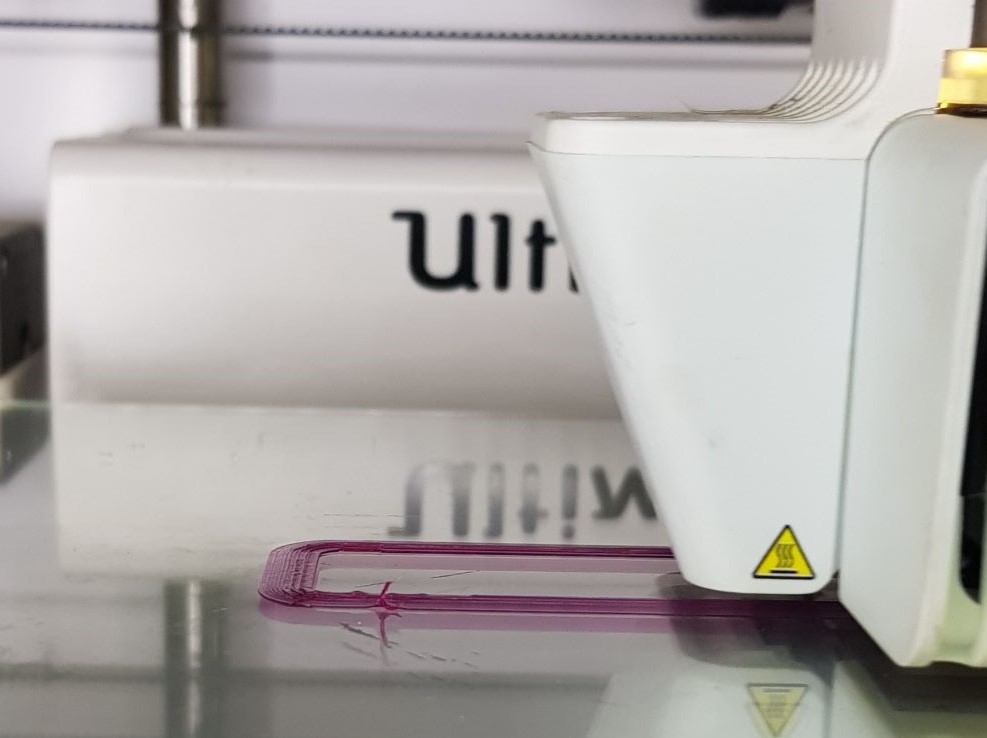 |
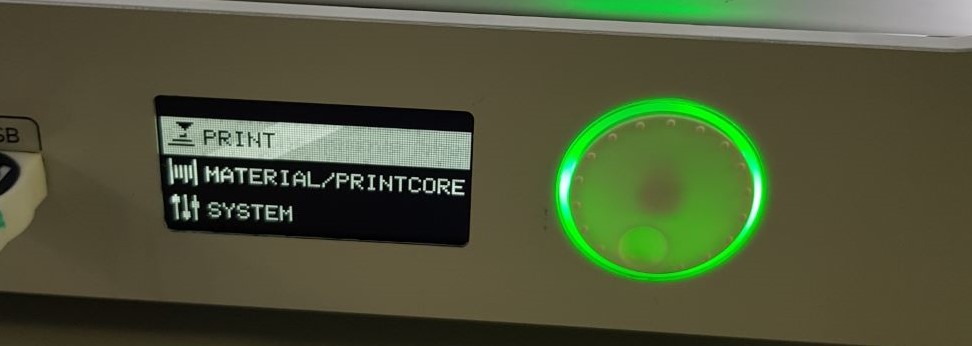
| 6. Confirm | 7. Choose Return then Print | 8. Finaly it started printing after heating the plane (I choosed this pink color to print the angle test design for the group assignment) |
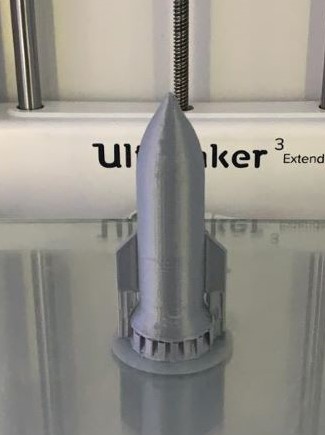
The results after printing. I choosed silver color for my rocket.
 |
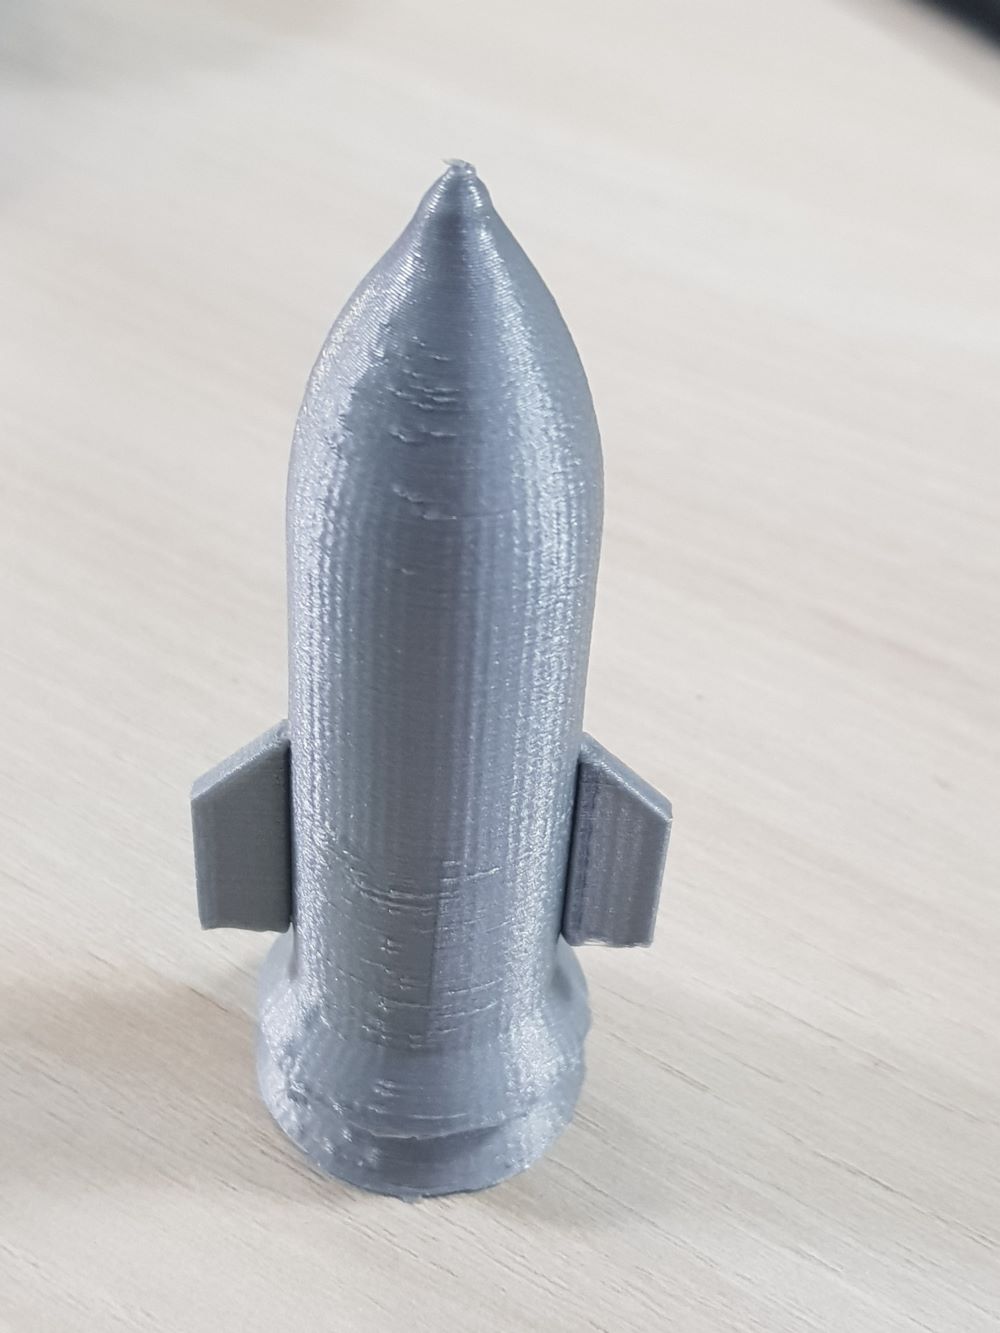 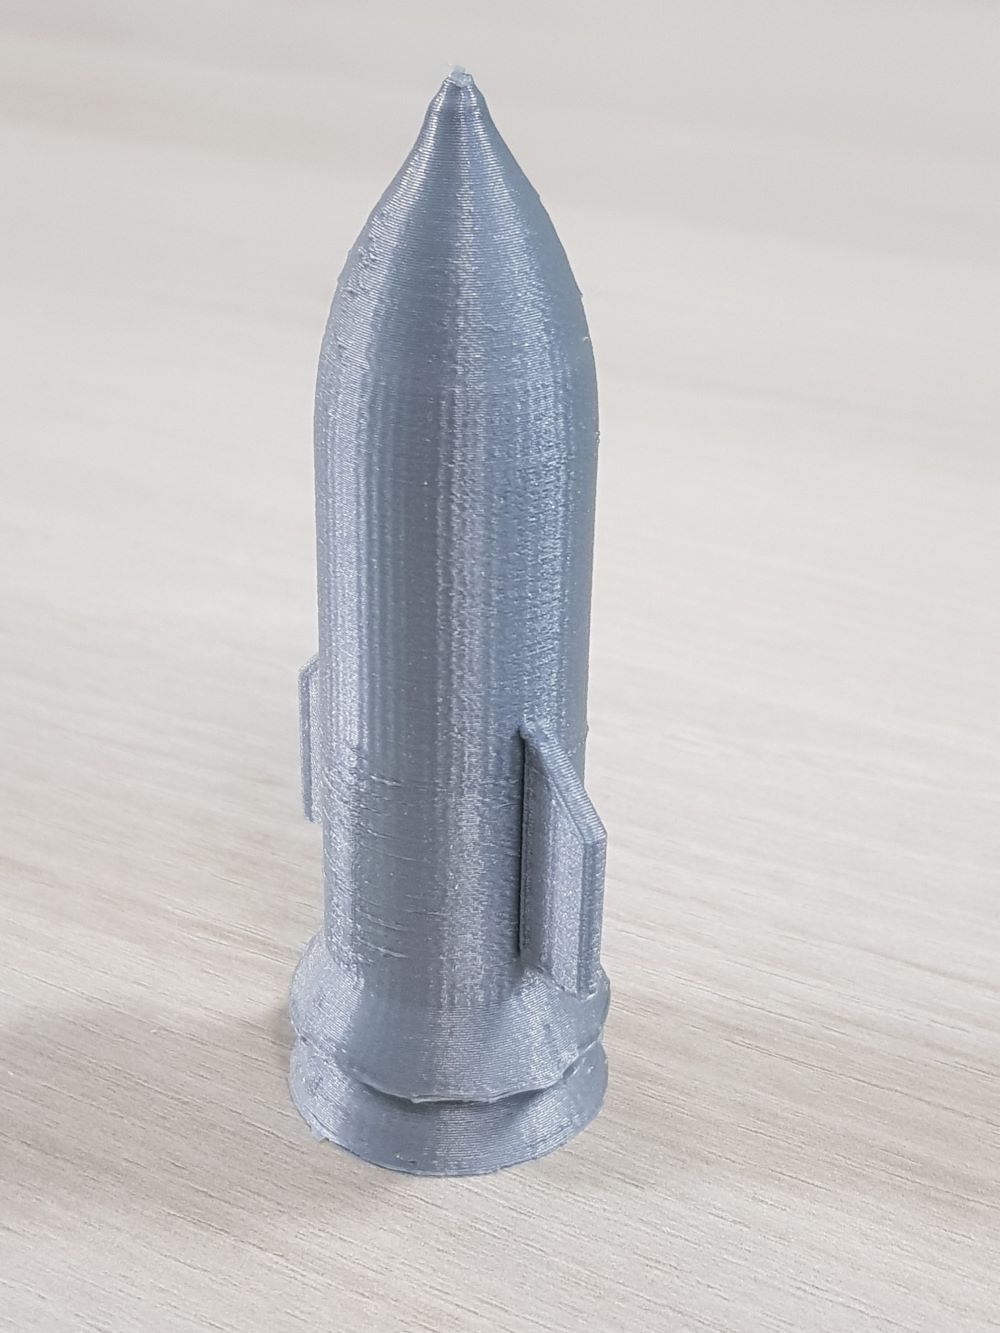 |
| The result before removing the support | After removing the support |
Second design: Hexagonal Cup with Single Chain
I did a hexagonal cup design in Fusion 360.
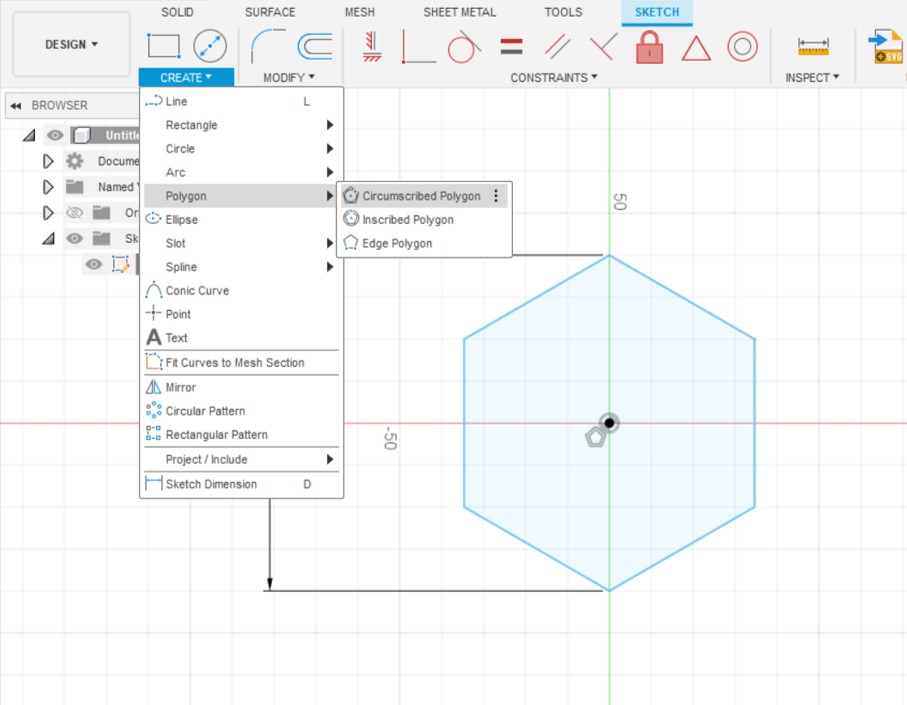
I drew a sketch of hexagonal shape
Create >> Polygon >> Circumscribed Polygon
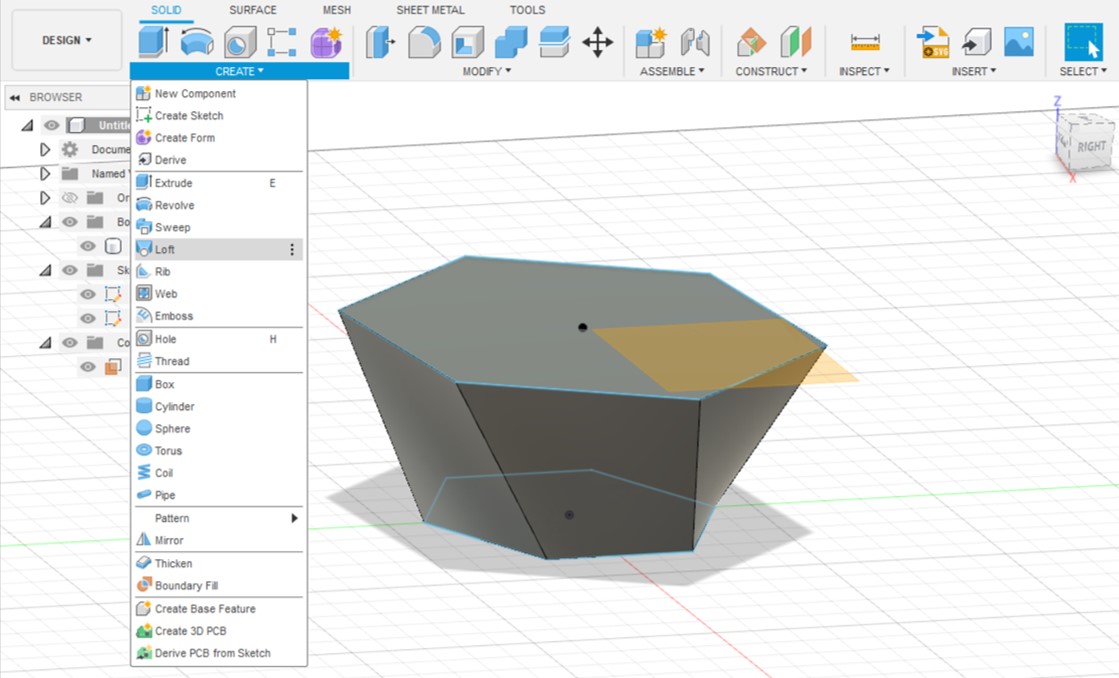
The I used Offset plane tool to draw another hexagonal shape for the top of the cup

I used the Loft tool to make the body of the cup
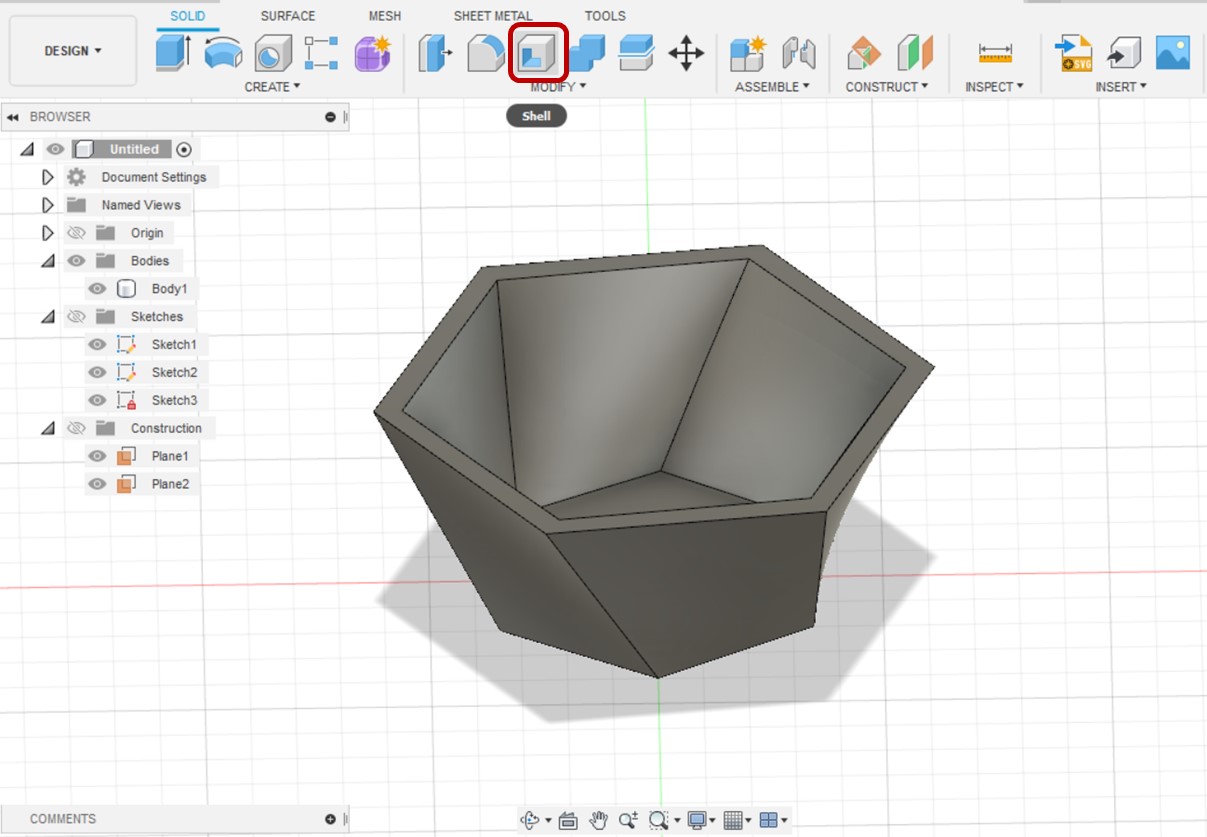
Shell tool
In this step I created a ring then I converted the bodies into components to use the Align tool to move the ring and place it in the hole.
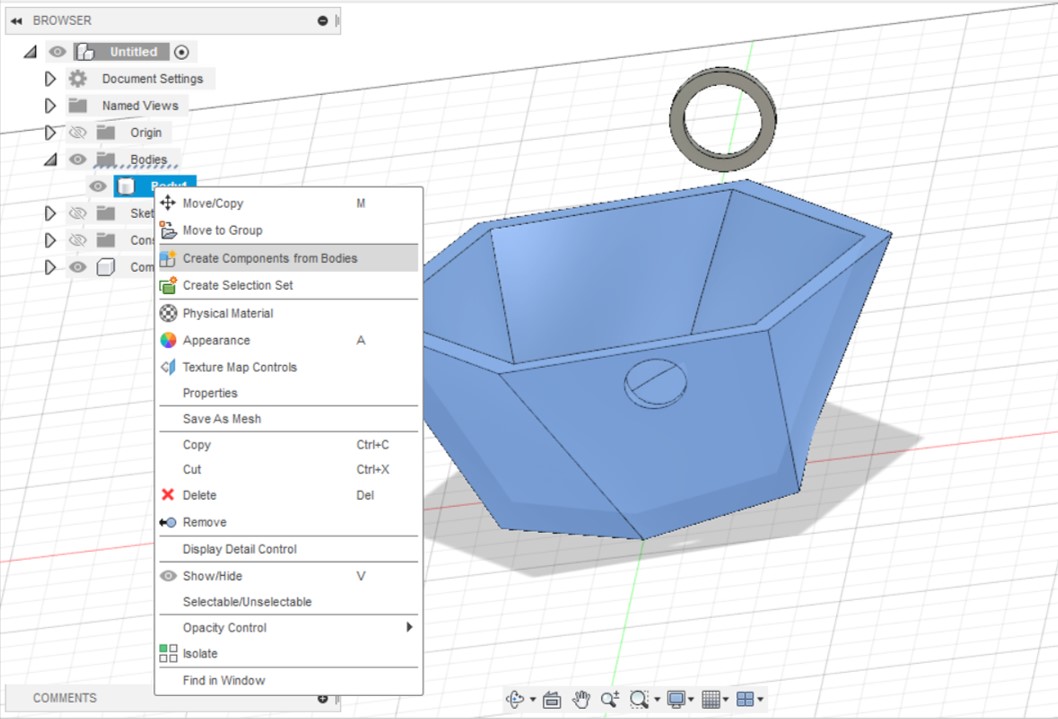
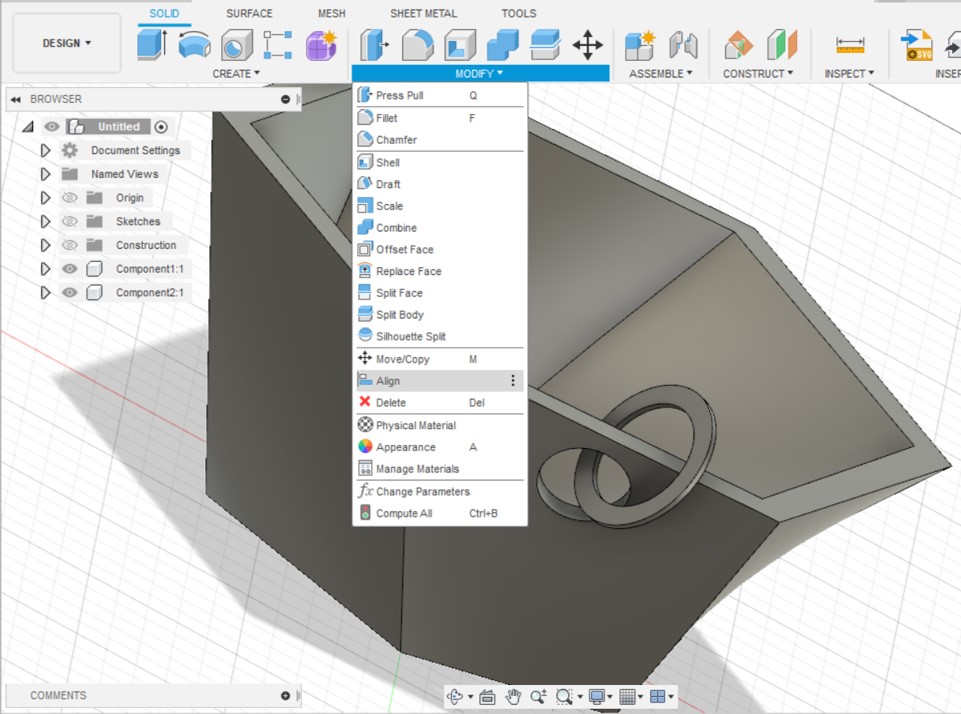
I wrote the word hope inside it and I extruded the word. Also I added a ring at one side, and I made it as a chain. Chains are hard to be done in subtractive machines like cnc milling machines and it could be done easily in 3D printers. Then I saved the design as a stl file
Sketchfab
Then I opened the design in Cura software to set all print settings.
After that I clicked on Slice then Preview and the result is shown in the following image.
The software added support to the ring.
I saved the file from Cura and put it in a flash then insert it in the 3D printer.
And here is the result
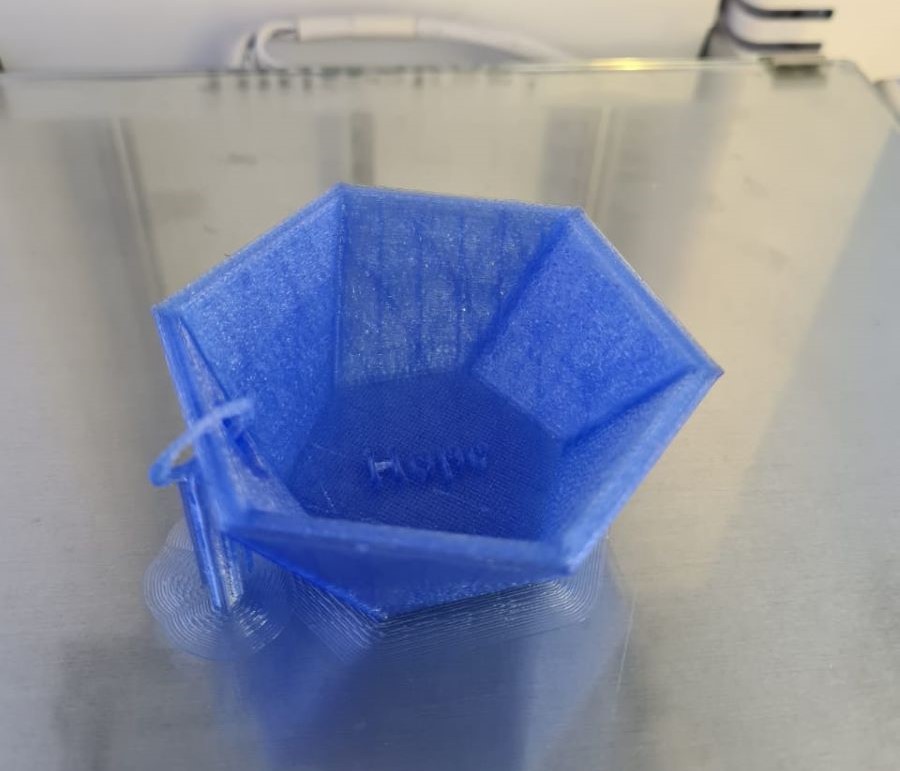 |
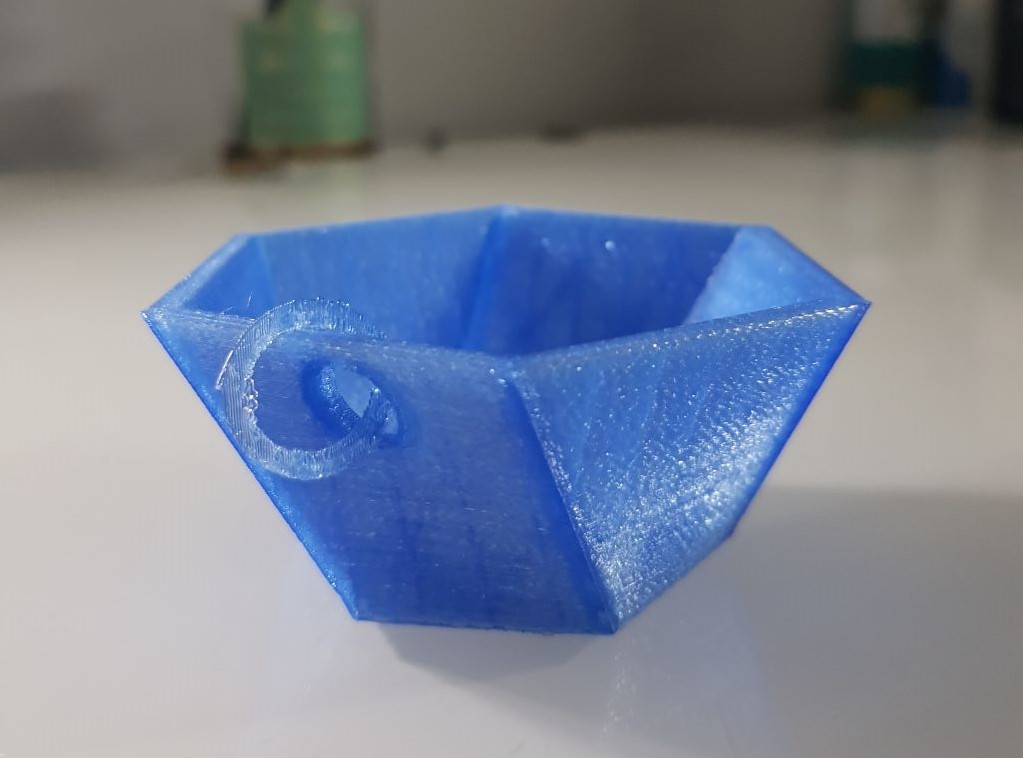 |
| The result before removing the support | After removing the support |
2. 3D Scanning
I used the Qlone app to scan 3D objects.
To scan with this app, I printed the Qlone Mat and I put the object I need to scan on top of it.
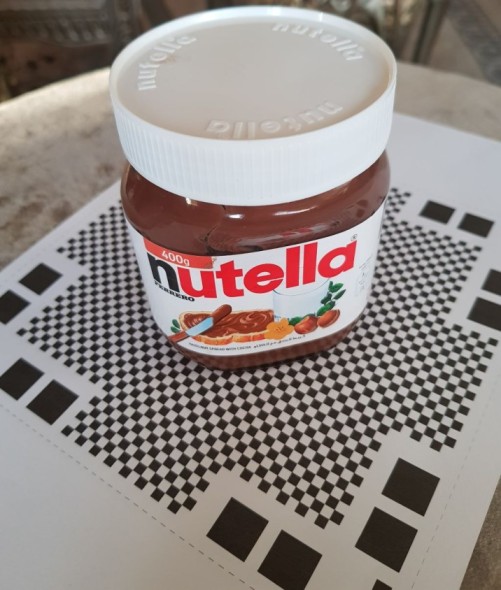
Then I opened the Qlone app from my smart phone and I used the plus icon to add a clone.
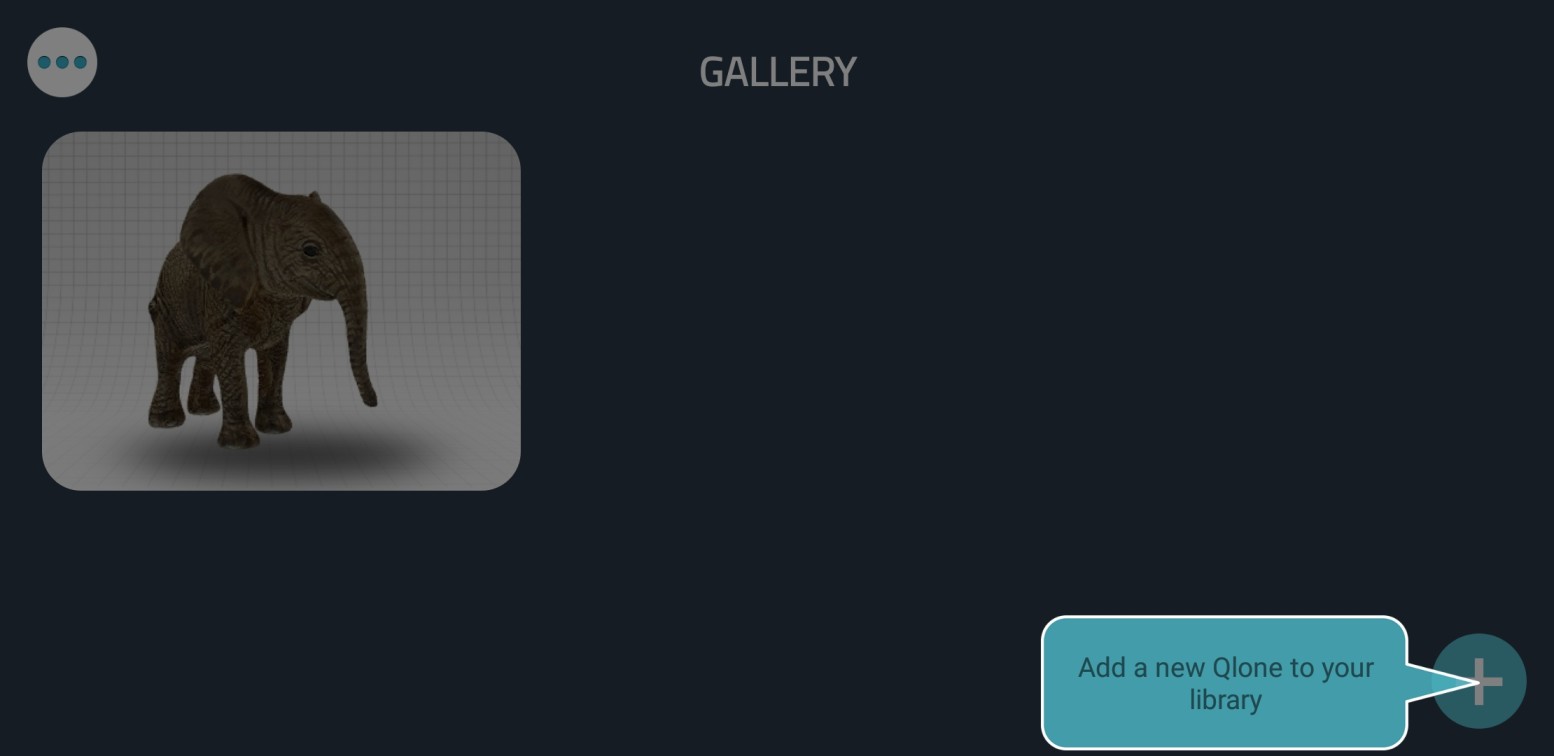
I should make sure that all corners appear in the screen and the sphere is blue. Then I clicked the red circle in the right of the page and I started scanning the object by moving around it slowly in one direction till I complete all the areas of the sphere starting from the top.

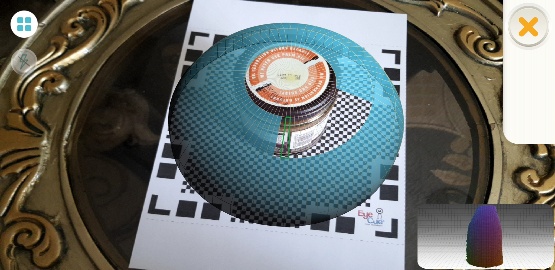
Here is the result. 3D scanning is hard for me because I cannot keep my hand stable for long time.
Group Assignment
Angel Test
Group Page LinkI downloaded the STL file of this design from Fab Academy website.
Then I opened it in Cura and set the print settings as shown in the following image. I didn't click on Generate Support because I want to test the 3D printer we have in the lab. I want to see the result of 3D printing different angels from a straight line to a 90 degree angle.
Then I clicked on Slice then Preview.

Finally I saved the file ia a flash and insert it in the 3D printer
And here is the result
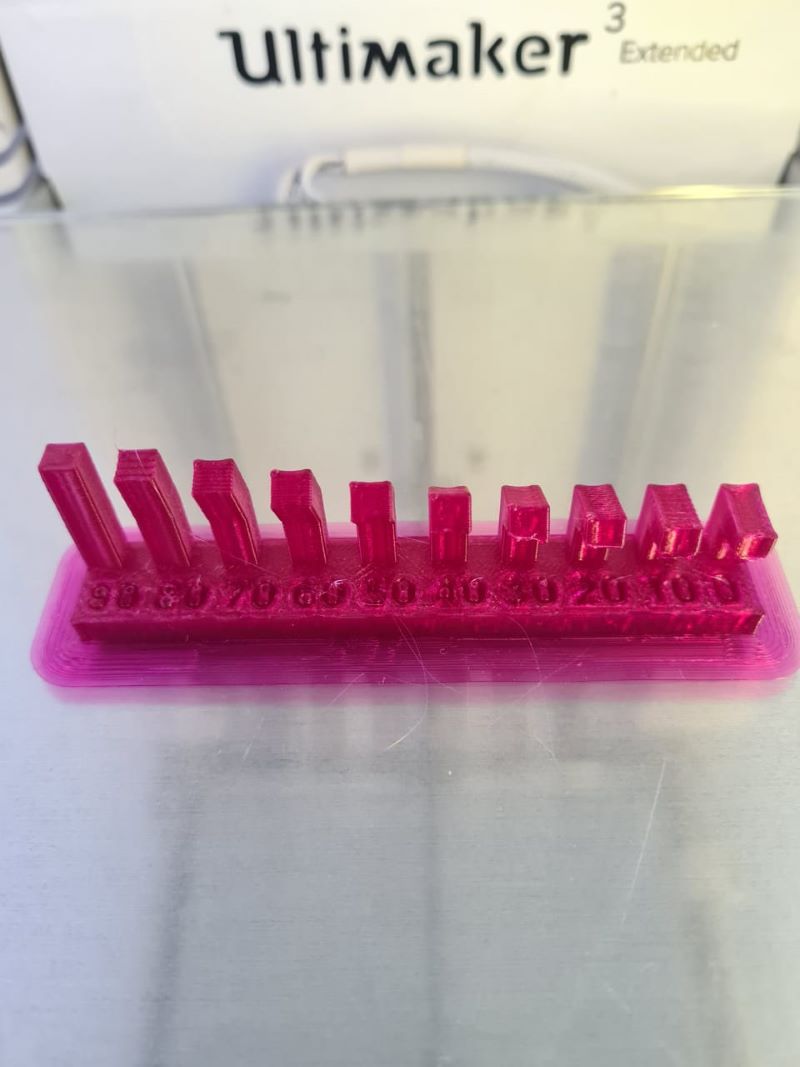
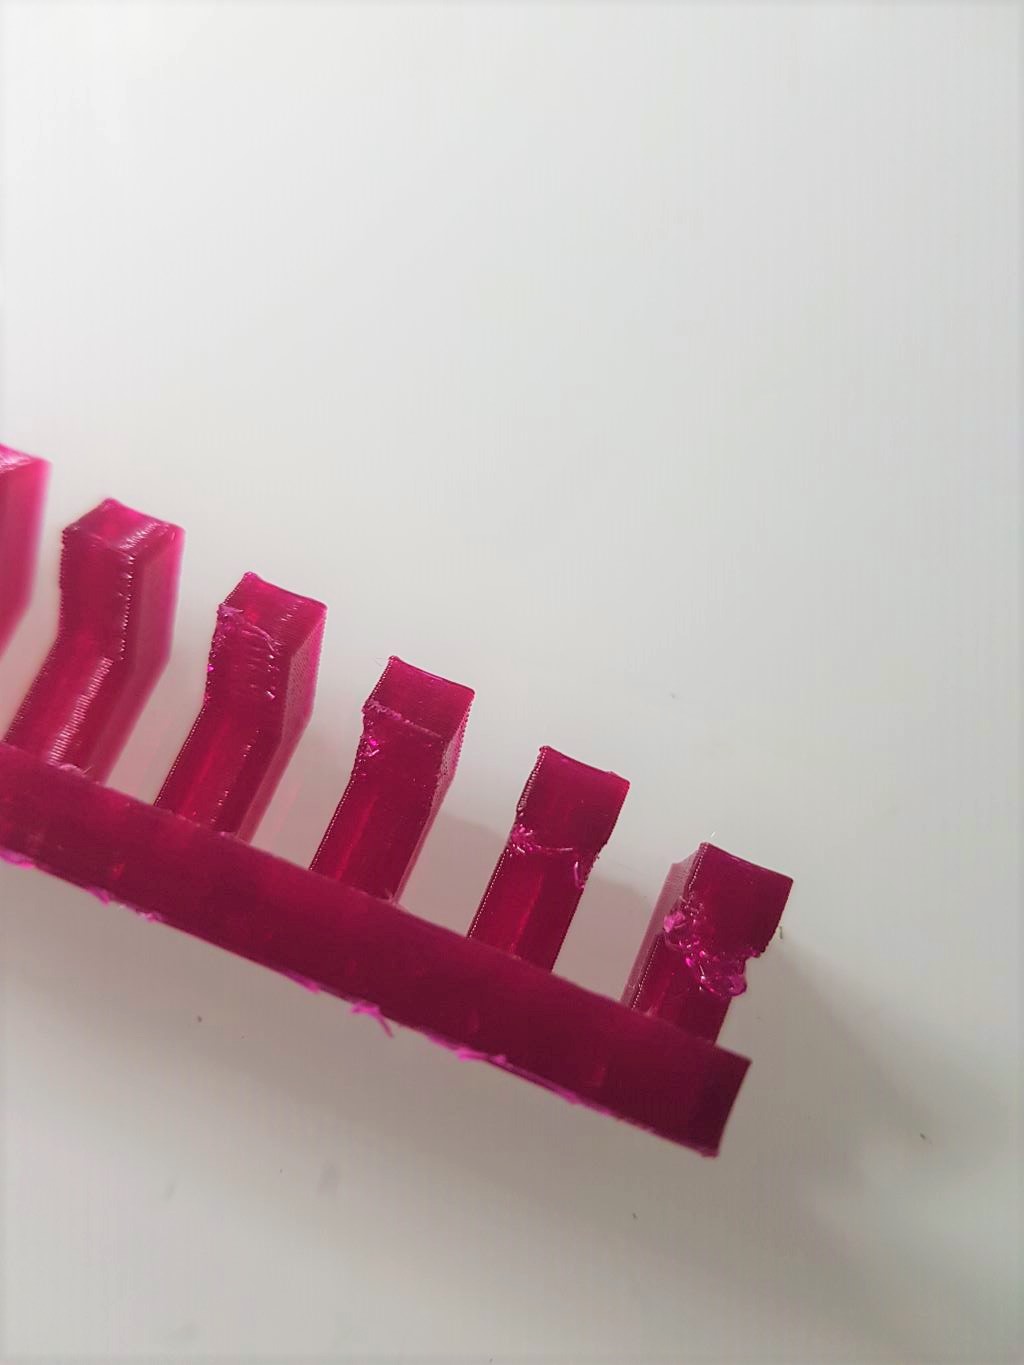
As shown in the previous images, the material is falling down a little in last two degrees as they approximatly equal to 90.
Files list:
| Rocket 3D design | f3d File | stl File |
| Hexagonal cup | f3d File | stl File |
Close Project