
Computer Controlled Cutting
Group Assignment
- characterizing the variables (power, speed, kerf, and joint clearance)of the laser cutting machines we have in the lab for different materials
Individual assignments
- Design, lasercut, and document a parametric press-fit construction kit- Cut something by using vinylcutter
Software used in this week:
- 1. CorelDraw
- 2. Autodesk Fusion 360
- 3. Roland CutStudio
- 4. Universal Laser System interface
Machines used in this week:
- 1. Universal Laser Systems Machine
- 2. Roland vinyl Cutter model CAMM-1 GS-24
1. Stickers with Vinylcutter
- I used the Roland vinyl Cutter model CAMM-1 GS-24 to cut stickers for my phone case and my laptope.
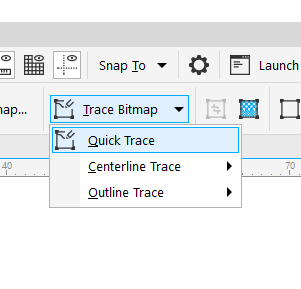
First, I downloaded an image from internet then I used CorelDraw software to make it a vector image by using the Quick Trace tool.

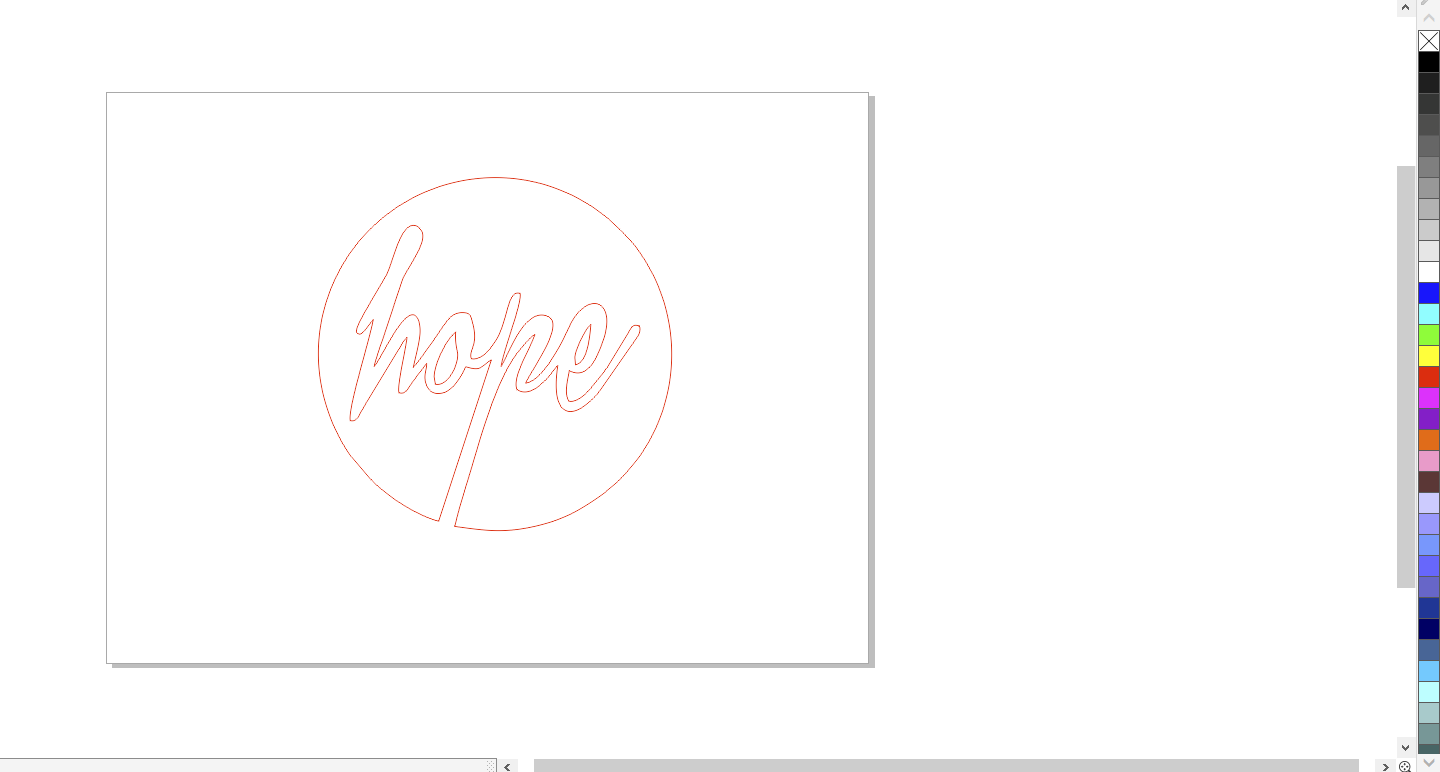
Then I determined the outline that I want to cut and choose it to be hairline and right click on the red color
to inform the cutting machine that this is what you should cut.
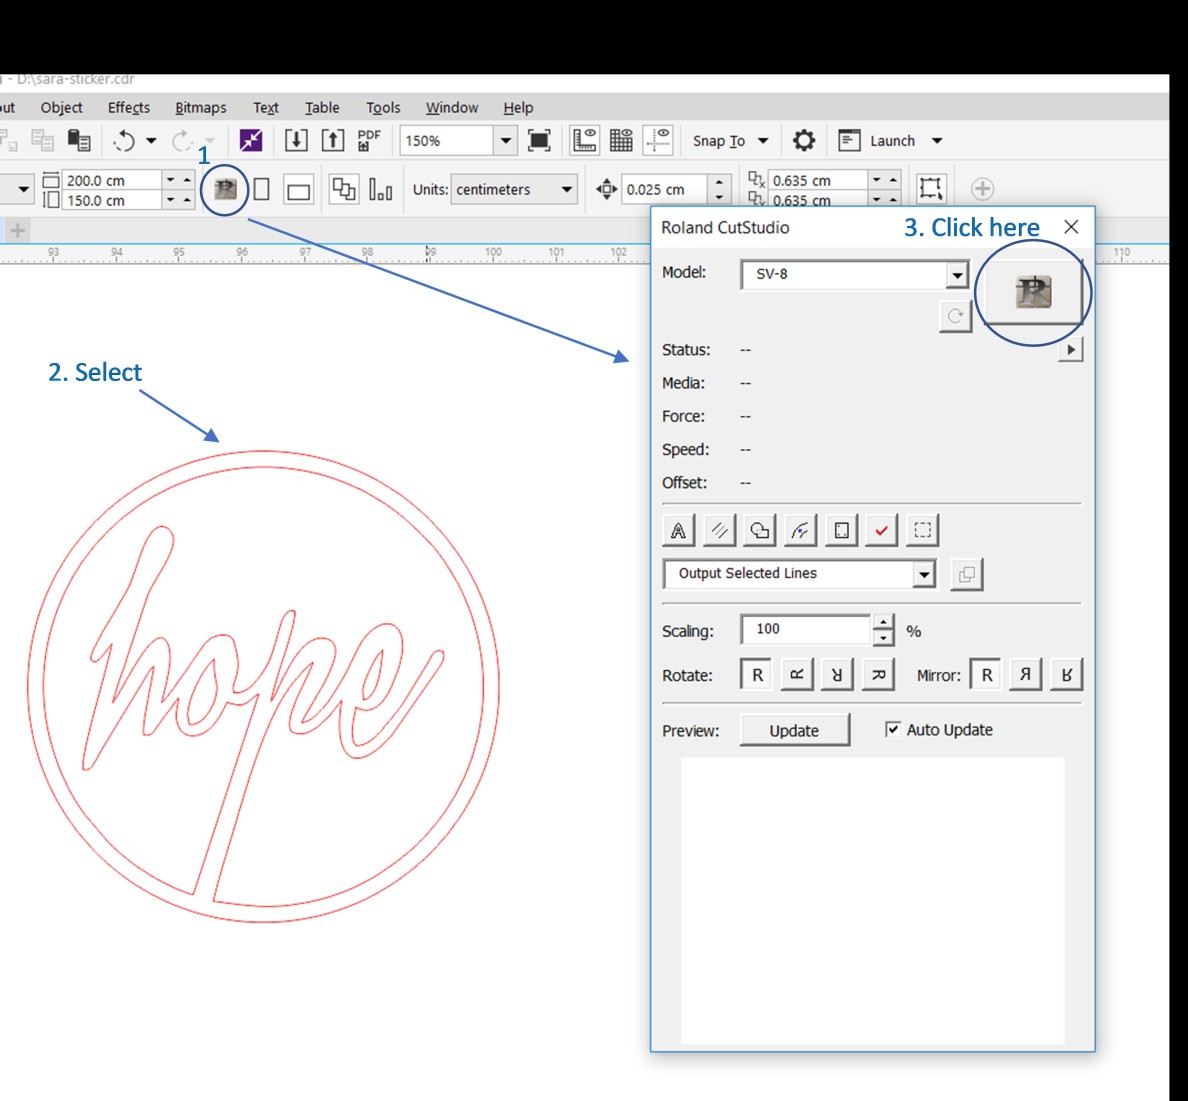
Then I took this design to Roland CutStudio software as shown in the below picture.
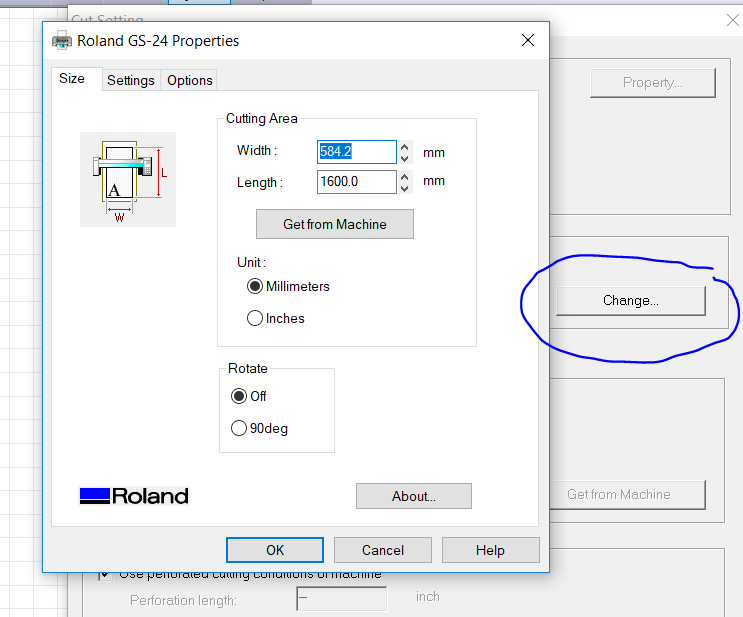
After that, the design will open in Roland CutStudio. Go to File >> Cutting Setup >> click on Change >> Get from Machine. And fix the length and the width as you need >> Ok >> Ok
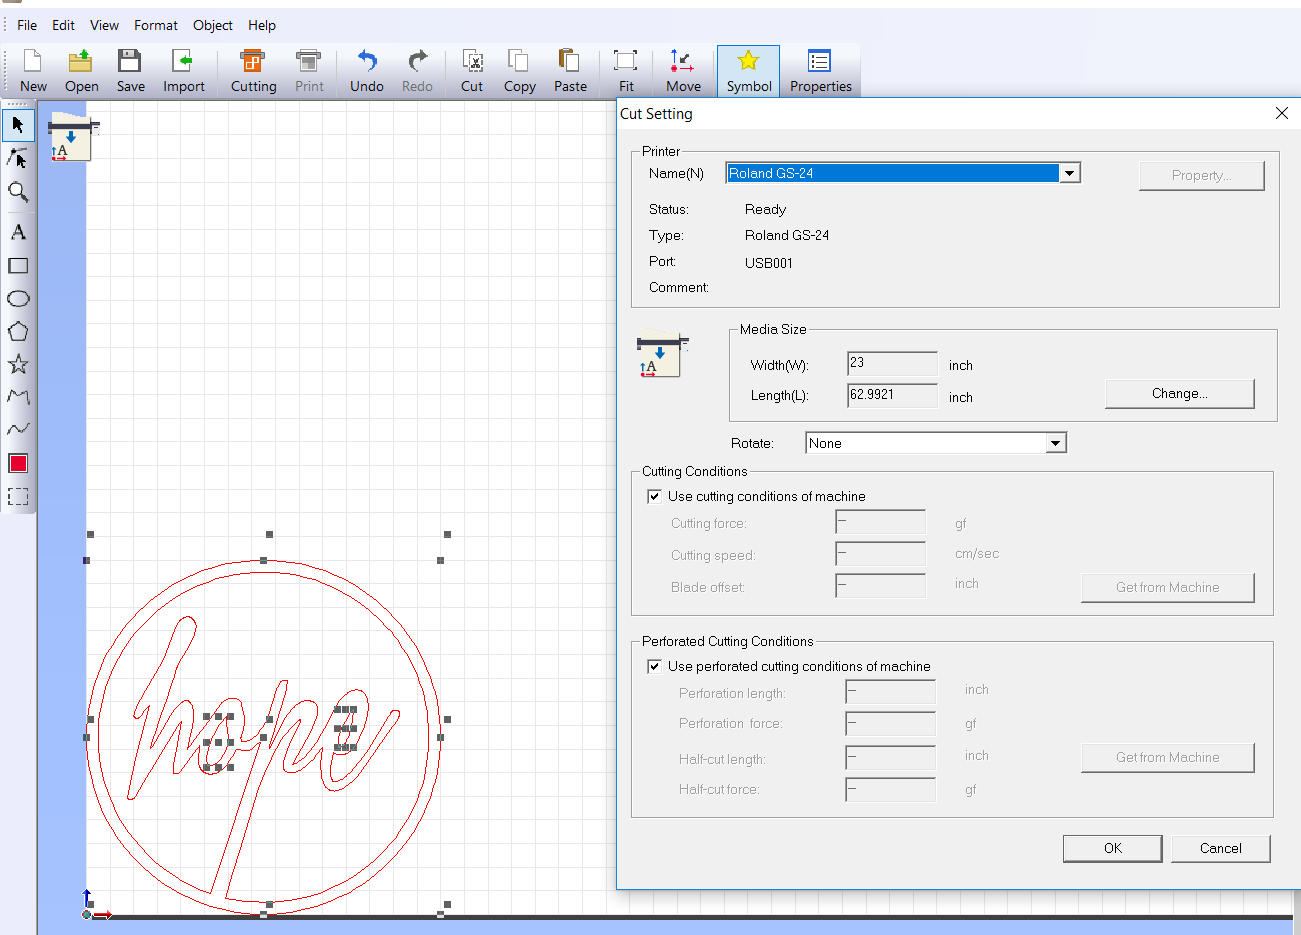
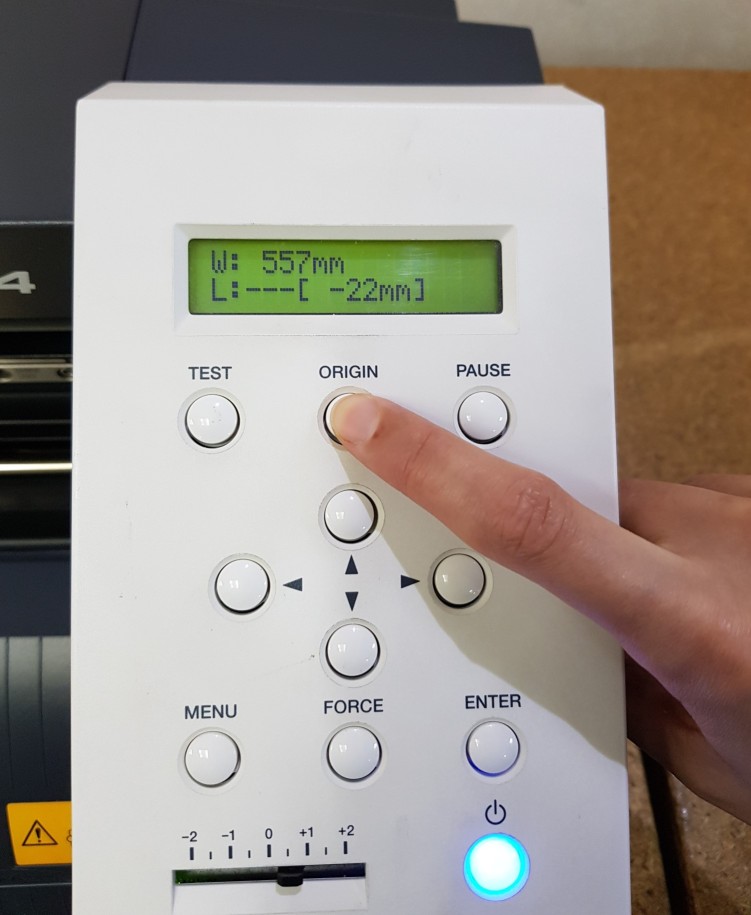
Before start cutting, I choose the color of the paper I want to cut and I fixed the settings of the vinyl cutter
I made the force: 190gf
and I set the origin of the cutter.

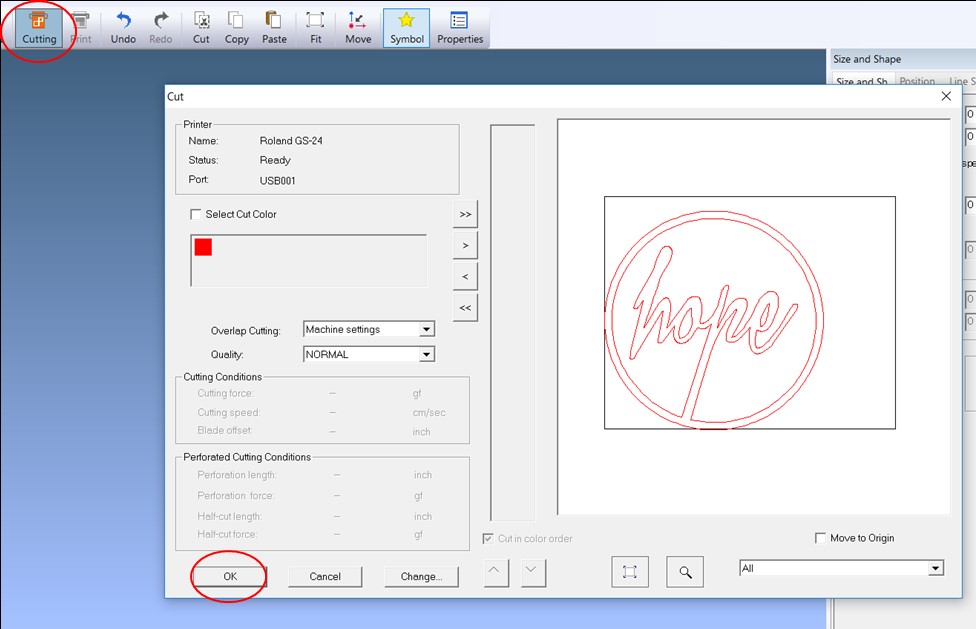
Now to start cutting >> click on Cutting >> Ok
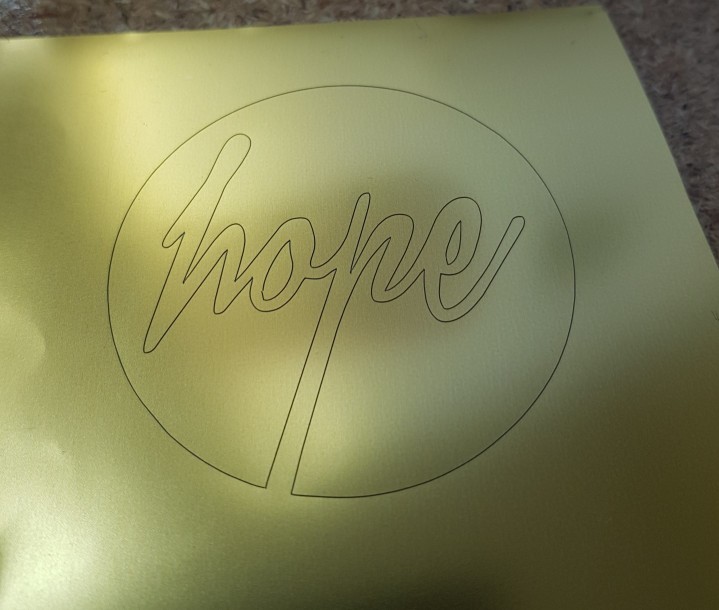
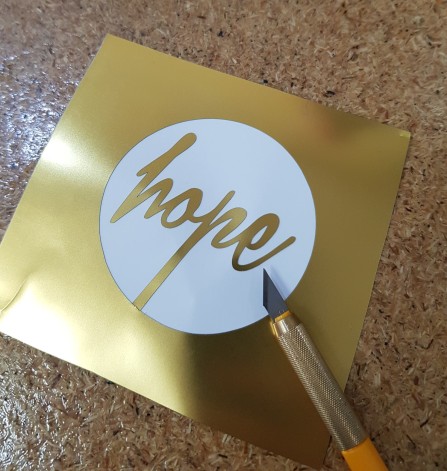
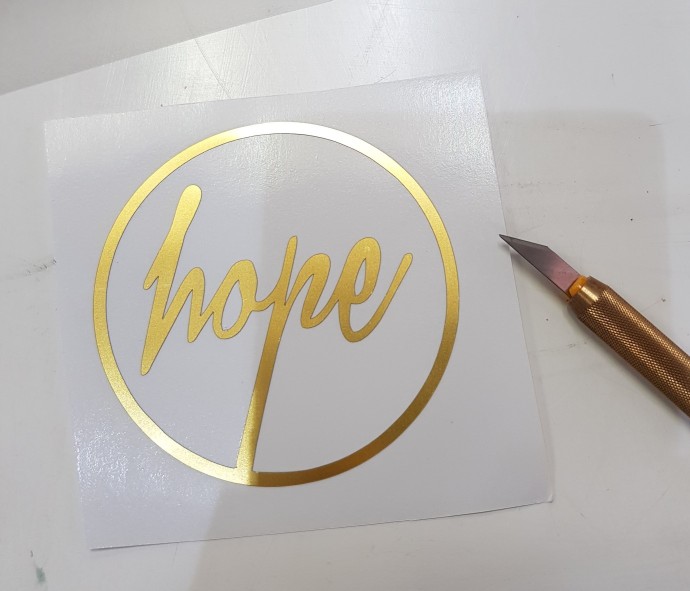
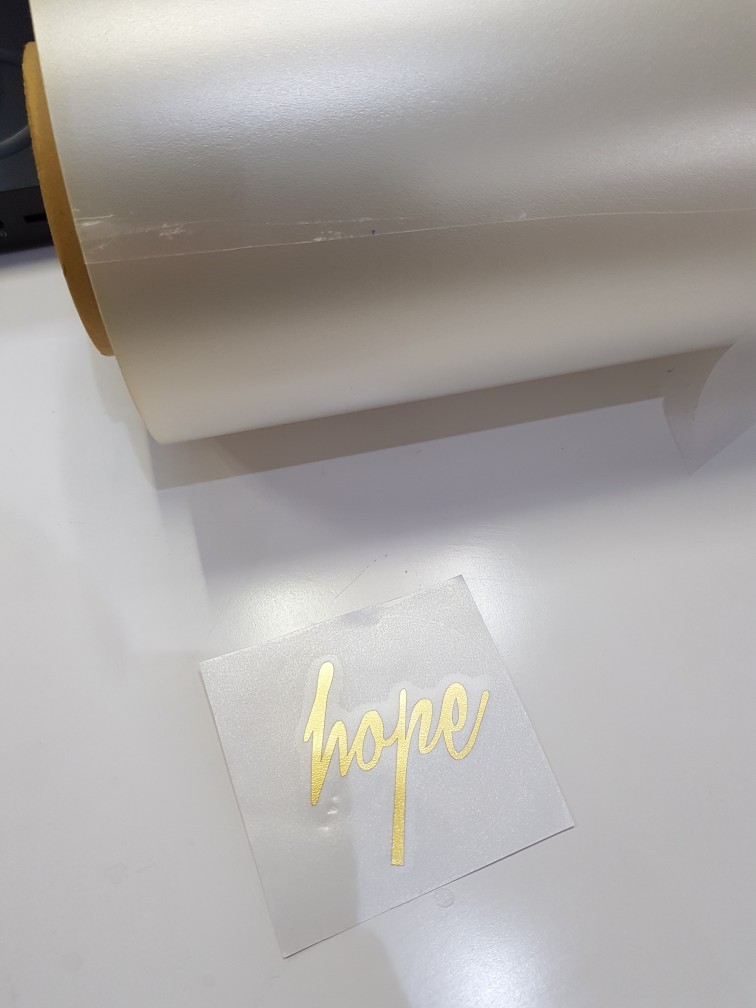
The following images show the sticker after cutting and when I used the knife to remove the unwated area.
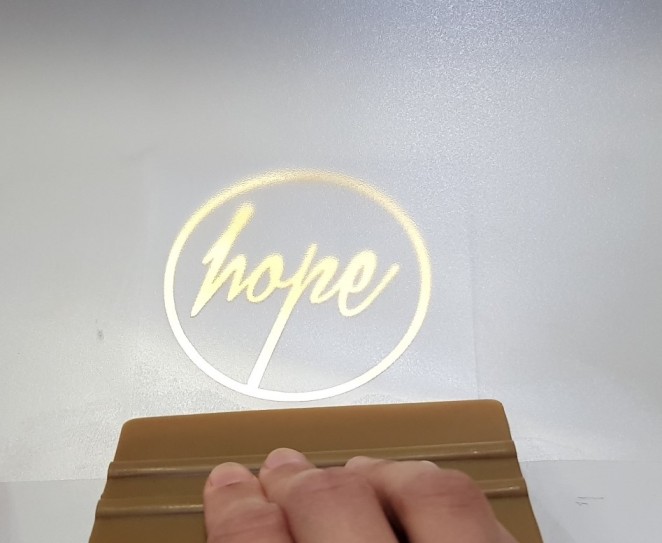
Then I used an application tape to cover the sticker to be able to put it on my laptope.

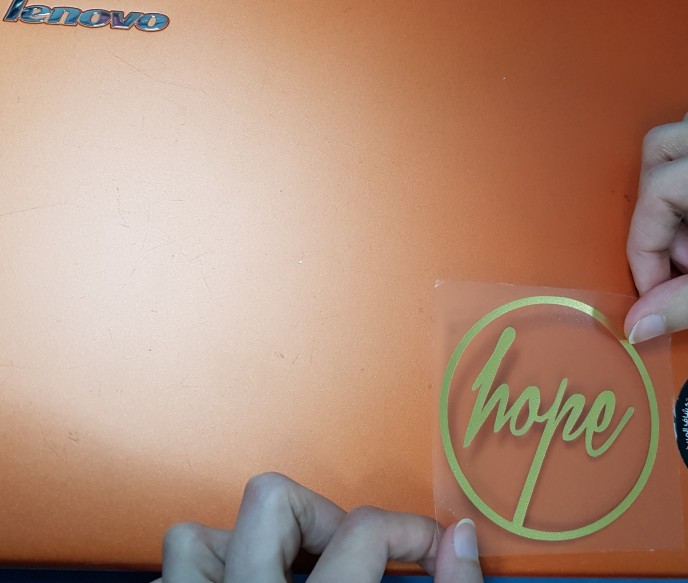
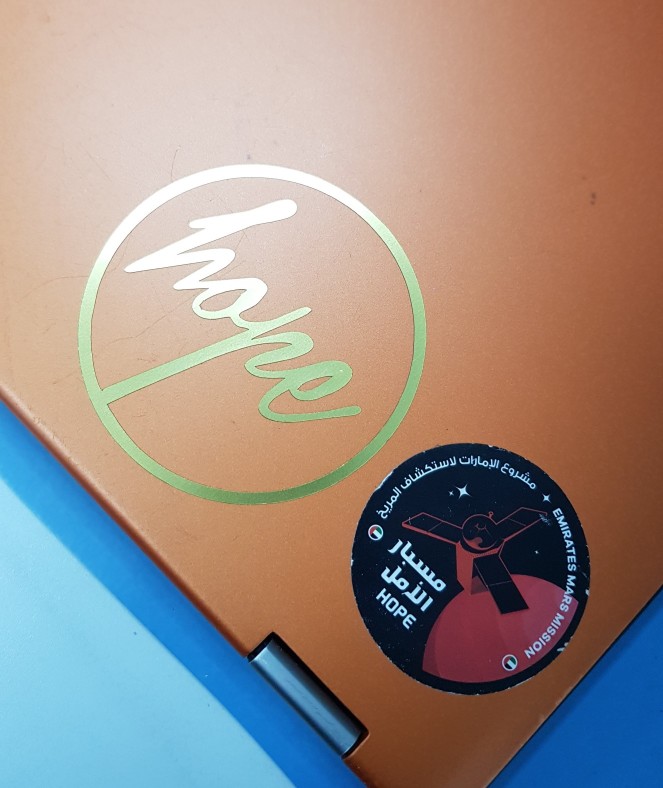
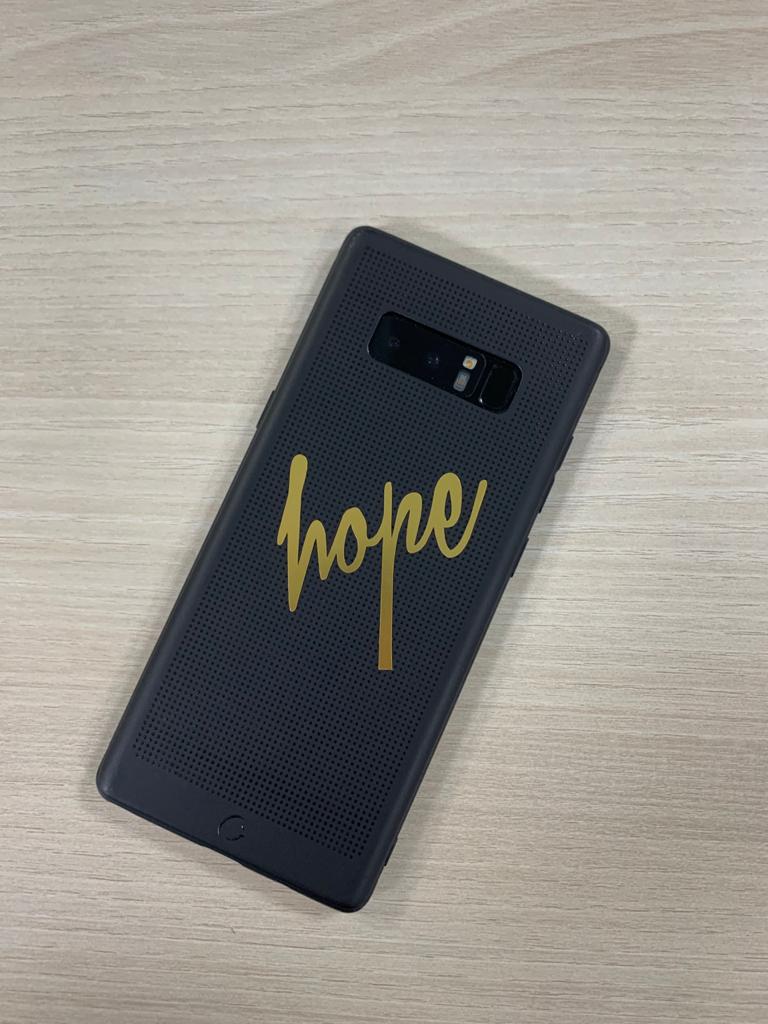
And I did another one for my phone case
2. Press Fit Kit
Here I am explaining how I did a press fit kit by using a Laser Cutting Machine
My press fit consists of 12 arc and 6 squares. I designed them by using Fusion360 software
and I used CorelDraw to repeate them.
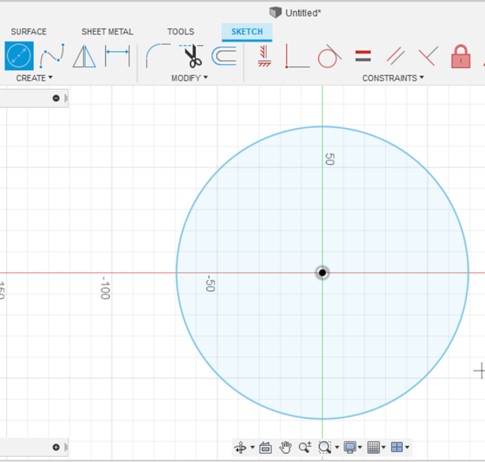
The following pictures show the steps of designing the arc:
 |
 |
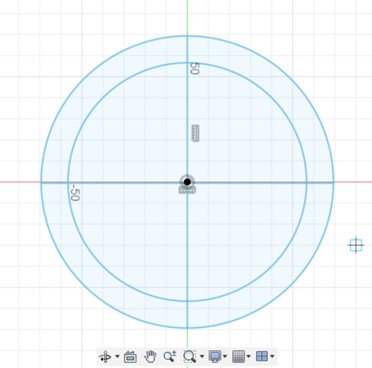 |
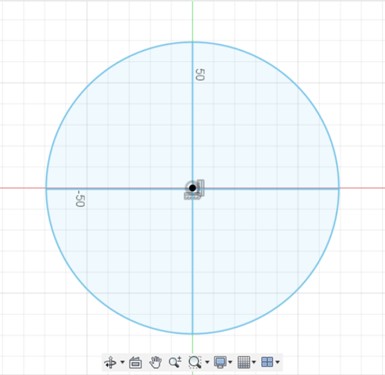
| 1. Create Centre diameter circle | 2. Use lines to devide the circle to four quarters | 3. Add a smaller circle |
 |
 |
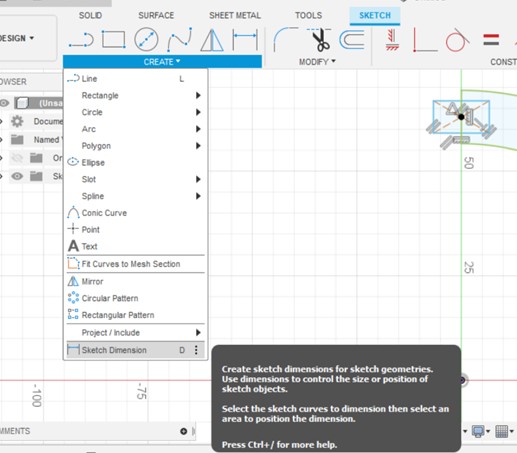 |
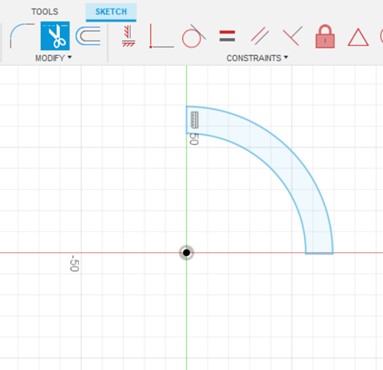
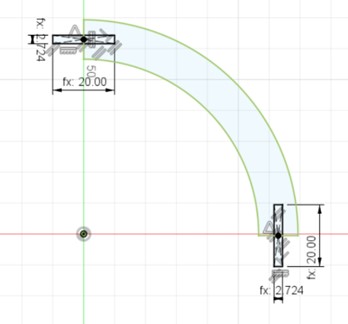
| 4. Use the Trim tool to remove unwanted parts | 5. Add parameters (width, slot length & thikness) by going to Modify>>change parameters>>user parameters+. Then add slots by using centre rectangle | 6. Use sketch dimension tool to add slot's length & width simply by writting the name of each parmeter that was saved in user parameters. |
 |
 |
 |
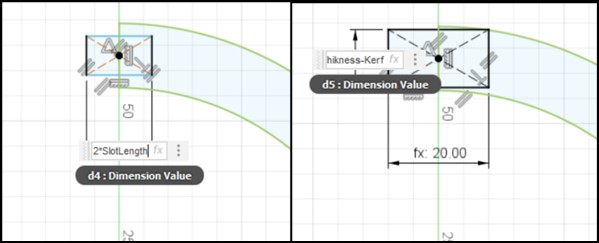
| 7. Length= 2*SlotLength Width= Thikness-Kerf |
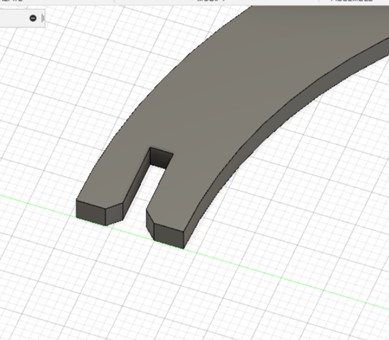
8. Use extrude tool to make it 3D and use the thikness saved in user parameter. I saved it to be 3mm with the name Thikness | 9. Add chamfer at the eadges of the slots |
The following pictures show the steps of designing the square:
 |
 |
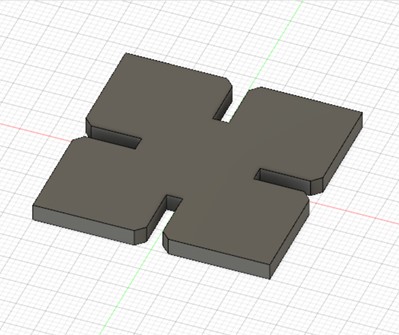 |
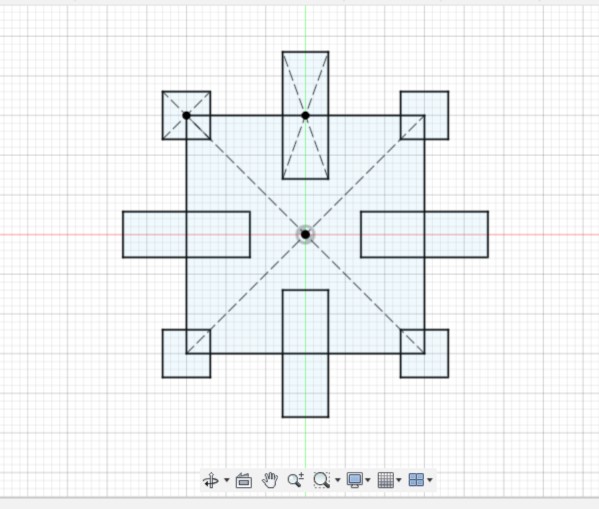
| 1. Use Centre rectangle tool to create the main square and a slot. Repeate the slots by using circuler pattern tool. | 2. Use the extrude tool to make it 3D with 3mm thikness as saved in the user parameter. | 3. Add chamfer to the eadges of the slots |
I used Step & Repeat tool in CorelDraw software to repeate the arc 12 times and the square 6 times.
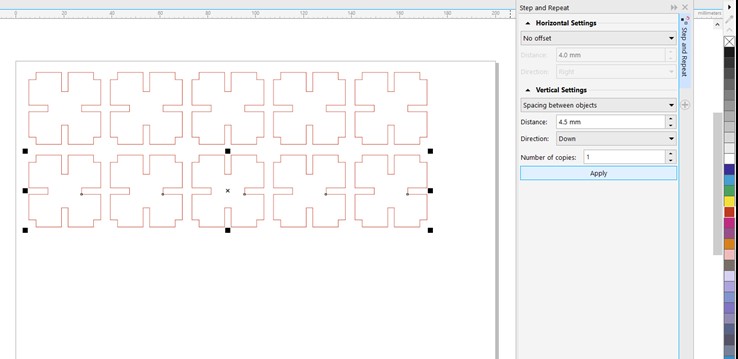
Then I took the files to the Universal Laser System interface software to cut the designs
in the laser cutting machine (Universal Laser Systems Machine). I used 3mm Cardboard material
This table shows the settings I used for the 3mm cardboard in the laser machine.
| Power | 100% |
| Speed | 15% |
| Frequency | 500 |

After Cutting:
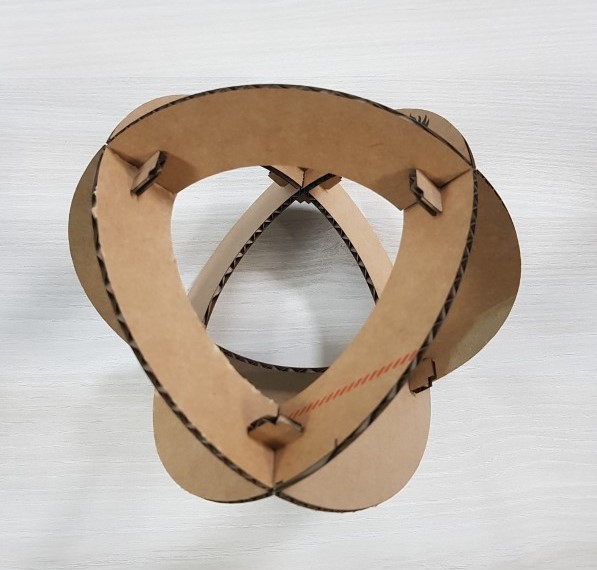
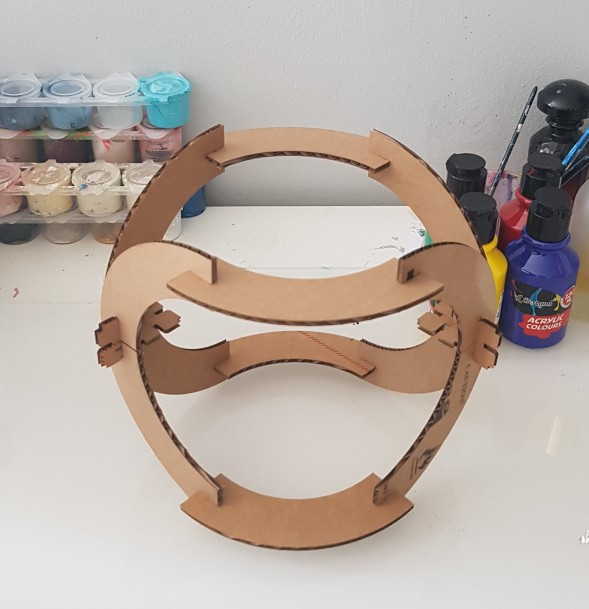
I did two different PressFit by using only these two designs
PressFit 1 from two sides
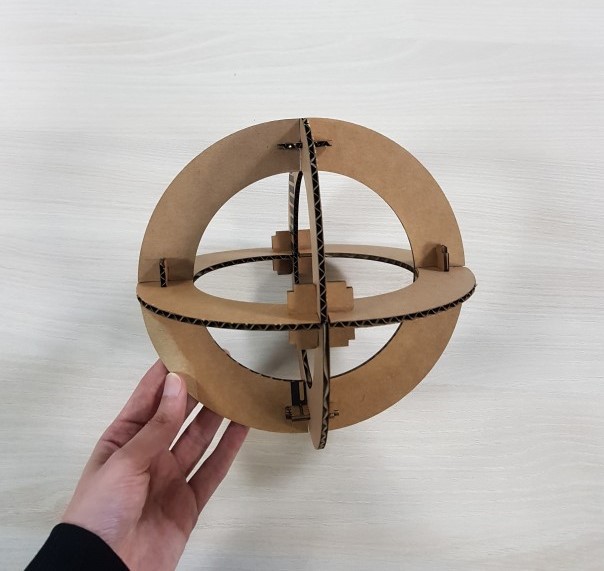
PressFit 2
3. Group Assignment
Group Page Link
For the group assignment, I tested the Transparent Cast Acrylic with a thikness of 2.7mm
I used a simple design to find out the best power and speed needed to be set in the
Laser Cutting Machine (Universal Laser Systems Machine) for cutting and engraving the 2.7mm Cast Acrylic.
In addition to measure and calculate the amount of the material that was burned during the cut, which called (Kerf).
I did four trials to see the effect of changing speed and power of the laser machine on the material.
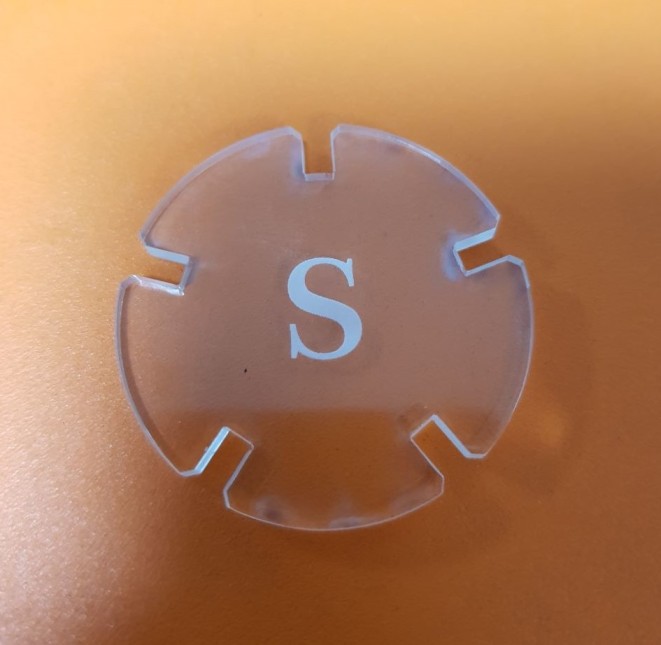
In the first trial I used the default settings.
First Trial
| Type | Power | Speed | PPL |
|---|---|---|---|
| Cut | 100% | 4.4% | 1000 |
| Engraving | 26% | 100% | 500 |
Second Trial
Changing Power| Type | Power | Speed | PPL |
|---|---|---|---|
| Cut | 80% | 4.4% | 1000 |
| Engraving | 35% | 100% | 500 |
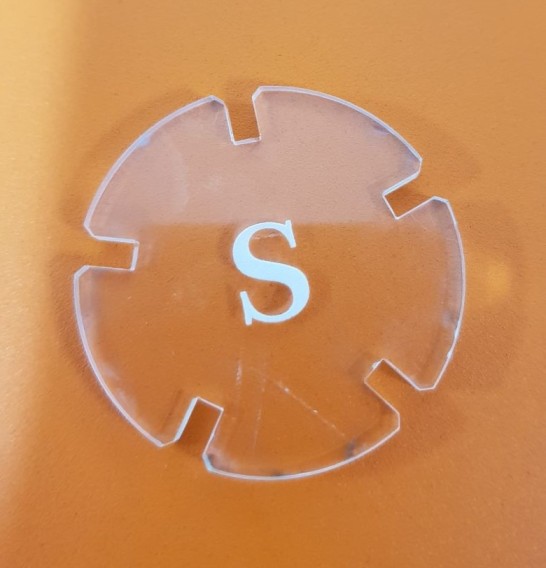
In the second trial I reduced the Power to 80% for the cut and increased it to 35% for engraving.
I liked the result of engraving but the cut caused more of the gray surface at the edges.
Third Trial
Changing Speed| Type | Power | Speed | PPL |
|---|---|---|---|
| Cut | 100% | 10% | 1000 |
| Engraving | 26% | 80% | 500 |
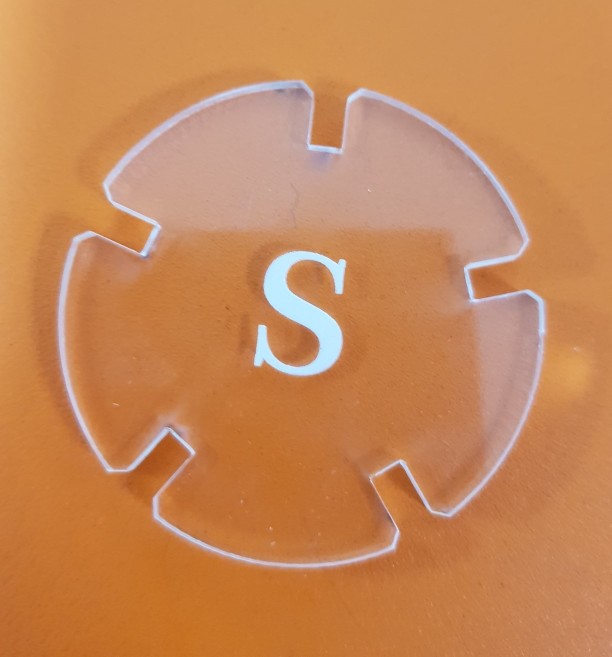
In the third trial I increased the speed of cutting to 10% and reduced the speed of engraving to 80%.
Engraving was good and it looks more white but the cut wasnt perfect, it was a little bit hard so seperate it from the plate.
Fourth Trial
| Type | Power | Speed | PPL |
|---|---|---|---|
| Cut | 100% | 25% | 1000 |
| Engraving | 26% | 50% | 500 |
In the fourth trial, I increased the speed of cutting to 25% and decreased the speed of engraving to 50%. The result of engraving still nice but the speed of cutting was fast and didn't cut the material.
Calculating Kerf
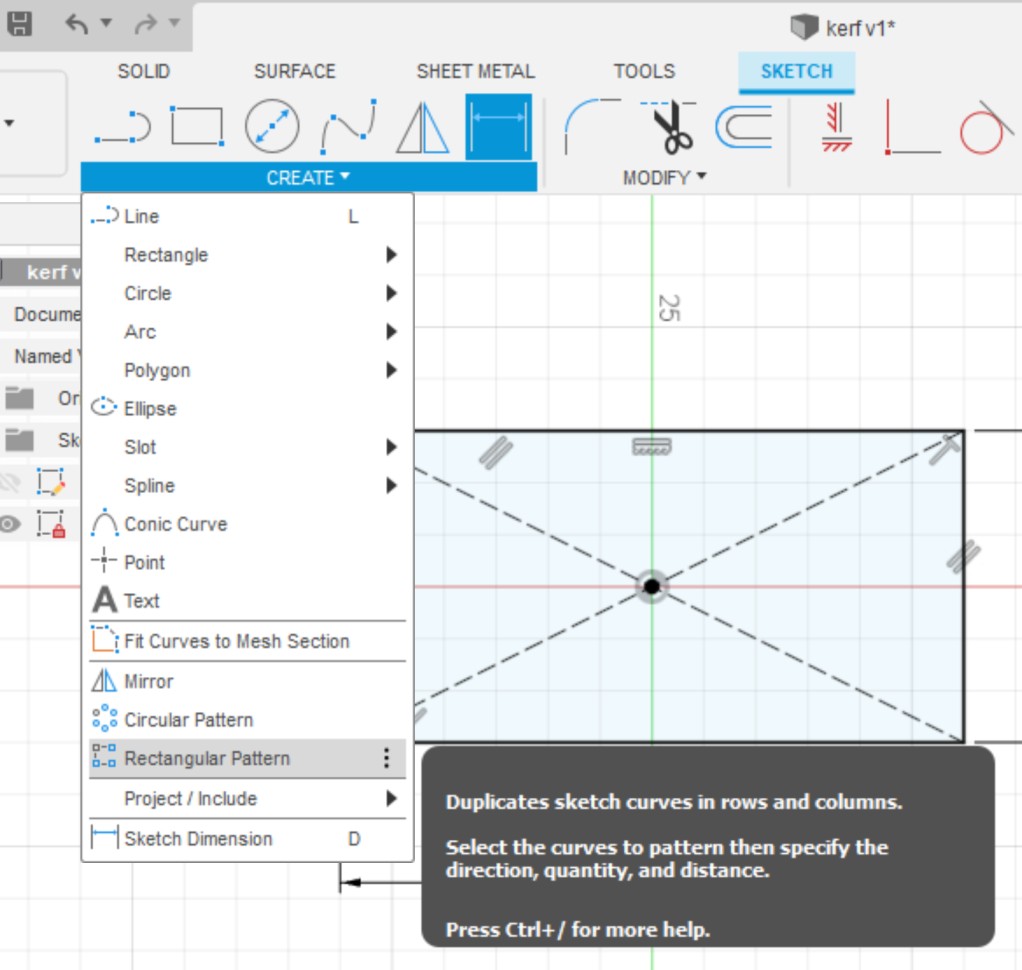
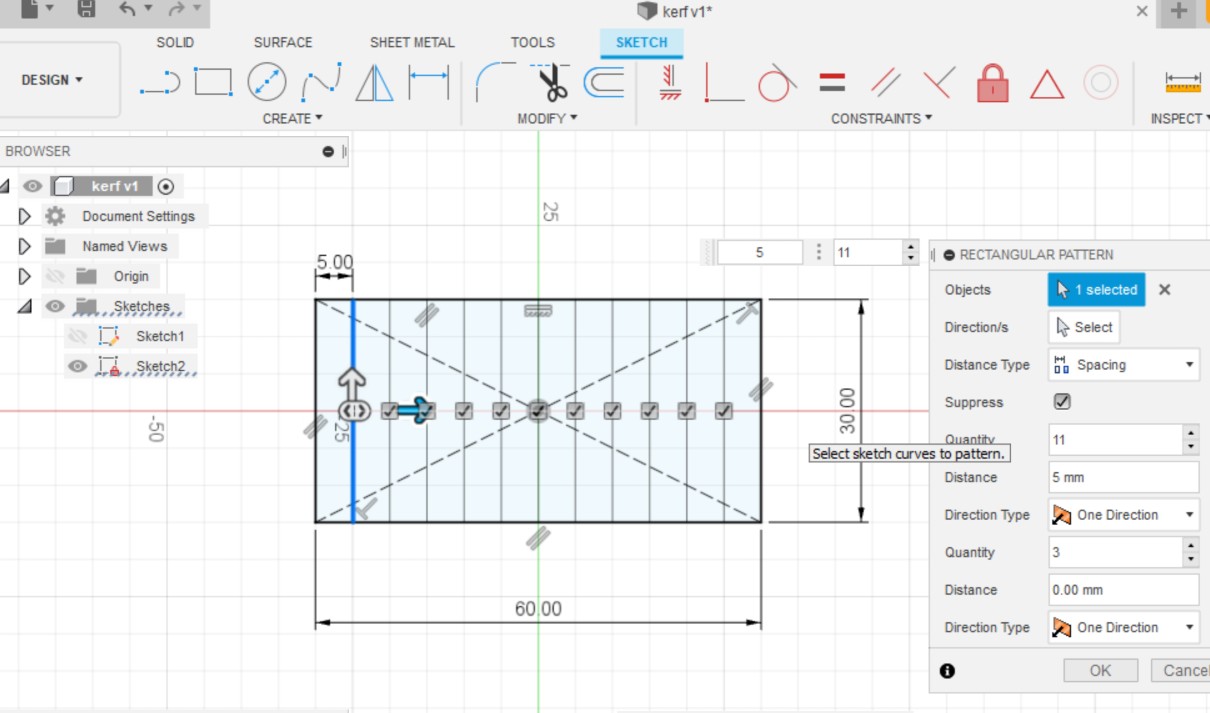
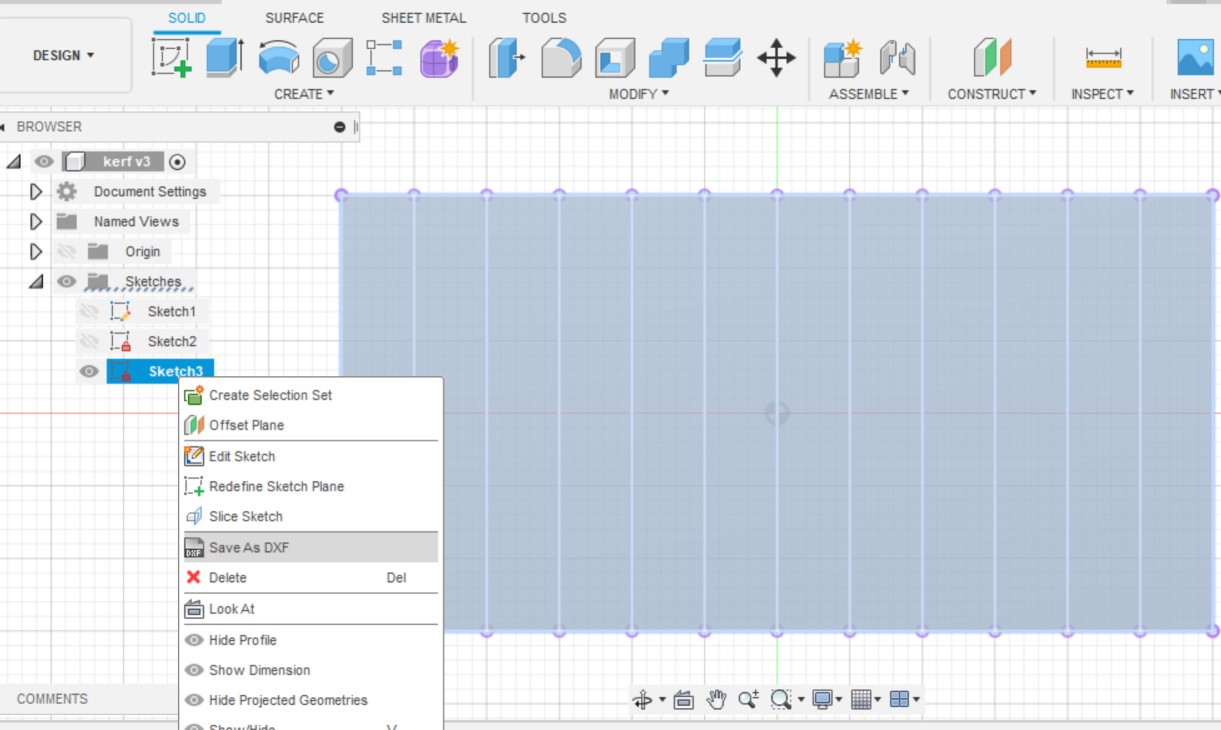
Then I started to design a 60x30 mm rectangle to calculate the kerf. I devided into 12 equal rectangles with 5 mm width each. I did this step in Fusion360 by using the rectangular pattern tool.
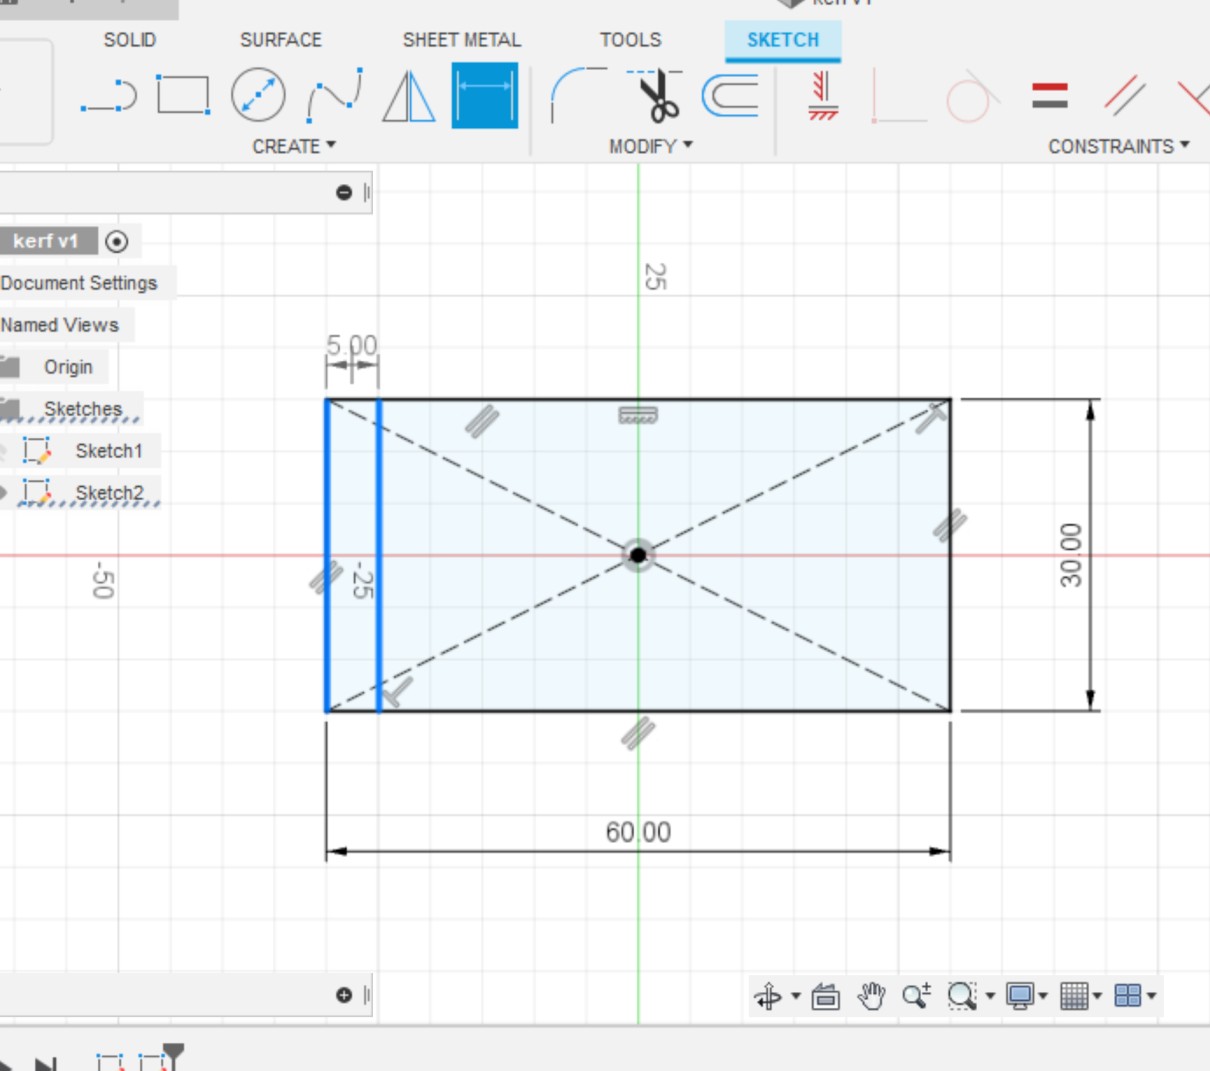
Here I saved it as a DXF file and open it in CorelDraw to cut it.
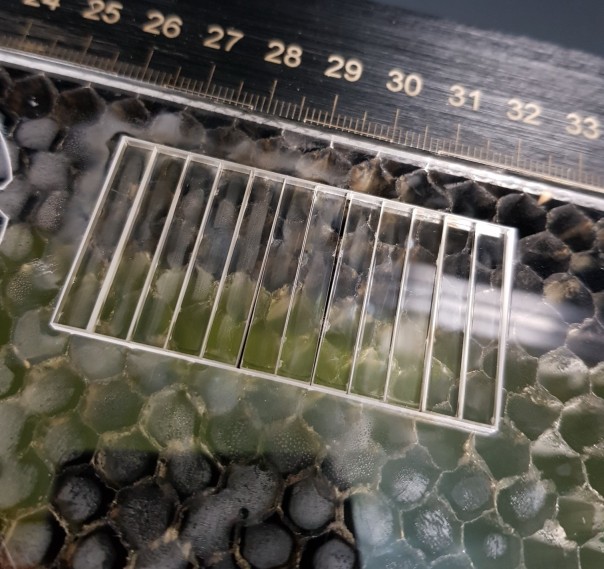
After cut
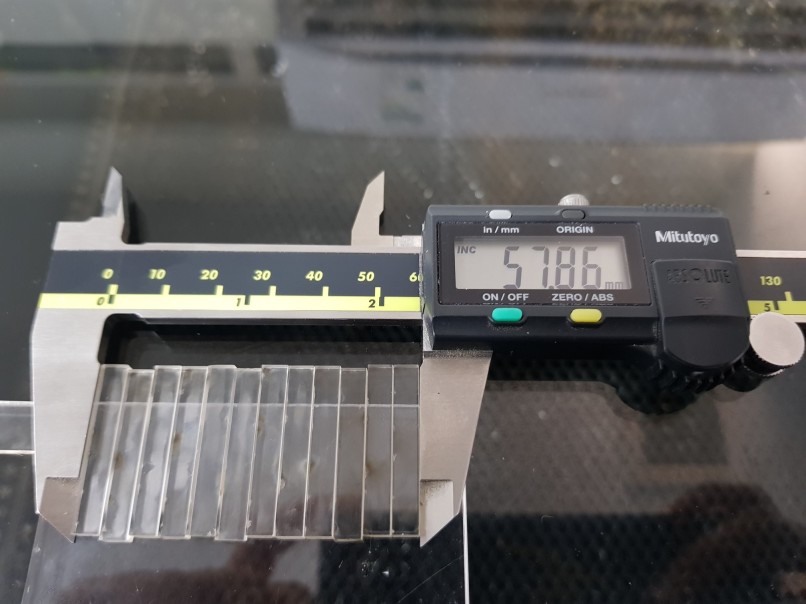
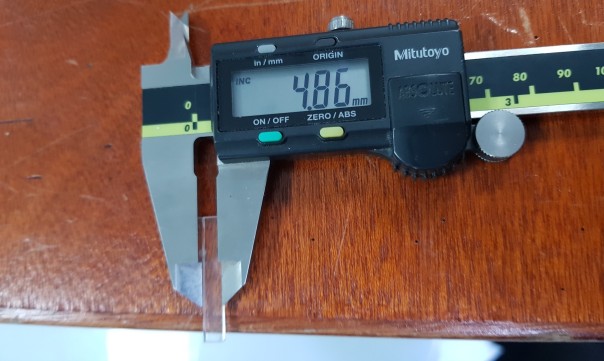
And finally I used this equation to calculate the kerf
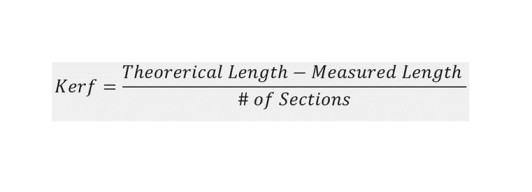
Kerf= (60-57.86)/12= 0.17833mm
During Pre-FabLab
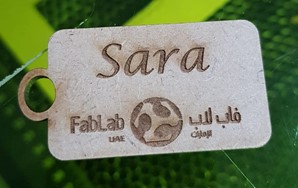
This was my first time to use a laser cutting machine. I designed a medal key and I wrote inside it my name and I put the logo of FabLab UAE.
Here is the design I did in CorelDraw
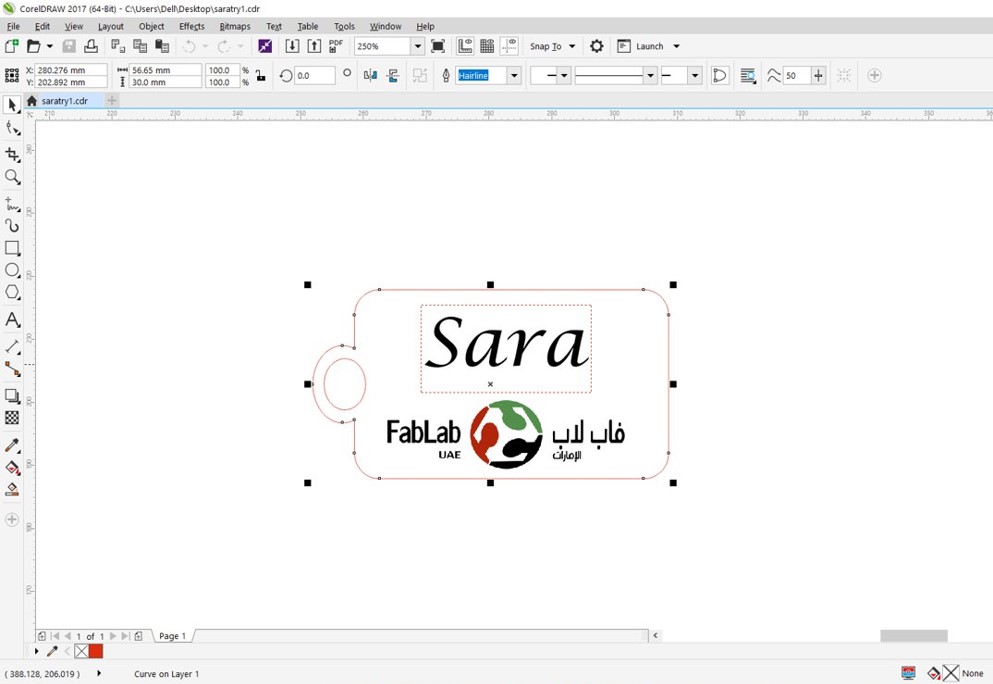
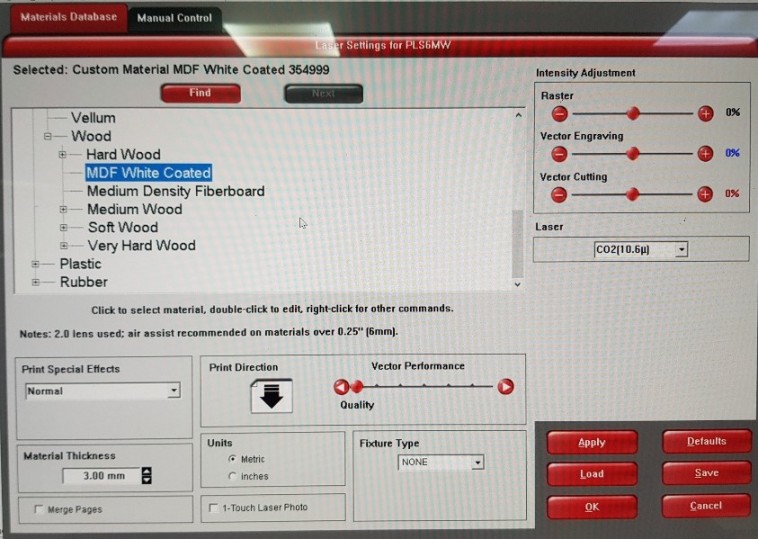
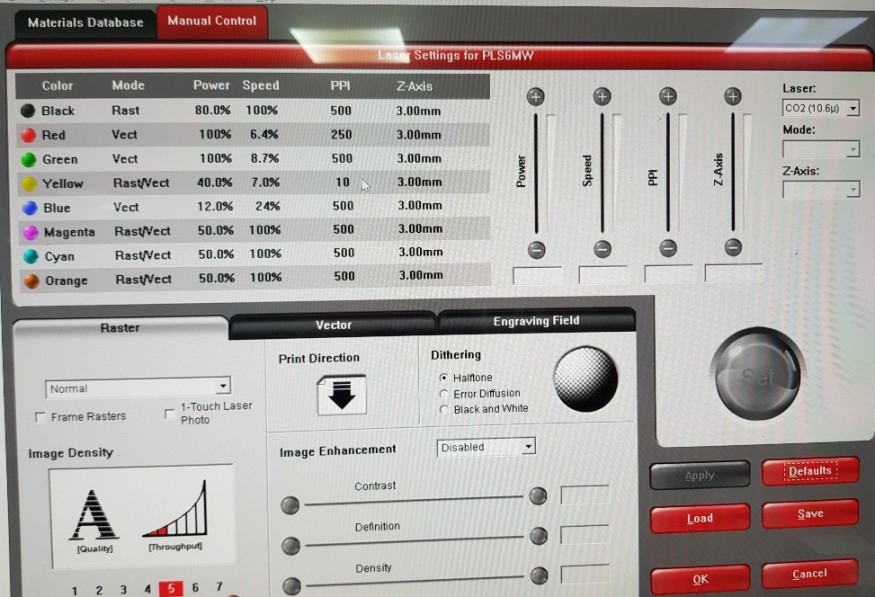
Then I used the Universal Laser System interface software to set the power settings of the Universal Laser Systems Machine
for the 3mm MDF White Coated material.
And this is the product
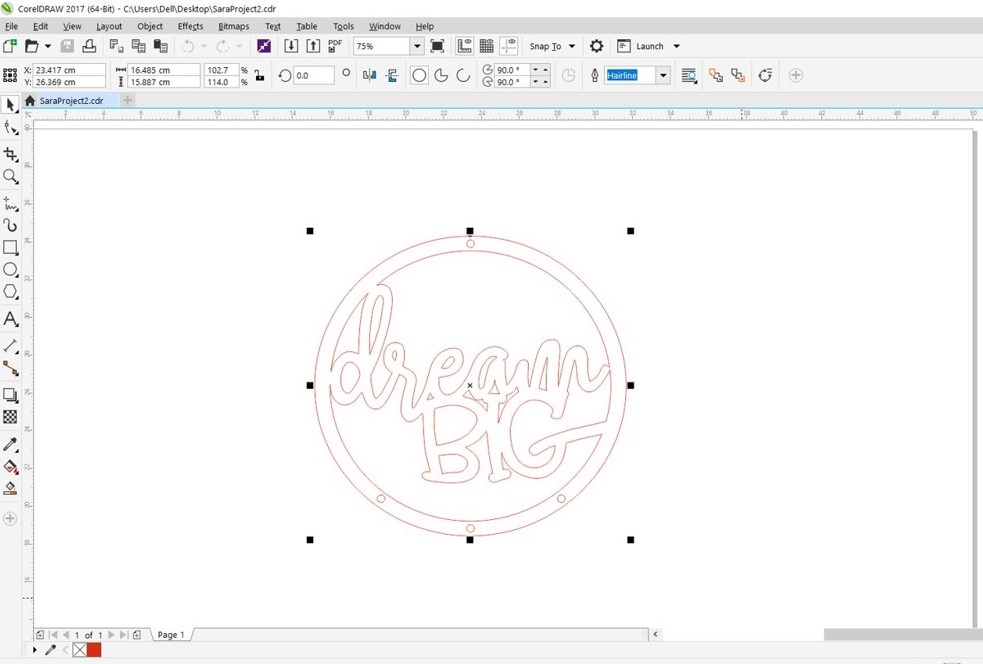
I did another design to learn more using the software and the laser cutting machine.
Here is the design
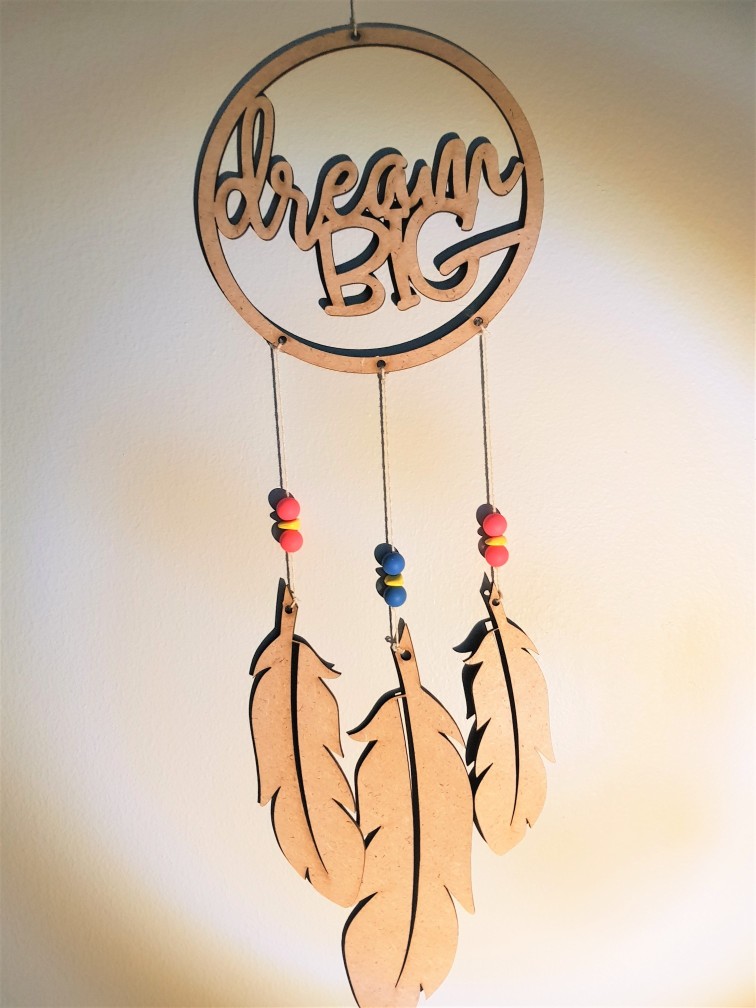
I used same material and settings here
And this is the product

Then I downloaded a feather photo and I used the Quick Trace tool and I cut it with the laser machine.
Here is the final result
Files list:
| Square design | DXF File | Fusion360 File |
| Arc design | DXF File | Fusion360 File |
Close Project