2. Project management
Through all of my years as an student and an engineer I have never touched the subject of web design. This is my first experience in developing a website. engineer Hashim is helping us in every step so we are thankful to him.
Starting with GIT.
In the lectures, Eng. Hashim introduced us to GIT and GitLab.
First we downloaded Git
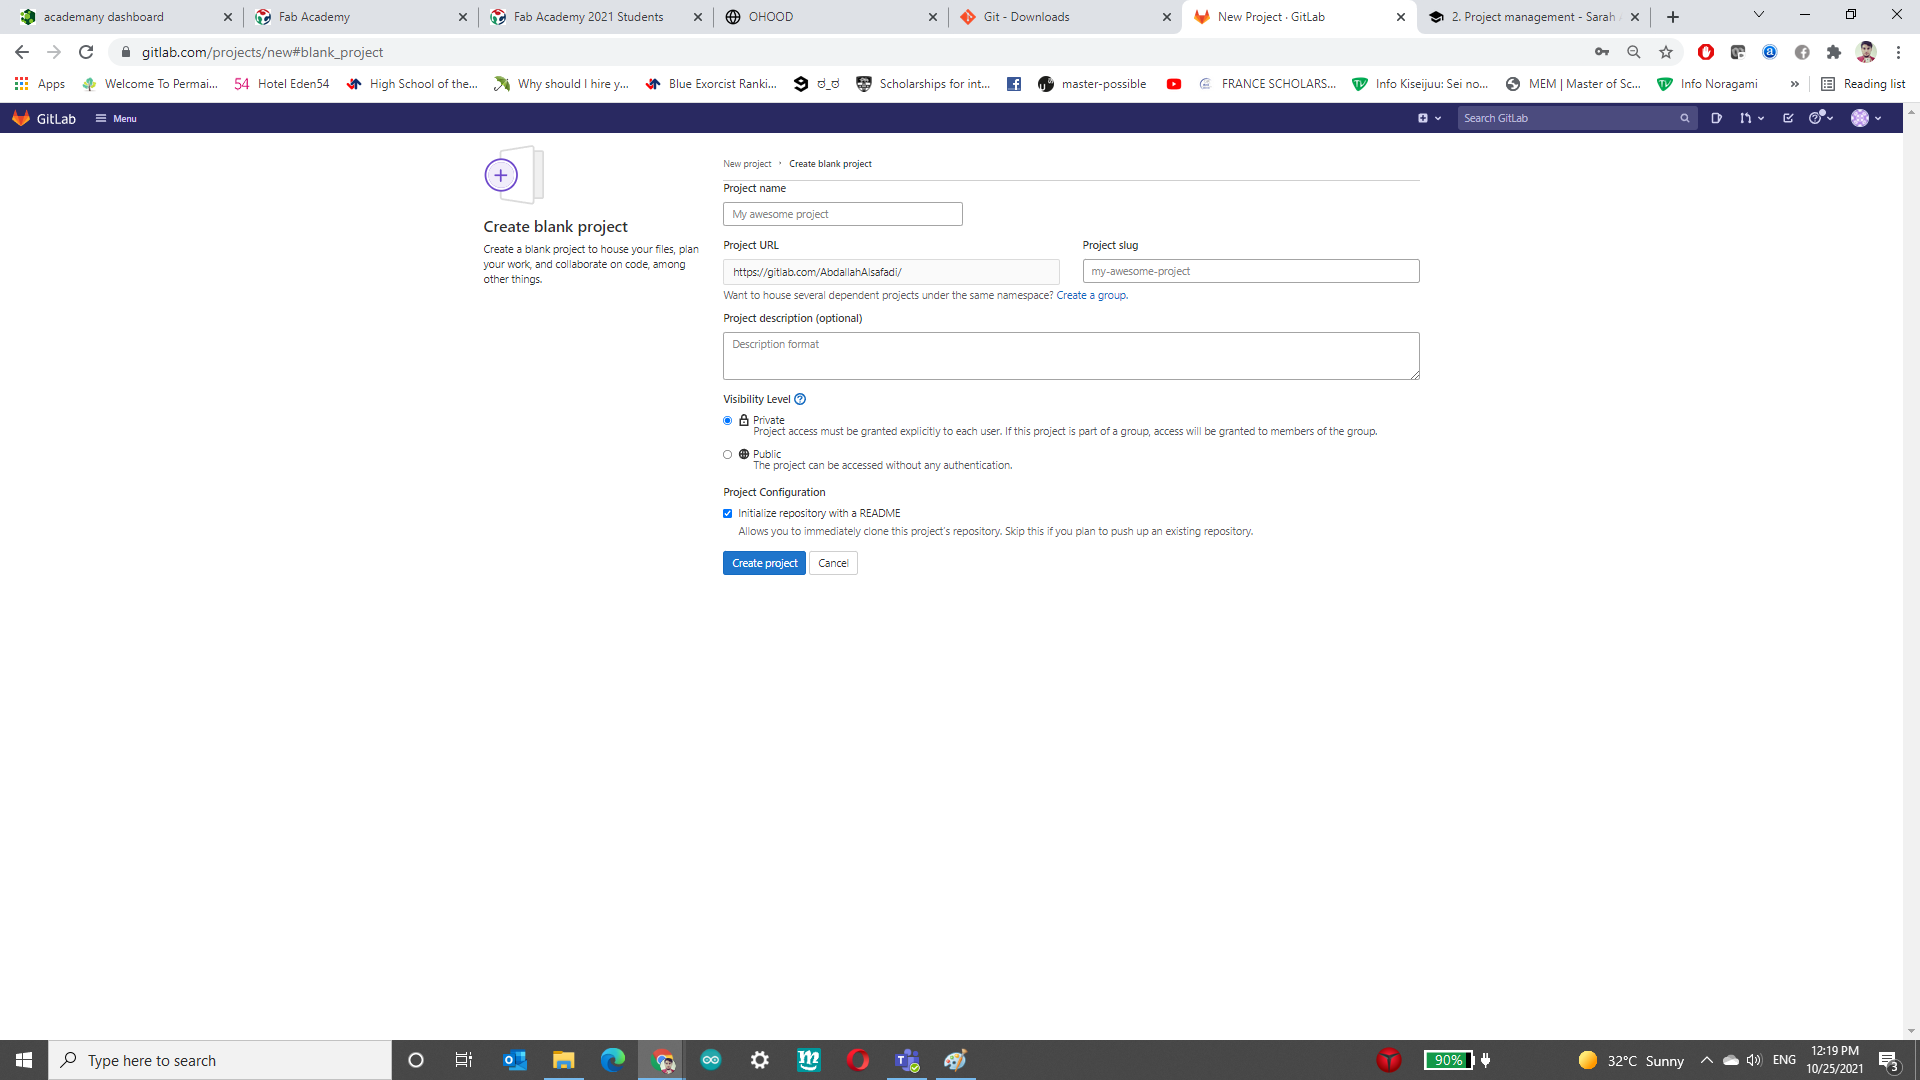
then signed to GitLab and created a new project.
Configuring Git
We started by launching the git bash terminal and to configure git by the following steps:
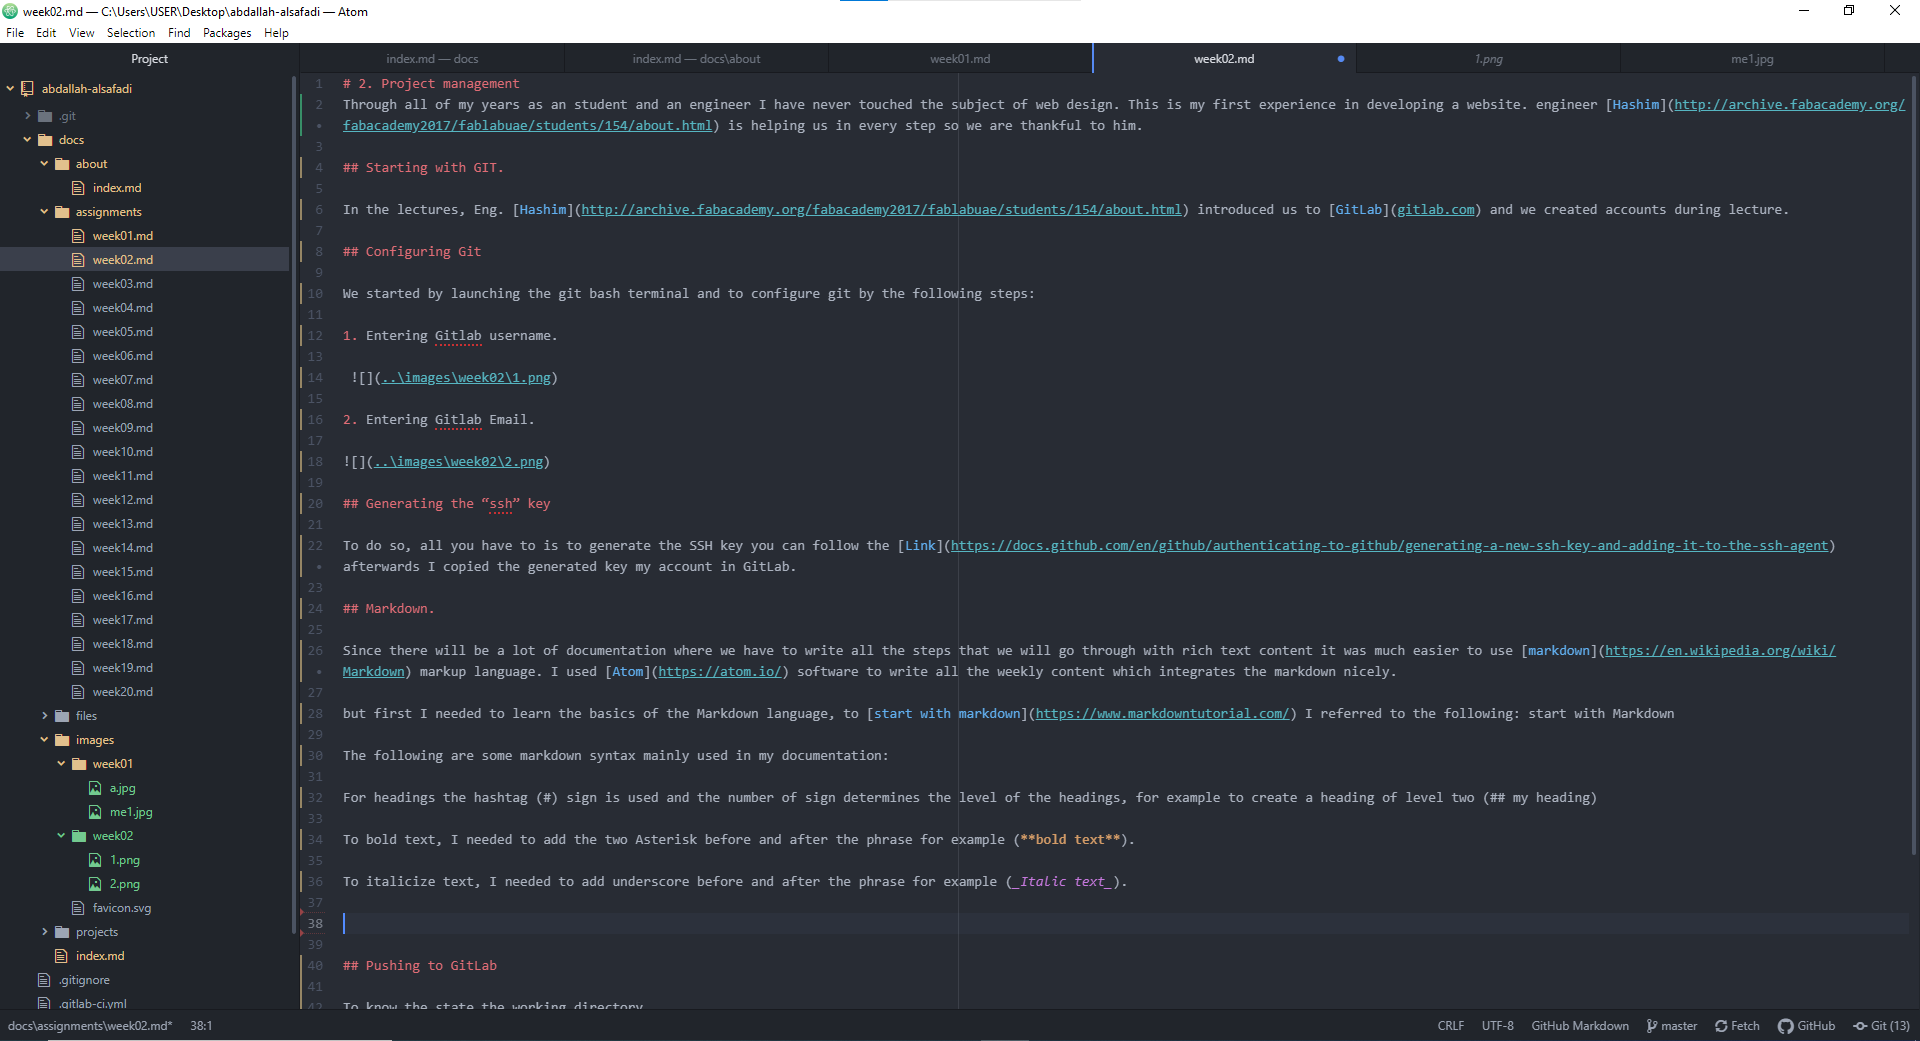
- Entering Gitlab username.

- Entering Gitlab Email.

Generating the “ssh” key and linking to GitLab
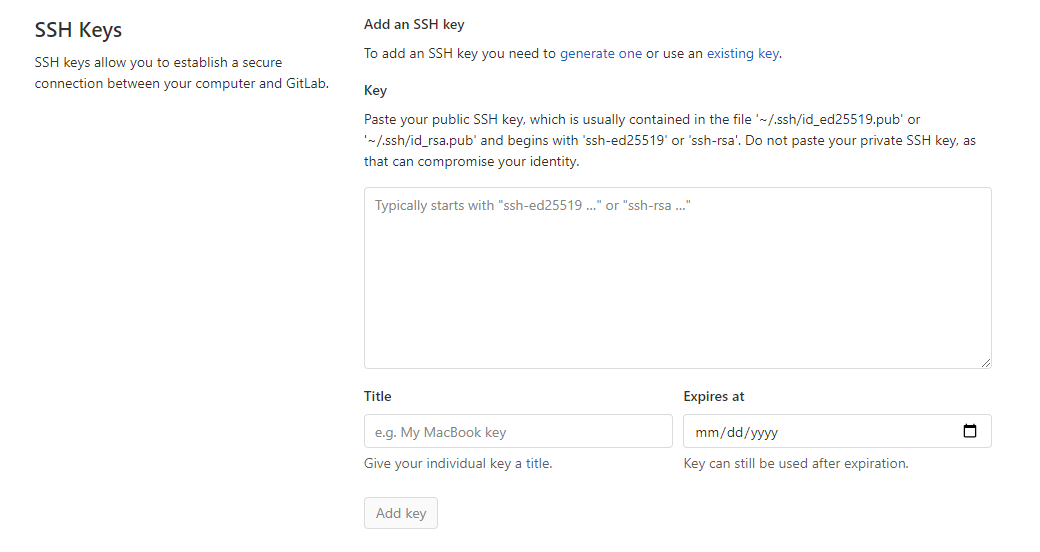
To do so, all you have to is to generate the SSH key you can follow the Link afterwards I copied the generated key my account in GitLab.
First was to type the associated command ssh-keygen -t rsa -b 4096 -C “eng.safadi92@hotmail.com” in the Gitbash command prompt and follow thoroughly to save it on the selected folder. Open the file using wordpad or any other associated tool and copy the SSH key to gitlab setting page>> ssh keys >> add key.

then now any project or file on Gitlab can be “cloned” to the PC using the following steps: 1. Access the folder where the cloned file would be saved.
Go to the project page >> click on clone >> and copy the text under clone with SSH. Open the gitbash command prompt >> write the command git clone and paste the text. Check the cloned file in the directory created
Markdown.
Since there will be a lot of documentation where we have to write all the steps that we will go through with rich text content it was much easier to use markdown markup language. I used Atom software to write all the weekly content which integrates the markdown nicely.
but first I needed to learn the basics of the Markdown language, to start with markdown I referred to the following: start with Markdown
The following are some markdown syntax mainly used in my documentation:
For headings the hashtag (#) sign is used and the number of sign determines the level of the headings, for example to create a heading of level two (## my heading)
To bold text, I needed to add the two Asterisk before and after the phrase for example (bold text).
To italicize text, I needed to add underscore before and after the phrase for example (Italic text).
Mkdocs
For the website language there were many available options to choose from listed on the FabAcademy website. but I chose Mkdocs since it uses the markdown language which is relatively easy to use.
To use mkdocs, you should already have installed pyhton, as well as pip, the package manager for pyhton. To check, you can run the following:
$ python –version $ pip –version
If you don’t have any, you can install online from Python.org. As for pip, if you’re using a recent version of Python, the Python package manager, pip, is most likely installed by default. However, you may need to upgrade pip to the lasted version:
pip install –upgrade pip
If you need to install pip for the first time, use the following link.
Next you will need to install mkdocs using the following command in your terminal:
pip install mkdocs
Then, install the material for mkdocs using
pip install mkdocs-material
Pushing to GitLab
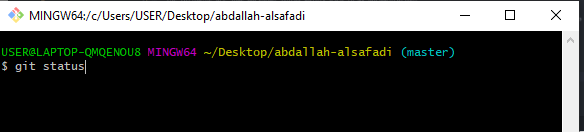
To know the state the working directory
To add the files

To commit the changes

To push.

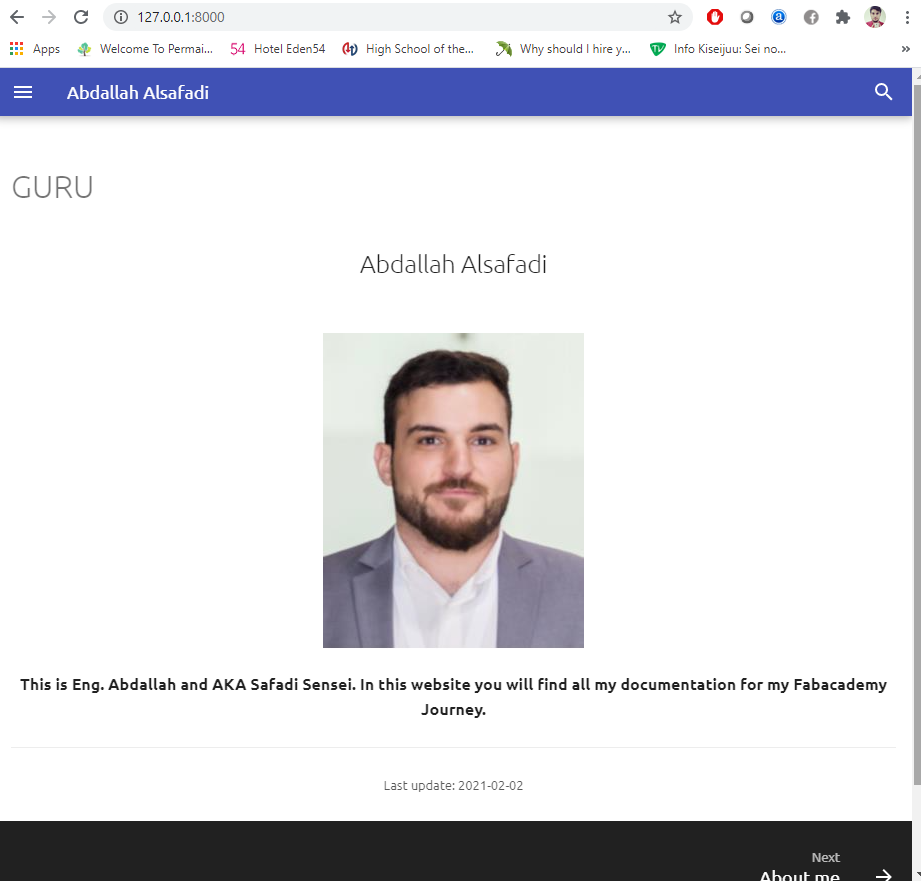
Final Website.
I chose the default website template to work on since its simple and more comfortable to work with. The website has four main elements on the top bar. 1- Home. 2- About. 3- Assignment. 4- Projects.
home page shows a short introduction to my website. the About Pages talks about me a bit more detailed. The assignment page shows all the assignments I have done through all weeks. and lastly the projects is where I will add my final project.