Link to Computer Controlled Machining Page
I started by researching flatpacked furniture, I really wanted to make a stool that when you lifted it up the legs will come down and then the weight of the person would push the legs out to hold it up.
I then realised that this might be a little ambitious as I only had evenings to do this project, I looked at other peoples designs and looked at what I could do that I would be happy with.
all of these stools I looked at helped me descide what stool deisng I would go for...
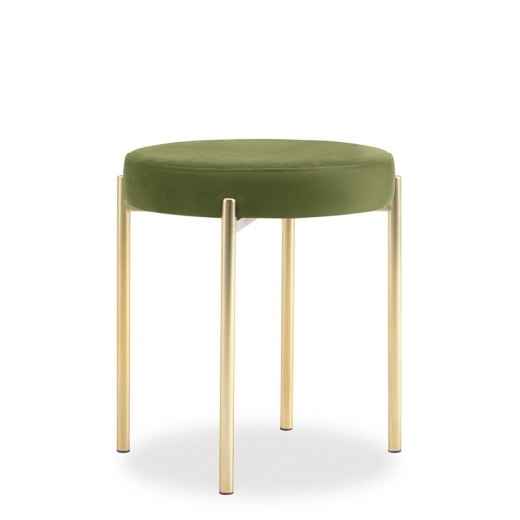
Cultfurniture - Matteo Metal Low Stool, Velvet Upholstered, Moss Green 46cm - Website link
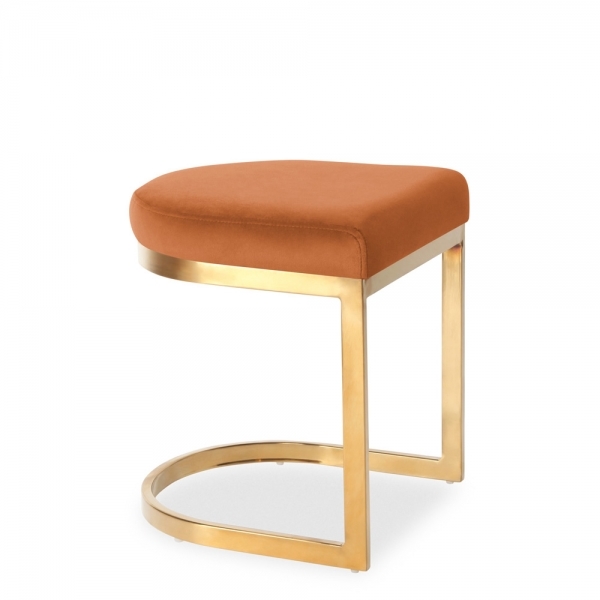
Cultfurniture - Stockholm Low Stool, Velvet Upholstered, Moss Green - Brass Legs - Website link
I know these are tables but I really like how they sit as stools as well.
I then started by taking cardboard and plahing around with this to get my head around the stool would slot togehter.
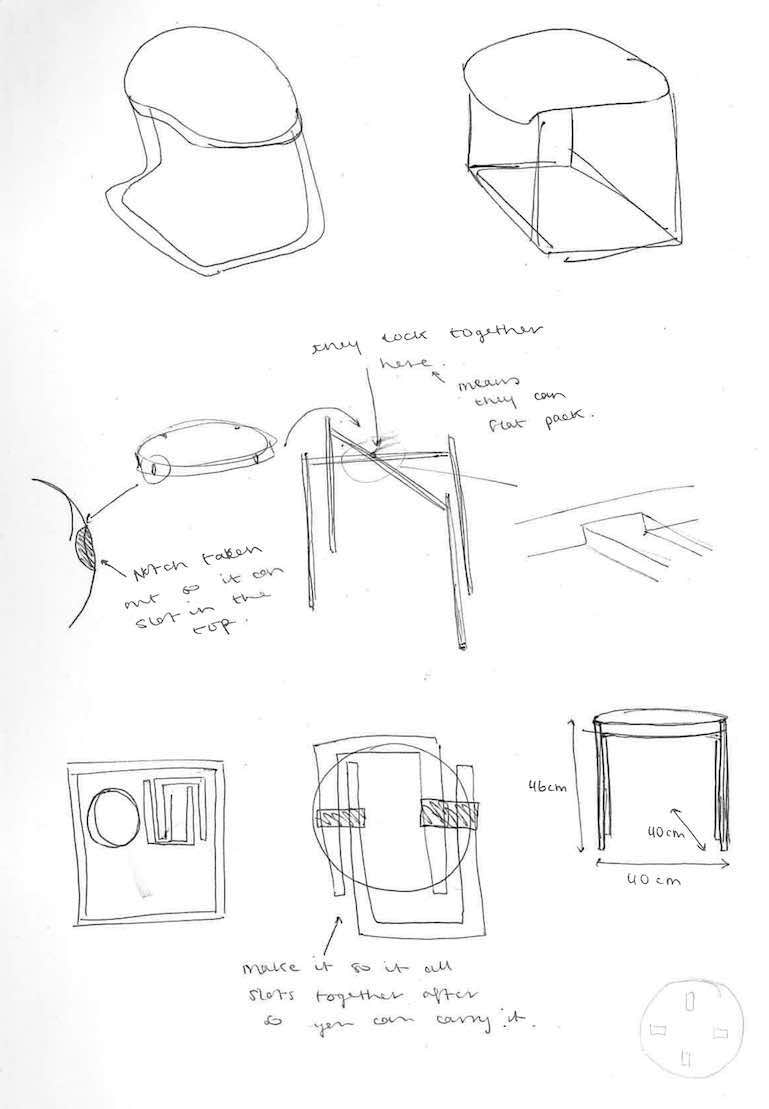
I thought by drawing how the stool would slot together this would help me a lot to get my head around this area. It really did help me to understand the slotting.

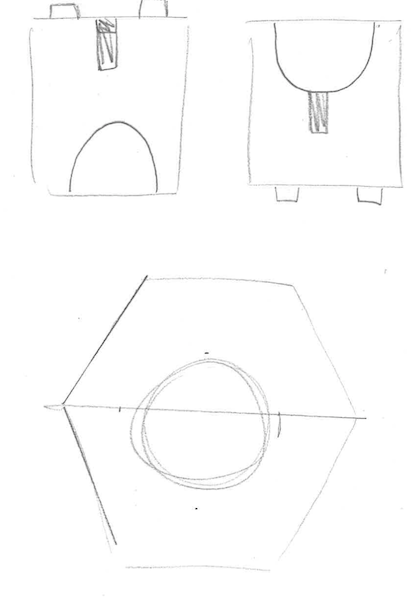
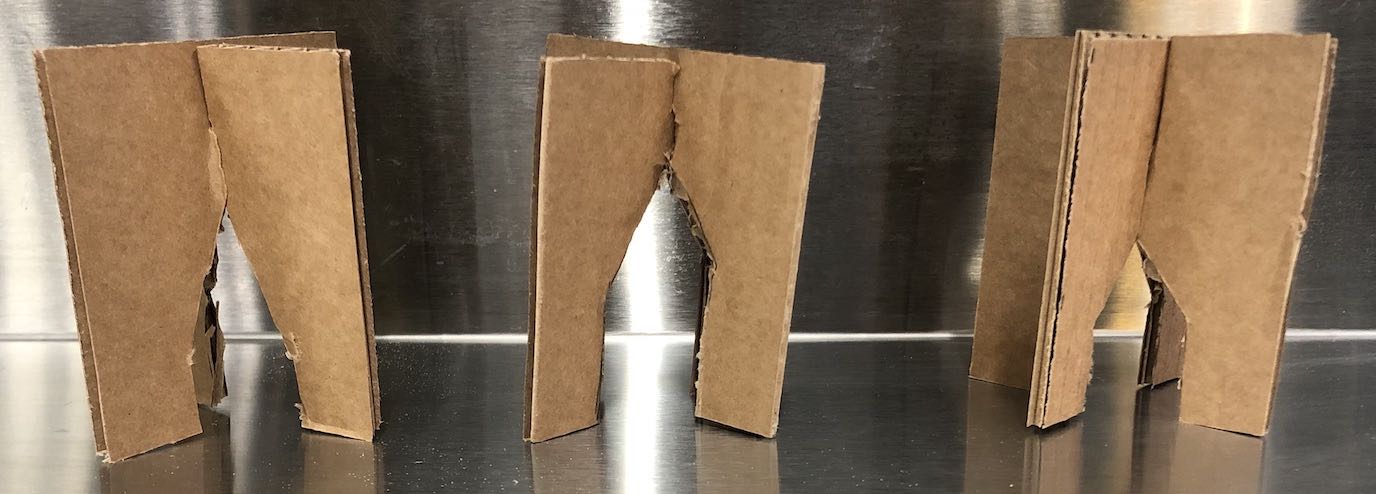
I then didn't know what shap I wanted in the end and thought that by making them out of card would help me to understand the outcome better. This really did help me in teh long run and here are the ones I ended up making and what I think about them.
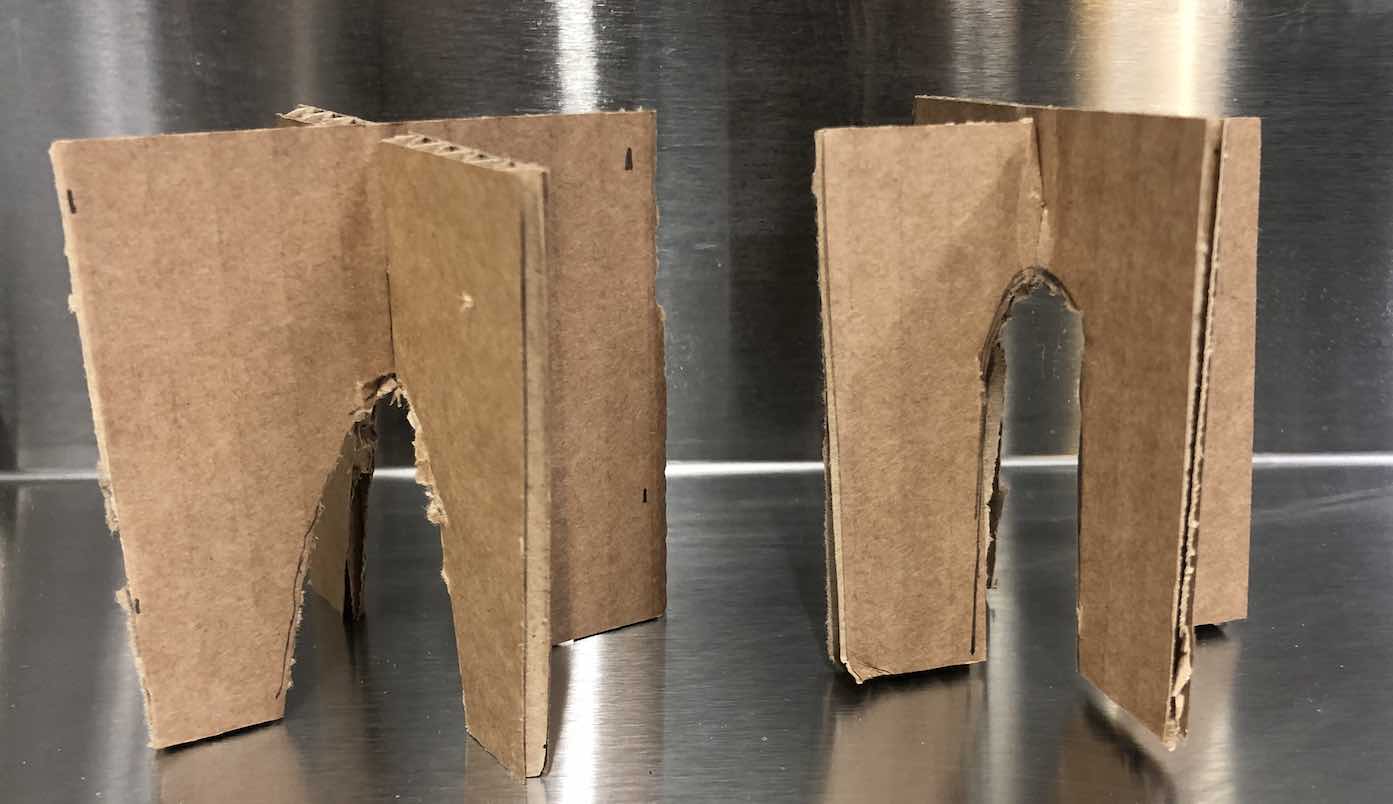
Thought this was a little harsh and would be very heavy in the long run.
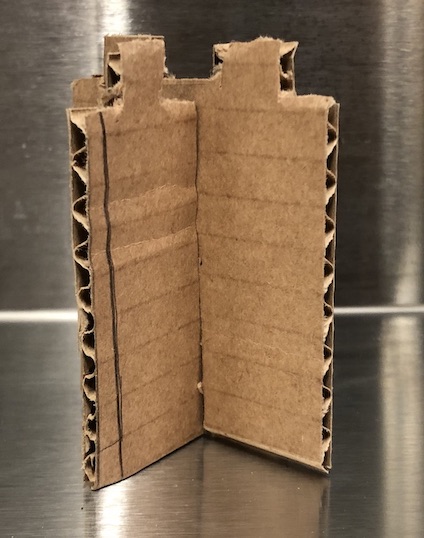
This looked very too weak and thought it was still a little wibbly looking.
These ones just didn't work at all in my opinion they look a little heavy and then light as well not my cuppa tea.
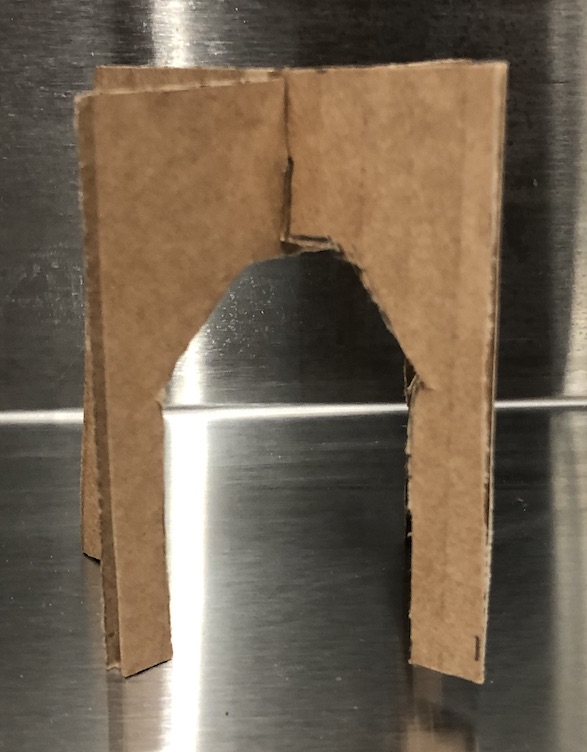
Again these didn't look good and I wasn't a fan of the roundness of the arc.
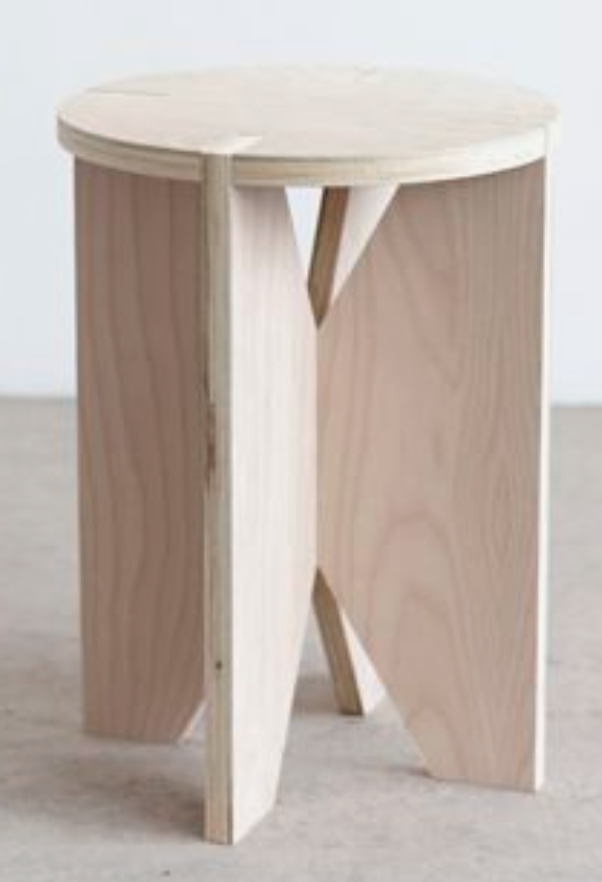
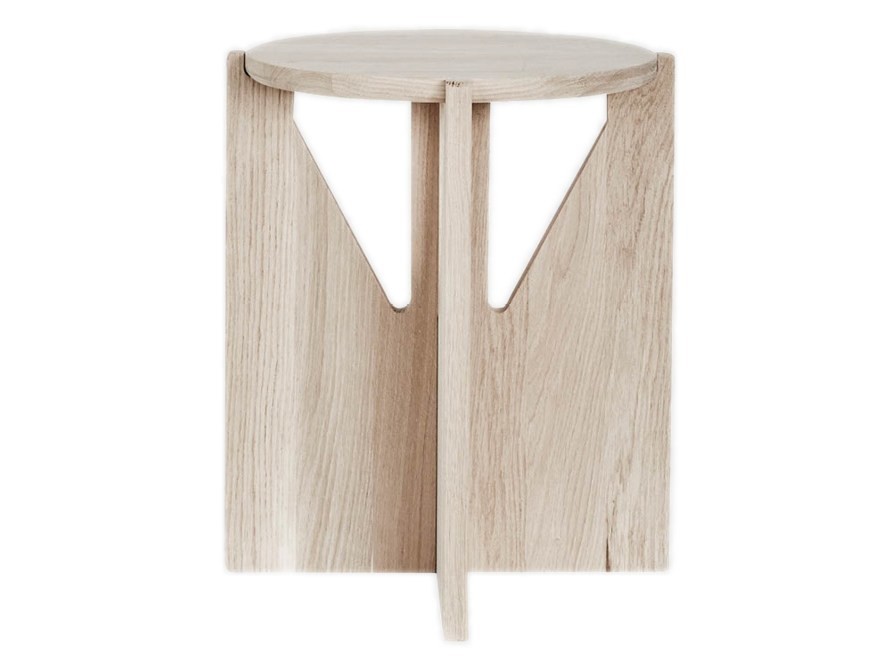
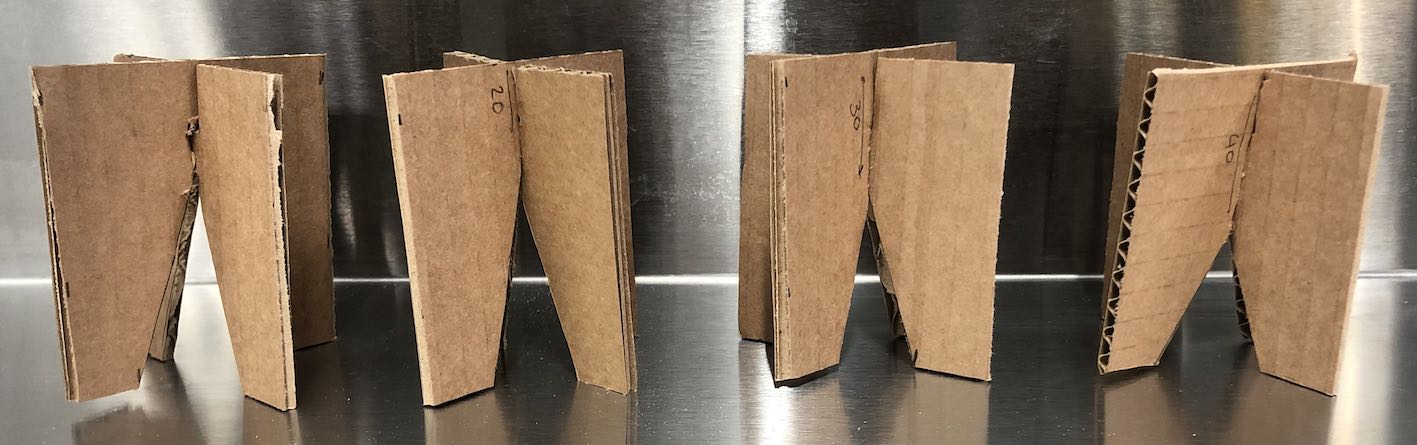
I then moved onto the triangles and the different heights worked well, the second one in from the left ius the one I think looks the best. It sits correctly and looks aesthetically pleasing compared to the other triangles.
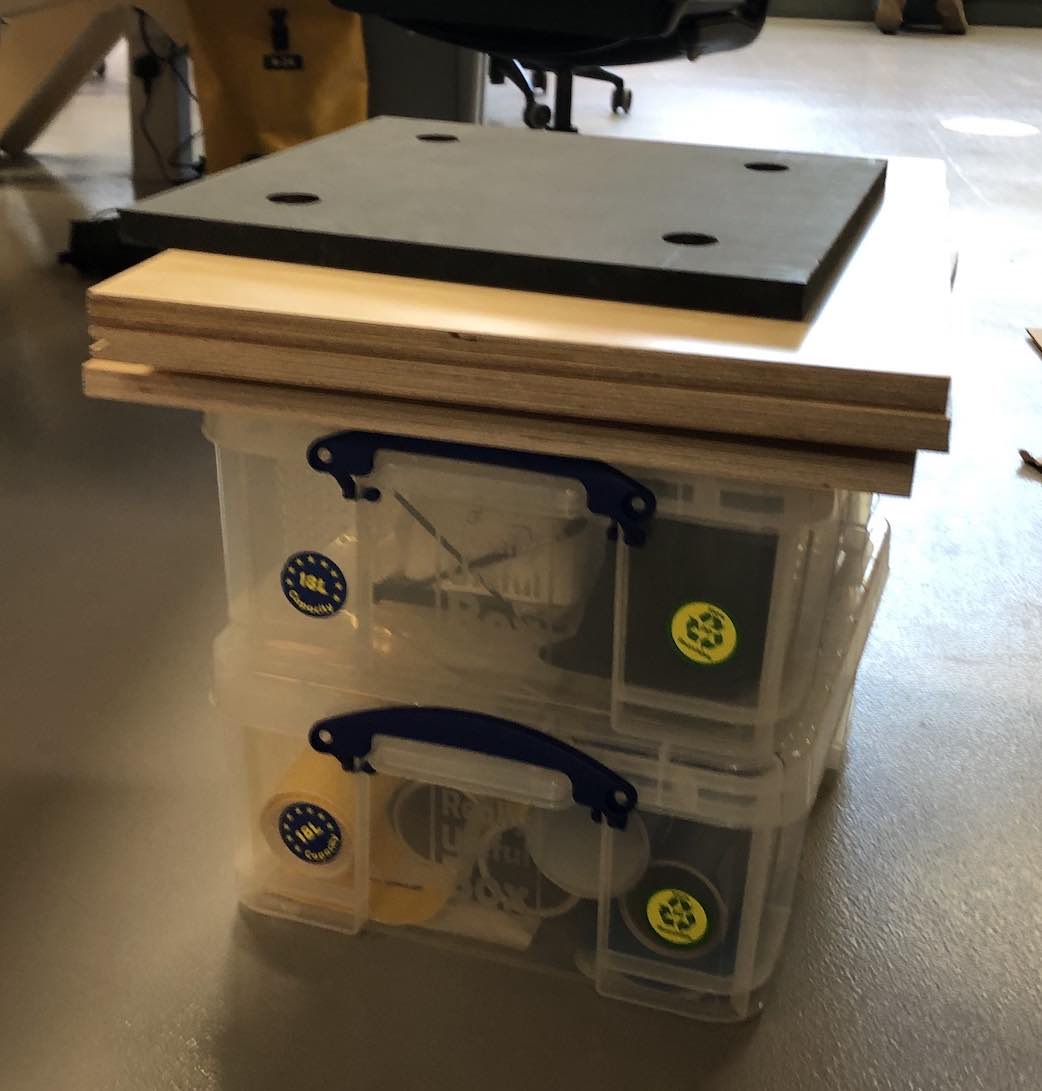
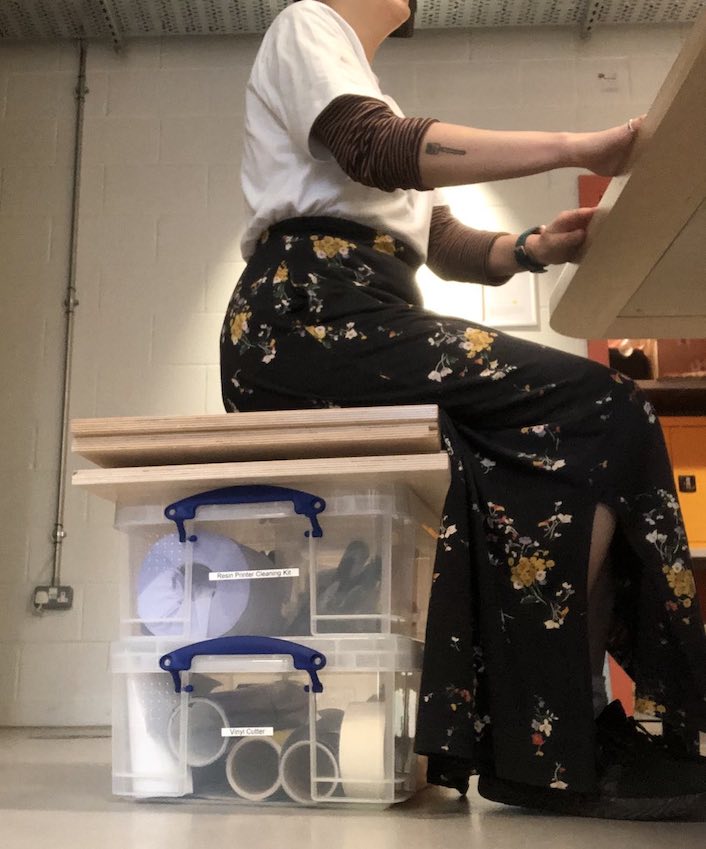
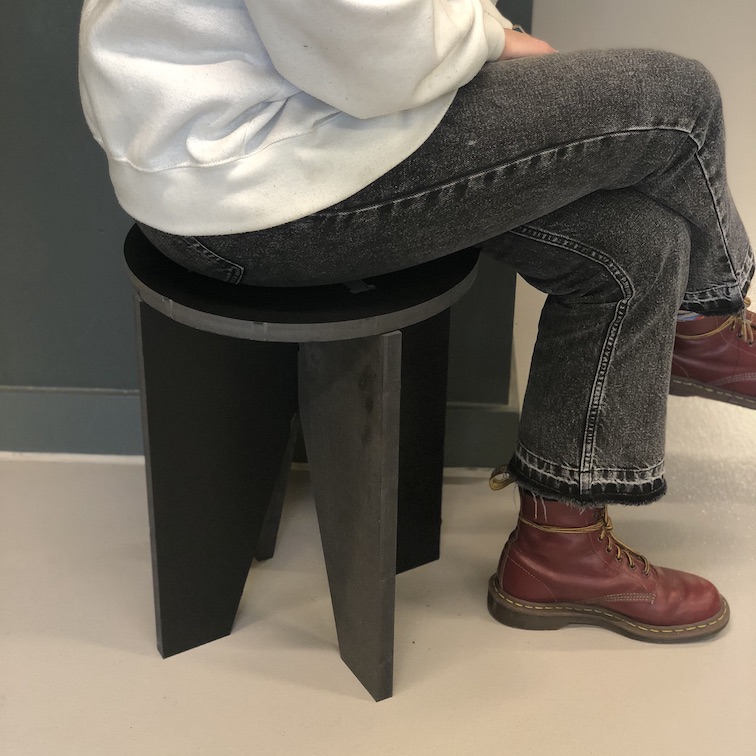
I placed pieces on wood onto some really useful boxes and tried out the different hieghts, asking Andrew nad Jonny to see which one was teh most comfortable one for them. Overall they prefered 480 mm and I likd 460 mm, Andrew then asked who would be sitting on it and if I could just add a pillow and as I am sitting on it and 460 mm is good for me I've gone for that!
Me sitting on my trial 'stool'.
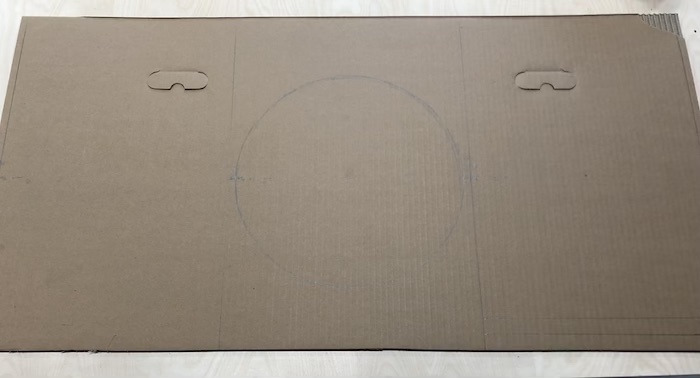
I also drew it on some coardboard so I could make sure that everything was correct dimentions to eachother! This helped me see what was the correct size for the seat to fit someone on it.
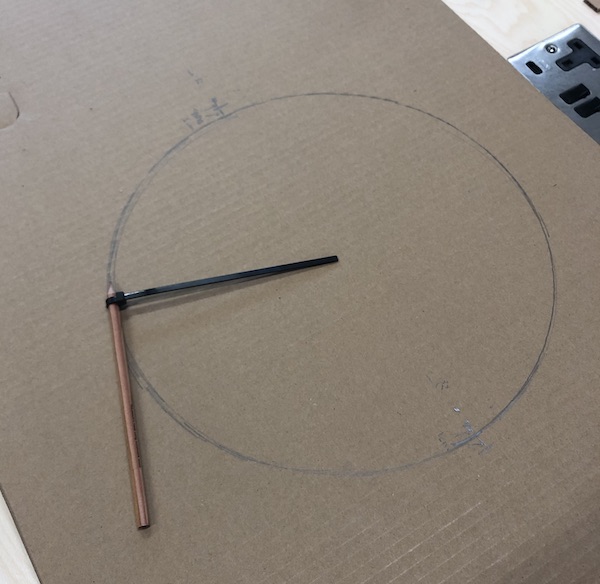
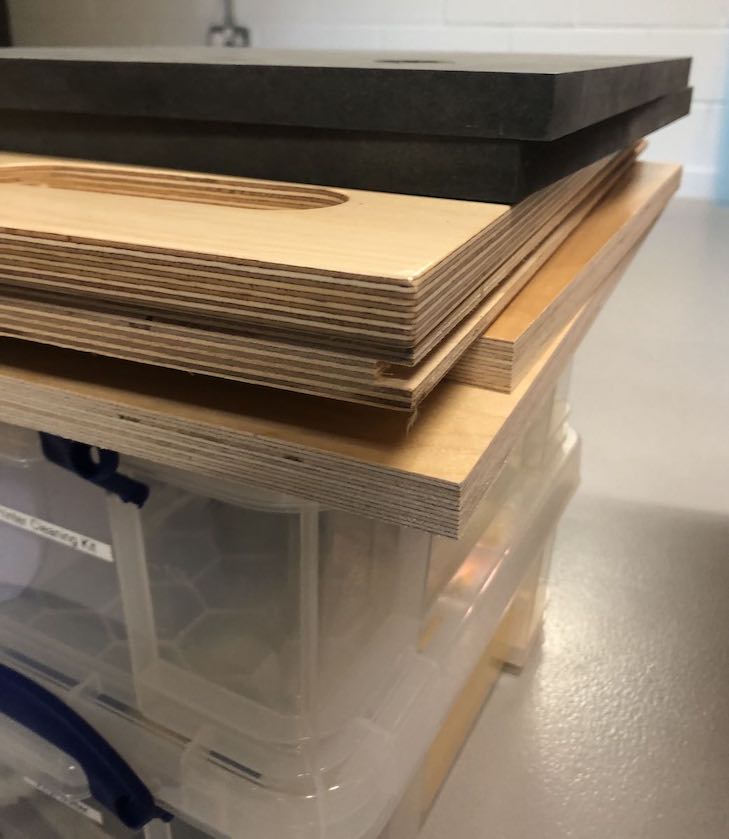
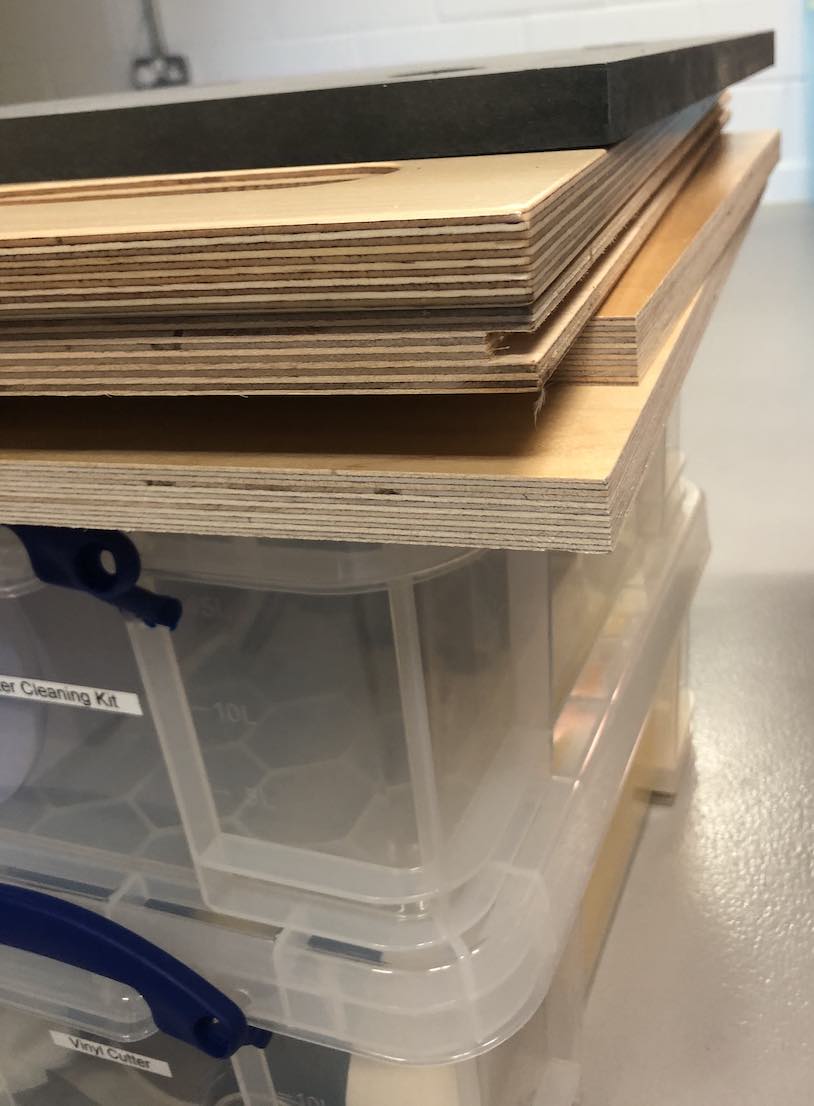
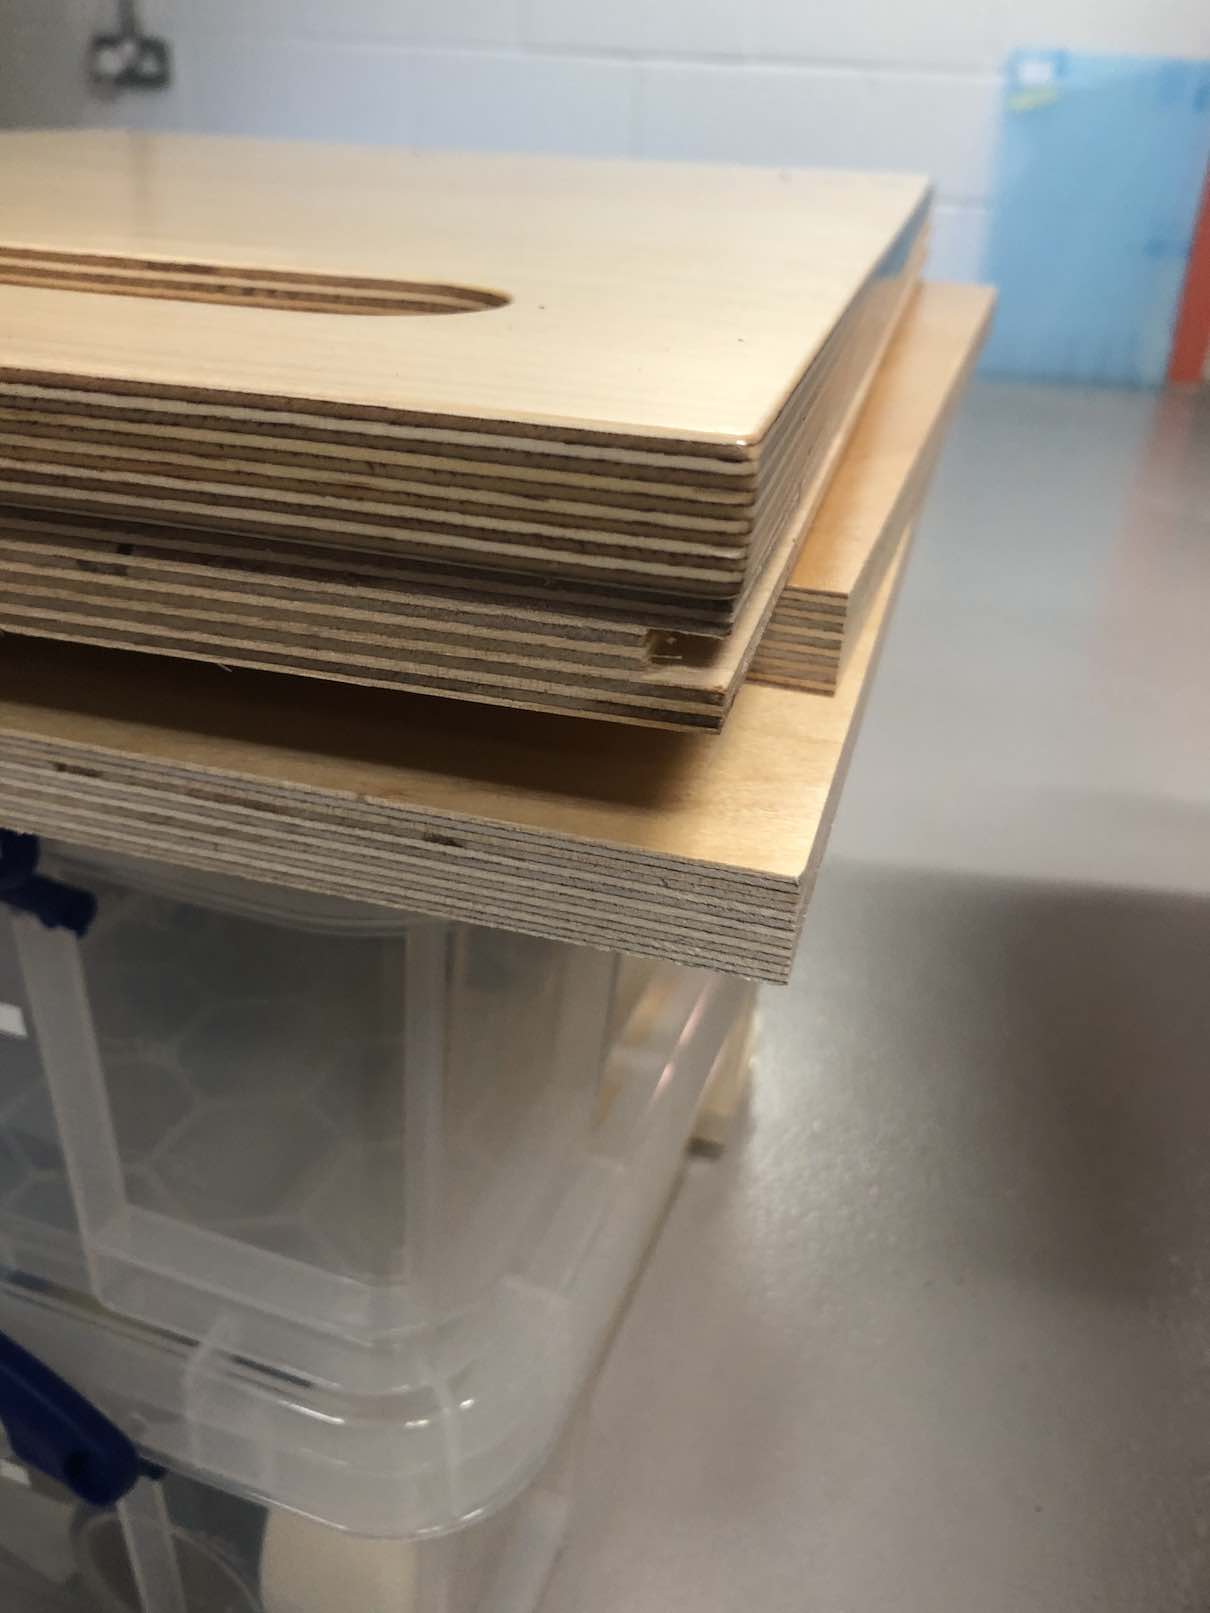
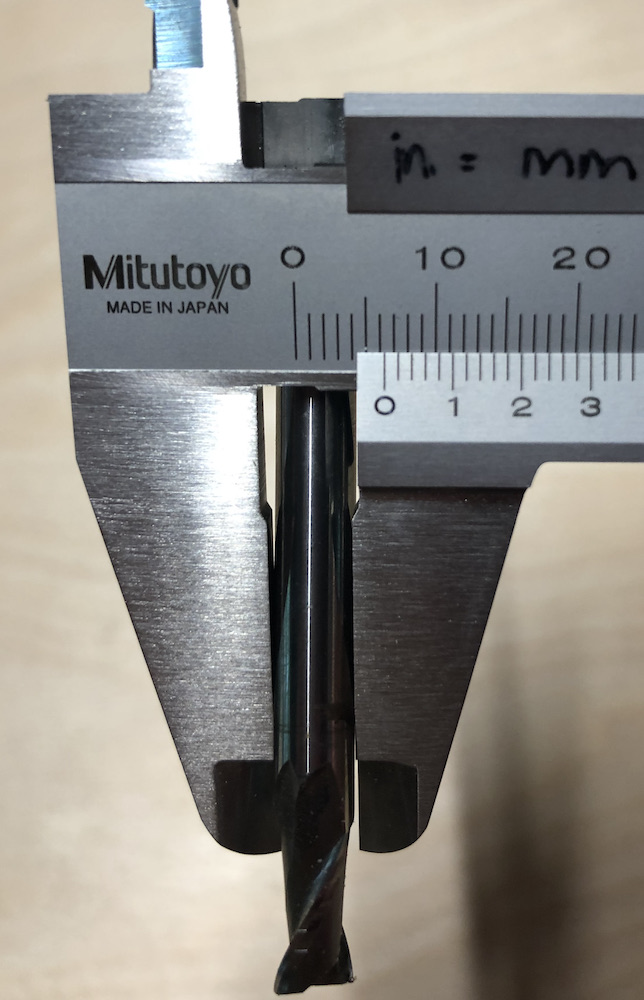
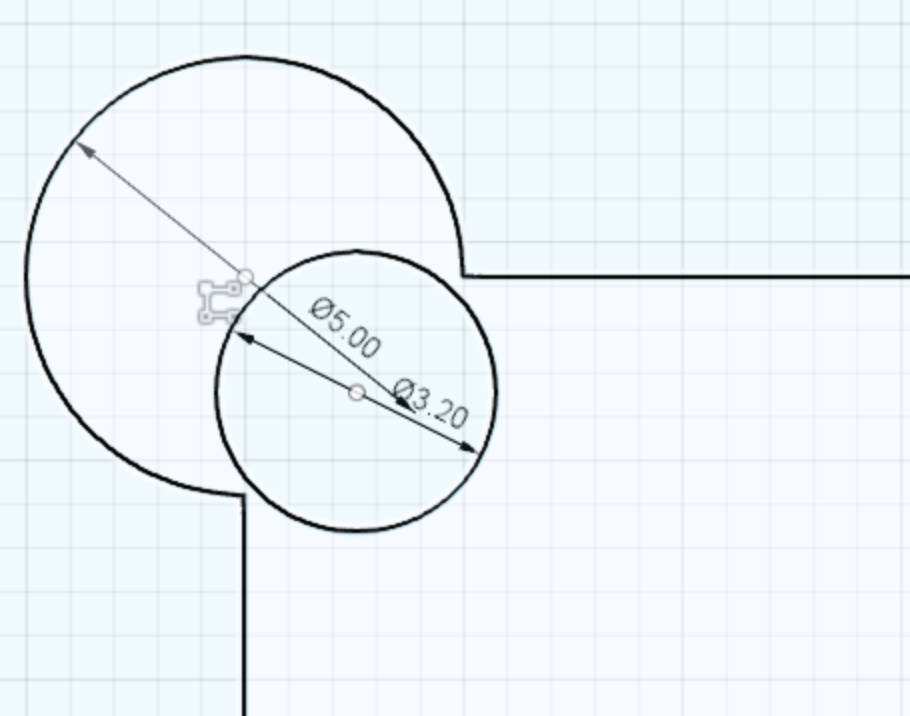
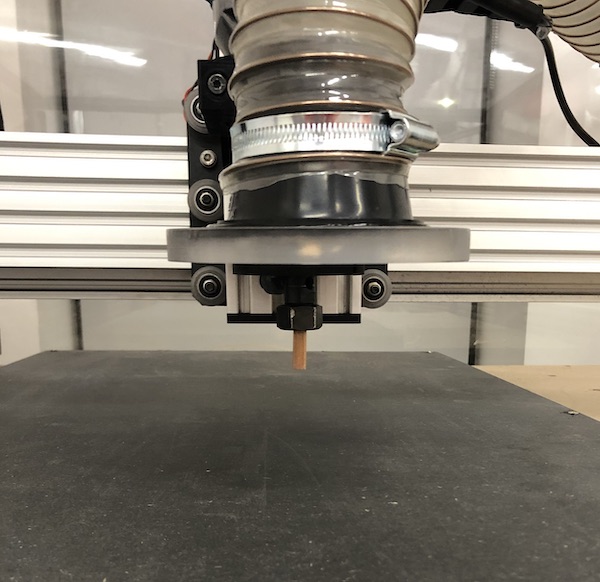
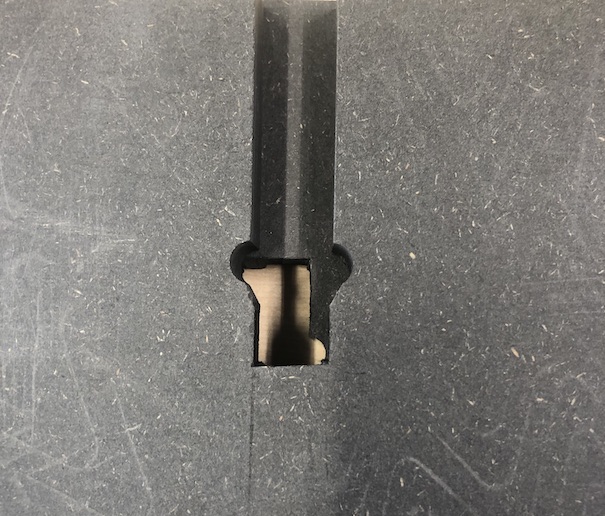
The milling bit I used was just over 6 mm so during the proces of making sure that the milling bit would fit I made a circle which was a diamator of 6.4 mm so that I knew the bit would fit in the gaps for the dog bones. The milling bit was also flat as I was not routing the edge of the stool during this week as our machine was very new and just getting something cut would be a huge step, but I was very excited!
and so it begins I started my making the sketches in fusion...
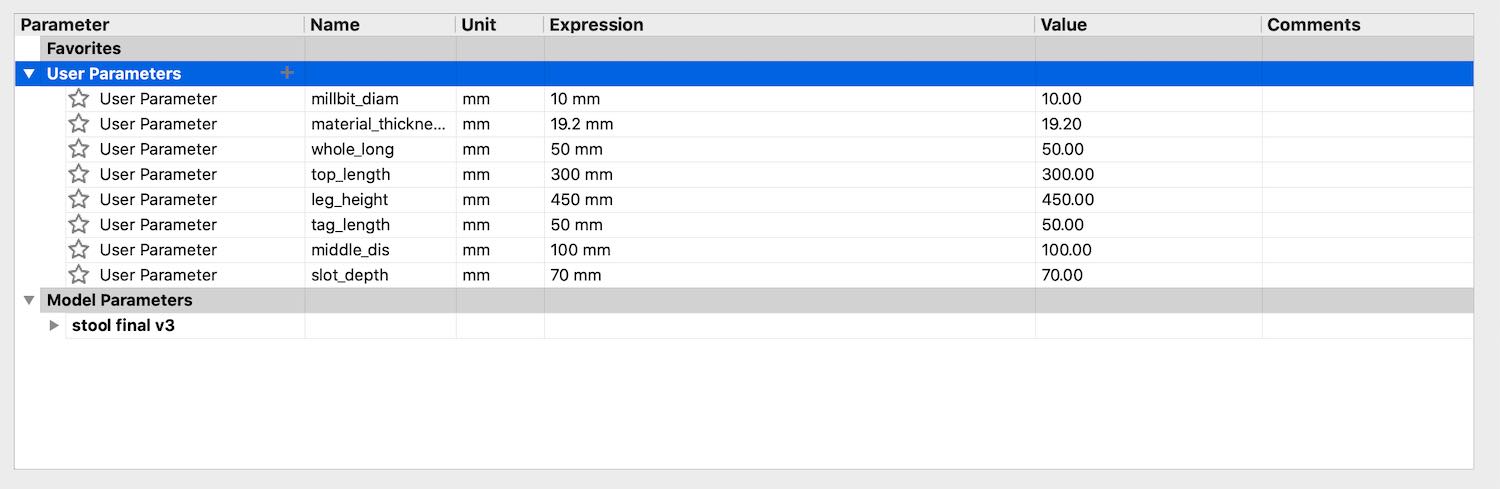
I made the parametrics so that I could change specific parts like the material thickness if I needed to in the future.
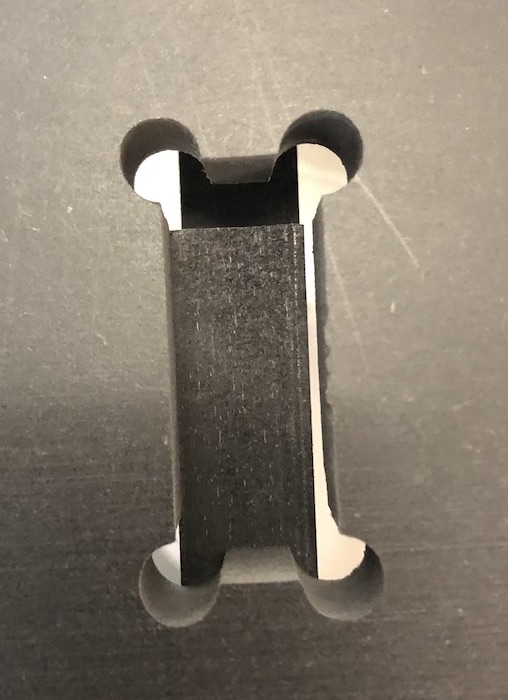
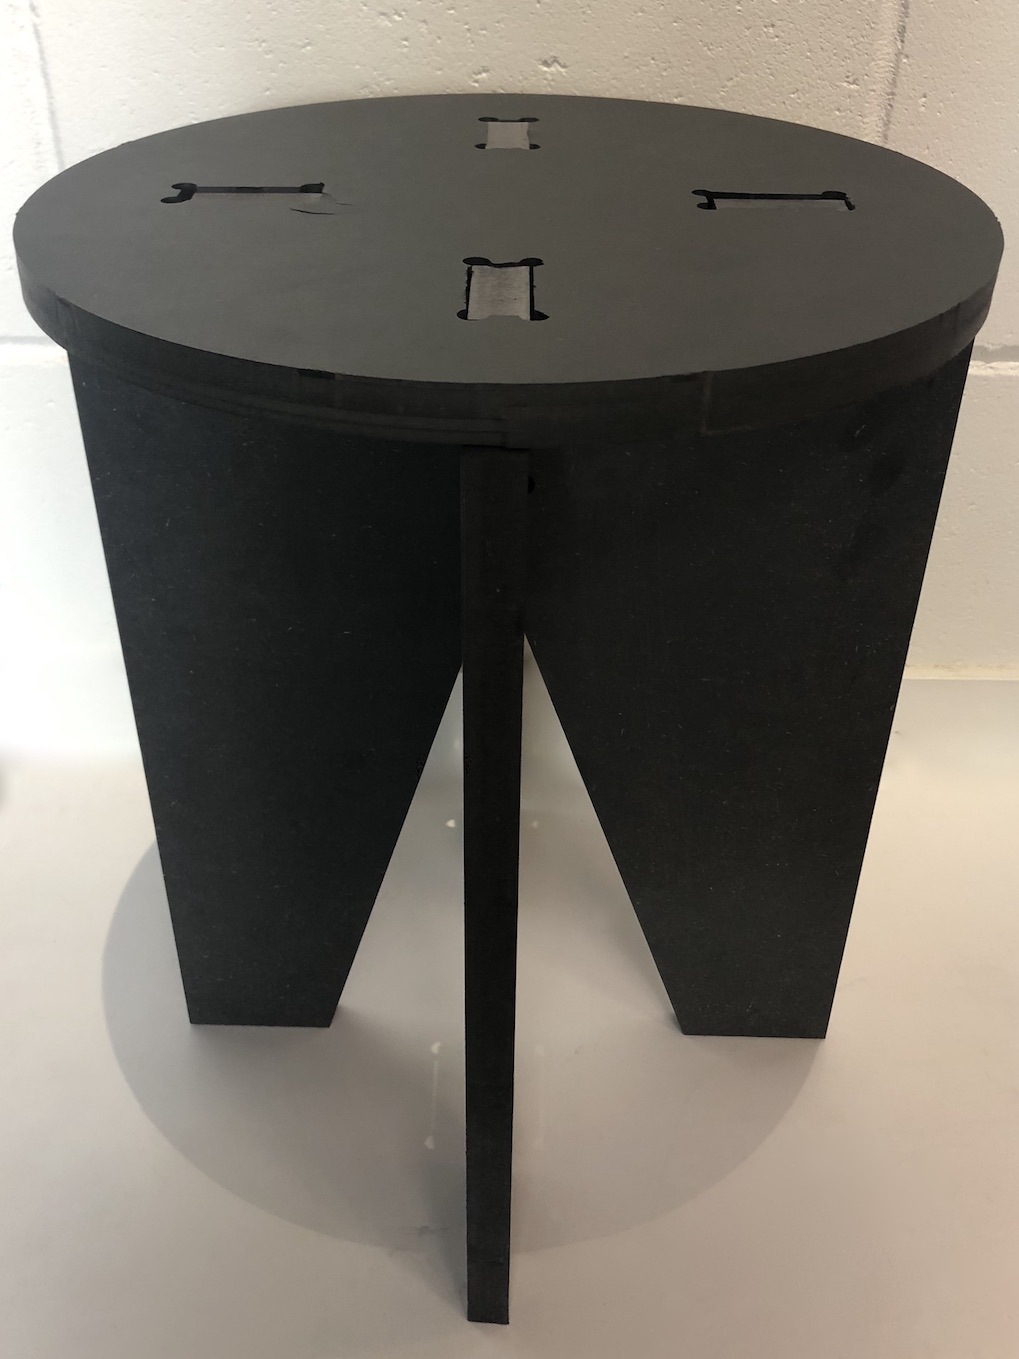
I started by drawing out the stool top, adding the slots for where the legs are going to hold together. Adding dog bones so that that they will slot together smoothly.
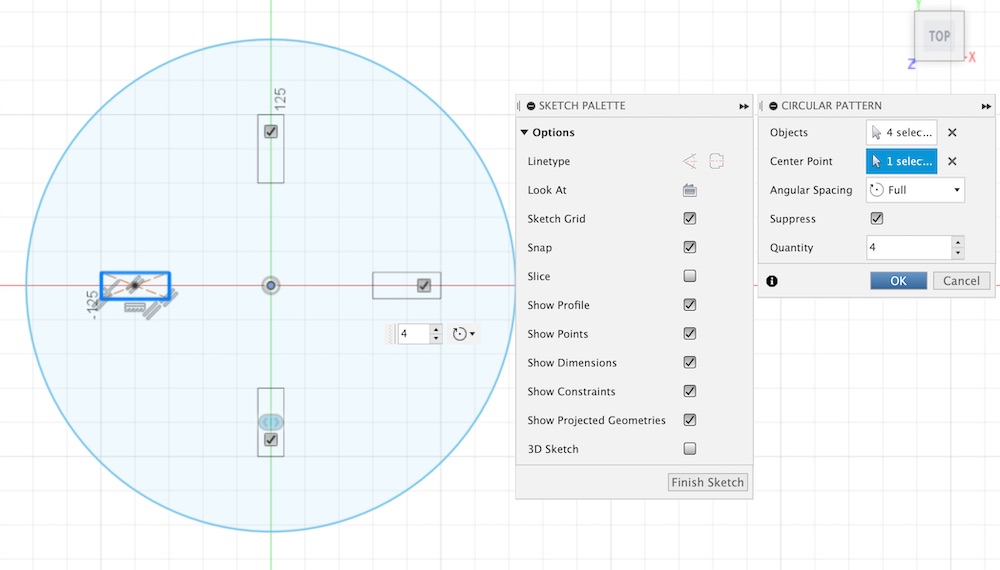
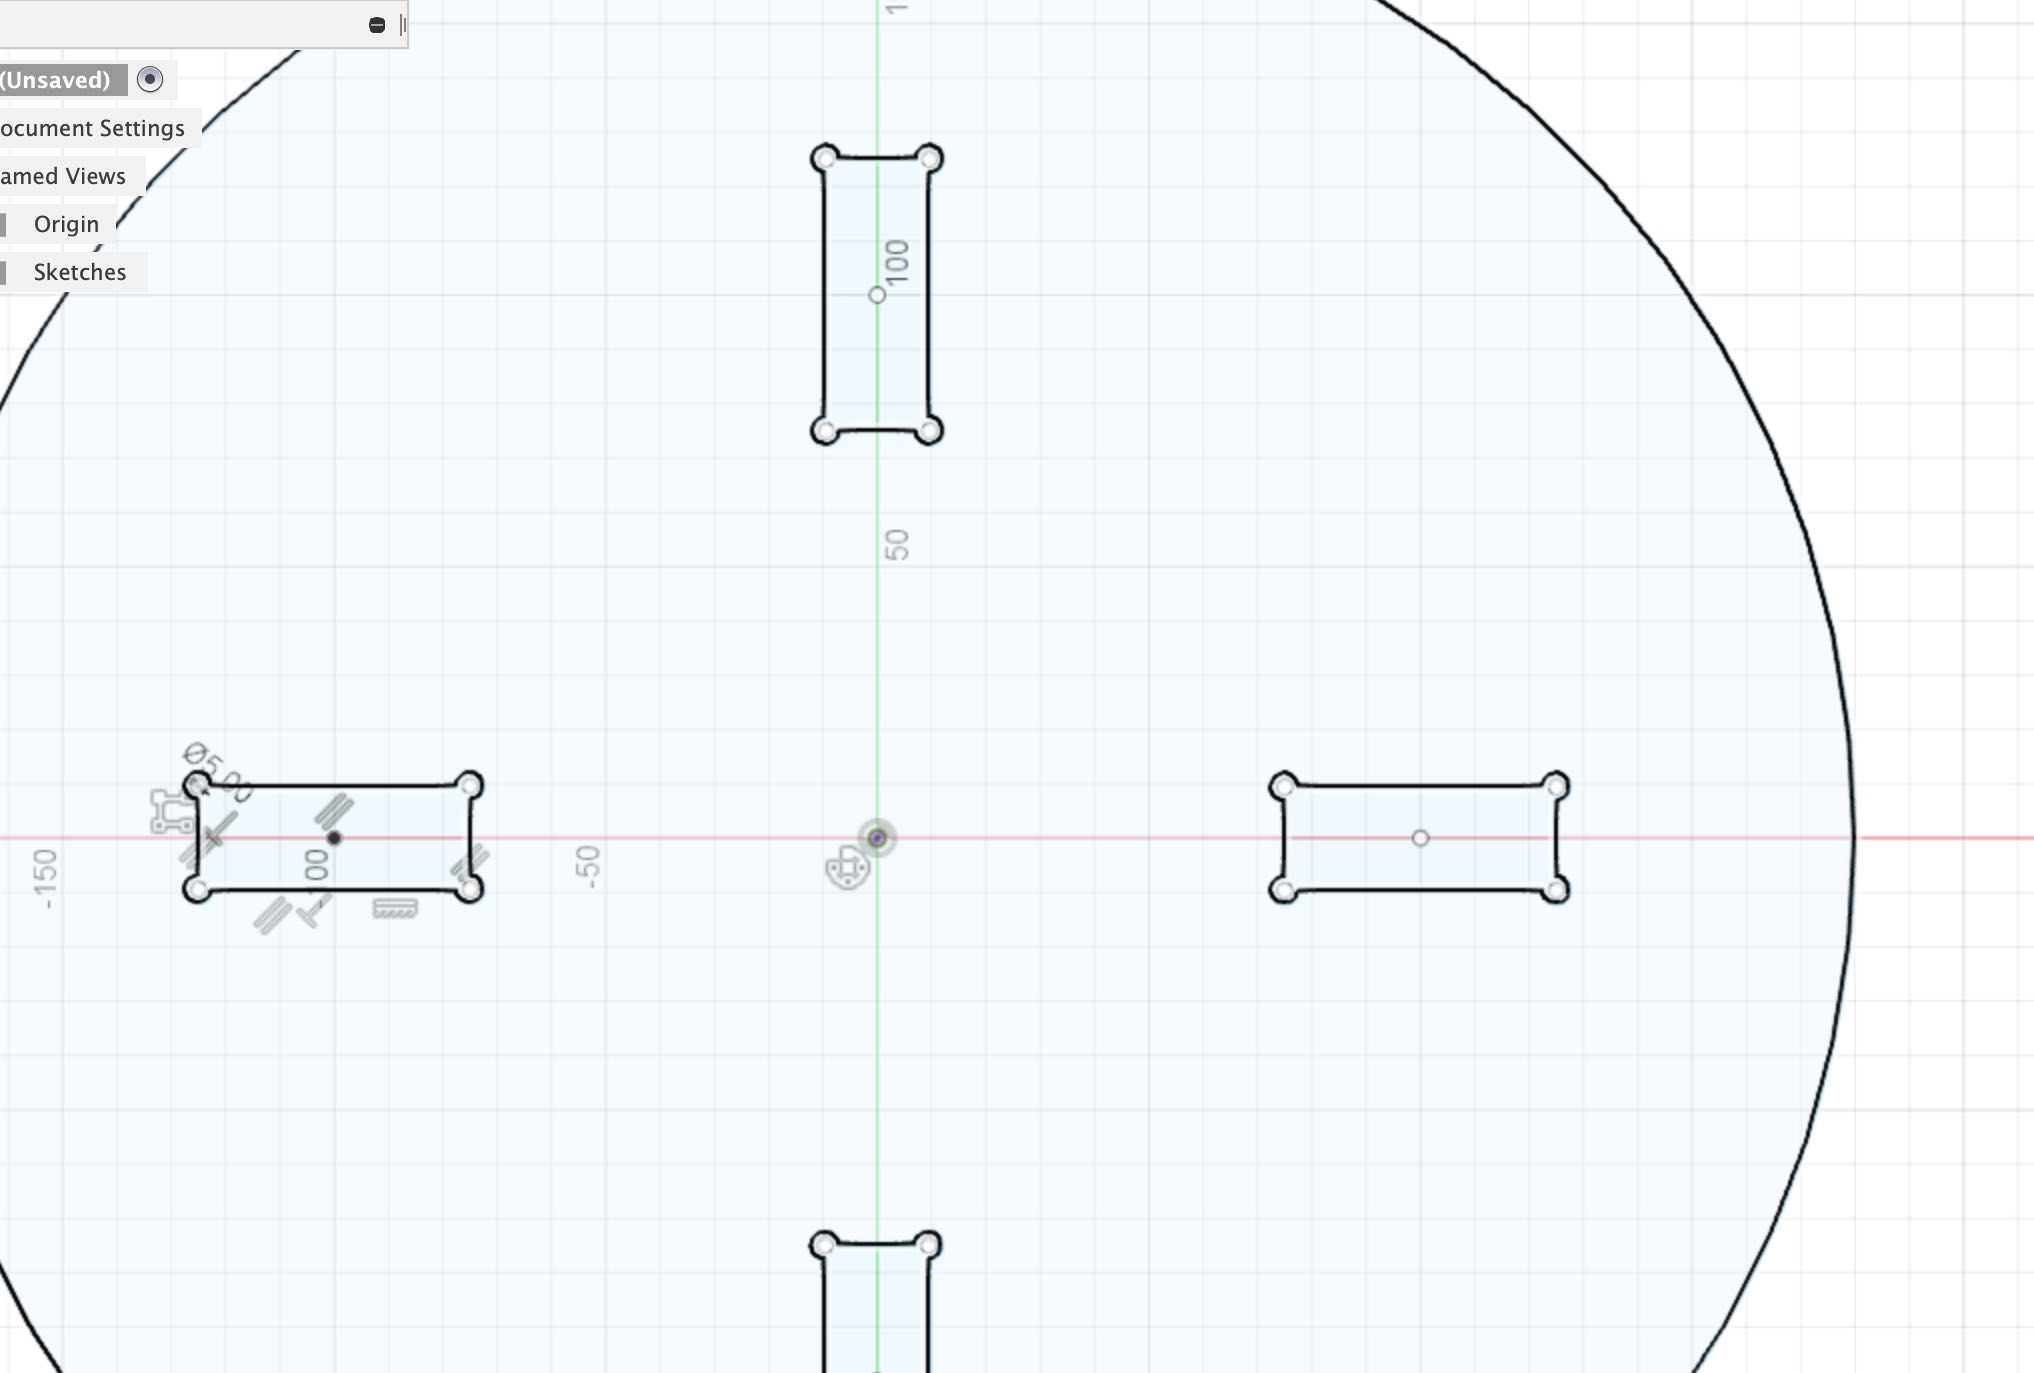
Adding the slot and the tabs so that the legs can come together and hold tightly with the stool top, making sure there are dog bones attached to the slot on the legs so that it slots together correctly.
I then wanted to double check that the milling bit would fit in the gap of the dog bone, and this worked.
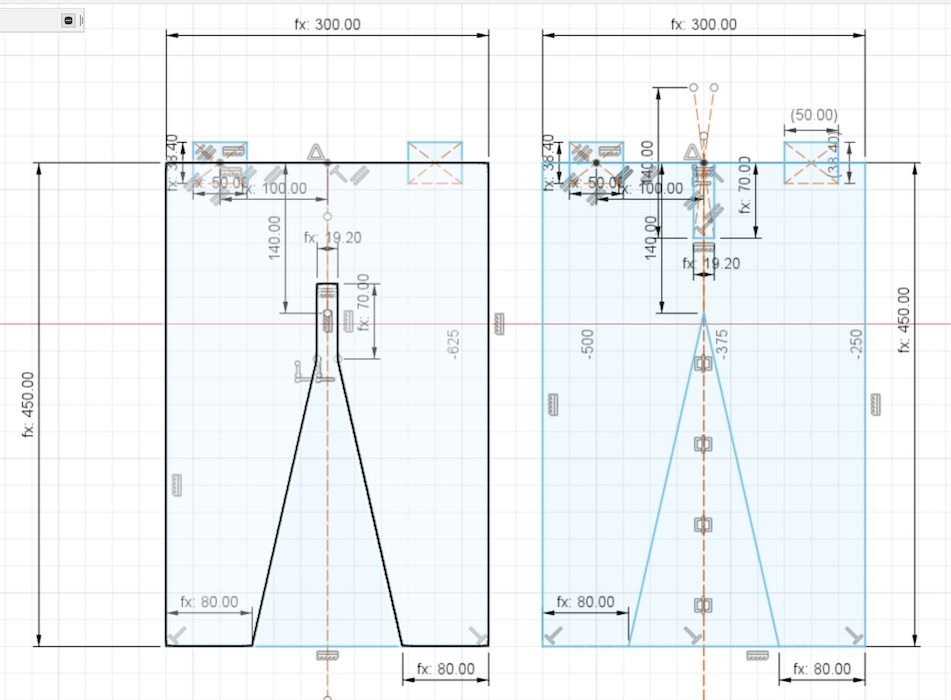
I then processed to set up the cutting paths for the legs and the top to be cut out. I did them all seperatly as we didn't have a big enough piece of wood.
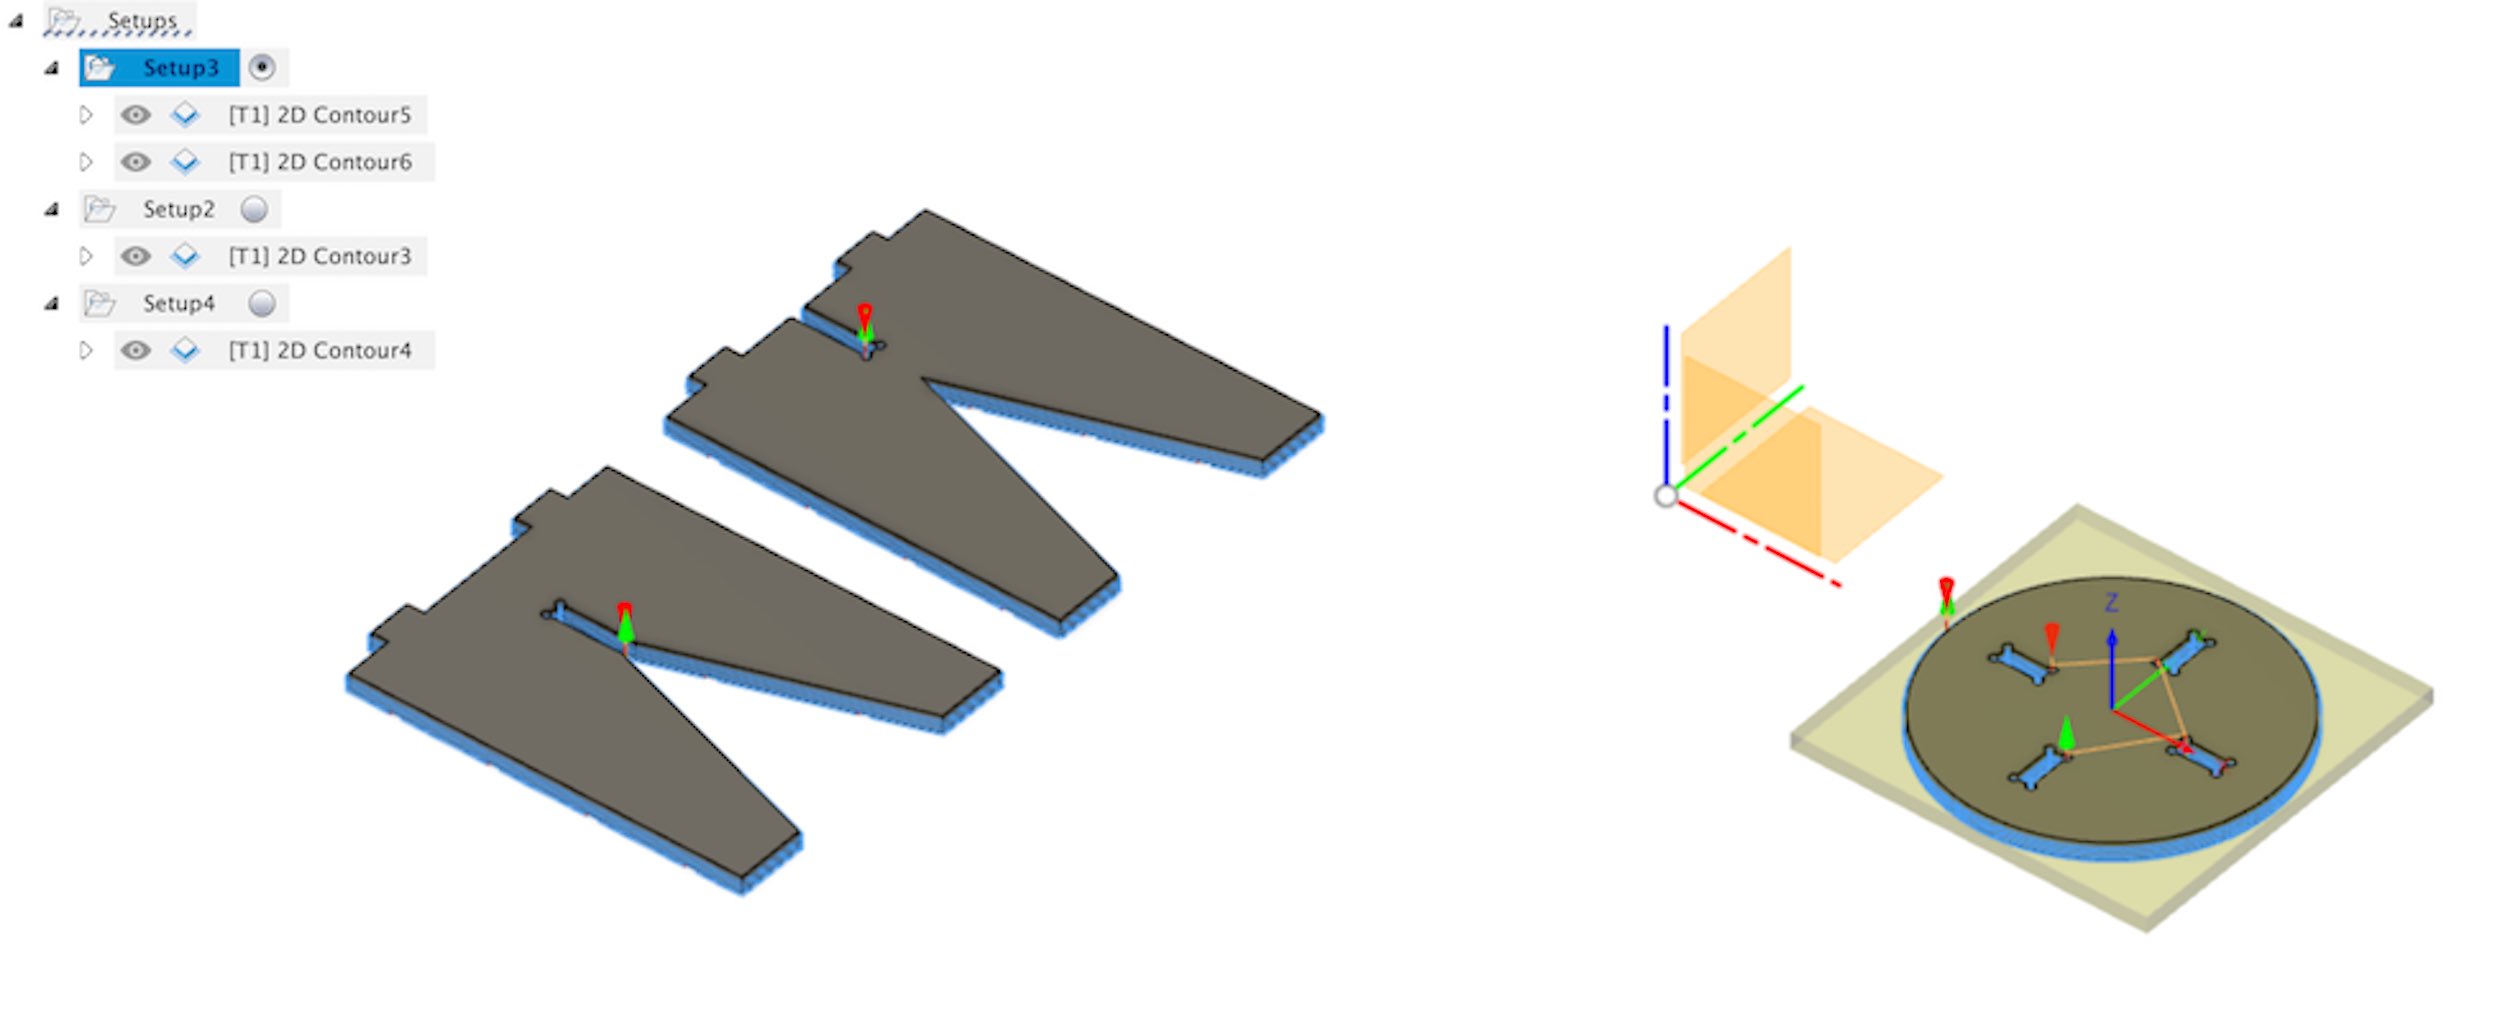
because my stool was too large for the machine I used two different size of stock
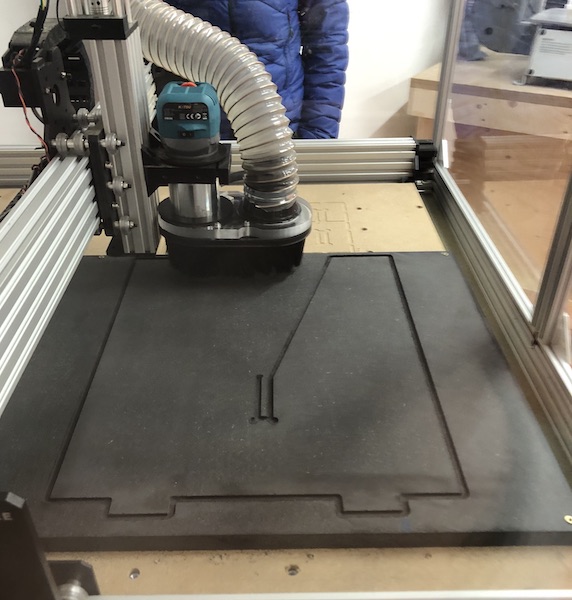
I used a pencil to makesure that everything was correct before I cut anything.
I then did something very silly and forgot to turn the milling bit on, there is just a lot of things to do to set up the machine and getting it going.

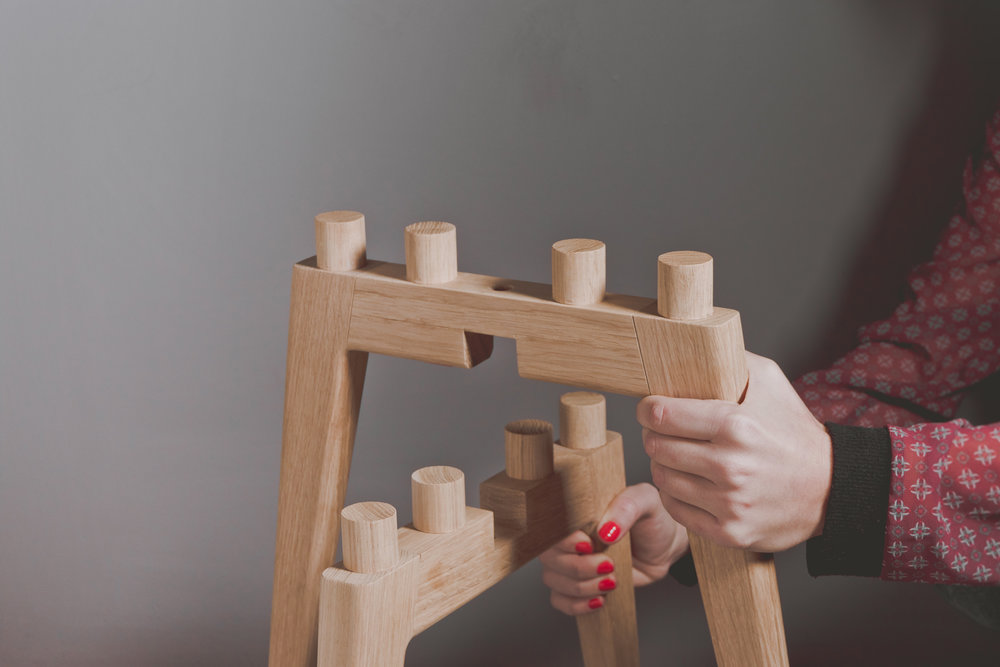
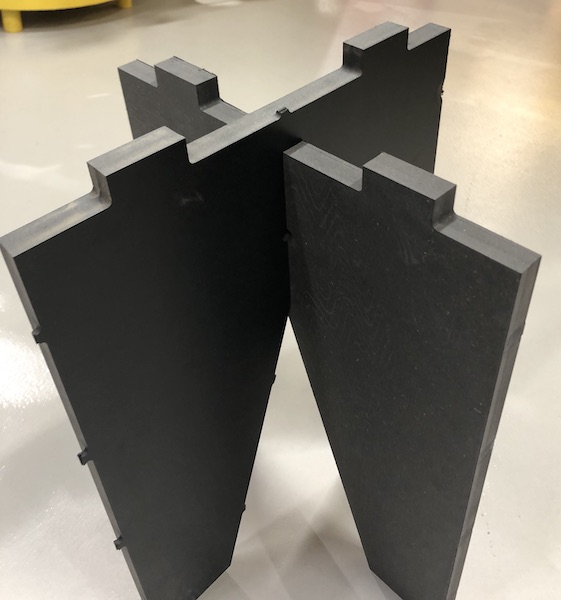
After that, cutting out was very easy I did the rest of the parts and then popped them all together... kinda.
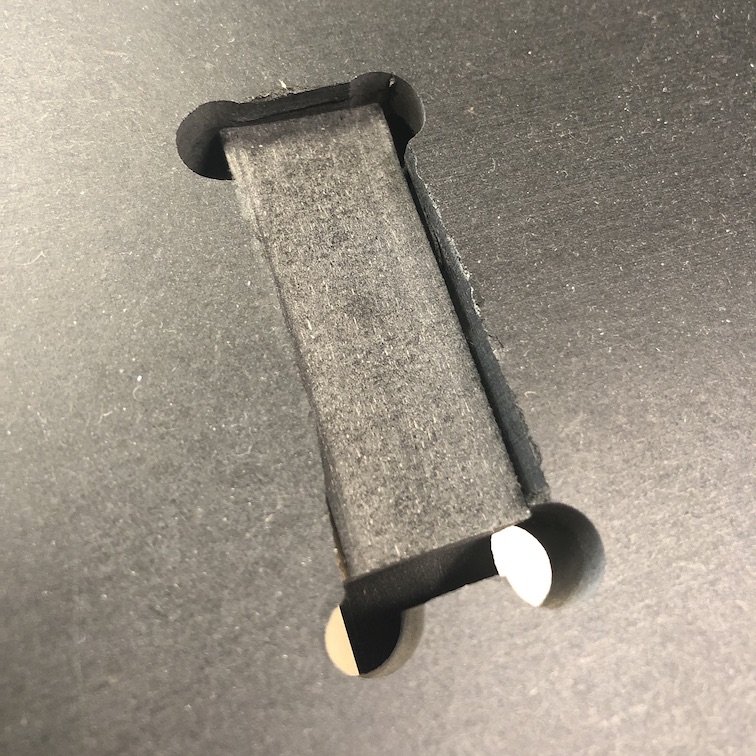
I then realised I had done the slots wrong in the legs, the maths wrong as I hadn't thought about the triangle cutting into the rest of the slot. Therefore this was the outcome of the two legs trying to slot together, I therefore got a chisel and cut out the section I needed to remove to get the legs to slot together. This then did work and showed me the issue which I knew straight away once they hadn't slotted together at the beginning.
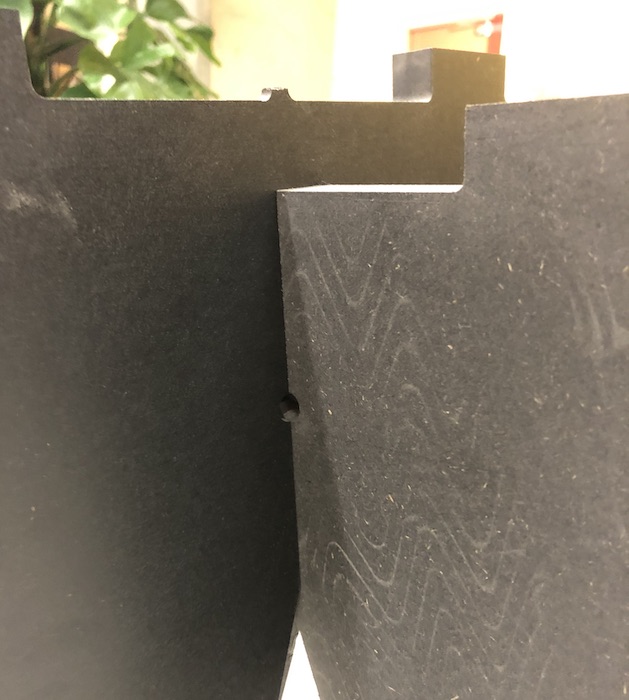
I had big problems with the fit of my project, as seen in the group assignment I tried out the slot with the dogbones to makesure it would come together correctly at the end of the fit. I did not manage to get the cutting correct as I will explain further down but in these images you can see how far out I was when I first made the pieces. I then thought I would chisel out the areas that where wrong so that the stool would fit together and I could see what would need to be altered more easily in fusion.
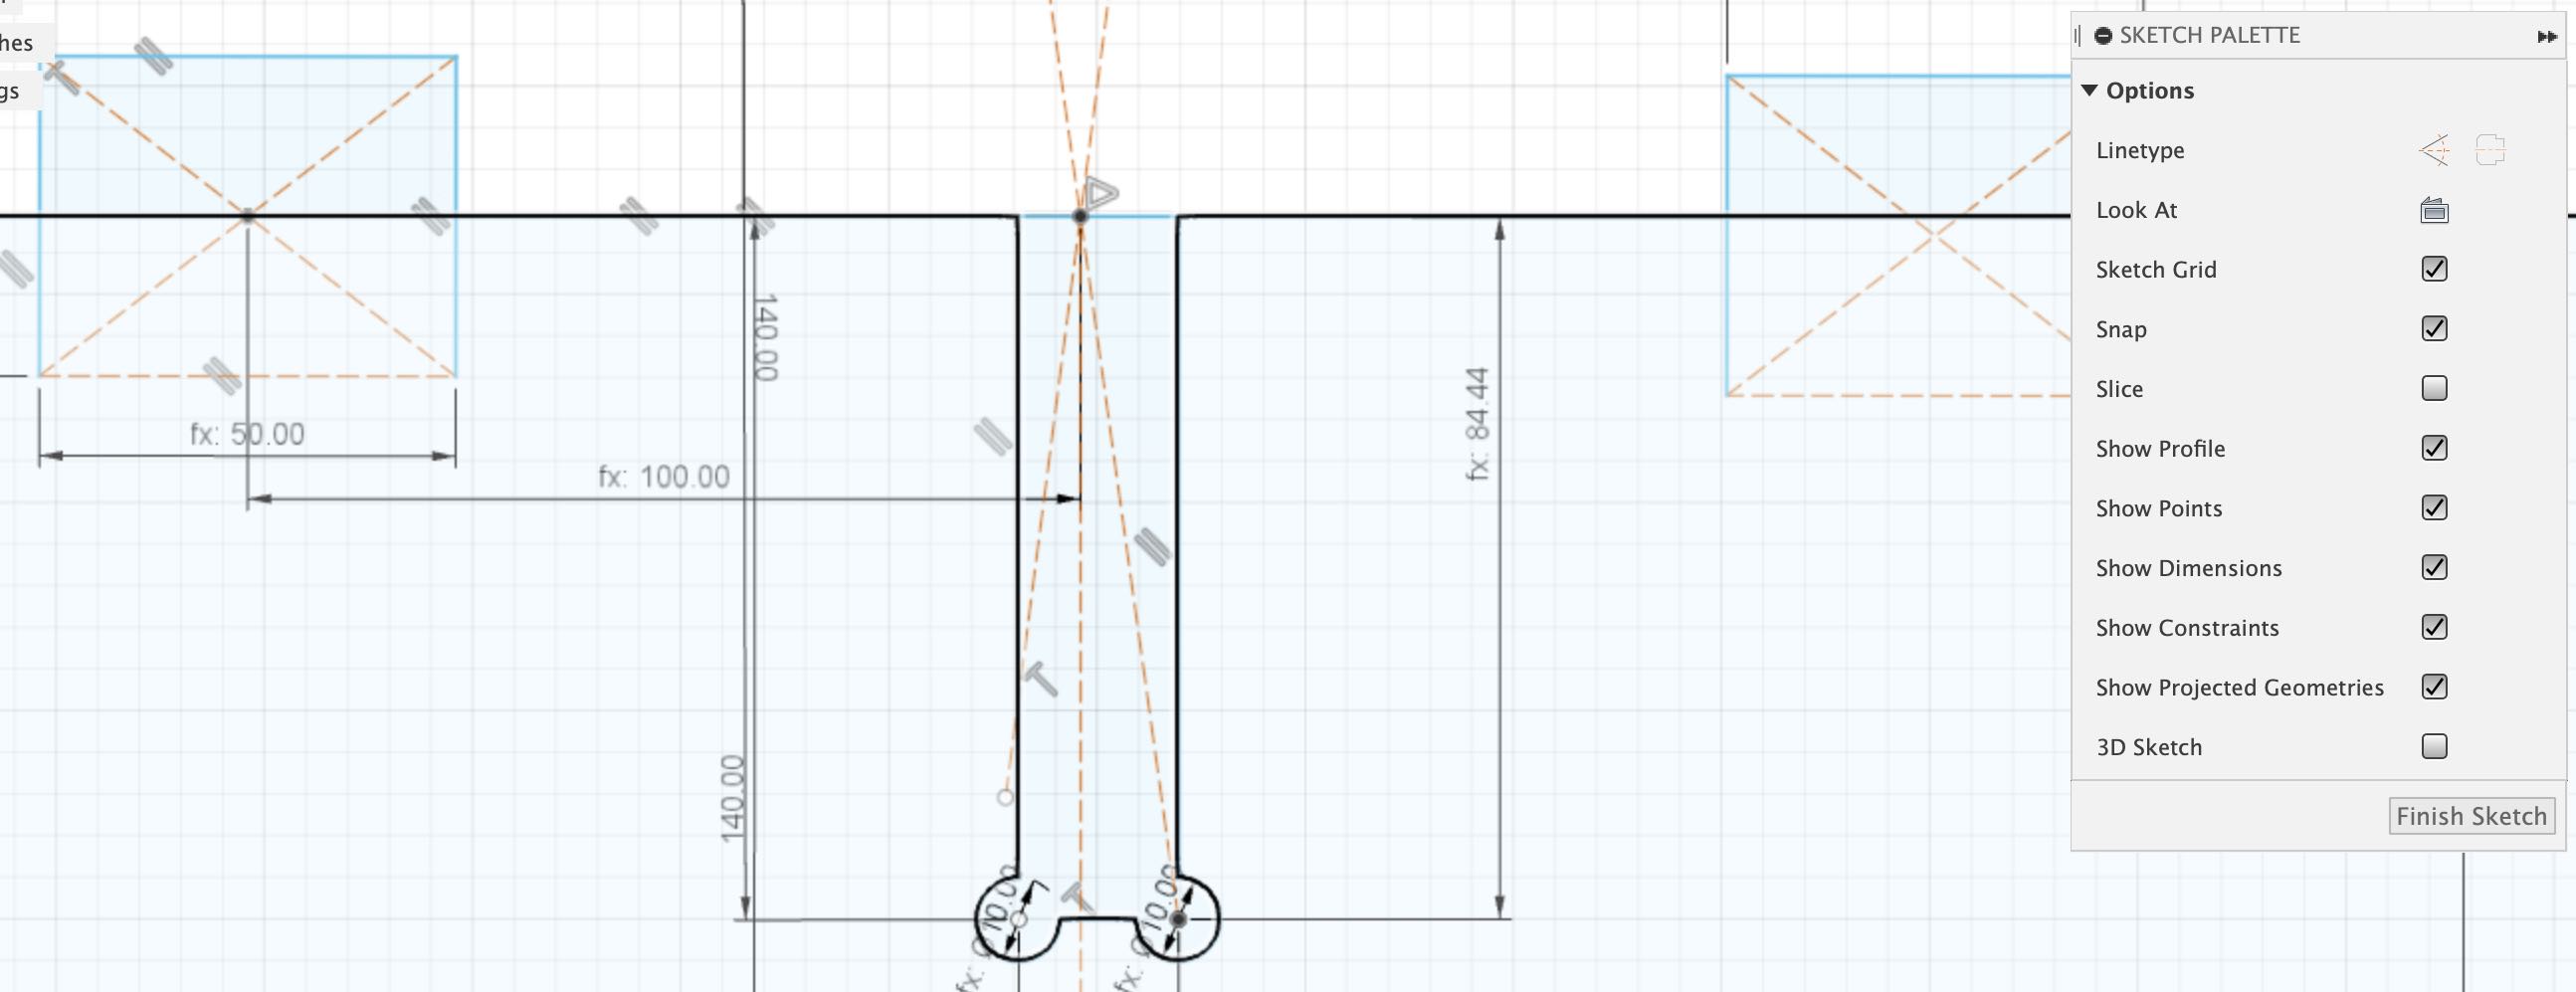
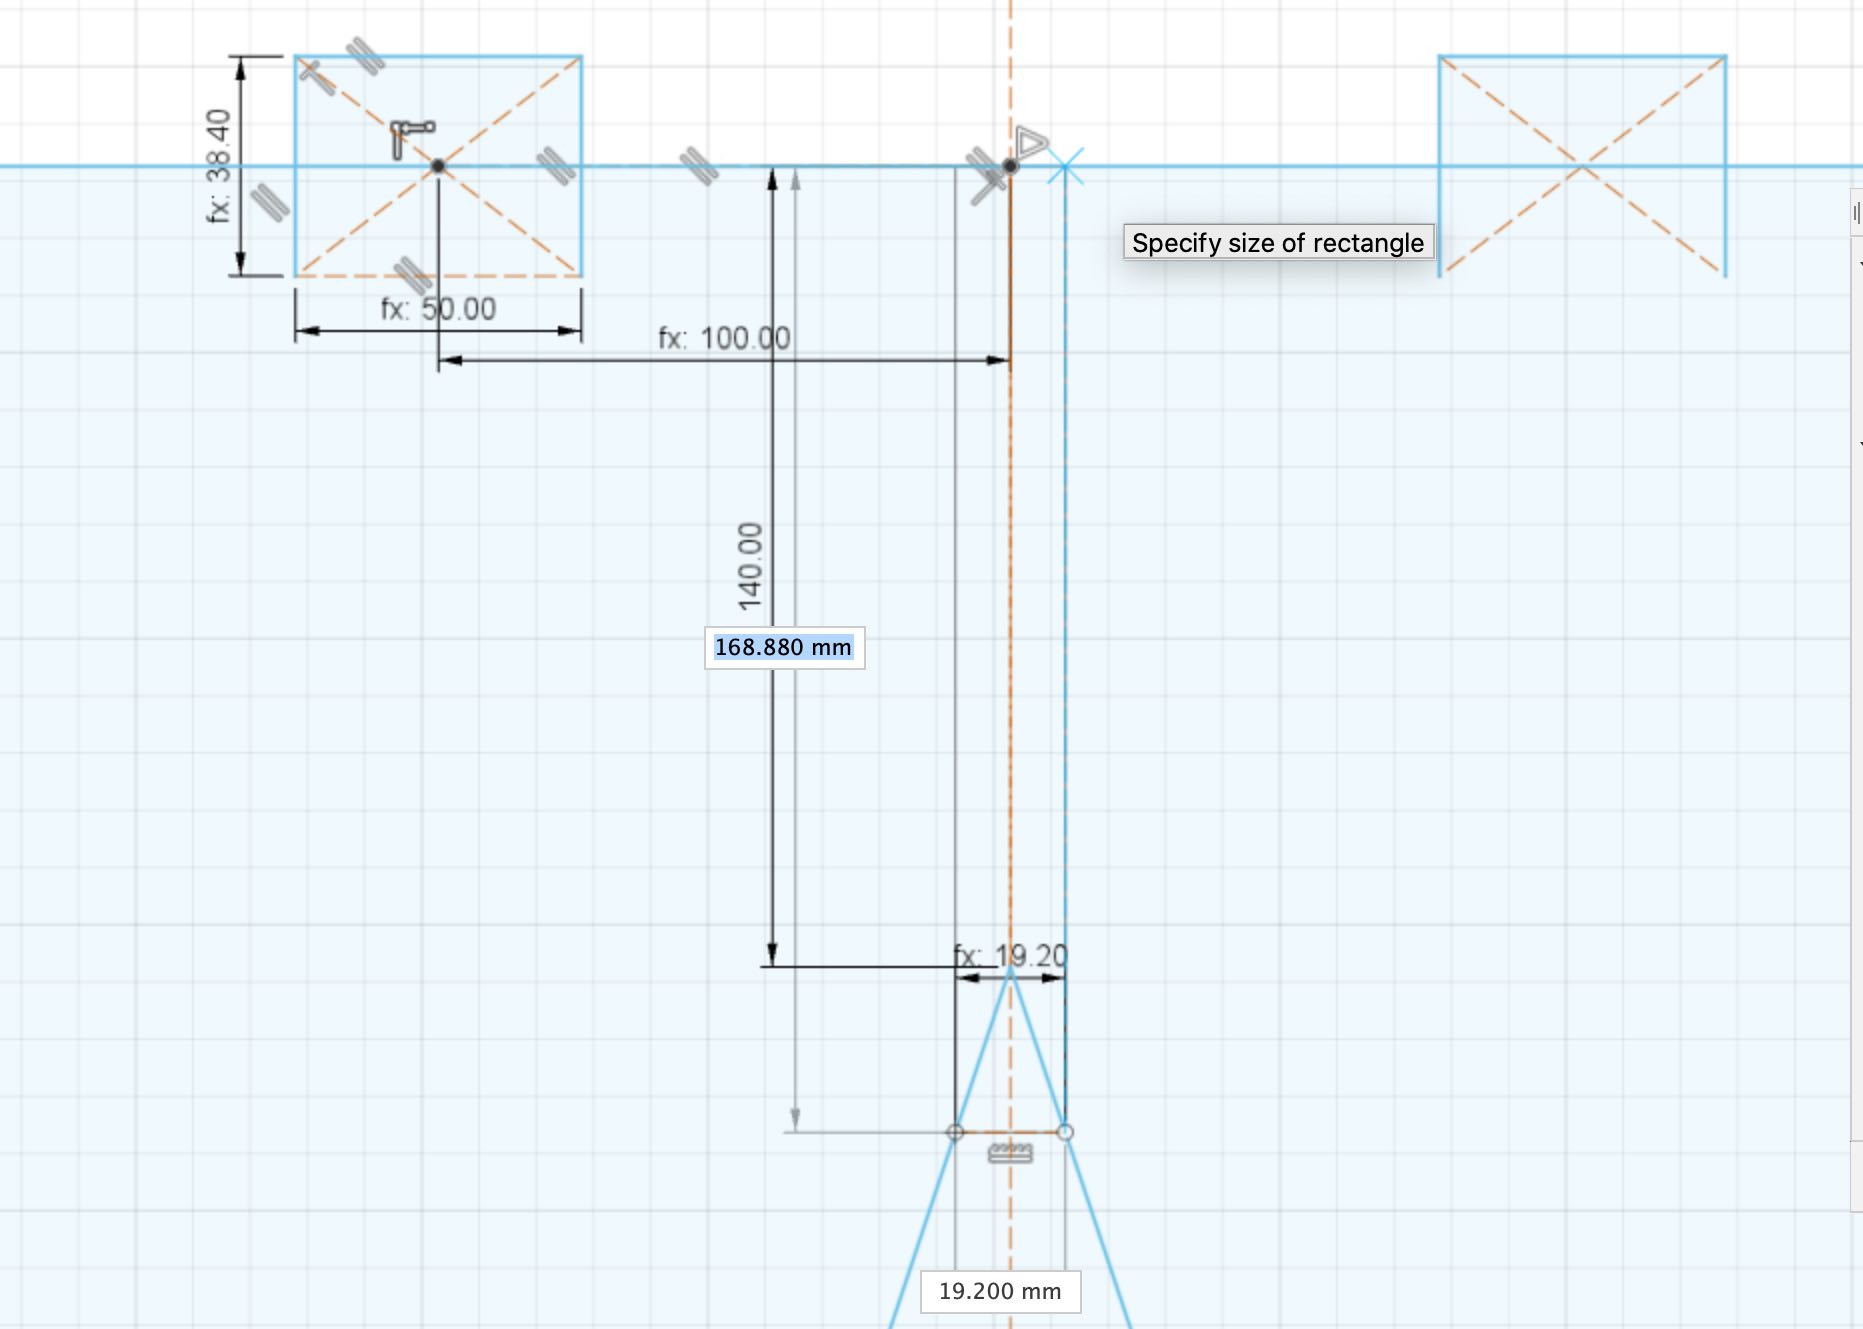
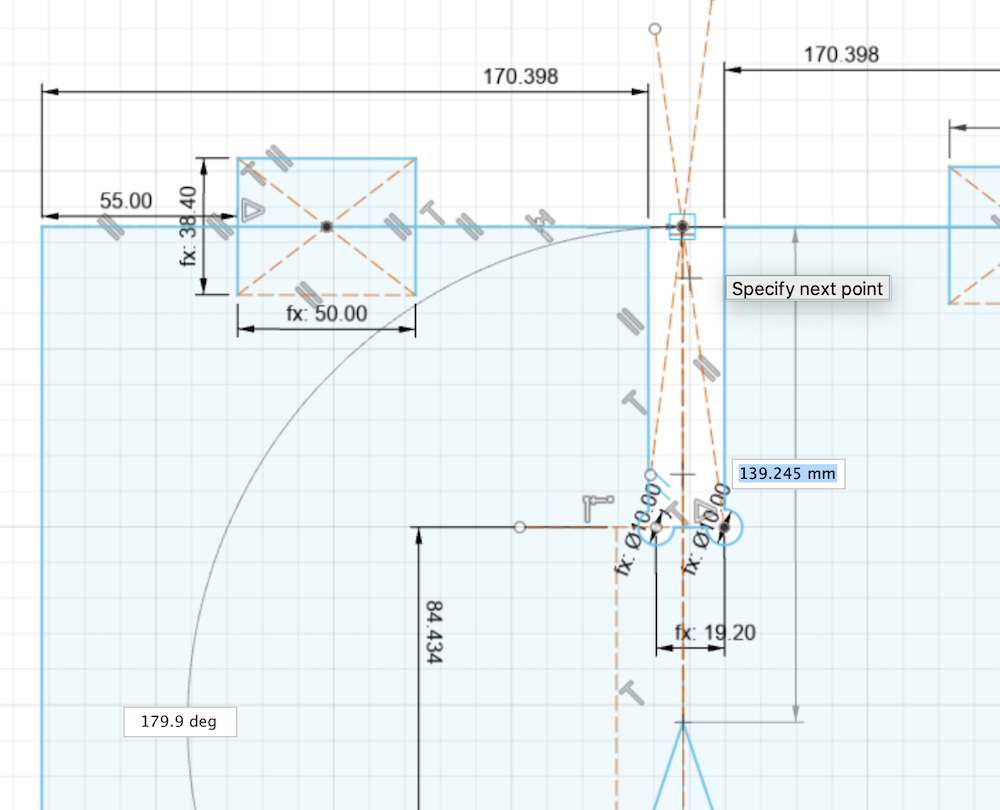
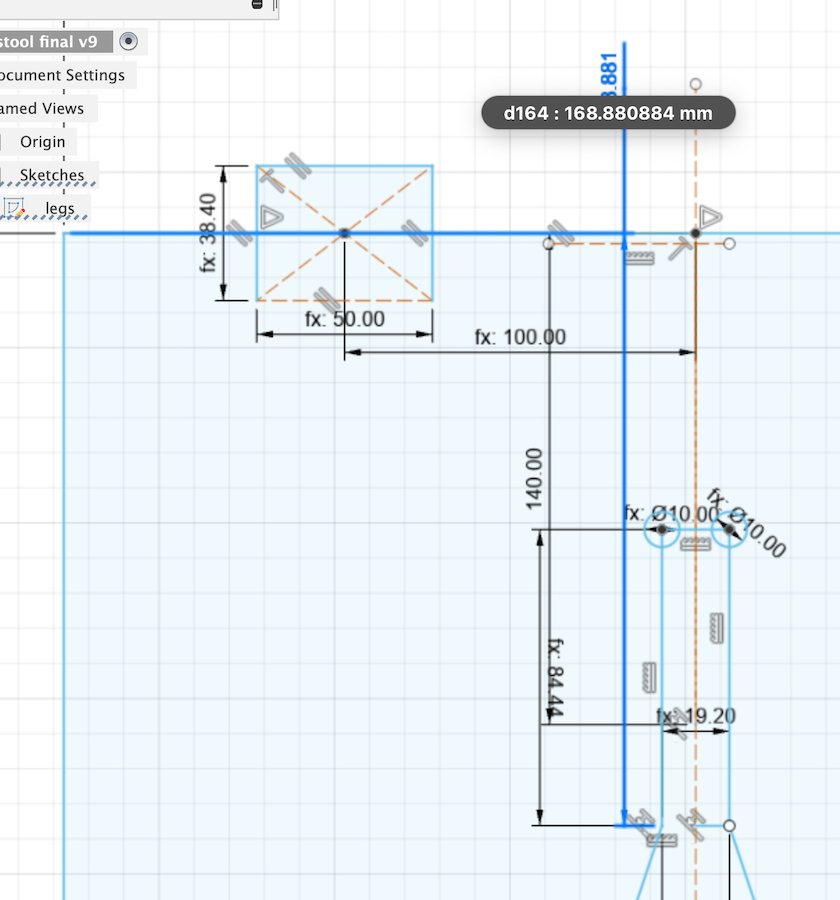
On one of the legs the slot was not in the center so I measured out the the correct leg and it had to be 170.398 mm from the edge. I changed this making sure the other parametrics were correct and this worked out very well. So now this is correct the legs should be in the centre of the top and therefore will slot together better.
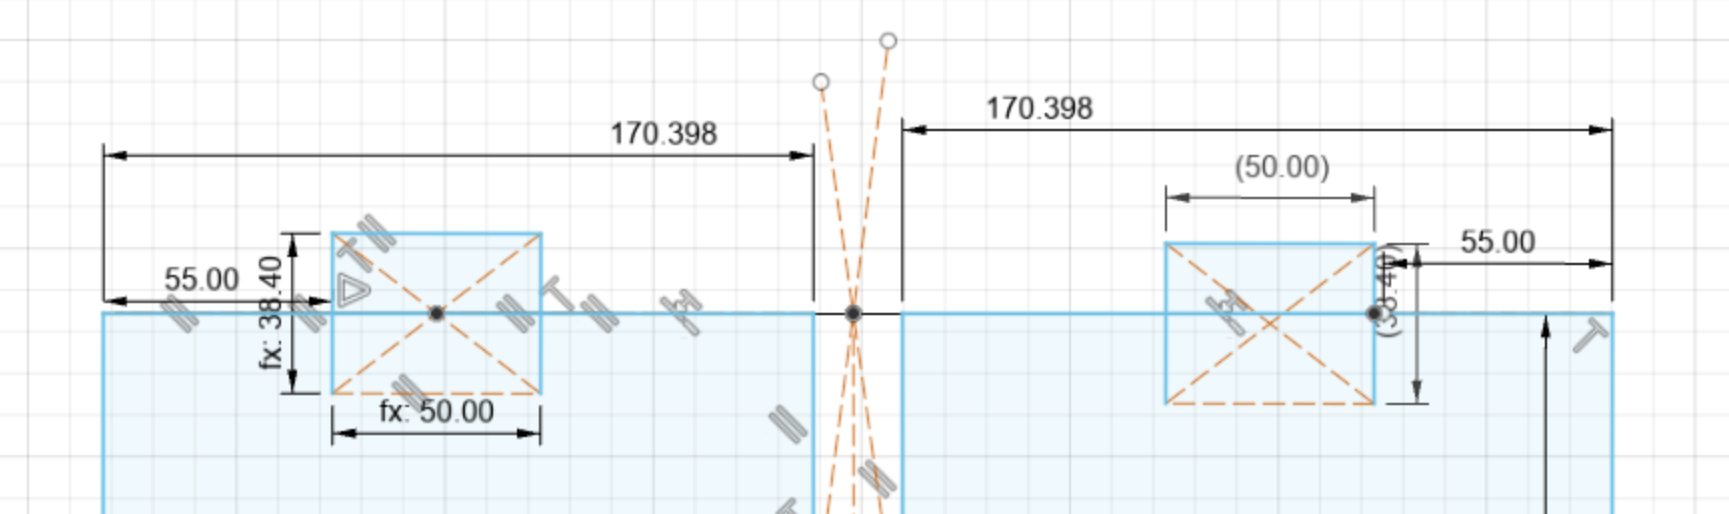
As said before I forgot to take into consideration that when I was making the file about the triangle distance. So as shown in the images below the distance I thought it was = 139.25 mm so I cut out 70 mm which was wrong. The correct distance was actually 168.88 mm so therefore its should be 84.44 mm. Now that I have changed this with the dogbones it should slot together perfectly!
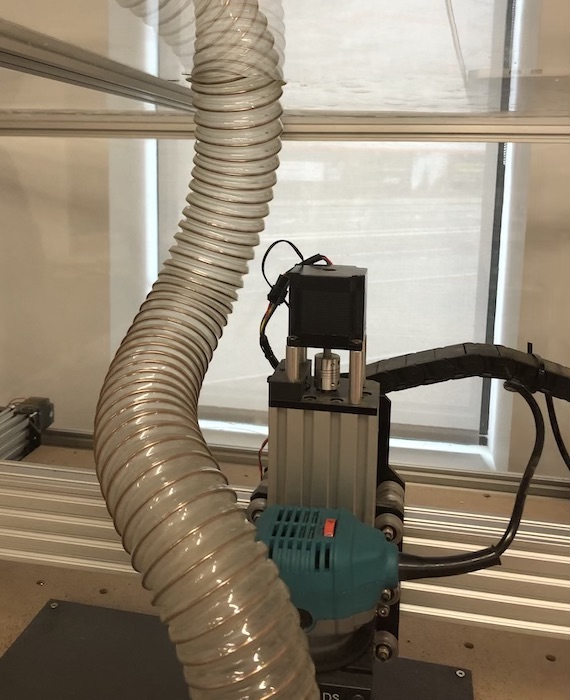
Our workbee was in its first stage of being used, we had just put the whole thing together which also meant that we hadn't quite gotten used to using the tubing which is attached to the extraction. This meant that when the machine was moving around the tubing would get court on the plastic cage and would make a very horrid noice. We ended up taking out the top casing so that the tubing would move better around teh machine.
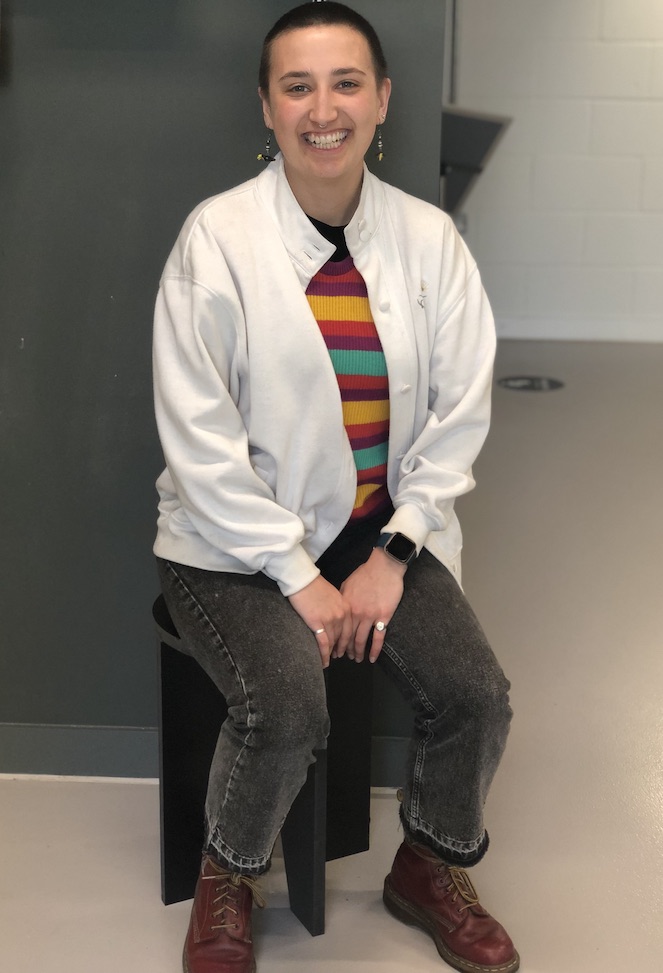
This week was hard for me, I really enjoyed making something big which was great. But I think doing something so quick that was so big was hard for me to get it to the end result. Learning all the areas of this with a machine that in our workshop is one of the scariest because the health and safety wasn't quite set up. I really will make this stool perfect one day now that I have the correct measurements ready for me, I can also make it in different materials in our workshop as we have many large scrap bits of wood. Also by doing this week I learnt about Fusion 360 path maker which was a huge bonus as I really don't find Free CAD good for me at all!