Molding
Wednesday
Individual assignment: .Design a 3D mold around the stock and tooling that you'll be using, mill it (rough cut + (at least) three-axis finish cut), and use it to cast parts.
Group Assignment
For this mission, a highly machinable material will be used, in this case we refer to polyurethane foam, this is a highly machinable material and it is also accessible or easy to obtain. This material has many properties that we can see in the following table :

And its appearance is mostly as follows, it is usually found in 20 x 20 sponge-shaped formats, which is precisely the dimensions that adapt to the machine that we will use.

Individual assigment-The Design
This week we have to do something very interesting that here between us had never done it, I am very sure that at some time you made some type of cake or cookie and for that you used a container so that when you pour the food, it can take the shape of the container, well, now imagine being able to model and manufacture the container to be able to have thousands of different shapes, that is what today's mission is about, we have to design the piece and then, with the help of a machine, make the shape in low relief to finally make a piece thanks to that mold. This week has been a bit chaotic because my laptop died (RIP LAPTOP) however that was not a limitation to design the mold, for this I used a very friendly program called tinkercad, in which I will design the mold. Now it was time to think about what to do, since I know a little more about my name, its meaning and the symbol that represented it caught my attention, so today I want you to see it, to start “hayashi” means forest in Japanese and this It carries a symbology in Kanji which has the following appearance “林”. Once all this was known, it was time to design the figure for the mold.
For the design, a basic design made with inkscape that will be vectorized in the program will first be used, we start with an image of the logo that we want to achieve.
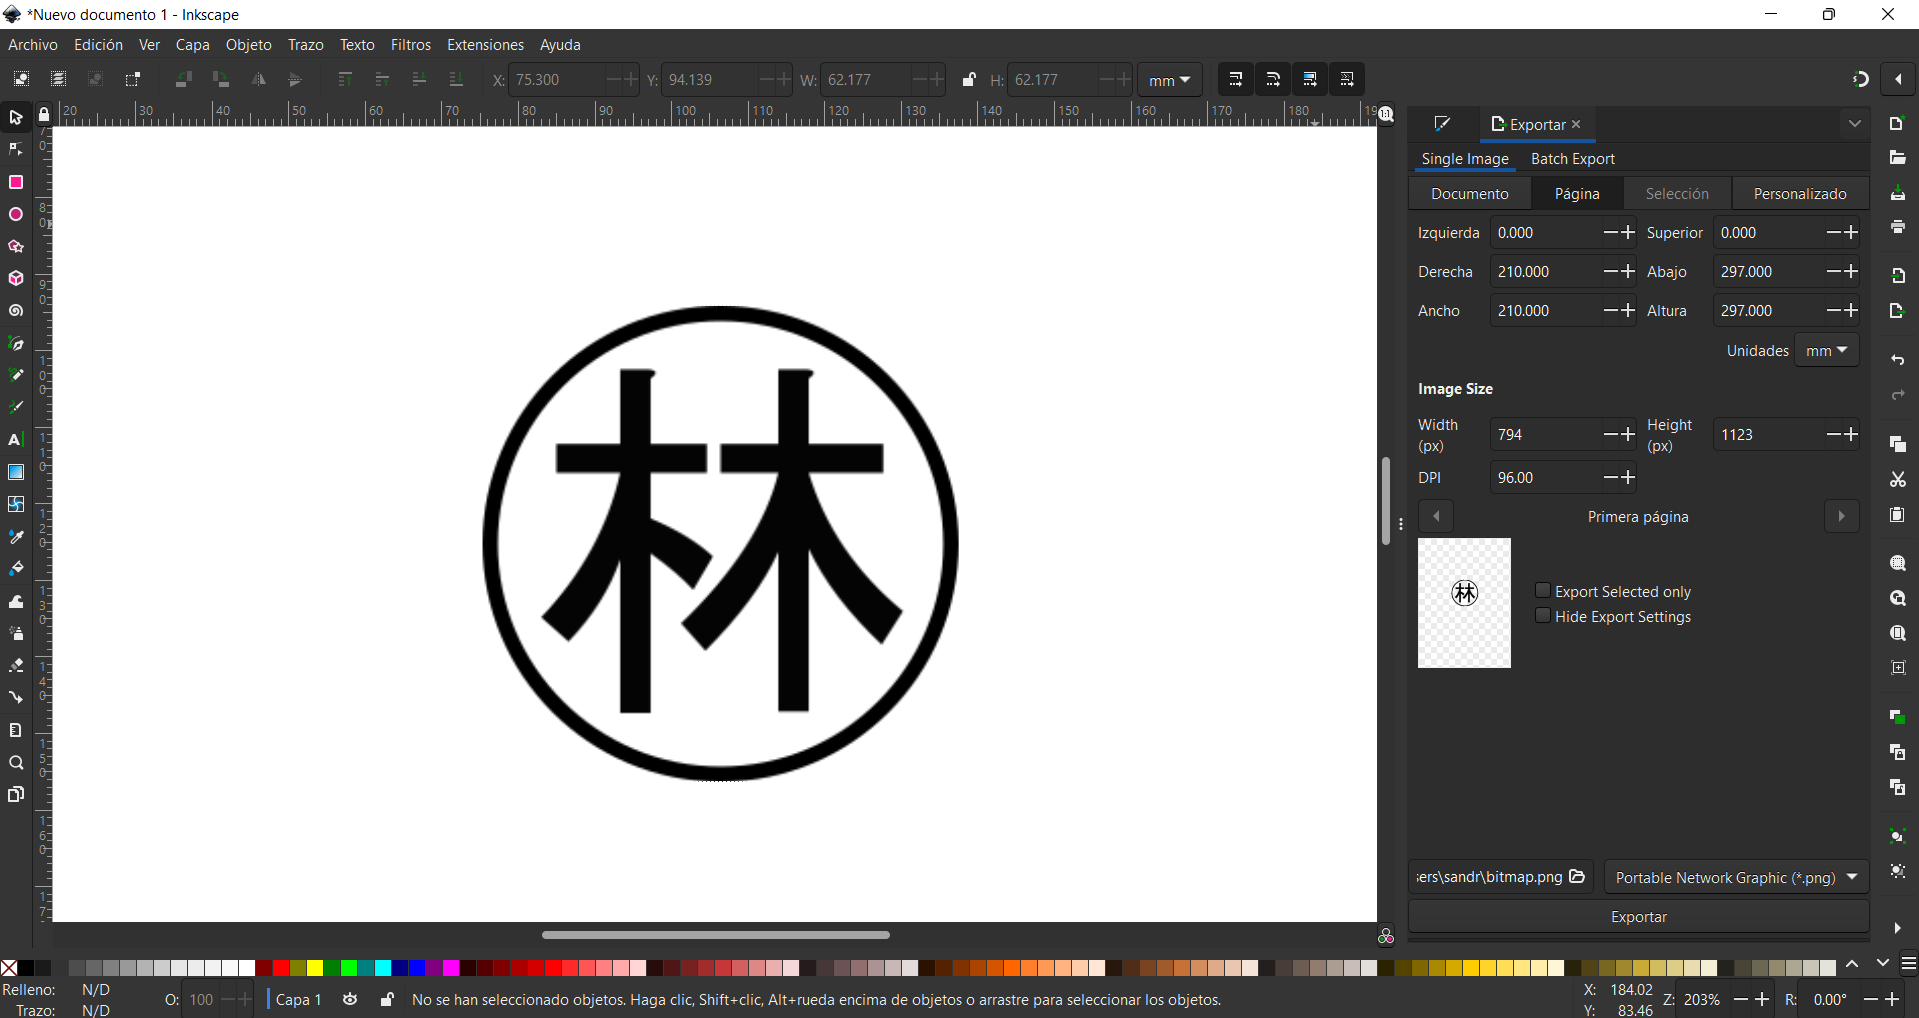
As we have already explored in previous missions, we know that thanks to inkscape we can carry out vectorizations in a very easy way with the bezier vector tool that this program has.

Once we make all the strokes, we will be able to have our design, but before that we must give the desired curved effect to some parts that are straight with the vector but are curved in our image. And we will have a final result like this:

Now it is the turn of our 3d program, as we already know we will use the blender program to make this design, we import the SVG file to be able to make this design in 3d.

Once we are in blender we only have to transform the vector design into a mesh and extrude it, however we need the negatives so for this we are going to use the blender boolean tool and we are going to generate a difference between a cylinder and our design and we will have as final result our desired design:
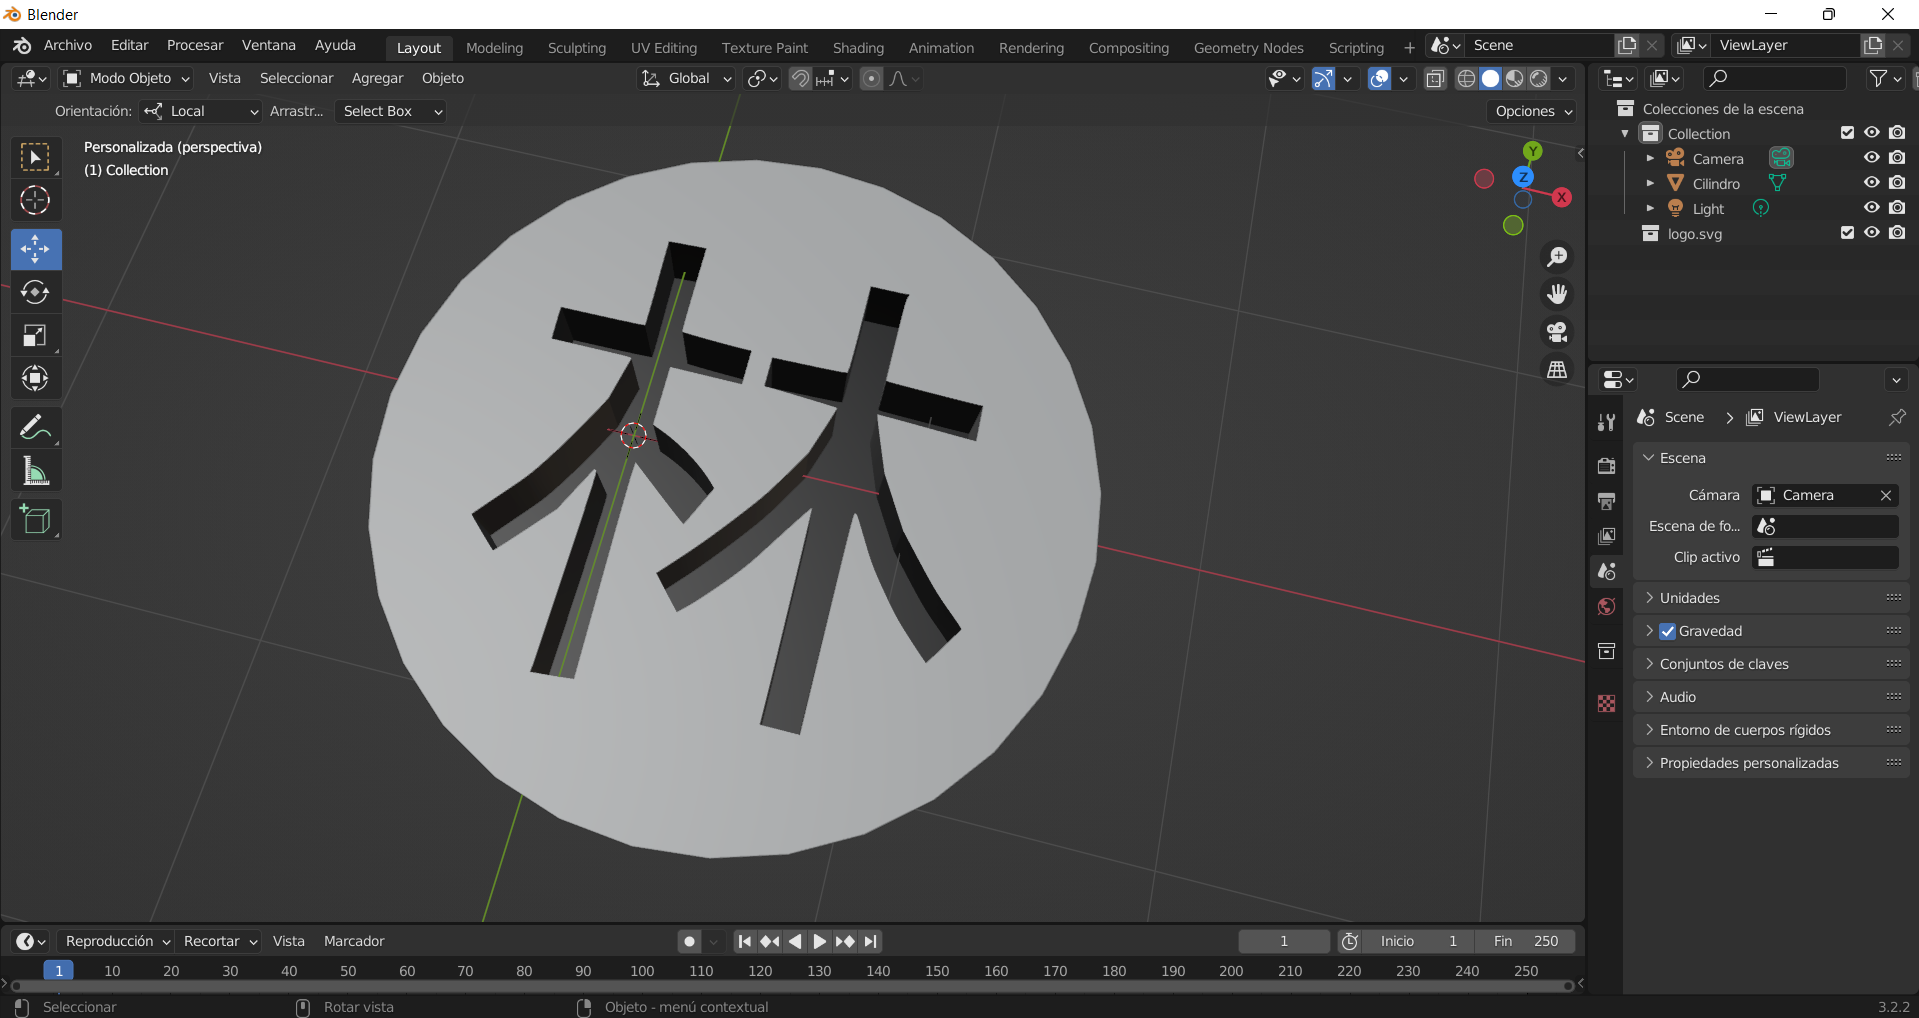
Finally, the only thing we have to do is save the file in the STL format so that it can later be manufactured by the machine that we will use for milling the part.
In order to find the necessary parameters to do the milling, there is a tool called clickmill which gets along very well with our mono fab milling machine, this tool will allow us to find the correct parameters for milling and in turn also send the cut directly to the machine.

In addition, this tool also allows us to choose the type of work that is going to be done with the machine, such as a cutting process or a leveling process in low relief, as you can see in the image, there are different types of work that this tool can do. machine.
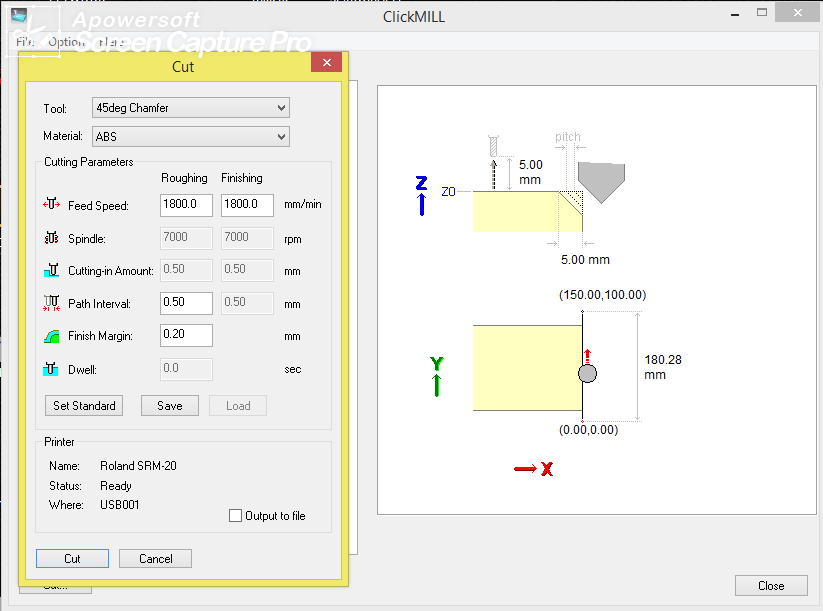
Finally, it also allows us to choose the type of material with which we are going to work and has a very wide range of different materials that can go from abs to wood, which is why in this machine different machining jobs can be carried out but always contemplating that the machining area is less than that of the work plate.


For the manufacture of the part, what we will use is the monofab srm 20, this machine has the following characteristics:

To order the milling it is only necessary to upload the file to the vpanel program so that it can do all the work after selecting the necessary milling cutter, in this case solid foam is being used which will help us to work faster and cutter wear is much less.

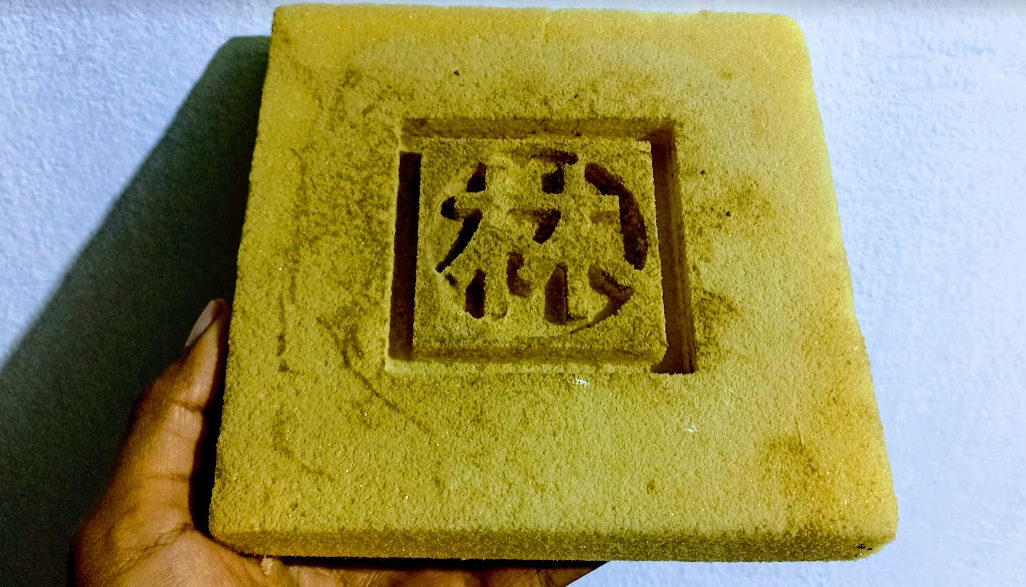
Finally after a couple of failed attempts, we will have the following piece as a result:
It is now time to manufacture the piece, for this I am going to use epoxy resin 105, this type of resin has different qualities and types, on the other hand we can see that each type has different characteristics.

We can also add some very important security data such as the SDS.

*Safety Data Sheet link.
Finally, the result was not the best that could have been due to the fact that the polyurethane material had a bad reaction with the epoxy resin and in the end the empty spaces were too small to be able to shape the design that was desired to be obtained, however the The result took some of the shapes of the mold and it is still possible to see those high reliefs in the created piece.
