BACK TO HOME PAGE
WEEK 14
Interface and Application Programming
WEEK ASSIGNMENTS:
Tasks for a week
GUI(Graphical User Interface):
GUI is a Graphical Interface that is a visual representation of communication presented to the user for easy interaction with the machine. GUI means Graphical User Interface. It is the common user Interface that includes Graphical representation like buttons and icons, and communication can be performed by interacting with these icons rather than the usual text-based or command-based communication.
The uses of a pointer that serves as navigation to interact with different visually appealing Graphical icons. Abstraction is a major concept that has been used in a GUI operating system. Users can use the pointer to click on the icon, which initiates a series of actions. Normally an application or functionality will get started. Then the user will have to provide input or tasks to generate the desired action from the machine. The GUI actually translates user language, which comprises simple one-line commands, single click and double clicks to machine language or assembly language. The machine understands machine language, and hence the machine responds to the task initiated, which is translated to use language and communicated to the user via GUI.
Software used:
Components:
My final project will include using a motor driver to control a DC gear motor using a bluetooth module and an Android app.
I used an arduino controller and a motor drive that I designed during embedded system and output device week.
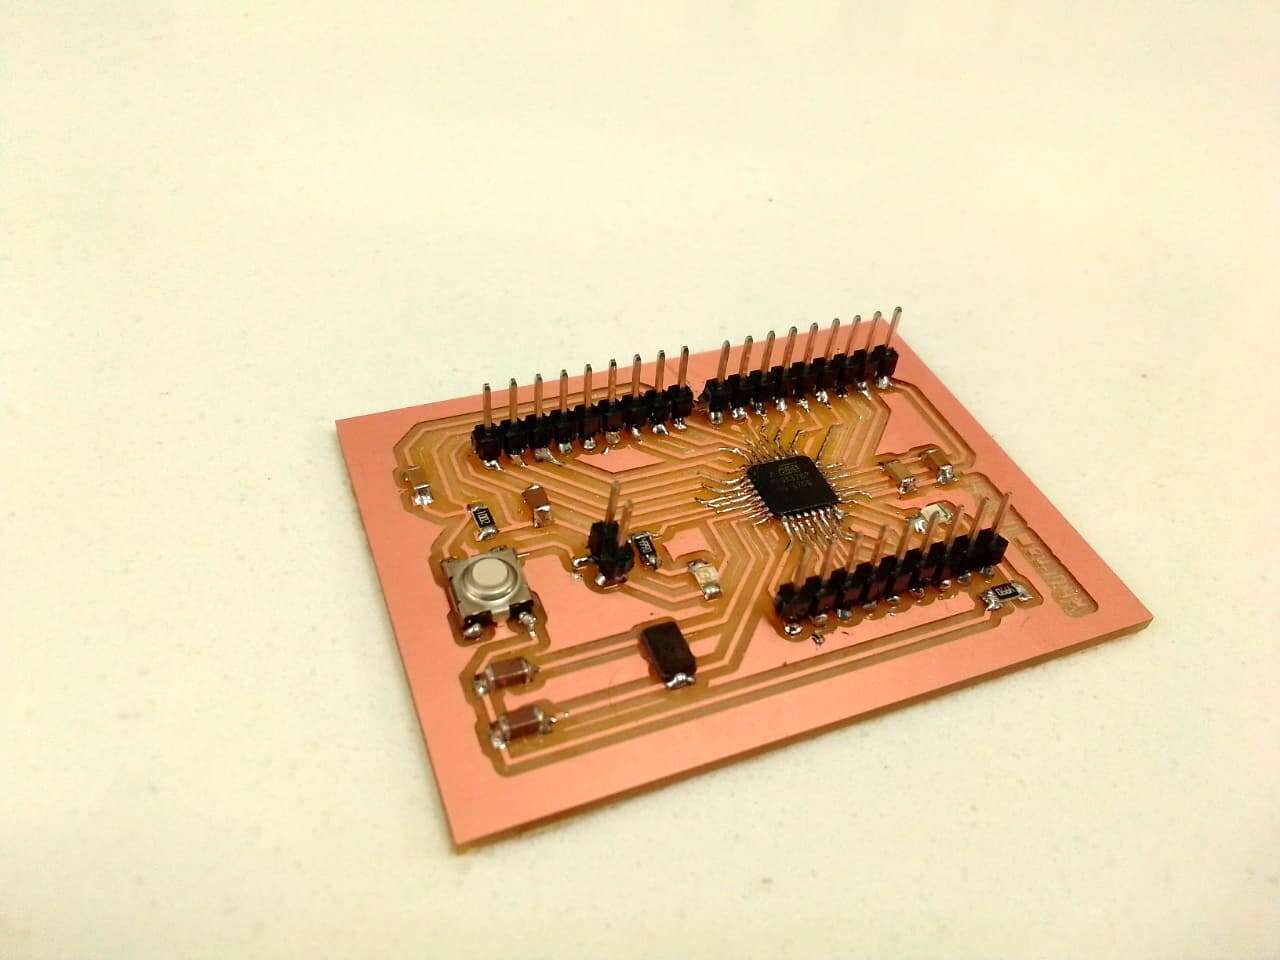
Arduino controller(Vastuino)
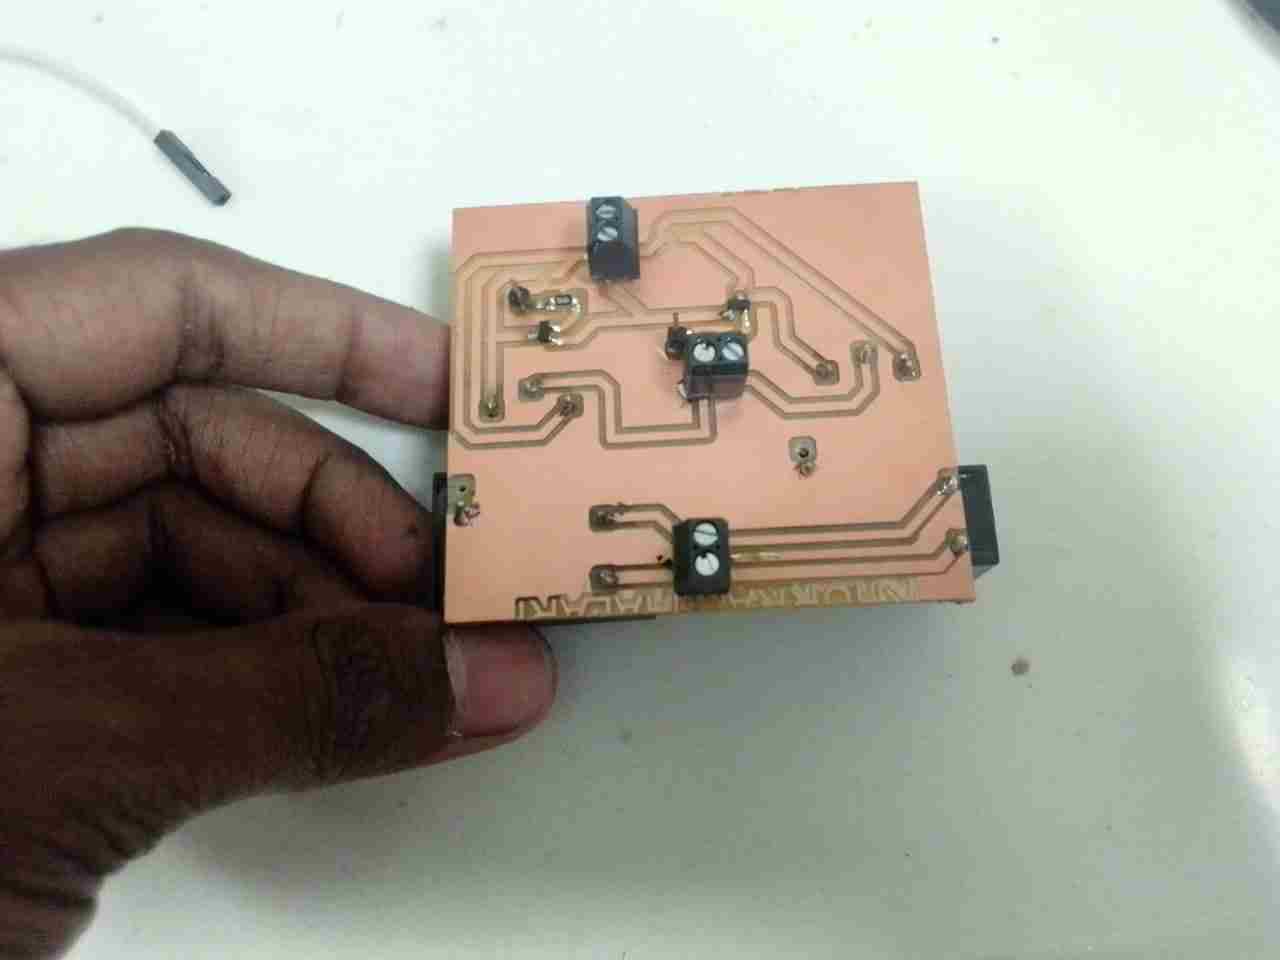
DC gear Motor driver (28VDC and 30Amp)
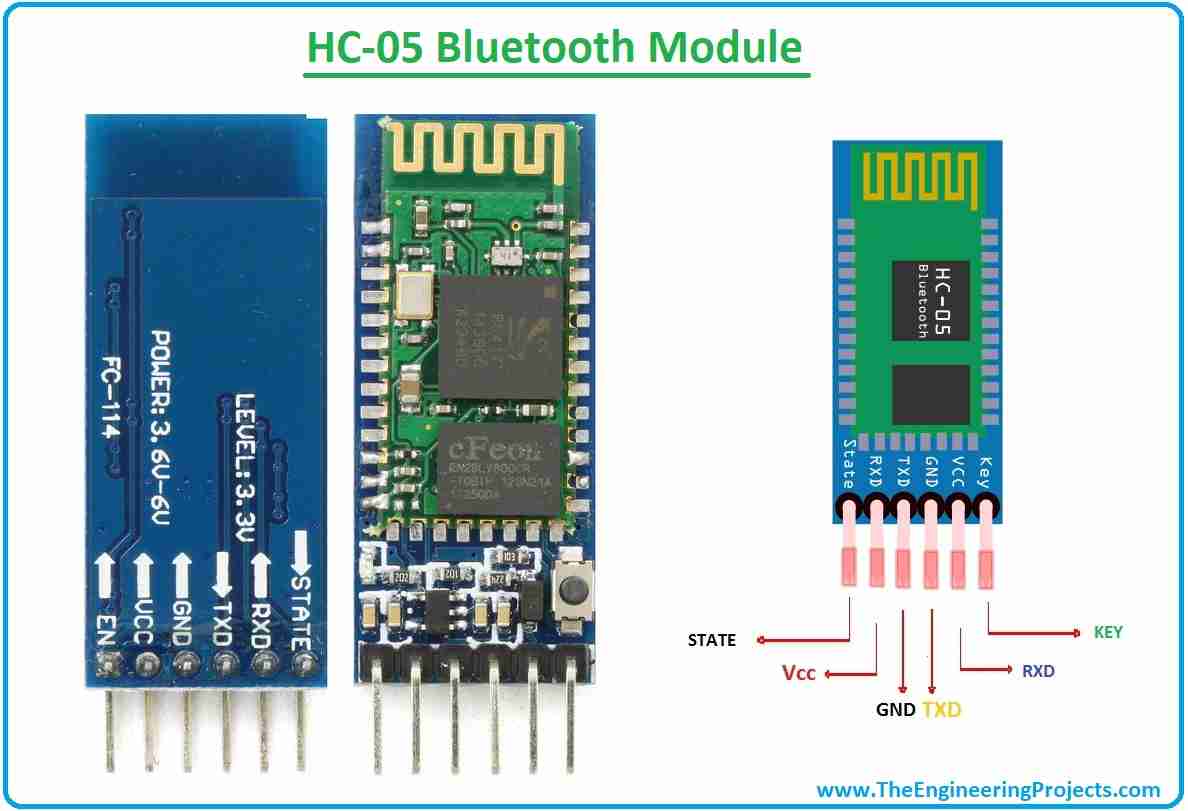
Bluetooth module used for communication between the controller and the Android app.
Circuit Diagram:
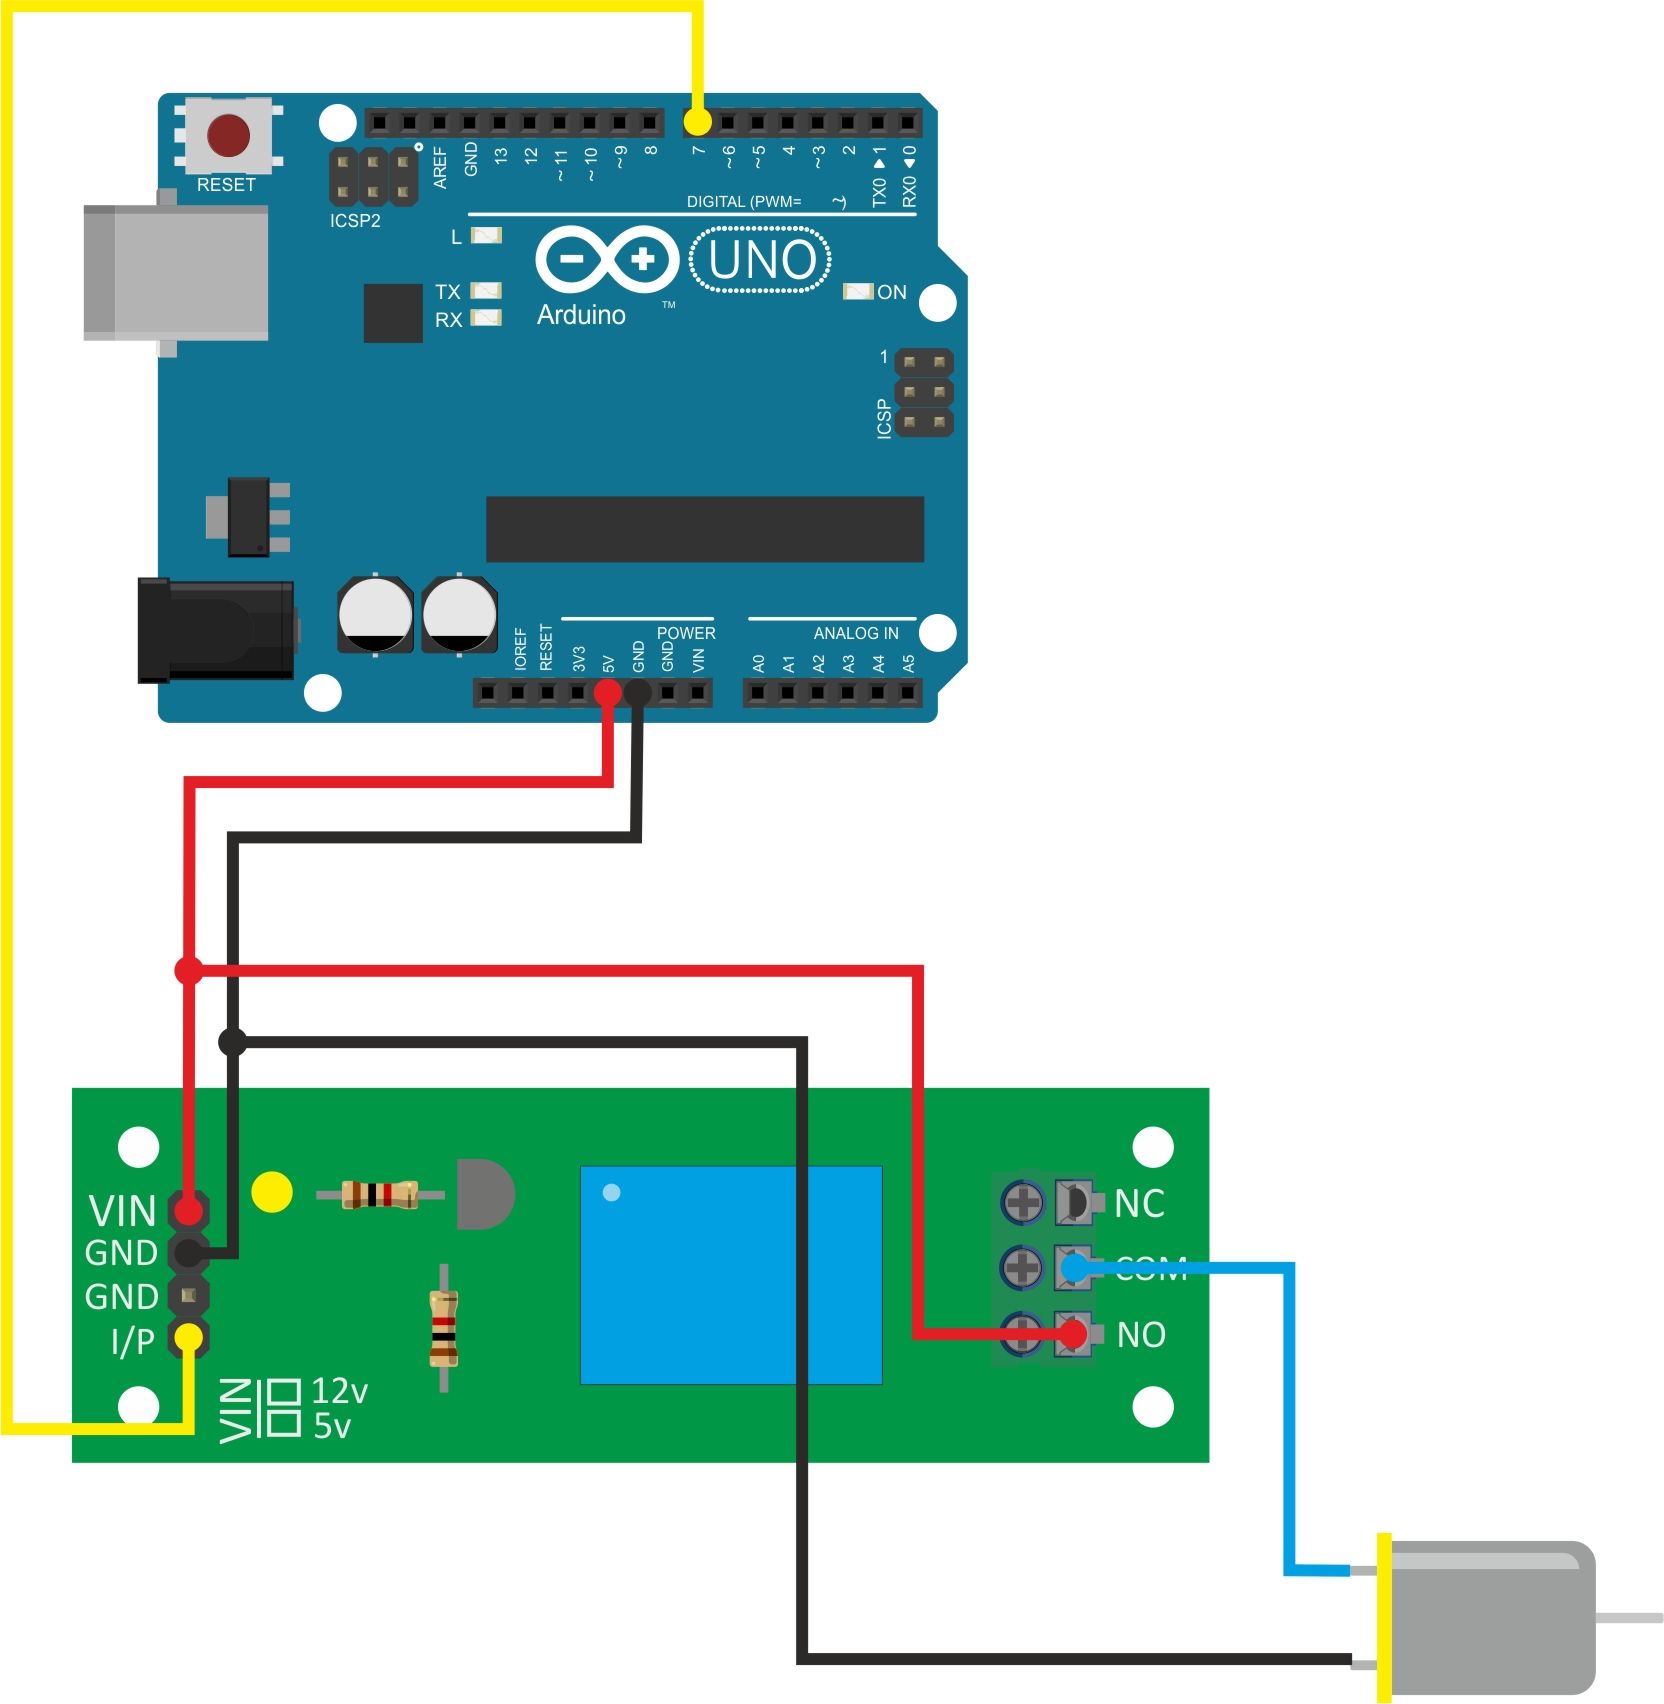
Android Application:
In this assignment,I had to put together an app for the cell phone. I used App inventor.
App Inventor in which such applications are created for various devices but through blocks relationships in a didactic way.
When you open the program, it shows you a blank sheet that simulates the Android screen of a cell phone or device. This program has a palette of resources to use as “Button”, “text box” which are tools that serve to outline the design of the App.
First, I design the app, We used this options : HorizontalArrangement, HorizontalScrollArrangement, button,ClienteBluetooth and Notificador.
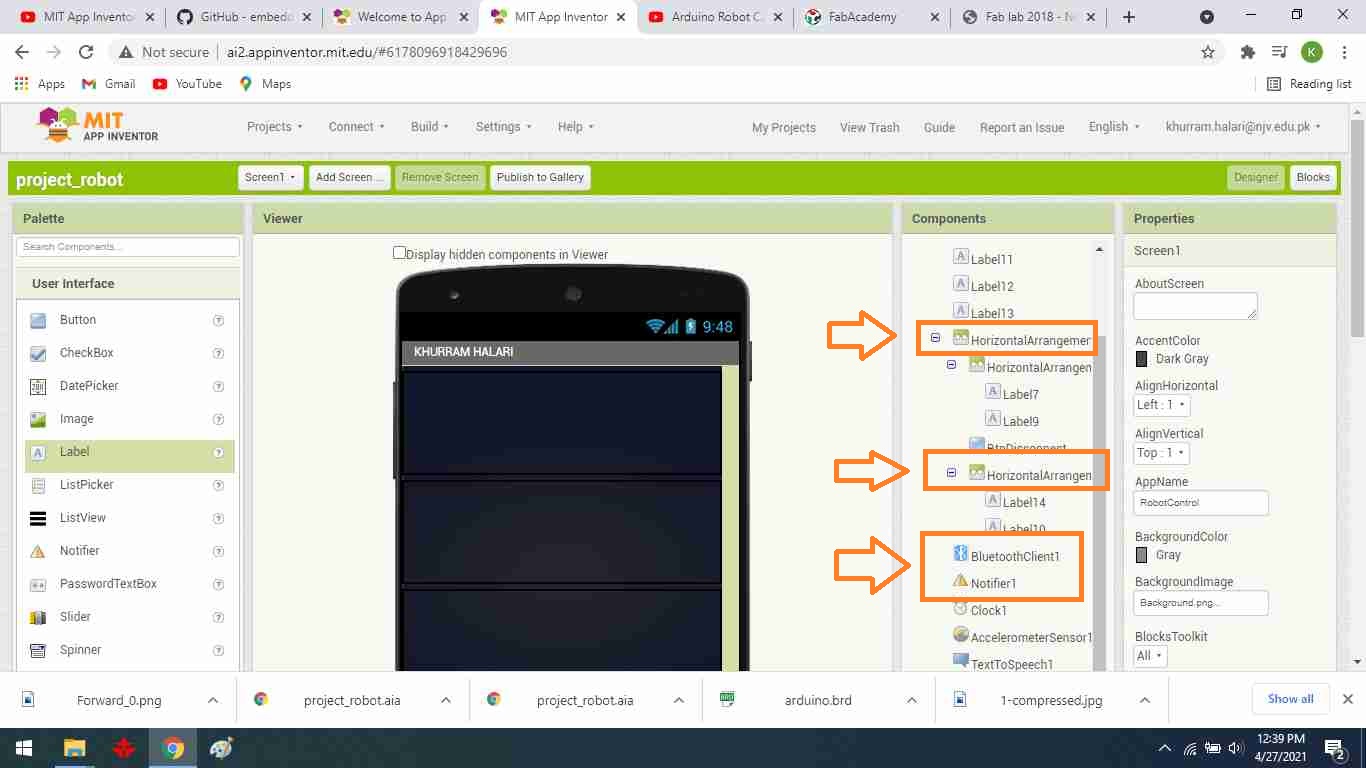
You can see the desing of the app.
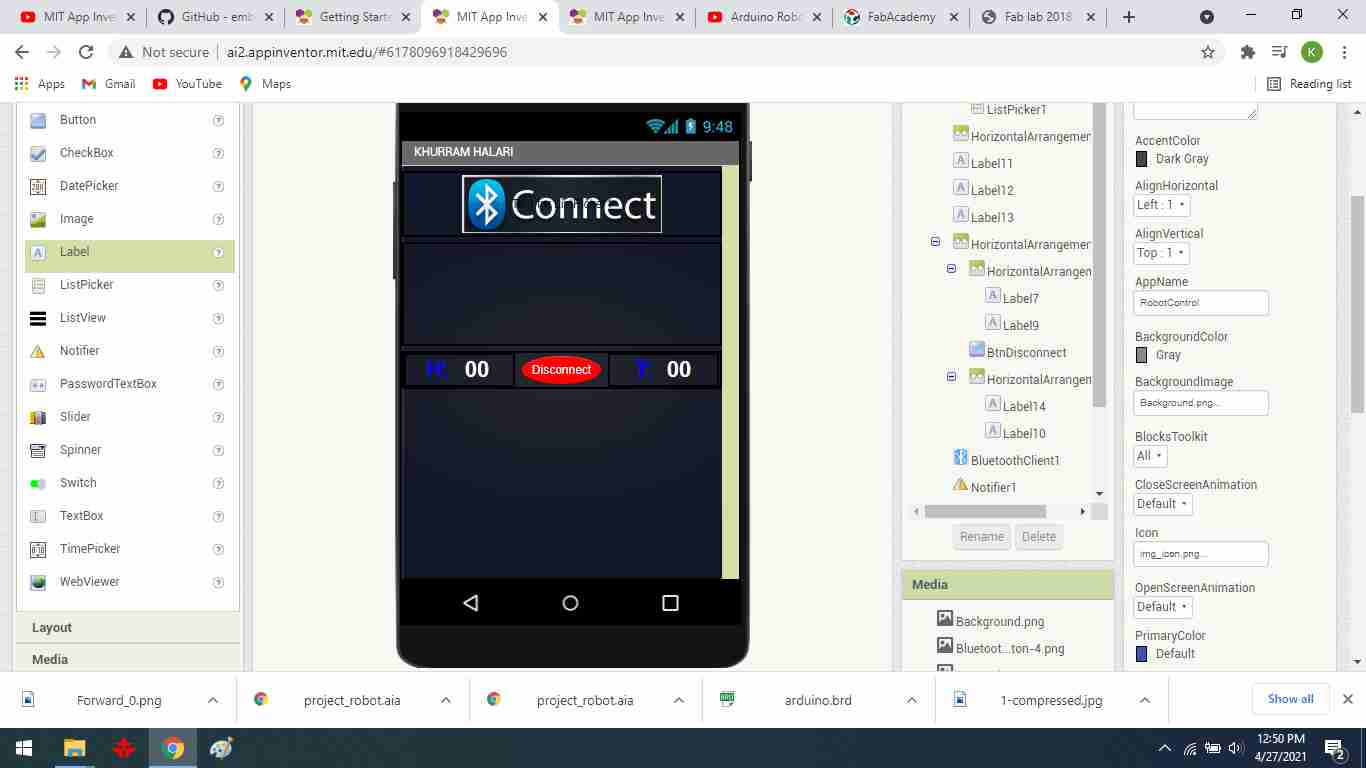
First, I selected the horizontal arrangement option, and then I added the listpicker and labels options to a screen.
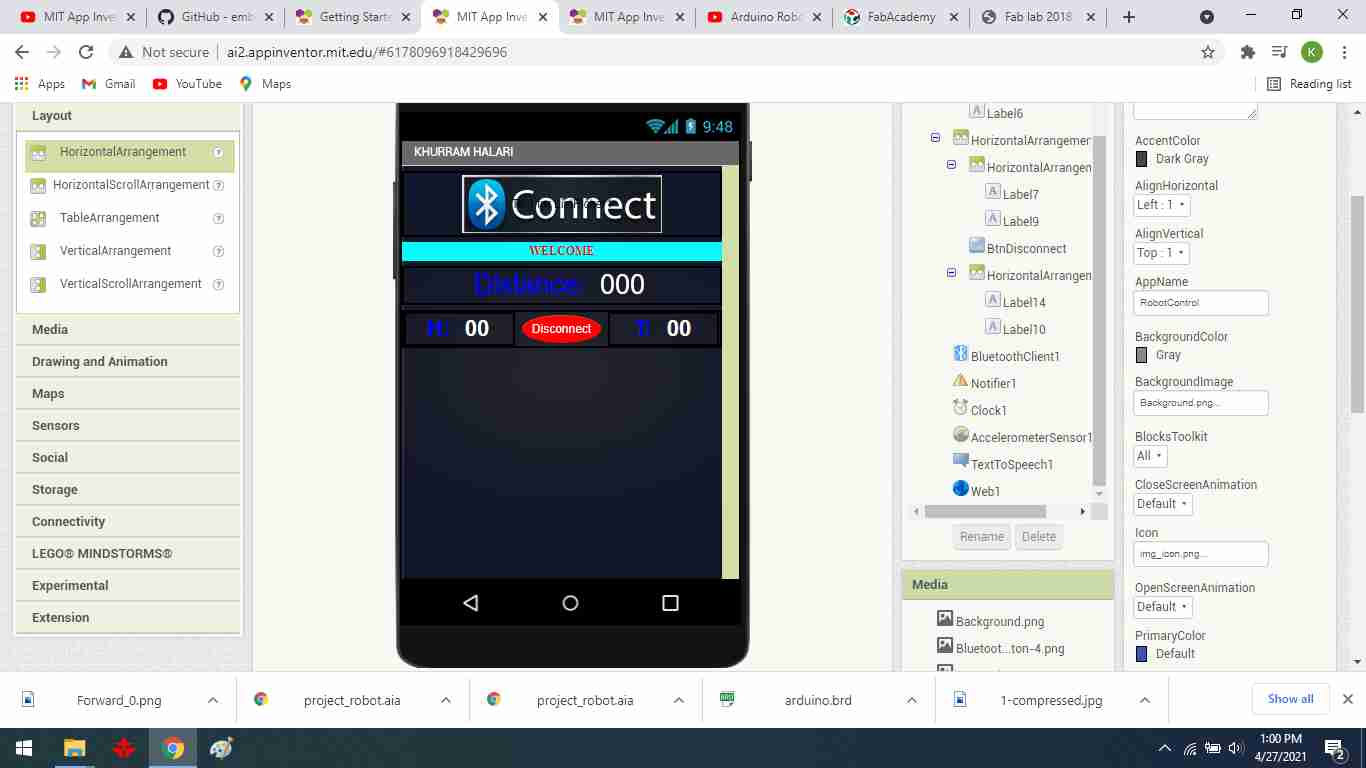
Then, add a distance label for the ultrasonic sensor to determine the desk's height.
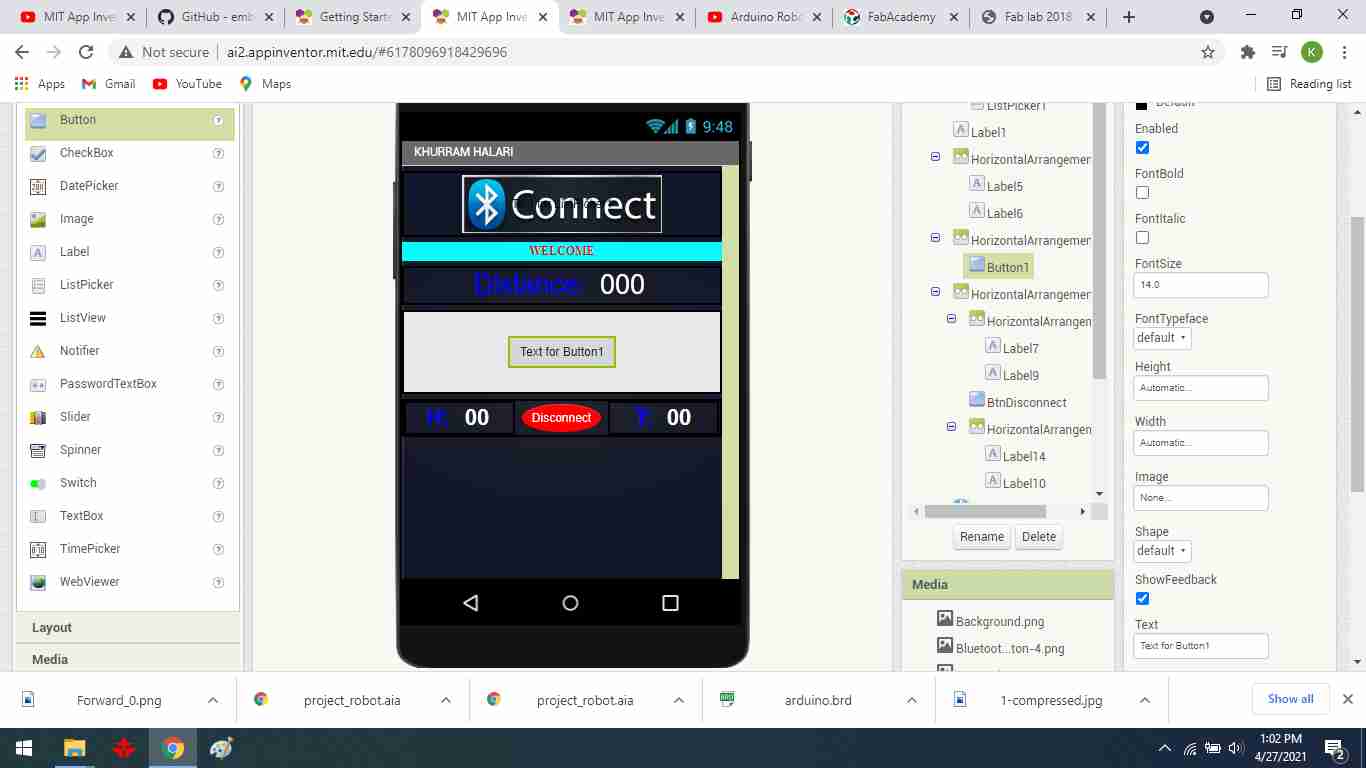
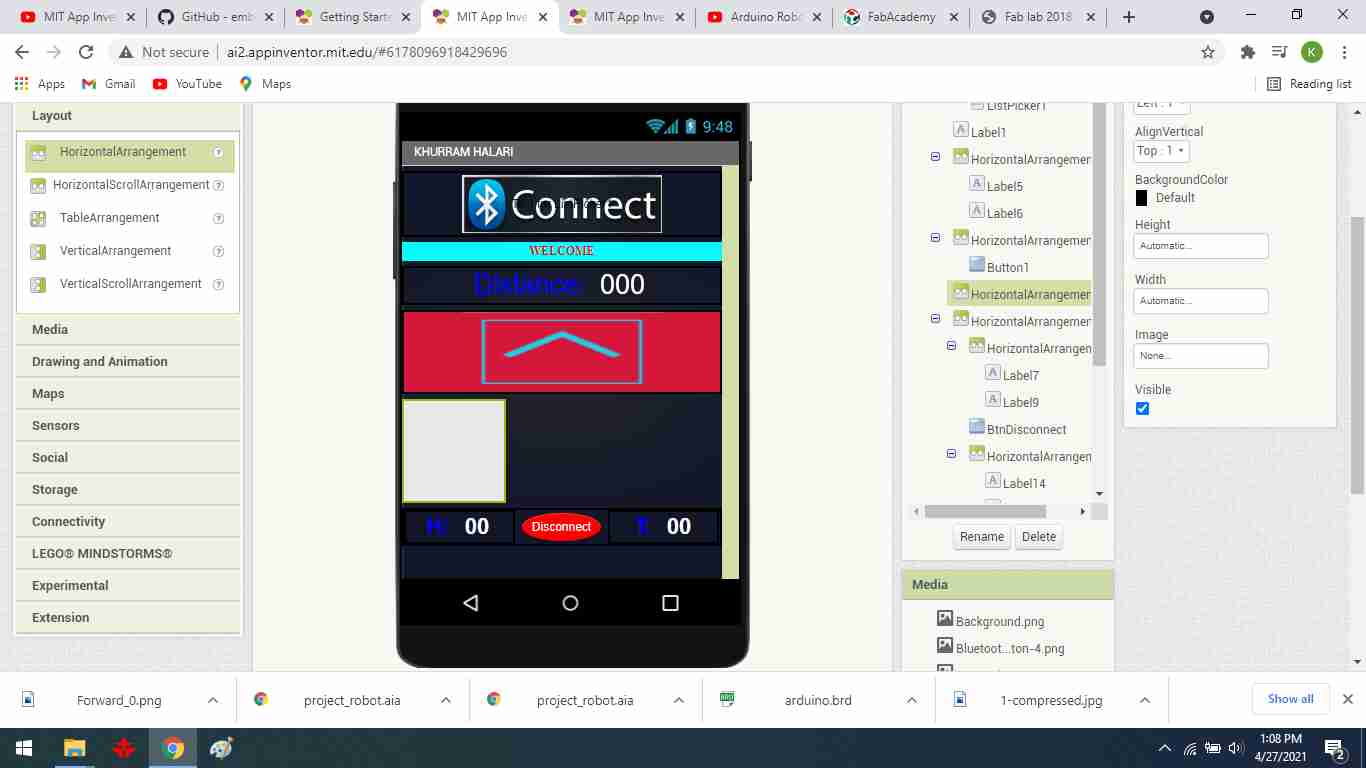
To create the button division.
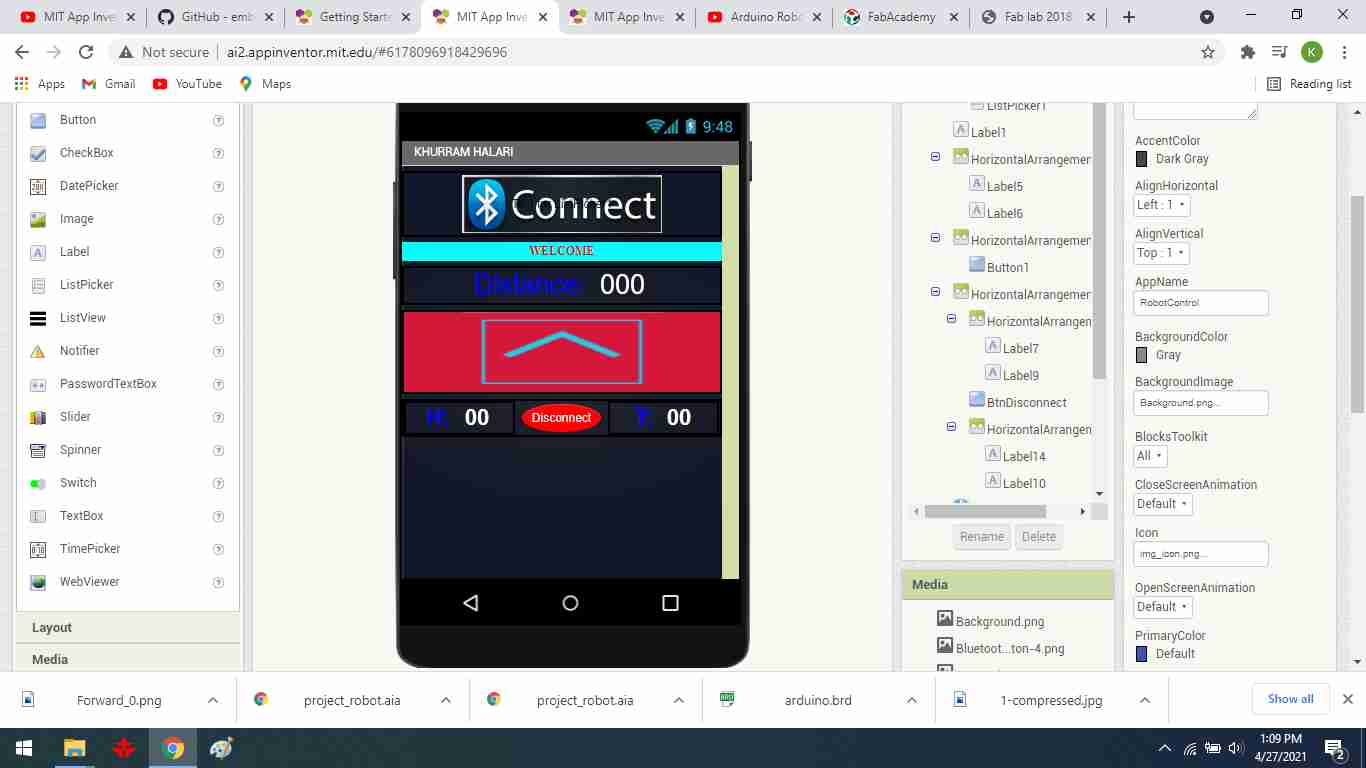
To include an upward button.
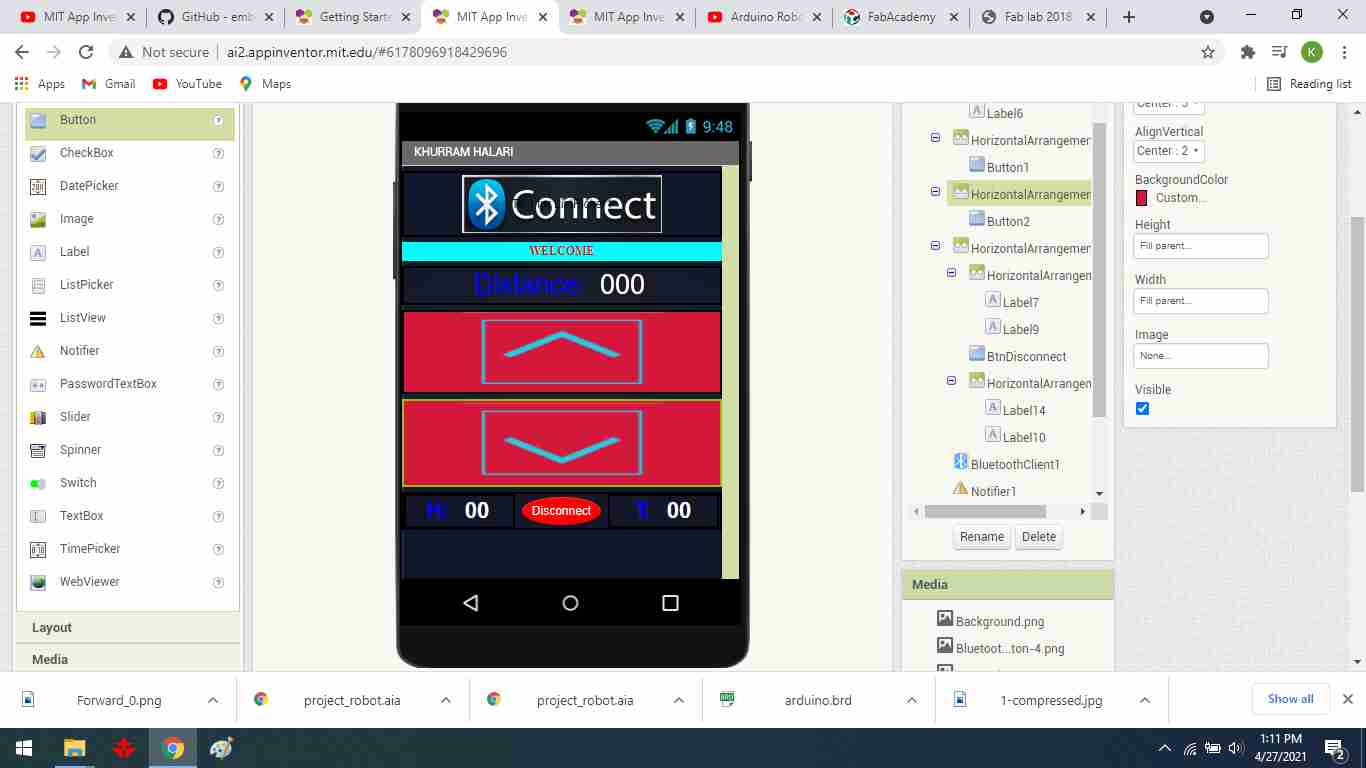
Create a downward button.
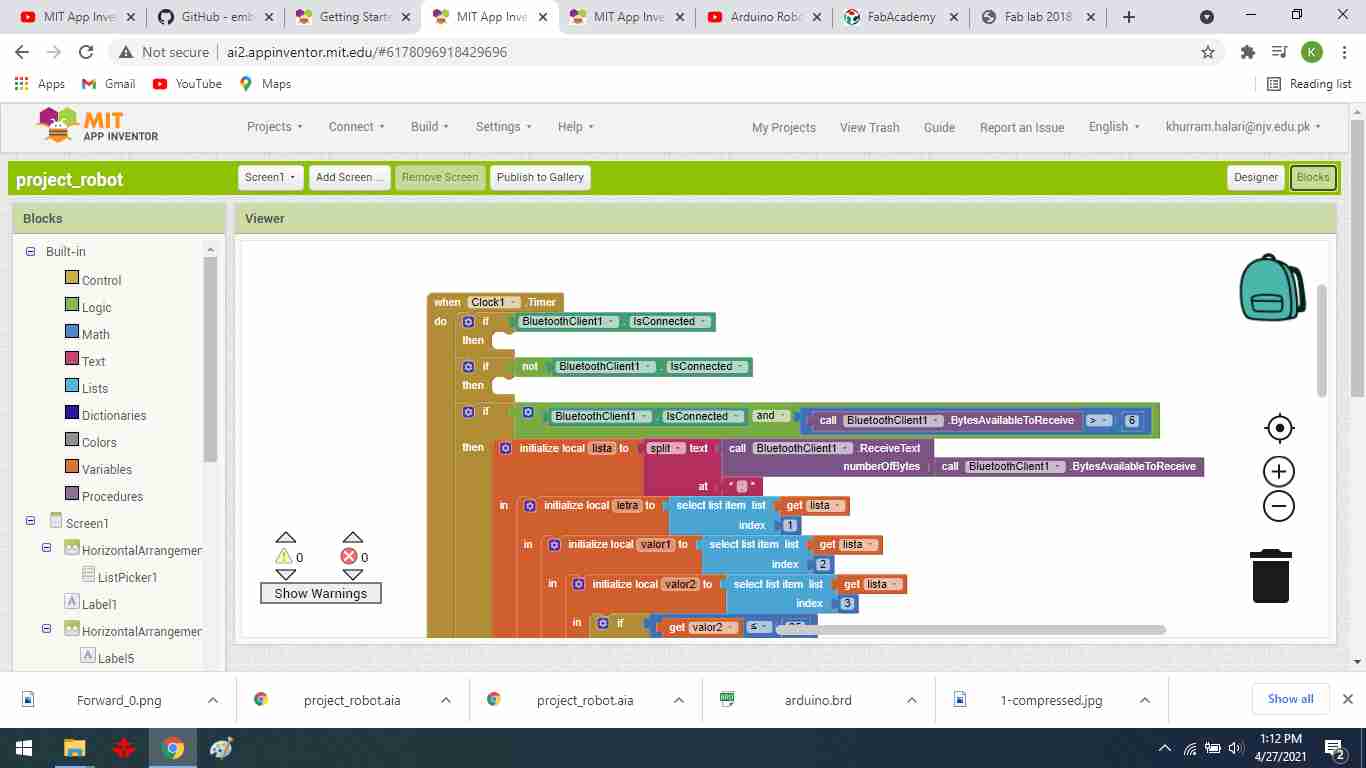
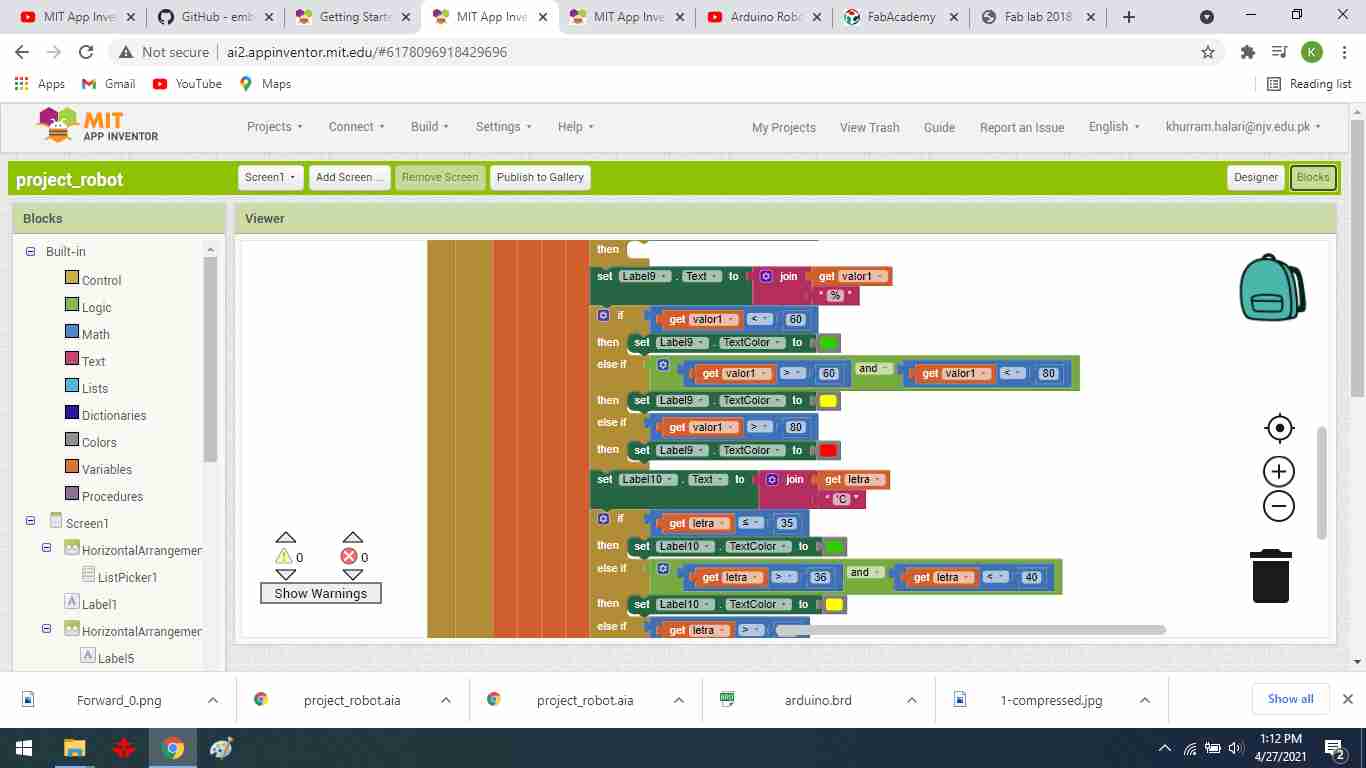
It starts by defining the entities in the application, and choosing the blocks that represent the function to perform.
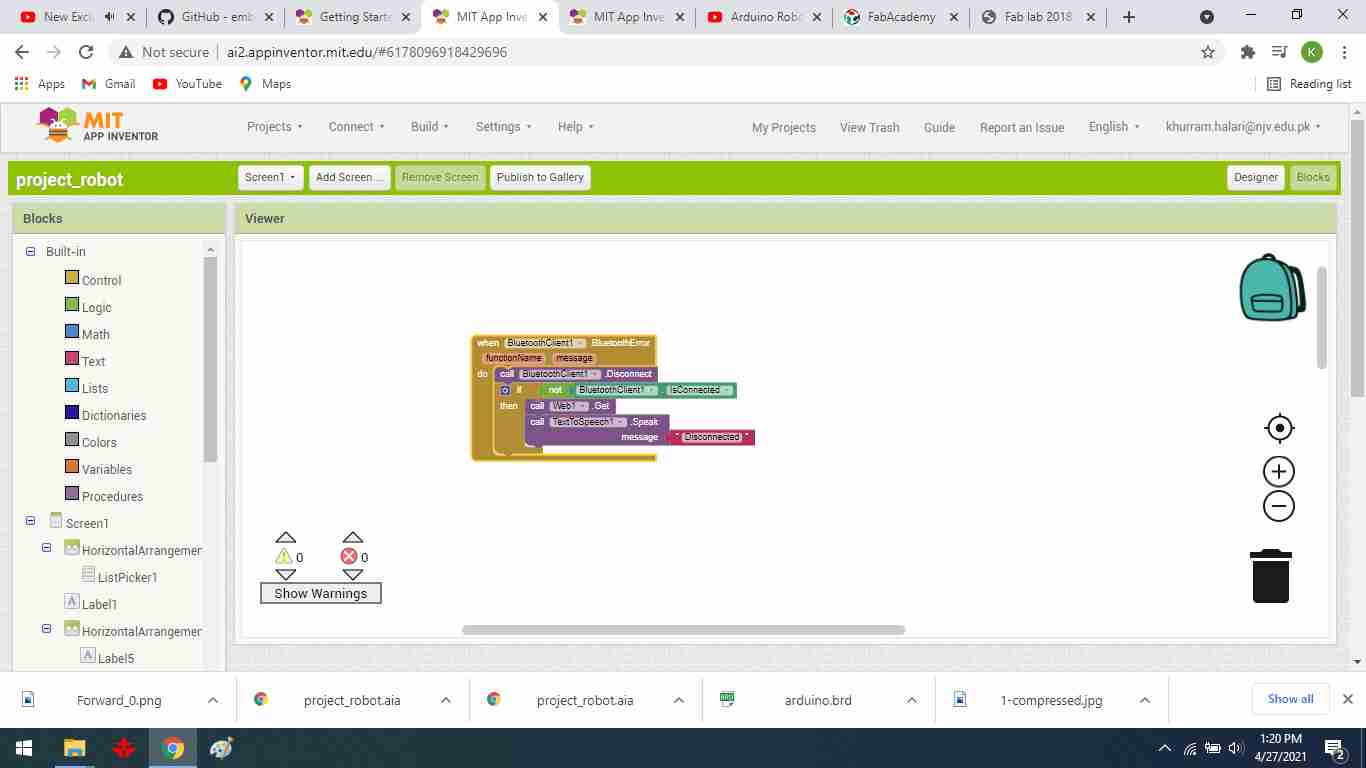
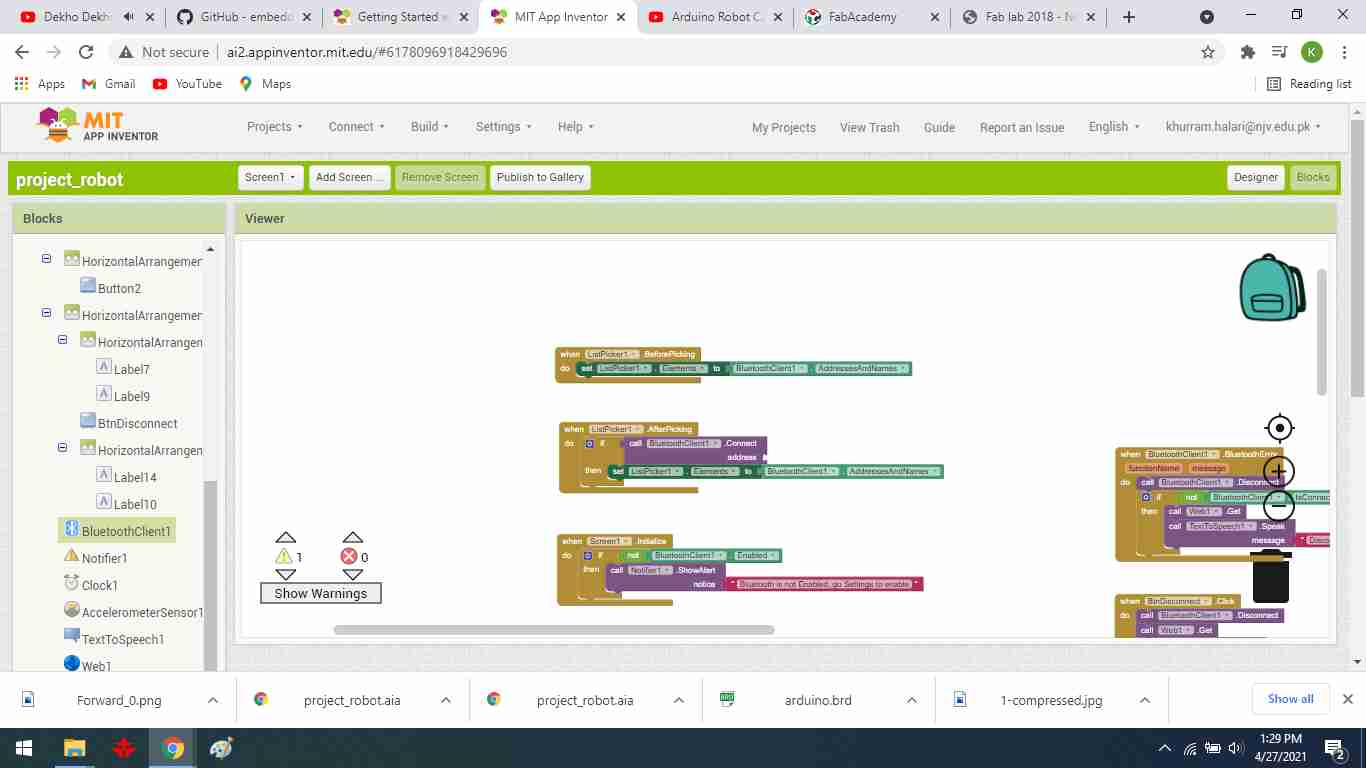
First, I make a communication block to communicate between the android mobile and the bluetooth module.
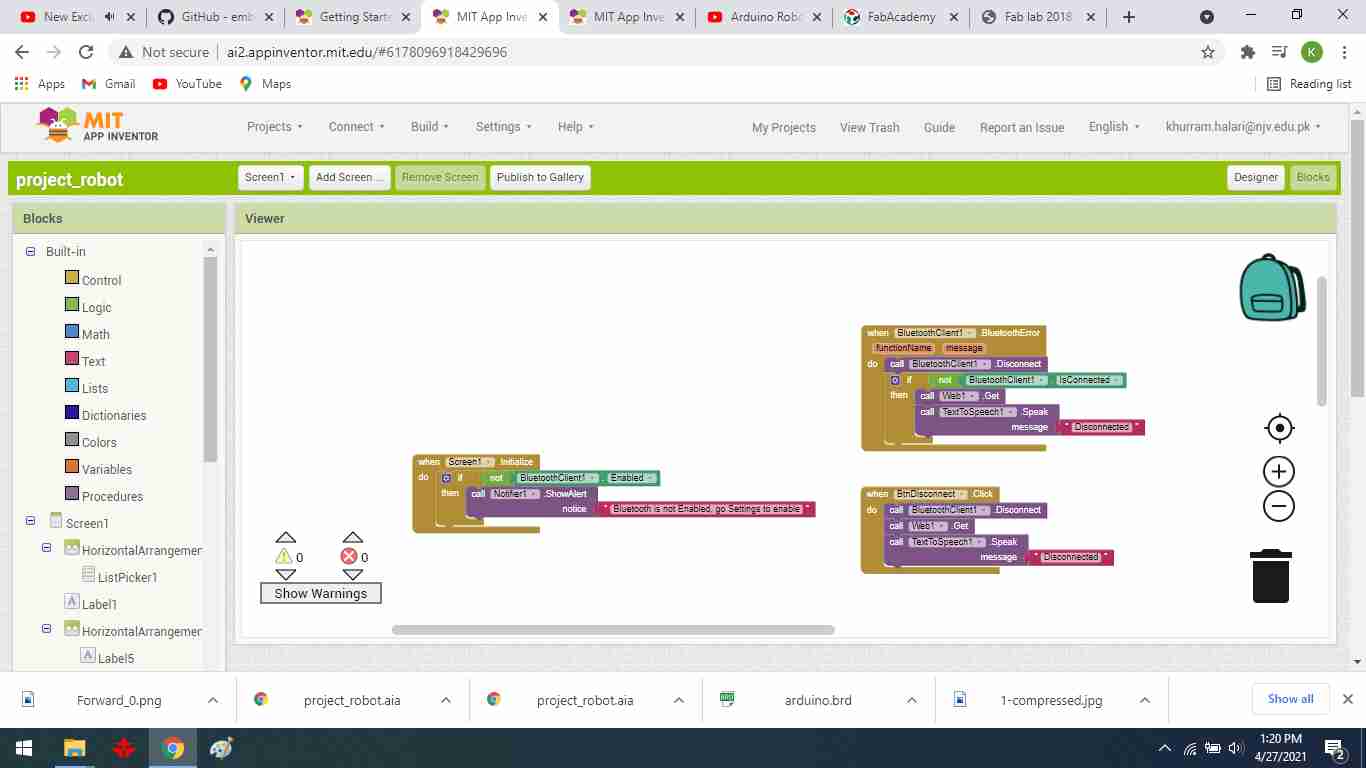
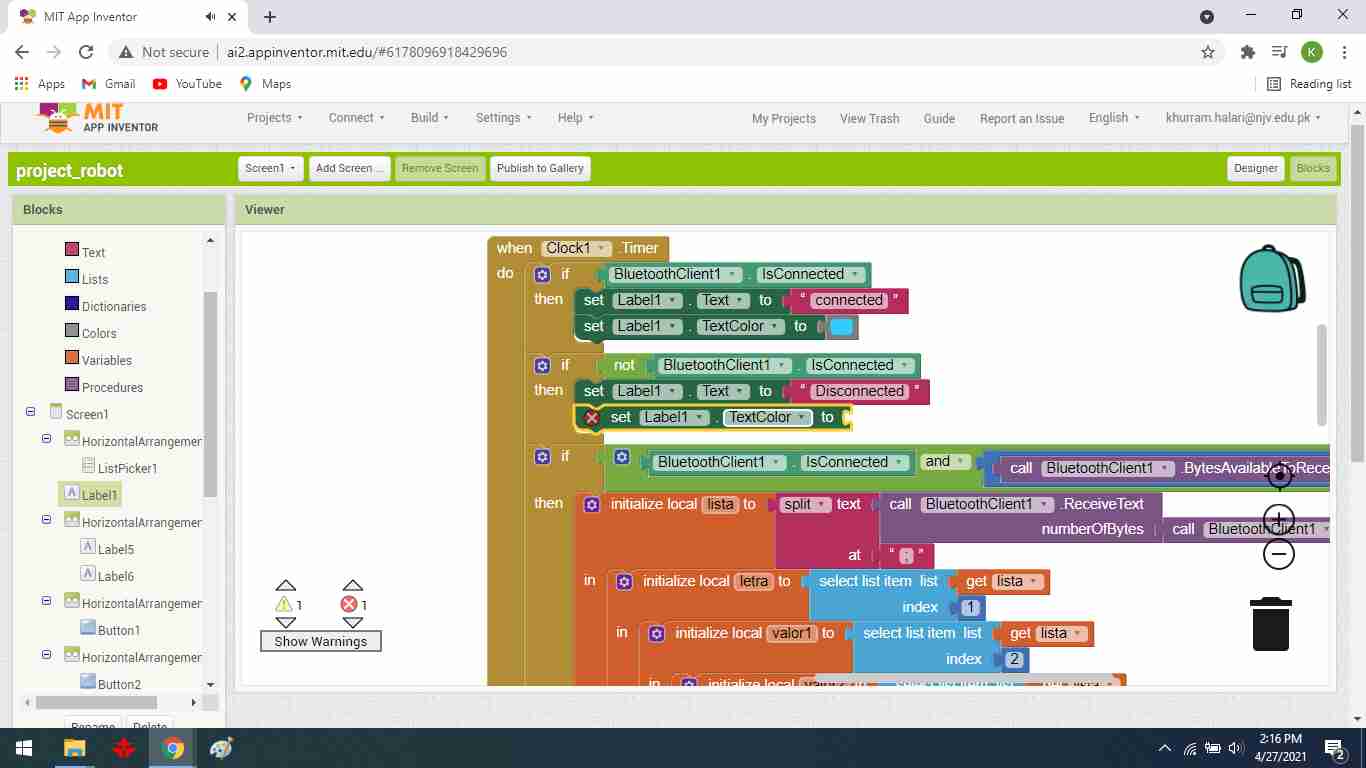
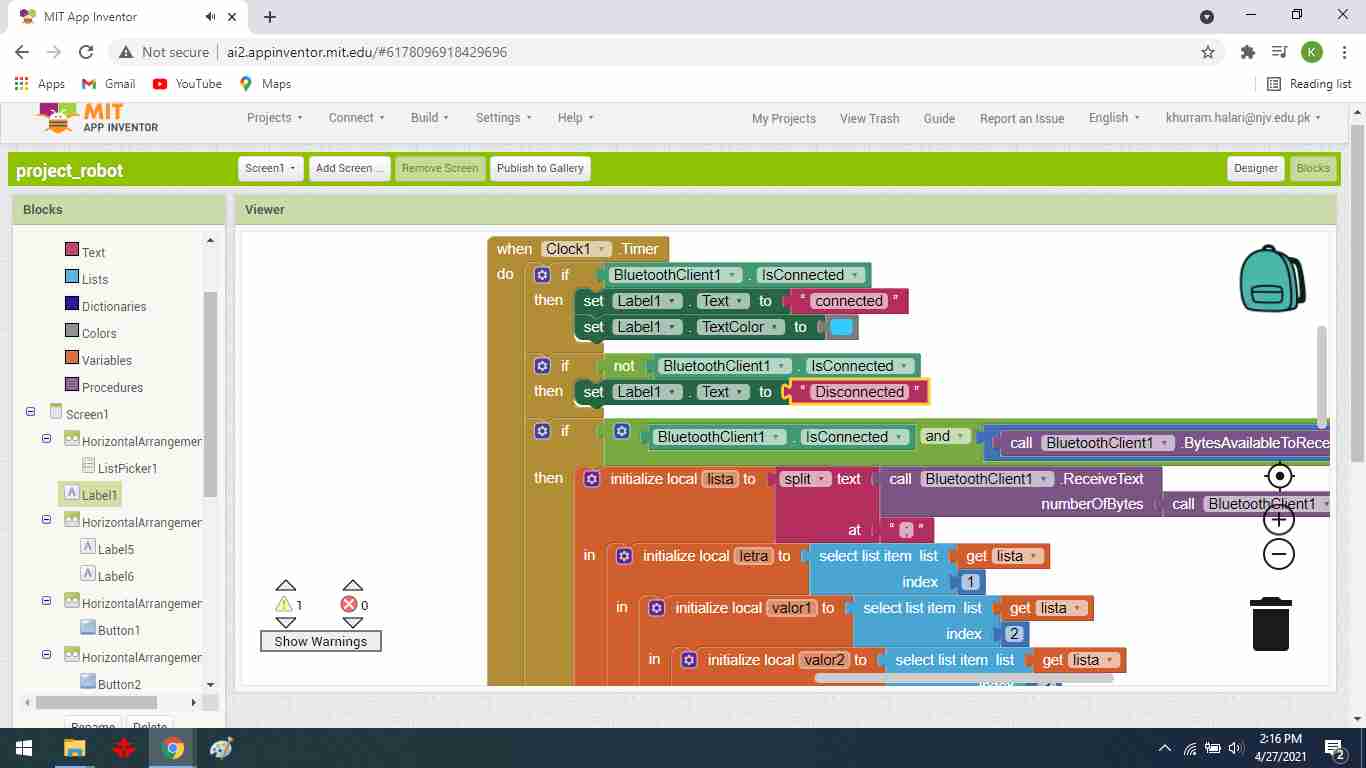
In the connection block you make a configuration, if it is connected you can access the app, and if it is not connected, a message “DISCONNECTED” is sent, you have to connect via bluetooth.
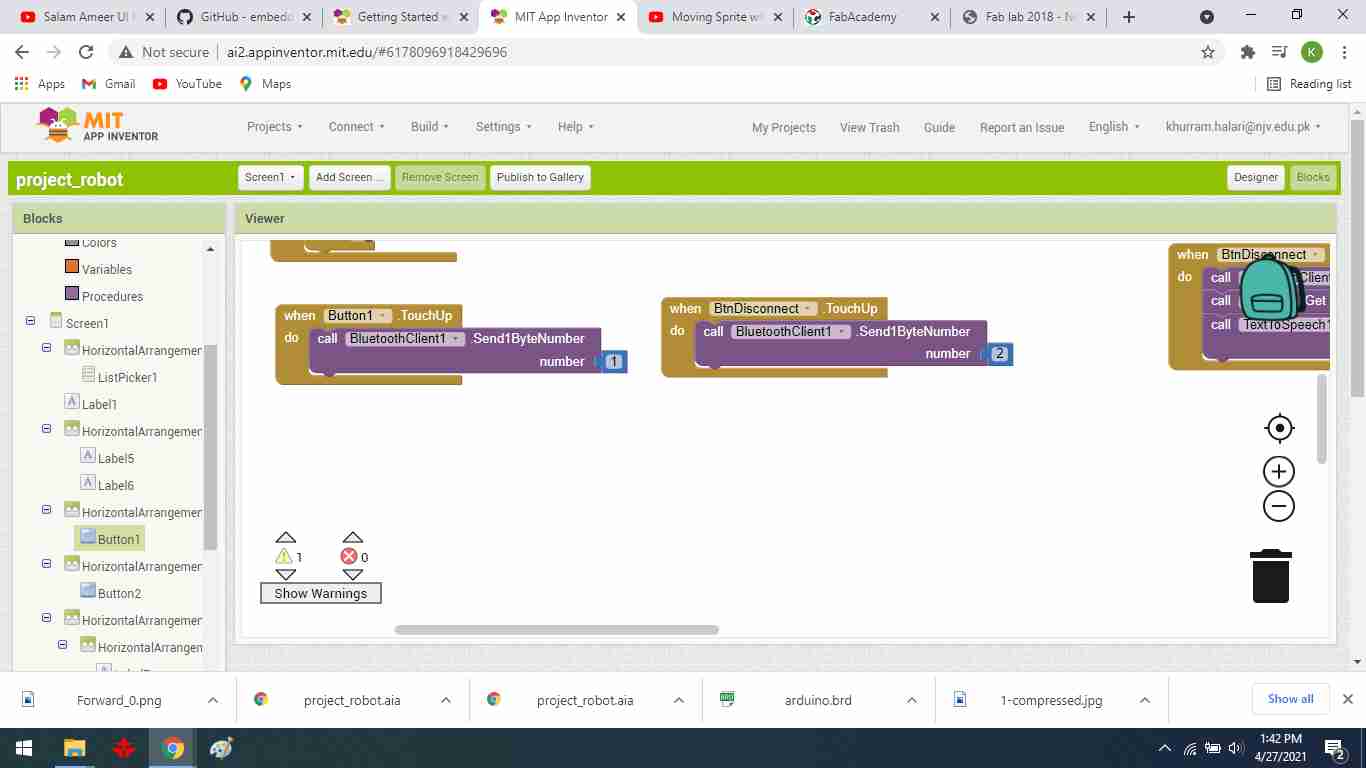
upward and downward button block.

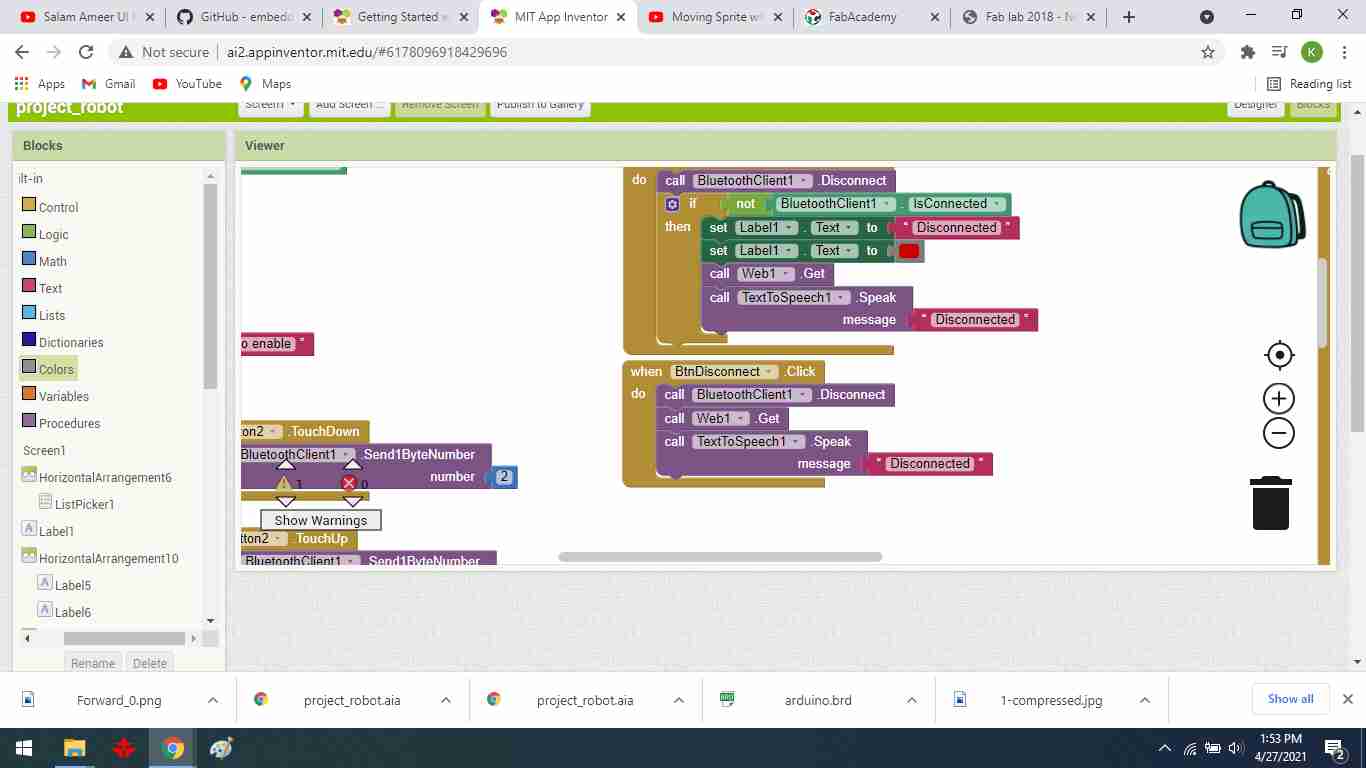
Bluetooth message block A message will be produced if Bluetooth is not connected to the mobile.
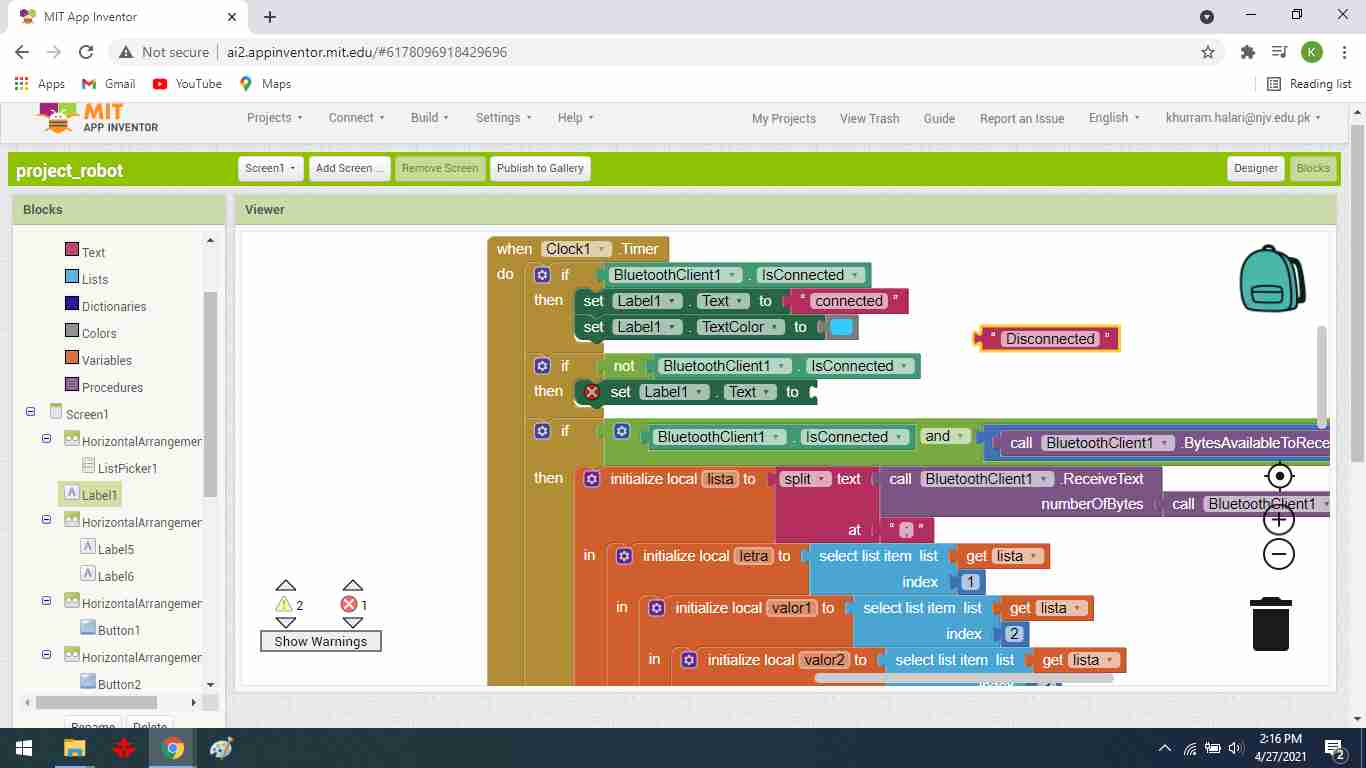
While the following screenshot shows my Blocks window that contains all the programming code:
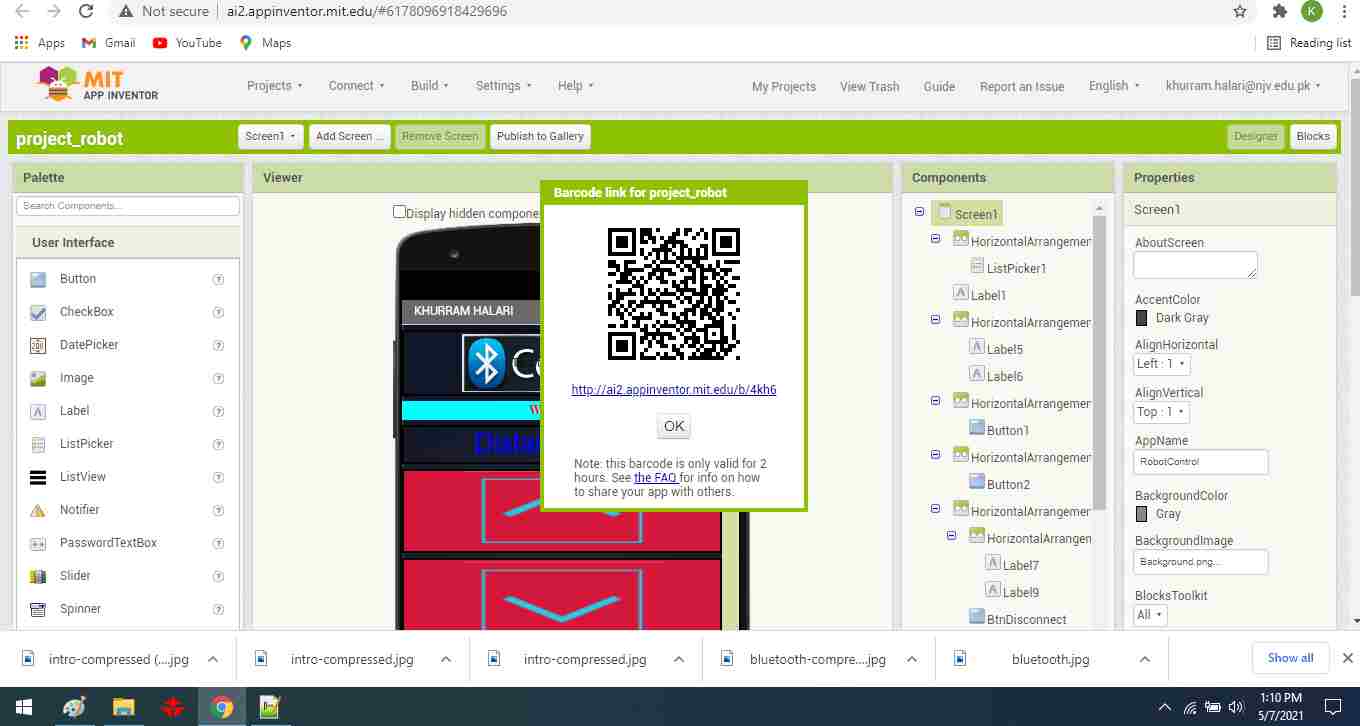
Now the app is ready to install on mobile phone. To do that click on Build from the top menu then App(provide QR code for .apk).
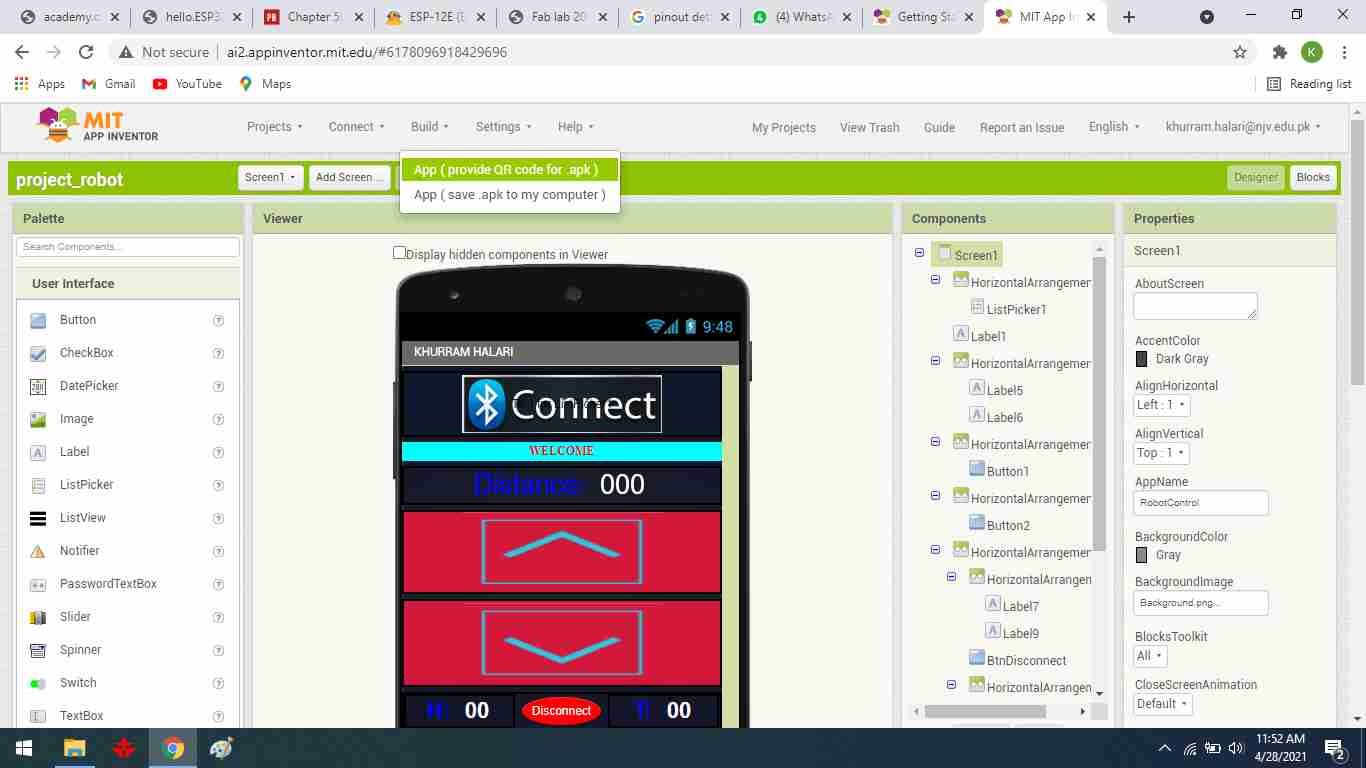
Wait until the QR produced. This may take 1 to 2 minutes based on your internet speed.
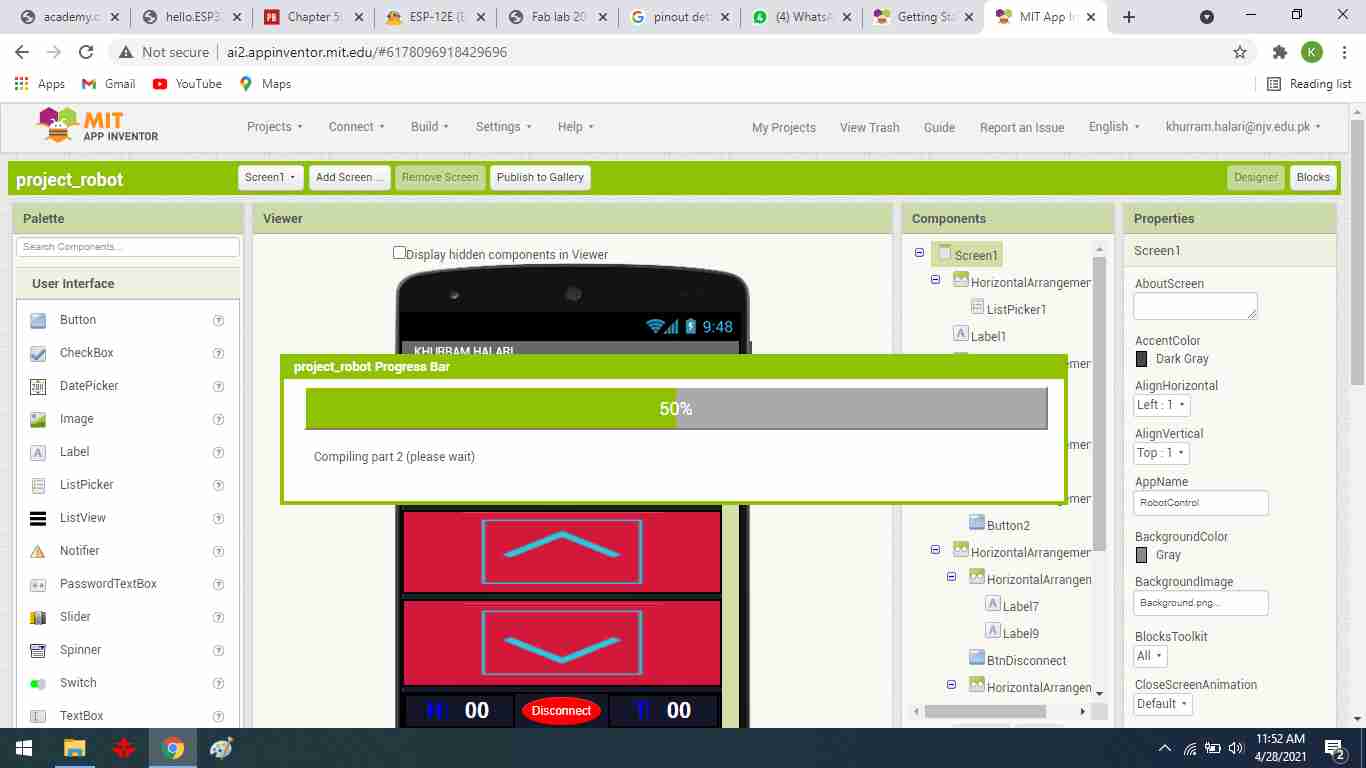
When QR code appears on the screen, open The MIT AI2 Companion app and scan it with your mobile phone.
Follow the below steps on the mobile phone to install the app:
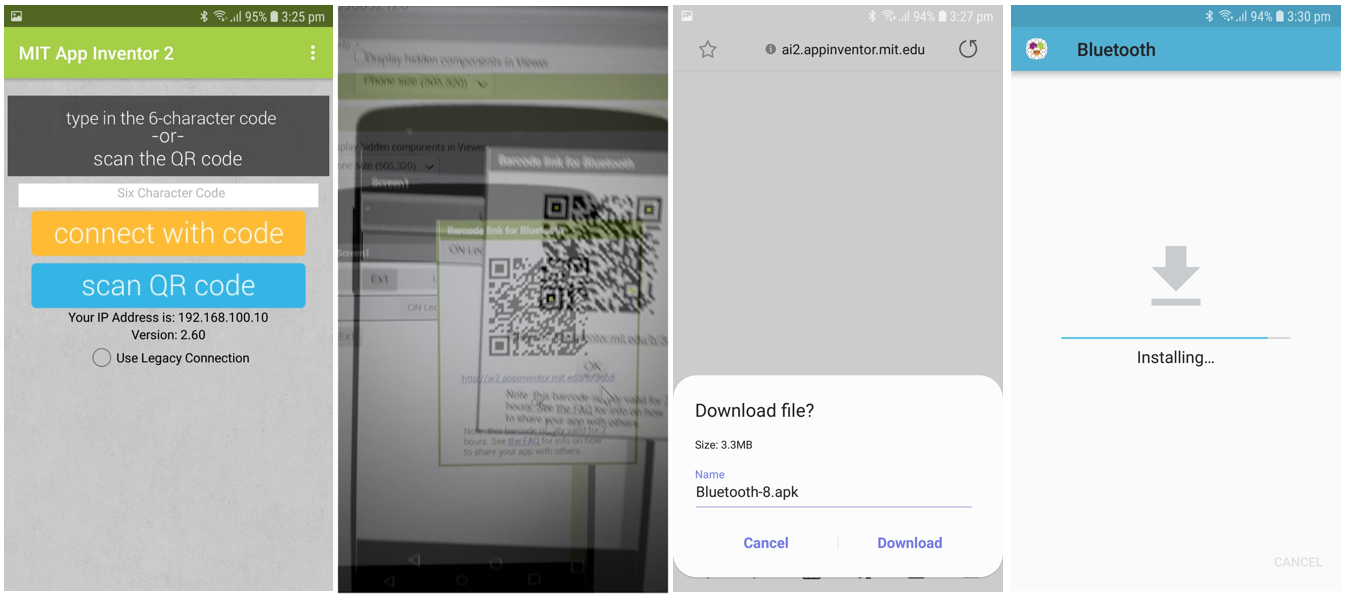
Finally, the app is installed on the mobile phone. Pair the mobile device with the bluetooth module "HC-05", connect it, and the DC motor rotates in both the up and down directions.. The following video shows how to connect to bluetooth module and the operated system.
"Click here"to download all files of this week