WEEK 7 Computer Controlled Machining
Group Assignment
do your lab's safety training
test runout, alignment, speeds, feeds, materials, and toolpaths for your machine
This week’s group Assignment is written in here
Individual Assignment
make (design + mill + assemble) something big (~meter-scale)
CNC Router and softwares
*Since we don’t have a CNC router at Fablab Kannai.
Fablab Hamamatsu TAKE-SPACE kindly let us use it for this week.
The lab was about 250km away from our lab, so we took a short trip there!

Hamamatsu is near Mt. Fuji but no view today because of heavy rain…

Cactuses in front of Fabab Hamamatsu
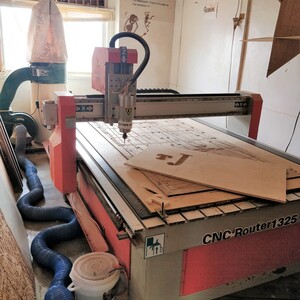
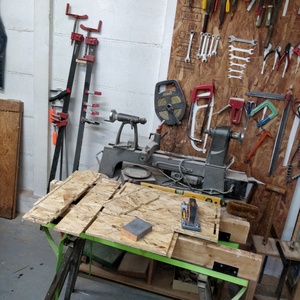
CNC router room
CNC router : ZN1325 at Fablab Hamamatsu TAKE-SPACE
Tool path maker : Vectric Cut2D Pro
G-code sender :Mach3
My Idea
Since we don’t have a large CNC milling machine at our lab , this week we can make something big at another lab was a very precious opportunity . So I wanted to use the product not only for the assignment this week but also for the part of my final project (Automatic Sake Pouring Machine).
I decided to make a wooden suitcase to store my machine and accessory items in.
I searched for similar ideas to get hints and found one which is close to what was on my mind.
Ref:Awesome Wooden Trunk W/ Rosewood for Camera Gear
Getting Materials
We went to the DIY store CAINZ to get materials.
Wood : OSB 9mm thickness, 910mm × 1820mm
Handle: 80mm × 17mm
Hinge: 25mm × 40mm
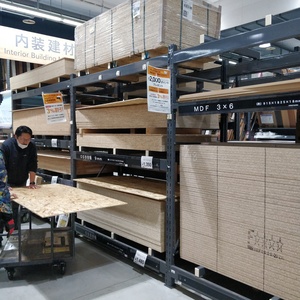
The store was huge…
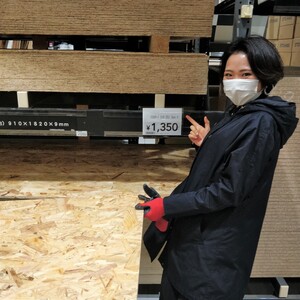
In the class I heard the price for OSB is getting more expensive due to COVID-19.The price today was about 12US$. It’s not bad,isn’t it?
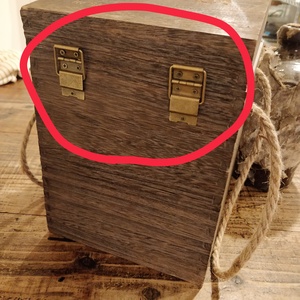
For hinges, I reused them from an old wooden box I had at home. I liked the antiqued taste of them.
Designing
At first I drew a rough sketch and blueprint with size. (It’s always better to actually move my hands to organize my thoughts before starting computer work…!)
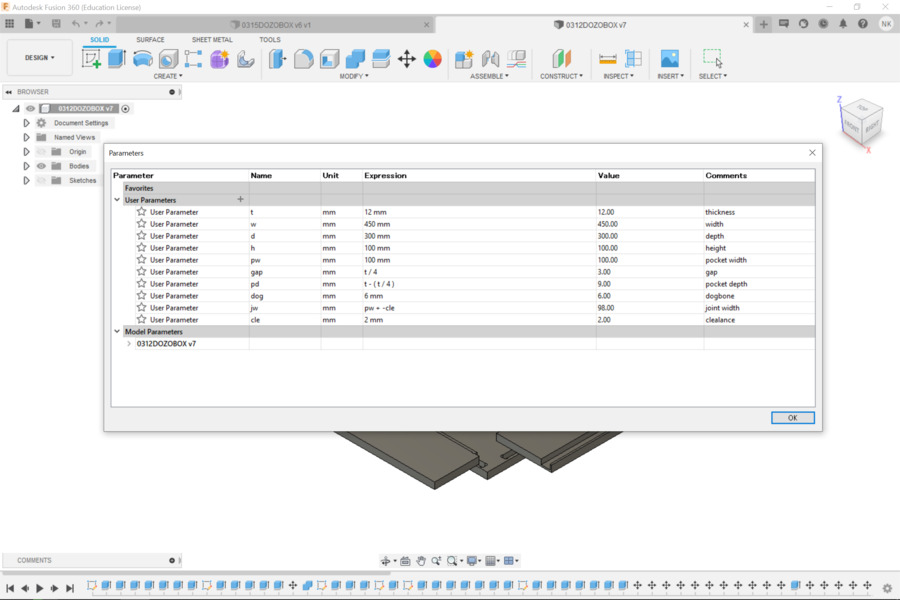
After that I used Fusion 360 for parametric designing. Every time I use it I have many struggles…I want to believe my skills are getting better little by little though…
Problem1 Design change
After a long time of hard fights, finally I tried to add dog bones to my design. Then I got so confused by the direction to put them… For my tired eyes, my wooden suitcase looked like Escher’s Trompe-l'œil.

I felt like there will be many errors in my design and afraid of not working well for milling ....so tearfully I made the decision to change my design drastically in this final stage to a more simple one.
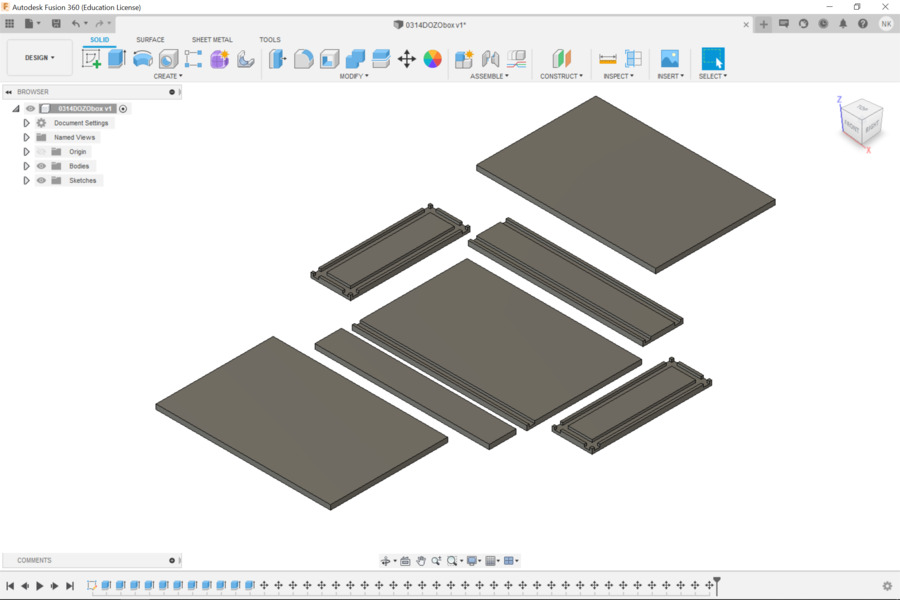
Before
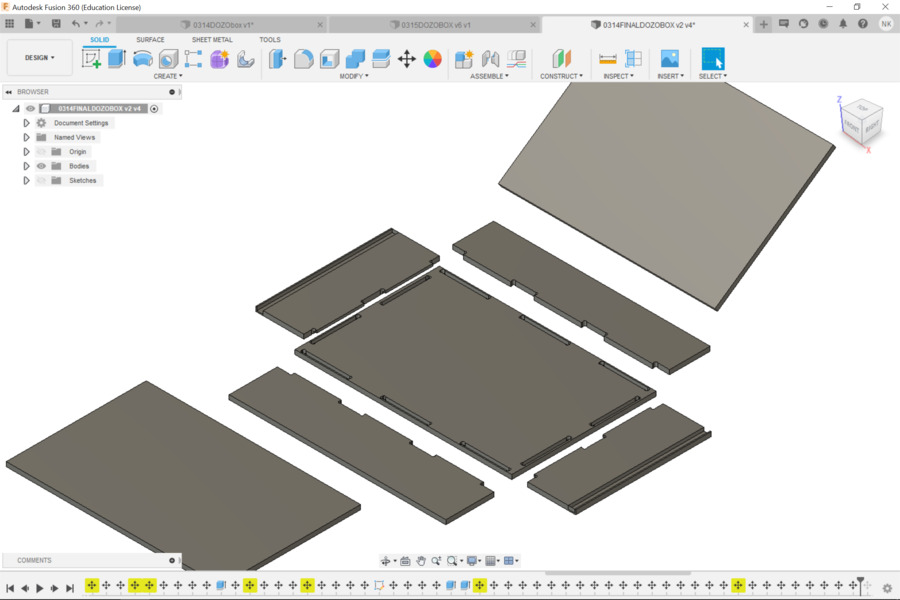
After
Problem2 Interferences
I asked my instructors for my first design check.
They found out some errors in my design, for example some connecting parts got out of positions and interfected each other.
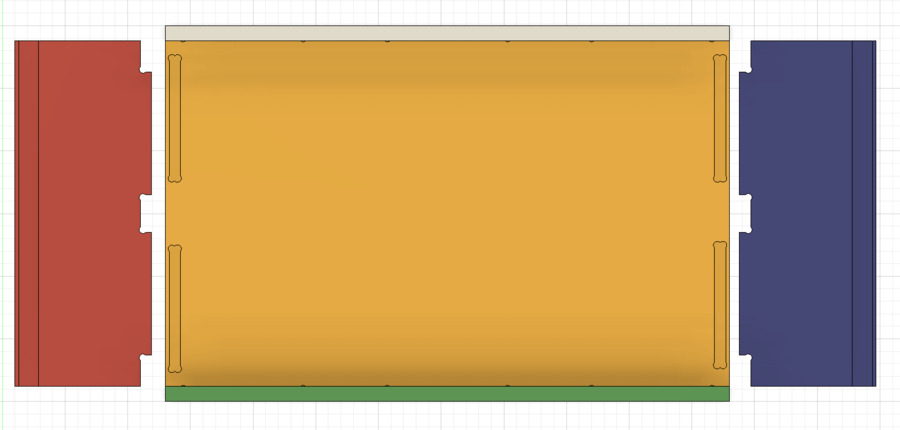

They told me that Fusion 360 has an Interference checking function. I tried it by clicking on INSPECT Tab>Interference and fixed the problem.
Then, I added dog bones in my design.

This is the final design.

Exporting as SVG files
I export body layout in fusion360 as SVG files with Shaper Utilities.
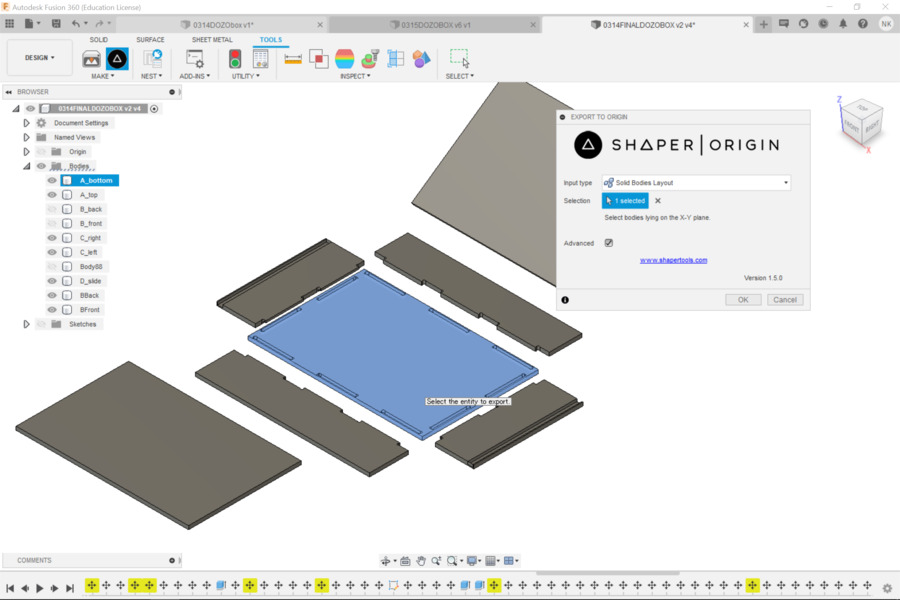
This is a vector file.
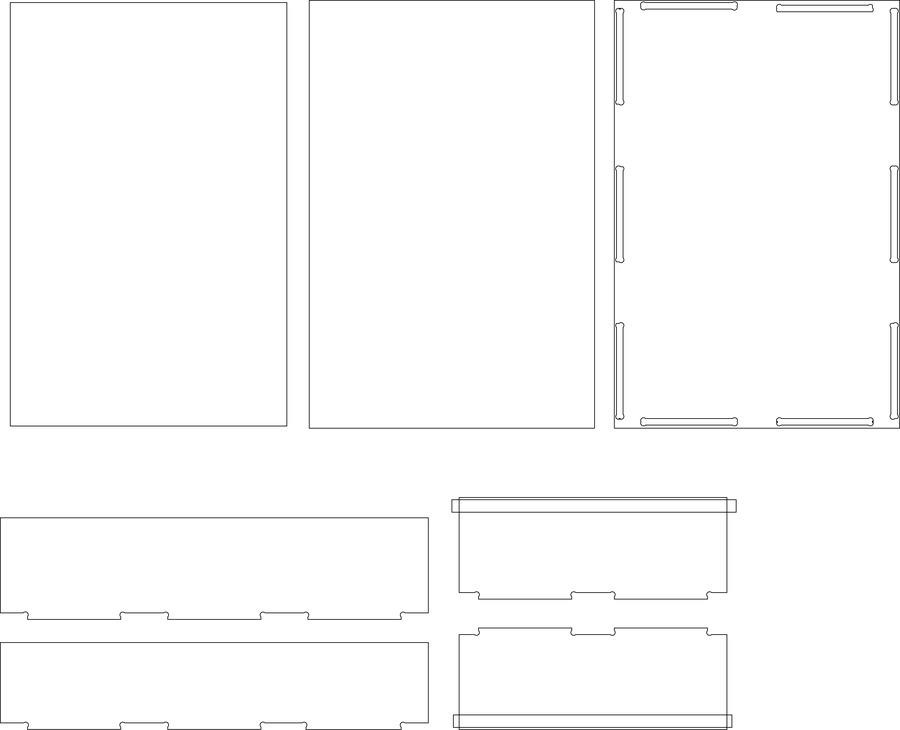
Measuring Actual Size of Wood
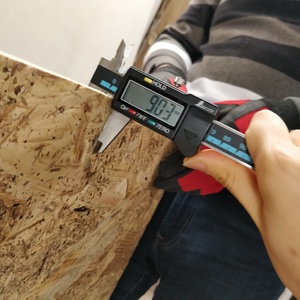
Before moving on to the milling part, I needed to measure the actual thickness of my wood.
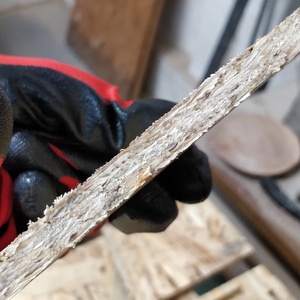
Problem3 Thickness Difference
Since OSB is engineered wood formed by adding adhesives and then compressing layers of wood strands, the thickness was different depending on where I measured it.The thinnest part was 8.7mm and the thickest part was 9.7mm.
So I decided to use an average size, 9.2 mm as actual thickness.
Safety and Lectures
Safety was especially important for this week. Through the Wednesday class, I learned the risk and danger of CNC router so braced myself.
Takemura-san, the instructor of Fablab Hamamatsu, lectured us how to use the CNC router.
Test cut
We found out a joint clearance for each board in Group Assignment.
By using the results of it, I did a test cut.
Problem 4 Missed the pocket cut test
I forgot that my design included a “pocket”part , so I didn't test it.
When I cutted pocket without the test, something wrong with the Z axis happened and the pocket was cutted through the bottom face...I had to do it again from the beginning and it took time. I learned THE TESTING IS ALWAYS VERY IMPORTANT!!
Milling
Problem 5 My parametric design data was not parametric….
After 4 hours we started working with a CNC router, we finished the group assignment and test cuts.
I was excited to move on to the actual cut ,then found out my design data error again…
Some of the dog bone parts were not parametric. When I changed the thickness of the board, the dog bone part moved to an unintentional place, so I had to fix this.
Finally I started my actual cut at 6:00 pm.
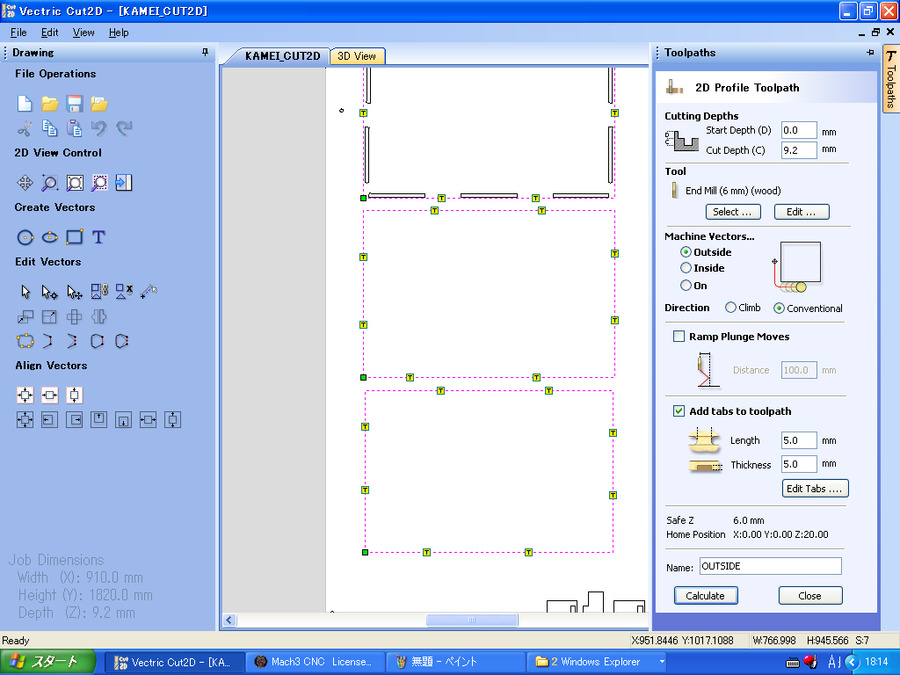
I made tool paths and saved as a G-code file with Cut2D.
The procedures are as follows:
1.Import the vector file from File -> Import -> Import Vectors on the screen of Cut2D.
2.Set the material.
-Thickness: 9.0
-XY Datum: left-down
-Z-Zero: Material Surface
3.Create tool path for outside and inside from Toolpath Operation -> Profile Toolpath
Ser the feed rate, the step over, the cut depth, and the speed as follows.
*On the screenshot the cut depth is 12.3 but correct cut depth for my material is 9.3. Although I changed it in actual process,unfortunately I forgot to take screenshot after adjustment.
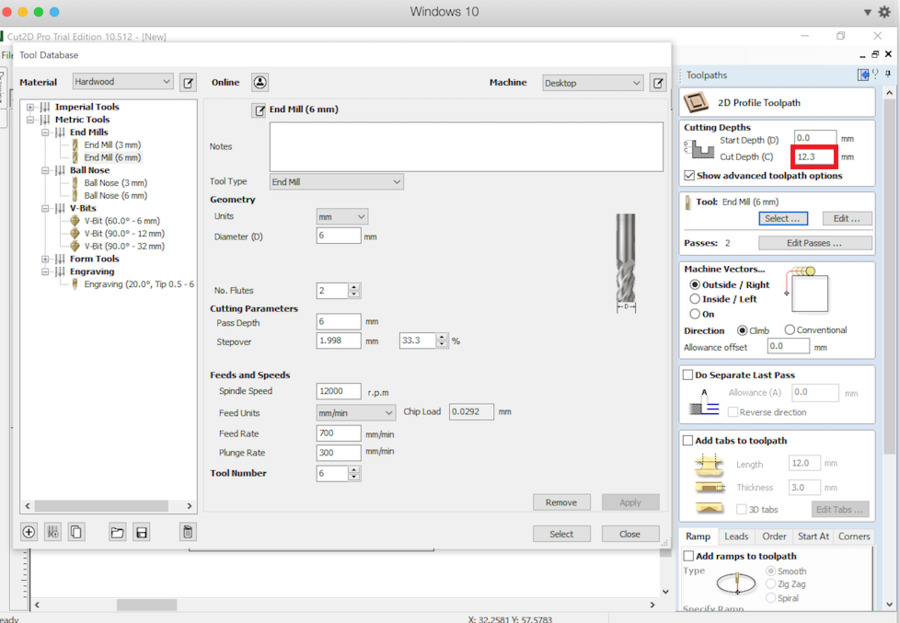
■Cutting Depth
-Start Depth:0
-Cut Depth:9.3
■Tool
-End Mill(6mm)
-Cutting Parameters:
-Pass Depth: 6mm
■Machine Vectors
-Outside
-Inside
-On
4.Add tabs to avoid missing cutted parts, from Add tabs to toolpath -> Edit Tabs
-length:5
-Thickness:5
-select vectors
5.Create tool path for pocket from Toolpath Operation -> Pocket Toolpath
■Cutting Depths
-Start Depth:0
-Cut Depth: 5
■Tool
-End Mill(6mm)
-Cutting Parameters:
-Pass Depth: 6mm
7. Create toolpath for the drills from Toolpath Operation>Drilling Toolpath
-Draw Circle>Diamete: 6mm
8.Save toolpath from Toolpath Operation -> Save Toolpath
■Select tooolpath from list
Outside
Pocket
Drill
■Select G Code (mm)(*.tap) for post Processor
The operation of the CNC router is conducted with Mach3.
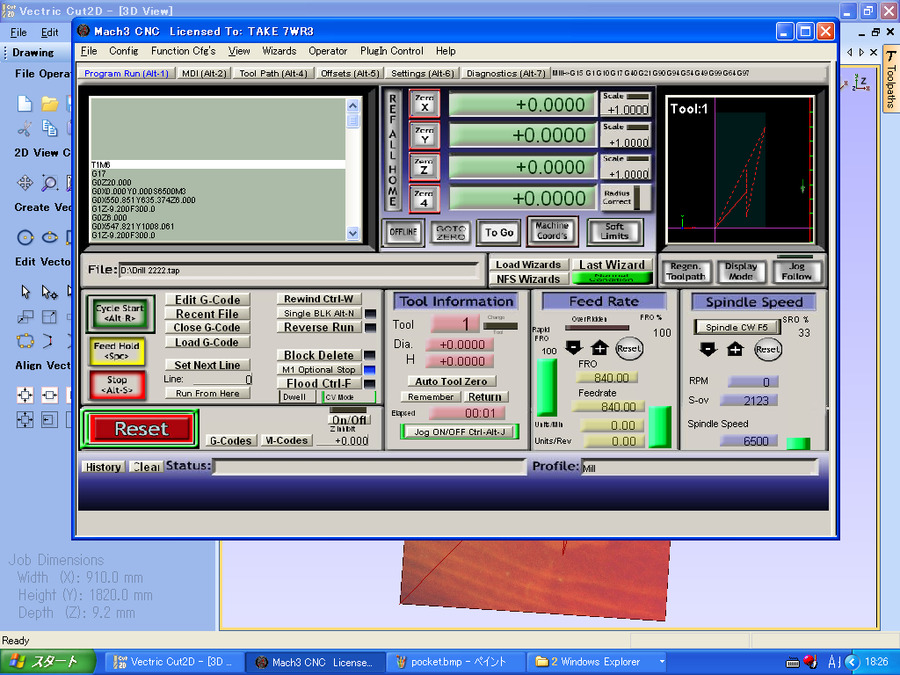
The procedures are as follows:
1.Move router head by using the keyboard.
-left/right key for X Axis
-up/down key for Y Axis
-page-up/page-down key for Z Axis
2.Set X-Zero, Y-Zero, Z-Zero
-set Zero-X, Zero-Y by moving to left-down.
-set Zero-Z by touching on material Surface
3.Load G-Code files from "Load G-code" botton on the left.
Remember the order to mill is drill>pocket>inside>outside.
4.To start,push "Cycle Start" green botton.
Problem 6 Joint parts didn’t work
I forgot to put the pocket to some of the joint parts, so it didn’t fit….
Again I changed my design data!!!
Problem 7 Pushing Stop key unintentionally.
I was afraid of errors on the CNC router and putting my hands on to the mouse to stop it as soon as something went wrong. I was a bit tired that time and pushed the stop button unintentionally although everything went well. I started from the beginning and it took time again!
CONCENTRATION IS VERY IMPORTANT!
Problem 8 The wall broke
The distance between the outside line and slit was too thin and some parts broke. My design data had too many problems….
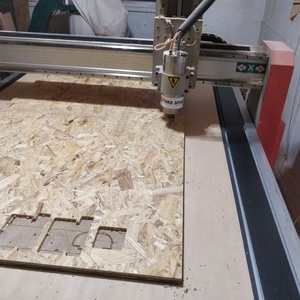
Milling...
There supposed to be enough area for three suitcases on the board... however I was almost running out of space for even one trunk after many failures!!
Time was up for the first day at this point, so my struggles continued to the next day….!
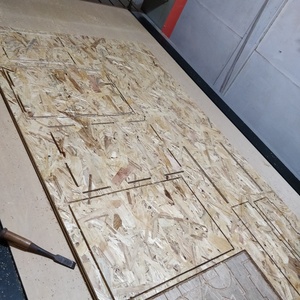
With the fixed data, I tried third?? forth ?? fifth?? which I don’t even remember, milling.
FINALLY!!!! All parts were cutted!

Assembling
Wood work room
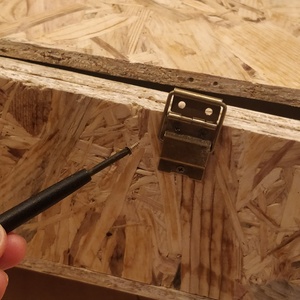
Fitting hinges
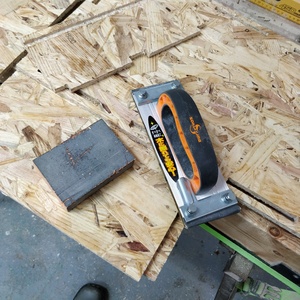
Filing with sandpaper
Before filing.

After filing.
Hero Shots
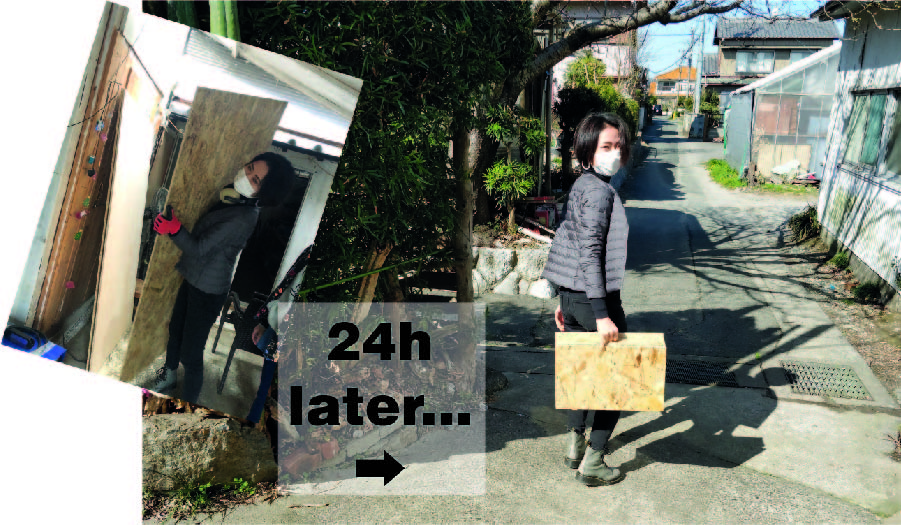
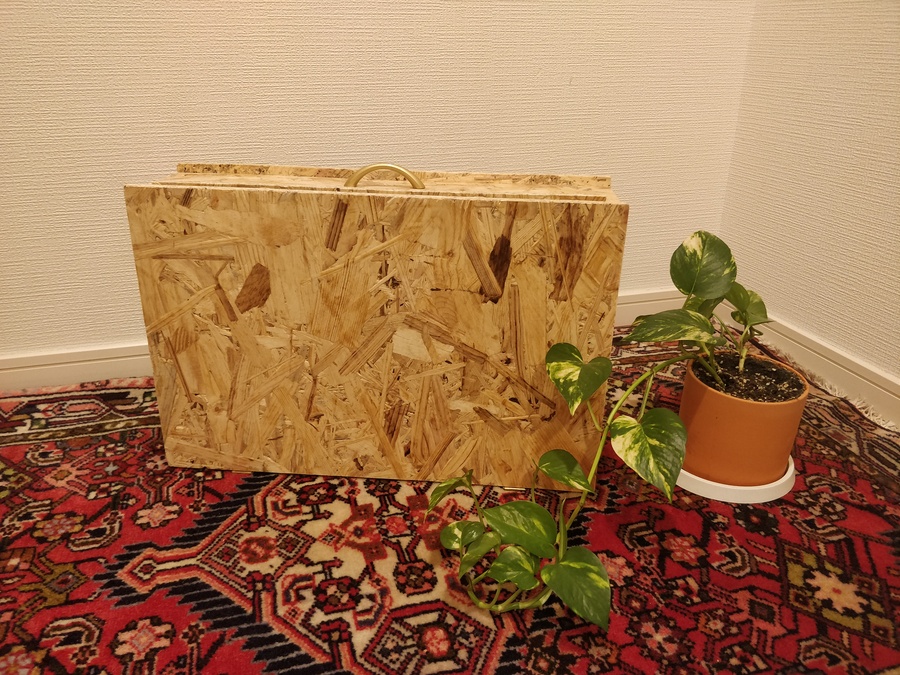
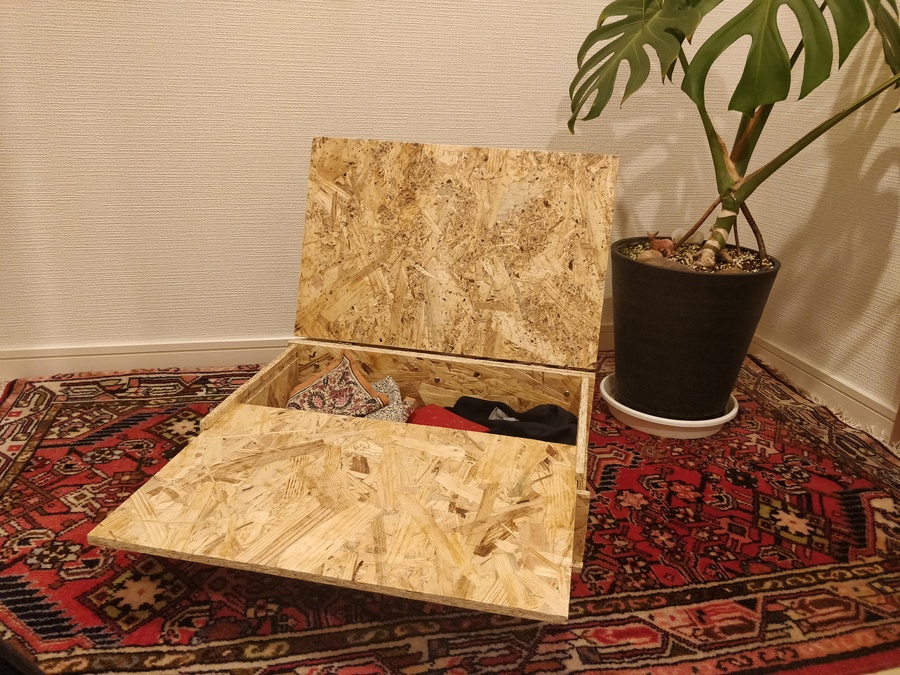
Size:W 450mm x D300mm x H100mm
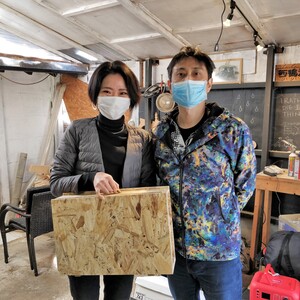
My super patient instructor Tamiya san…. Thank you so much for supporting me during this long weekend!
Thank you Homma san also for checking my design.

Beautiful Mt Fuji View on the train back to home!
It was like celebrating the success.

Cheers with eel (Famous food in Hamamatsu) and beer:P
Files
Suitcase 3D data
f3d
stl
Suitcase Vector data
svg