WEEK16 WildCard Week
Individual Assignment
Design and produce something with a digital fabrication process (incorporating computer-aided design and manufacturing) not covered in another assignment, documenting the requirements that your assignment meets, and including everything necessary to reproduce it. Possibilities include (but are not limited to):
My Idea
We have a digital sewing and embroidery machine at our lab, so I decided to use this and make the patch(embroidery sticker)embroidered with the logo of my final project.
Machine and Materials
Mahine:JANOME Hyper Craft 900
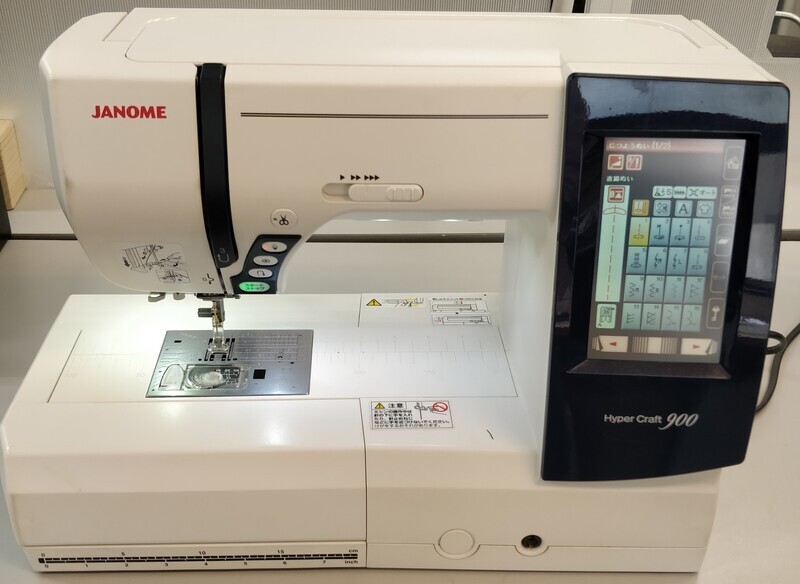
Ref:JANOME Hyper Craft 900
Software
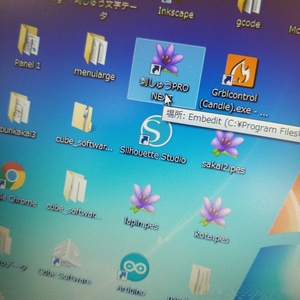
This time we used the computer in our lab, which the software for the embroidery machine is already installed.
Ref:刺しゅうPRO NEXT
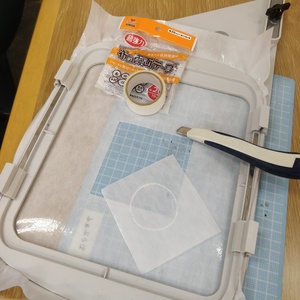
Materials
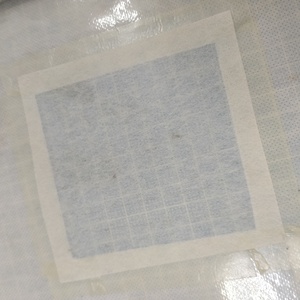
◆Stabilizer sheet
To support fibers of the embroidered-to-be fabrics during the embroidery process and help stitches lay in a neater way.
Ref: グッドパンチシート シングル 100cm幅
◆Inter-facing Fusible
To keep fabric from stretching out of shape.
Ref: ハイボン 150 白・糊無し 33cm幅×50m巻き
◆Ecellent(Heat Melt Fabric Glue Sheet)
heat seal adhesive(To make the patches Iron-on)
Ref: Ecellent Hot-melt series
Ref:エセラン302 100ミクロン 52.5cm幅
◆Organdie
The fabric to be embroidered
Supplies
◆Heatcutter
To cut the outline of the patch.
Ref: heat cutter
◆Scissors,Utility knife
◆Double-sticked tape
◆Iron
Procedures
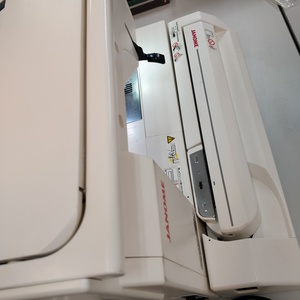
1.Set the embroidery table on the back of the machine.
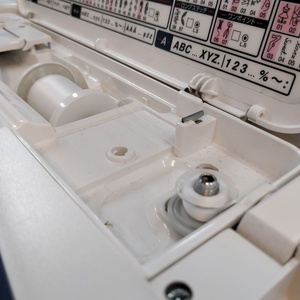
2.Set the upper thread.
3.Set the bottom thread.(Wind the bobbin beforehand,if necessary)
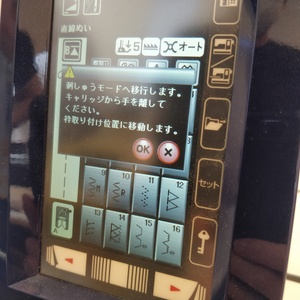
4.Connect to the computer, change to embroidery mode from the display on the machine.
5.Open the software from the computer.
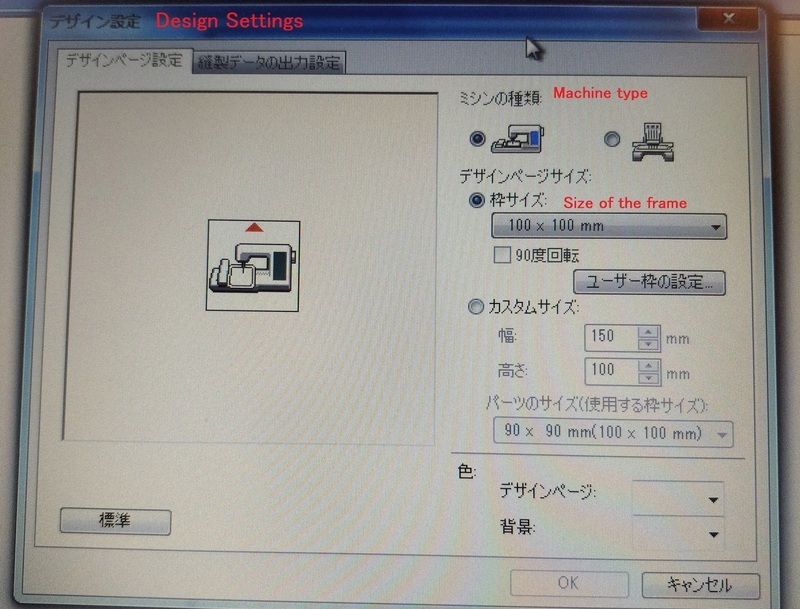
7.From the Design settings, select the type of machine and the size of the embroidery frame.(200mmx200m for our machine)
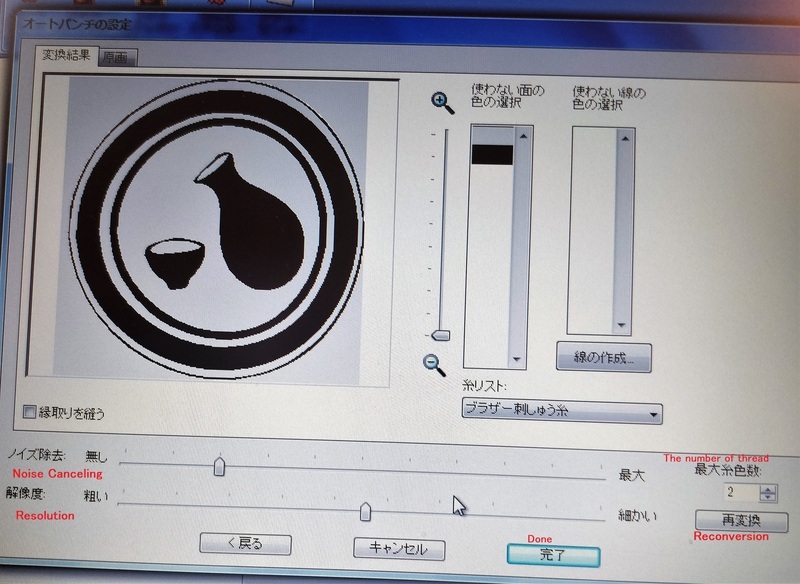
8.From "Image" tab > Open> Files, import the bmp file. Adjust the settings such as noise canceling and resolutions from "Autopunch Settings"window.
Problem Spot the Difference
My logo design include the sake bottle, cup and tiny drop of sake between them. In initial setting, a drop and some parts of the drawing were missing unintentionally... I readjested the settings, and the problem was fixed!

Original logo
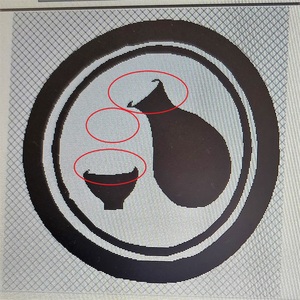
Some parts were missing due to wrong settings
Simulation Check
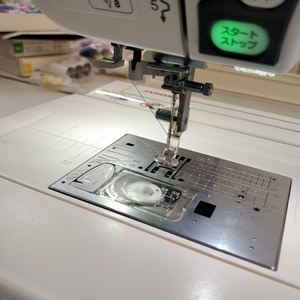
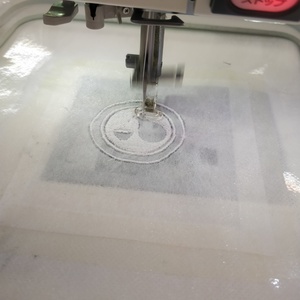
9.Test sewing on the stabilizer sheet to check the right position on the materials.
10.Cut the subject area for embroidery with the utility knife.
11.Attach the Inter-facing fusible and organdie with the double-sticked tape.
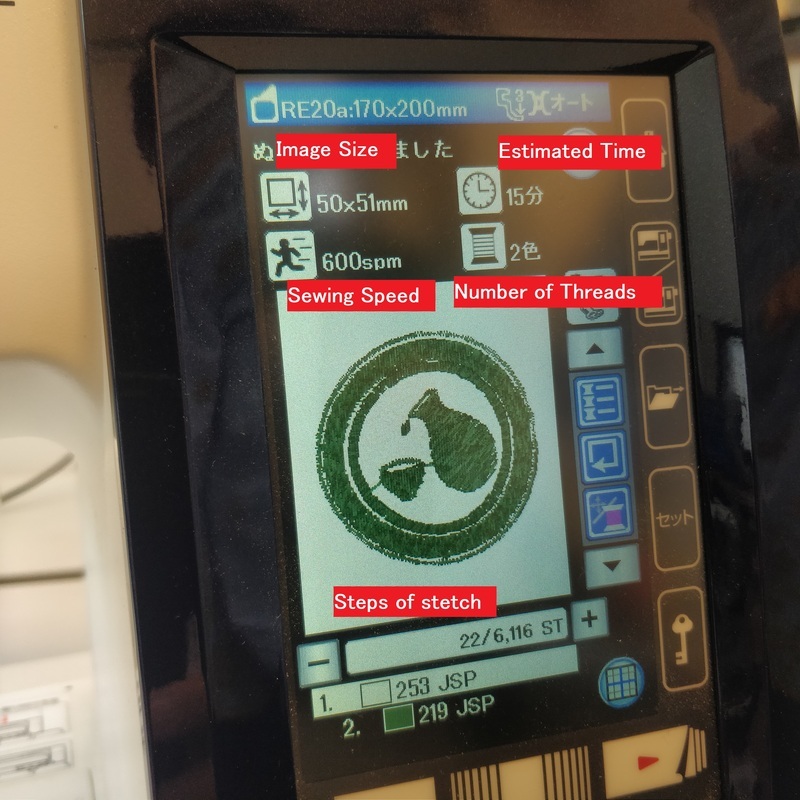
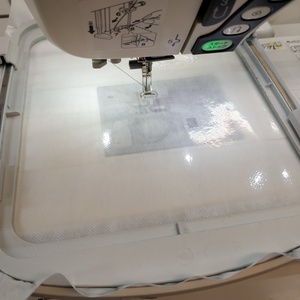
This is how it looked on the embroidery machine display.You can check all necessary information such as estimated embroidery time ,sewing speed,image size, and stech processing.
If I used two colors in my design, so needed to change the thread after embroidering the first color was finished.
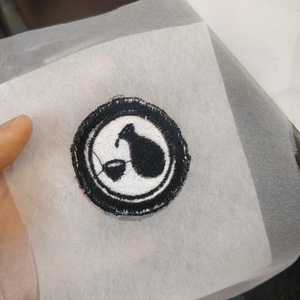
Done!
Actual Embroidering
Finishing
After embroidery was finished, I cutted the unnecessarily part of organdie by the hear cutter. Then, to make it the iron-on patch, added the ecellent on the reverse side of my embroidery by iron.
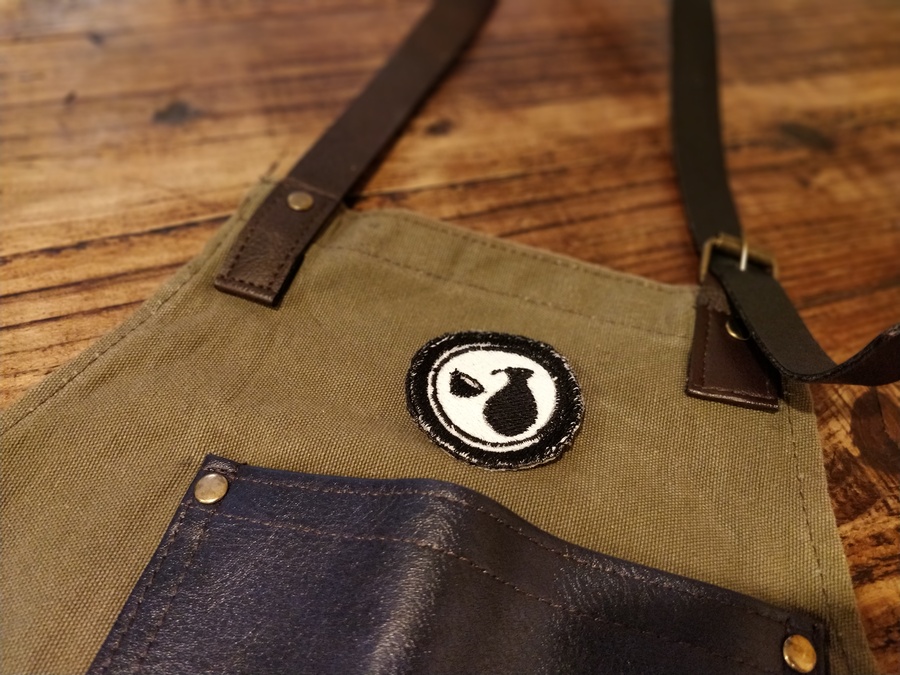
I need to iron the patch from the front side(embroidered side)with a protective cloth on the place where I would like to attach it. (I haven't decided where,so skipped this process this time.)
Hero Shots
I haven't decided where I should attach my patch.... Maybe my working apron??
Thoughts
The embroidering time was much shorter than I imagined, but all the settings before it such as positioning, cutting the materials, design settings on the software etc needed the time unexpectedly.
I loved the embroidery things for a long time, so this class had much excitment for me. I would like try another designs with many colors in the future!
Files
Logo bmp file
Logo Embroidery file