WEEK12 Molding and Casting
Group Assignment
review the safety data sheets for each of your molding and casting materials,
then make and compare test casts with each of them
Individual Assignment
design a mold around the stock and tooling that you'll be using,
mill it (rough cut + (at least) three-axis finish cut),
and use it to cast parts
My Idea
On week 11 I made this electronic scale with the load cell sensor for my final project.
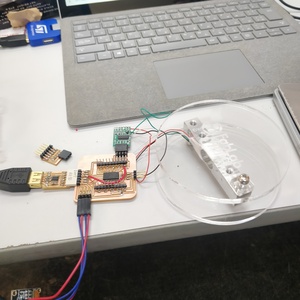
I used acrylic boards for the top and bottom board of scales as a trial, but for the final proj
ect I wanted to make it more elegant design..
So I decided to make the leaf-shaped cast for the top board of my weight scale on week 12 Molding and Casting.
For the shape of the leaf, I got inspiration from Kashiwa-mochi (which is Japanese rice cake covered with the leaf of an oak that I was eating the other day.
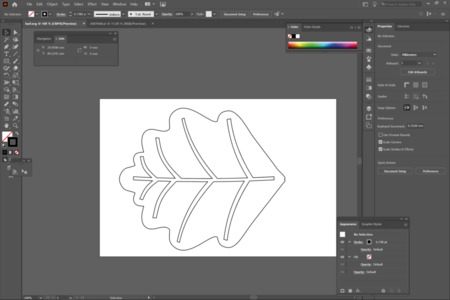
Designing Vector Data
Firstly I started to make a vector design of the outline of leaf and with Adobe Illustrator.
In the class Neil said that we should decide what tools we are going to use before designing. Because the characteristics of the tools will affec the possibilities of the design,
So I reflected on the instructions of the local session, and checked the size of the end mill we are going to use.
Since the size of the end mill for the finish cut is 1.58mm, I made the lengths of all parts in my design more than 2mm.
Also I looked for other examples that made the leaves on the past molding and casting classes and checked what kind of designing problems they had.
Ref:Micky van Zeijl(2019 Fab Academy Student)
Ref:Maria Botero(MIT Graduate Student)
3D design with Fusion 360
Problem1 Changes of image size as importing SVG to Fusion 360
When I imported SVG files to Fusion 360, the scale and size of the image changed unintentionally for some reason, I searched to fix the problem and tried the following way.
(It’s not completely precise but it worked enough for my case.)
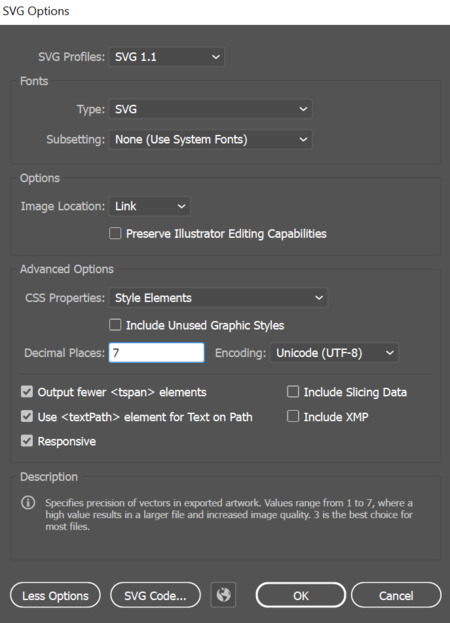
1.As saving AI file as SVG file, type "7" for the decimal places on SVG Option Settings of Adobe Illustrator
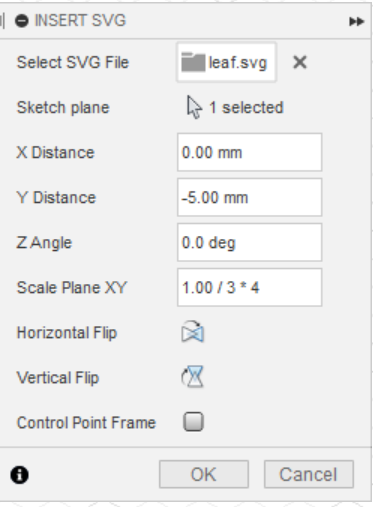
2.As inserting SVG to Fusion 360, type "1.00 / 3 * 4" for Scale Plane XY on option tab.
Problem2 Positive + Negative Confusion
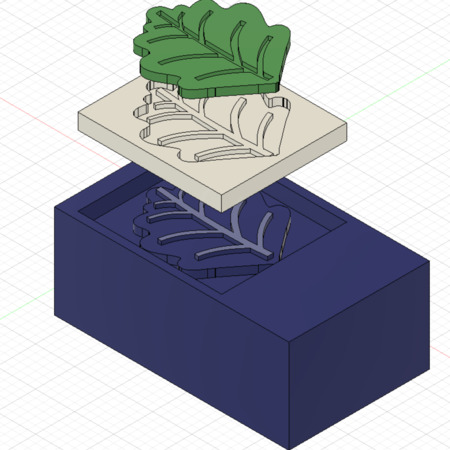
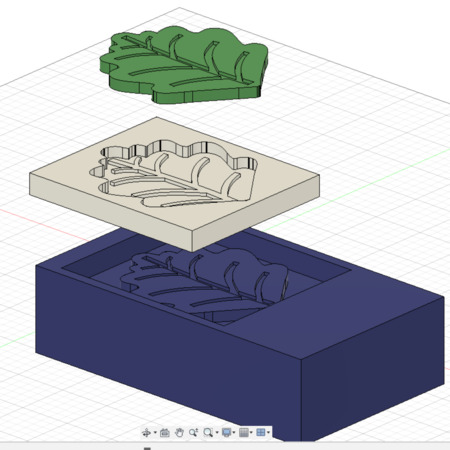
I needed to create three types of bodies on Fusion 360.
1Final Part(Positive) 2Molding(Negative) 3WAX(Positive)
On the initial trial I extruded the same sketches to create those three bodies.
I did this process with thinking in my head, which part is dents or bumps.
Then I got confused and made a mistake.
My instructor pointed out my mistake and told me a better way to design those three bodies is to subtract each body with the Combine function, not extruding each one from the sketches.
Mistake one.
Wax(positive) is not consistent with the final part(positive)..
Correct one
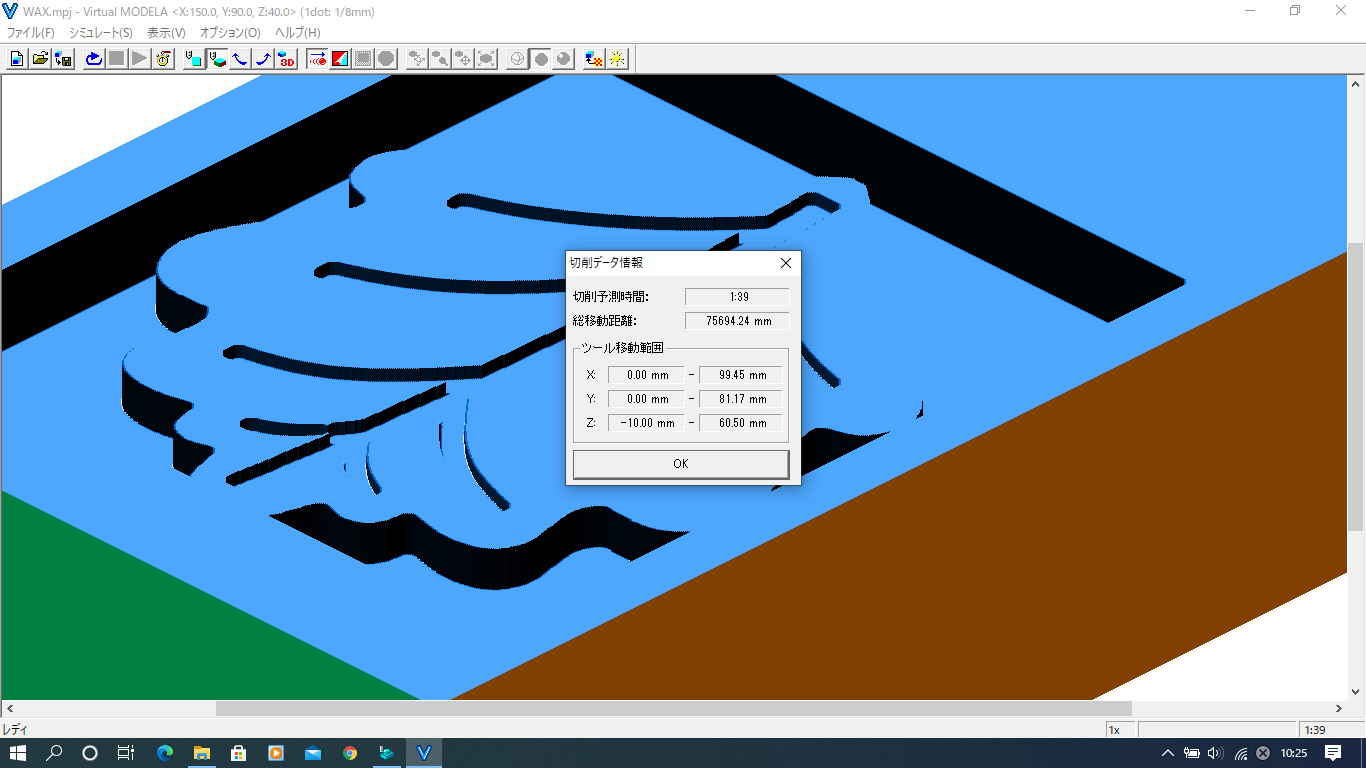
Making Tool Path and Simulating cut
I used MODELA Player 4 to make the tool pathes, and Viatual MODELA to simulate the cutting and check the estimated cutting time.
The procedure I followed for the setting is as follows.
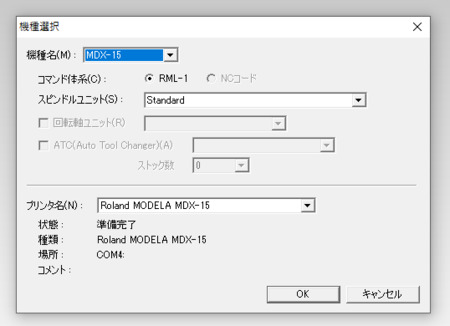
1.Select the machine.
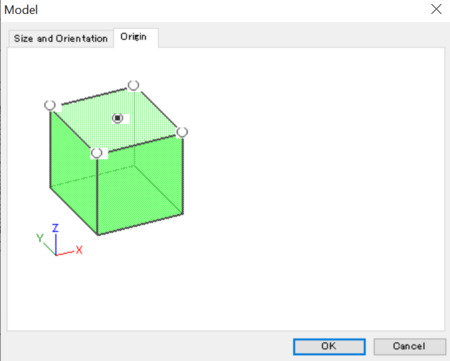
2.Set the origin from Set tab>Model>Origin
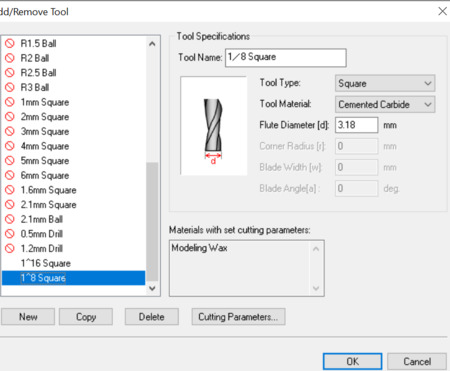
3.Add the tool from Option tab >Add/Remove tool
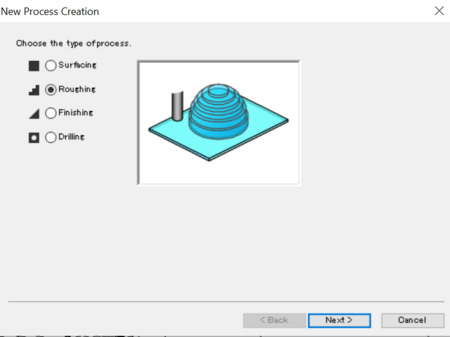
4.Create new process from New Process Bottan on the right tab.
Select Roughing for roughcut or Finishing for finish cut.
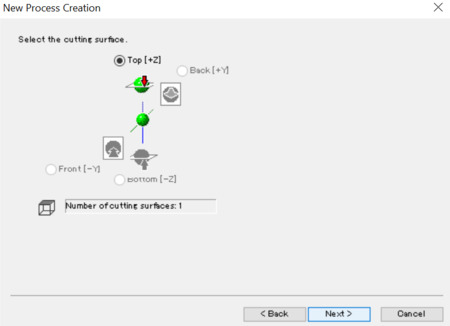
5.Select the top for the cutting surface.
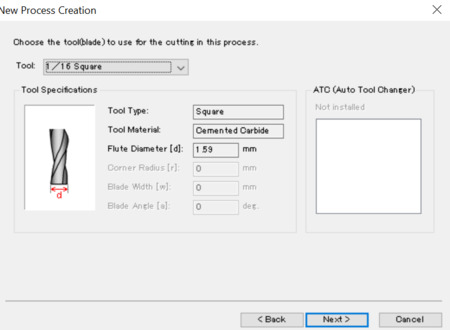
6.Select the endmill.
1/8 square for rough cut.
1/16 square for finish cut.
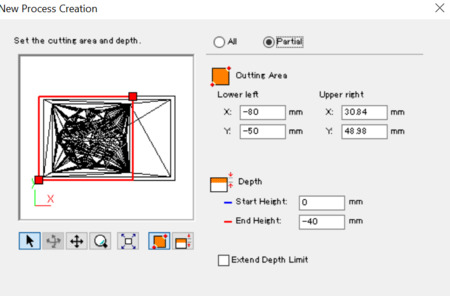
7.Set the cutting area and depth from Partial botton.
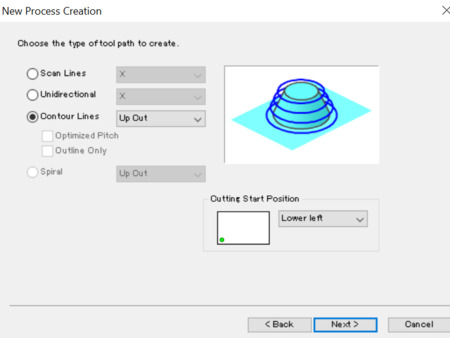
8.Chose the type of tool path.
Contour Lines&Up Cut for for rough cut.
Scan Lines for finish cut.
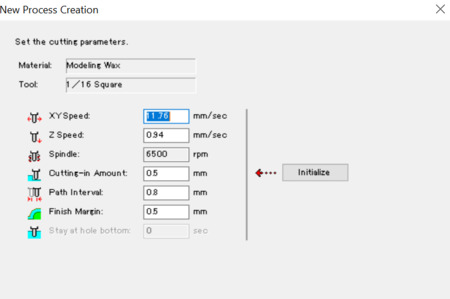
9.Set the cutting parameter as follows.
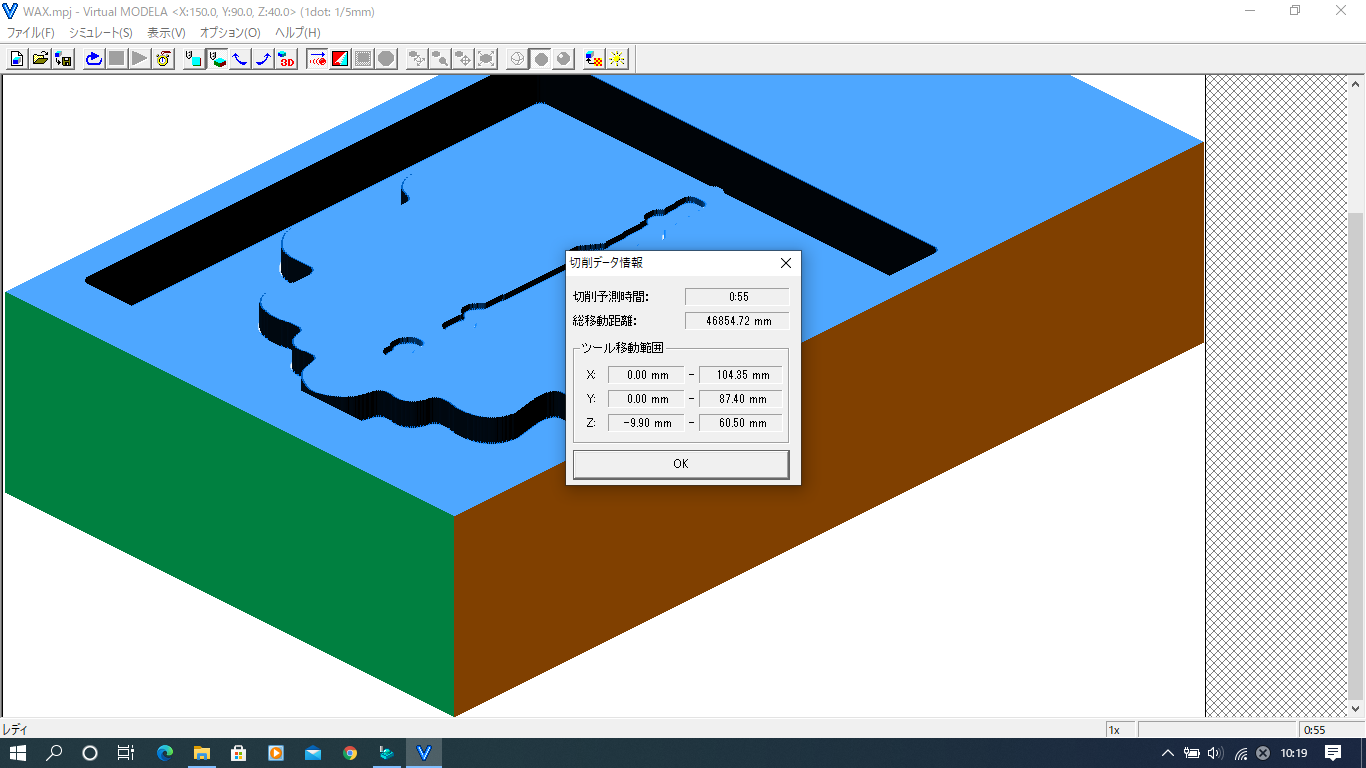
10.Simulate on Virtual MODELA from Check the Preview button.
This is rough cut.
Finish cut.
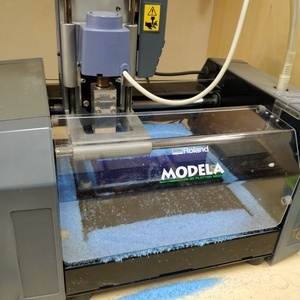
Milling the Wax
CNC Milling Machine
Rolland MDX-15
Work area: 152.4mm × 101.6mm × 60.5mm
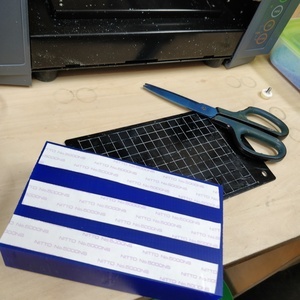
Machinable wax
Ferris File-A-Wax (blue)
size: 152mm x 92mm x 39mm (real size is smaller)
Endmill
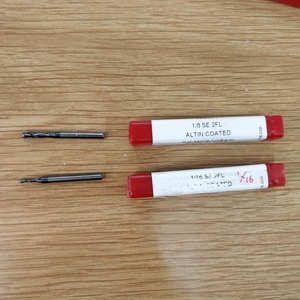
【For Rough Cut】 0.1250” DIA 4FL SE LONG AlTiN 1/8
Size: 1/8”=3.175mm
OverAll Length: 2-1/4”(2.25”) =57.15mm
【For Rough Cut】 0.0625” DIA 2FL SE AlTiN 1/16
Size: 1/16” =1.5875mm
OverAll Length: 1-1/2”(1.5”) =38.1mm
Rough Cut
Fix the wax to the base with double-sided tape.
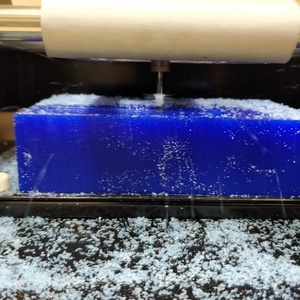
Milling....
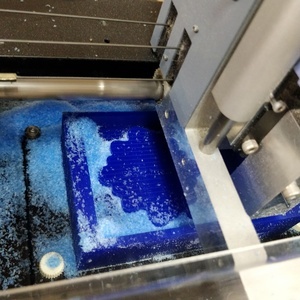
After rough cut.
finish cut
Many crumbs...
Done!
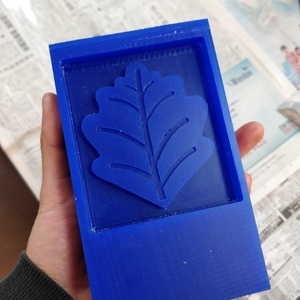
Molding
Silicone rubber
Mold Star 31T 0.9KG Trial Kit
Mix ratio by Volume: 1A:1B
Mix ratio by Weight: 1A:1B
pot life: 5 min
cure time: 23 min
color: Translucent
Share Hardness: 30A
Since it has pot life (5 mins for our kind), I needed to concentrate and keep a feeling of tension to treat it.
The work table is all coverd with vinyl and newspapers.
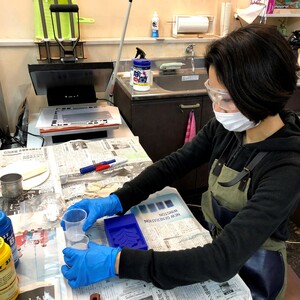
tense moment...

Actual cure time was about 10 mins longer than estimated cure time
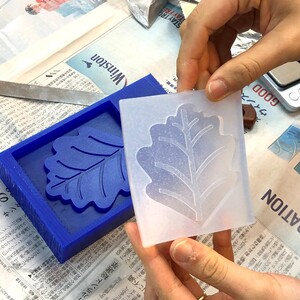
looking good...
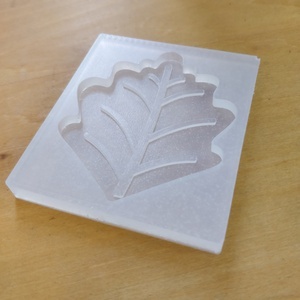
DONE!
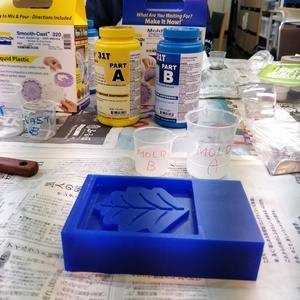
Casting
Urethanes Resin
Smooth-Cast 320 0.86KG Trial kit
Mix ratio by Volume: 1A:1B
Mix ratio by Weight: 100A:90B
pot life: 3 min
cure time: 10 min
color: Off white
Share Hardness: 70D
So-strong
Color Tints for Urethane
0.01% to 3% of total system weight
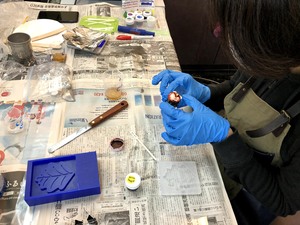
The first trial was resin.
I could color it with the color tints. Considering short pot life, it’s necessary to add the color tints to one liquid before mixing the two liquids. I wanted to make them in marble patterns with different colors, so I had to make several mixtures beforehand. I also needed to bury the screw to fix the casting leaf to my weight sensor as the top board. This process should be done before the resin becomes hardened, so it was pretty busy…
Chosing the color.
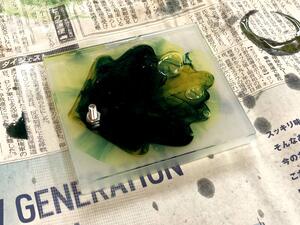
Burying the screw
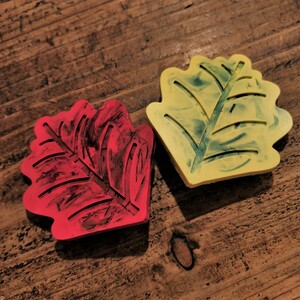
Making beautiful marble pattern was too difficult....
Eutectic Low‐Melting Alloy
The second one was the alloy. The one I used was a mixture of Bi with Sn, and has a low-melting point( 138℃). I melted the alloy with the electronic heater, the lighter, and heat guns. The alloy hardened much faster than the resin, I had to be really quick to make the shape. I tried several times and it needed a lot of help from my instructor and classmates, but it didn’t work well till the end of the local session.
Ref:SDS for Low melting point alloy 138℃ (Japanese)
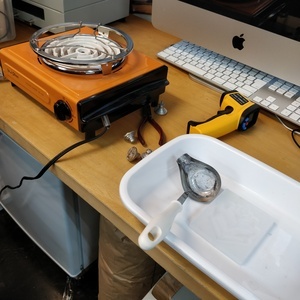
The electonic heater, thermometer and ladle.
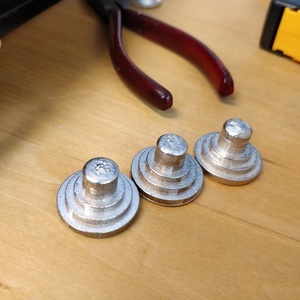
Alloy.
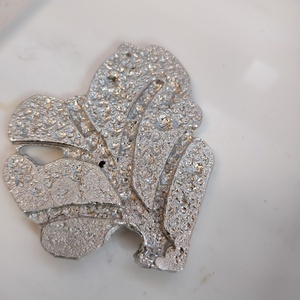
I forgot to coat the surdace of alloy with talcum powder in advance and this is what happens.
I really liked the texture of the alloy for my leaf so I tried to cast it at home again. This time I made the mold with laser-cut and engraved MDF. I used the gas stove to melt the alloy and set the mold on the electronic heater to make cure time longer. This way worked very well to use more time to shape the cast.
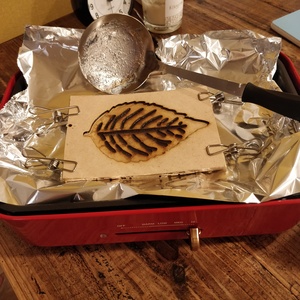
MDF molding on the electronic heater.
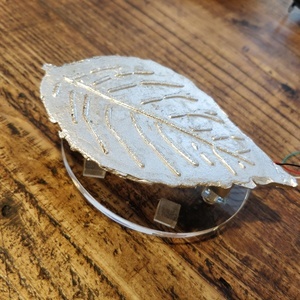
DONE!
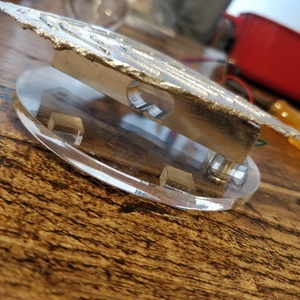
Fixed to the weight sensor.
Inedible Casting Series
I loved molding and casting too much and couldn’t stop playing with many other materials…
That’s too bad they are all inedible since my molding is not food safety material.
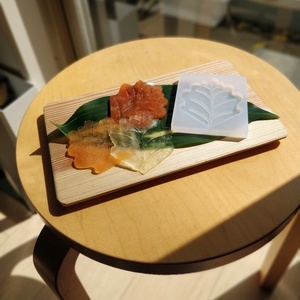
Casting lemon jelly,orange jelly, and tomato jelly(looks like low fish)
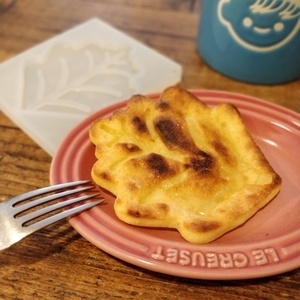
Casting pancake
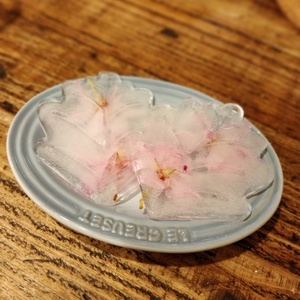
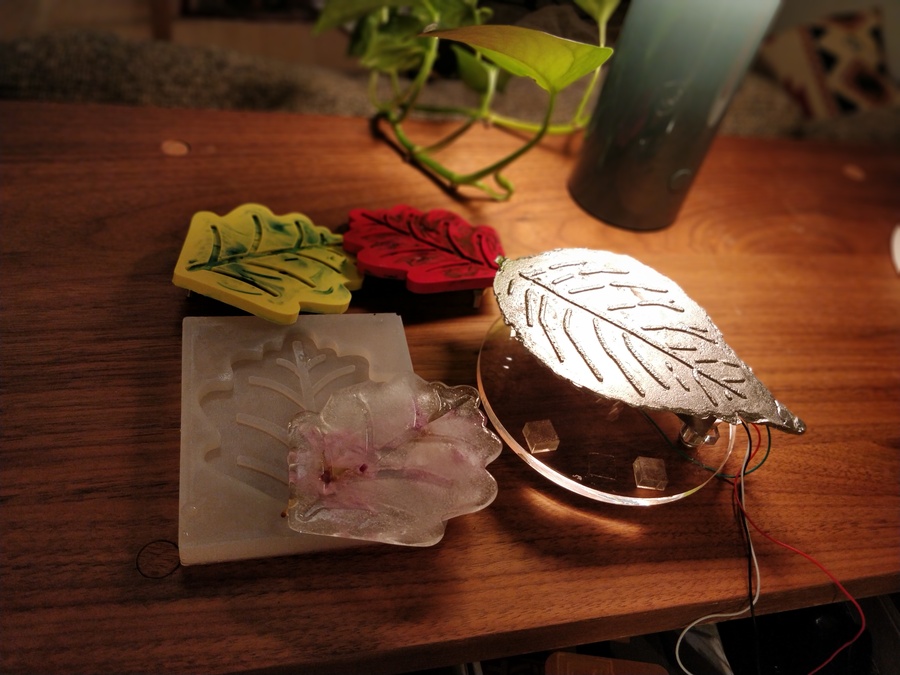
Casting ice with cherry blossom petals.
♡

Break from assignment...
Hero Shots
Thoughts
- I enjoyed trying many kinds of materials so much!
- MODELA simulating was very useful and estimated milling time was pretty much accurate.
- Cure time was longer than notation, it might depend on the environmental conditions such as room temparature or humidity.
Files
Leaf Vector Data ai svg
Leaf 3D data f3d stl
MDF leaf data ai svg
Written by Natsuka Kamei 亀井 夏香