Molding and Casting
Assignment Requirements:
- Review the safety data sheets for each of your molding and casting materials.
- Make and compare test casts with each of them
- Design a 3D mould around the stock and tooling that you'll be using, mill it (rough cut + (at least) three-axis finish cut), and use it to cast parts.
Learning Outcomes:
Steps in General:
- Step(1): Designing 3D Model and its mold on Fusion 360 [CAD]
- Step(2): Milling and generating toolpaths on Modela Player [CAM]
- Step(3): Casting using flexible rubber
- Step(4): Casting using Epoxy
- Step(5): Final Results
Steps in Details:
Step(1): Designing 3D Model and its mold on Fusion 360 [CAD]
- I chose a chess piece and sketched it with convenient dimensions, I drawed a single quarter as it is a uniform shape.
- I used the Revolve tool and revolved the drawn sketch around the vertical axis to create the chess 3d model.
- I drawed a rectangle of 80 cm * 50 cm around the chess piece and extruded it to both sides (17 mm each) and selected new body as operation
- It is useful to sontrol the opacity of an object to be able to see it clearly, right click on a body and select Opacity Control and select an appropriate percentage.
- I created a midplane and splitted the body to 2 identical parts, now I had one bottom and one top.
- It is important to create some registration pins and holes to help in assembling the two parts while casting.
- I prefered to use a sphere as a registration pin and used the rectangluar pattern to create 4 registration pins
- I used the combine tool and made a new component and reduced the extruded thickness to 10 mm
- I sketched an offset rectangle of 2 mm and extruded the selected area to 17 mm.
- I also decreased the extruded top to 17 mm and made the same offset and related extrusion.
- Now I had the 2 parts (top and bottom), bottom with registration pins but top with registration holes.
- I created a cone shape to pour the epoxy into the silicon mold.
- Now I had the top and bottom molds, exportd an STL for each file to be able to do the CAM operations.


Step(2): Milling and generating toolpaths on Modela Player [CAM]
- I opened the Chess_Bottom.STL in the Modela Player 4 and selected modeling wax as the material to be machined.
- In order to save time and material size, I reduced the model scale to be 50 mm in length and selected the top surface and rotared the part 90 degrees around the Z axis as shown
- Then I selected the bottom left corner to be the Zero point.
- And selected the top face to be machined.
- I made no margin as I created a safe margin in Fusion 360 and reduced the top depth to 11.4 mm
- For the machining processes, I did surfacing then roughing then finishing.
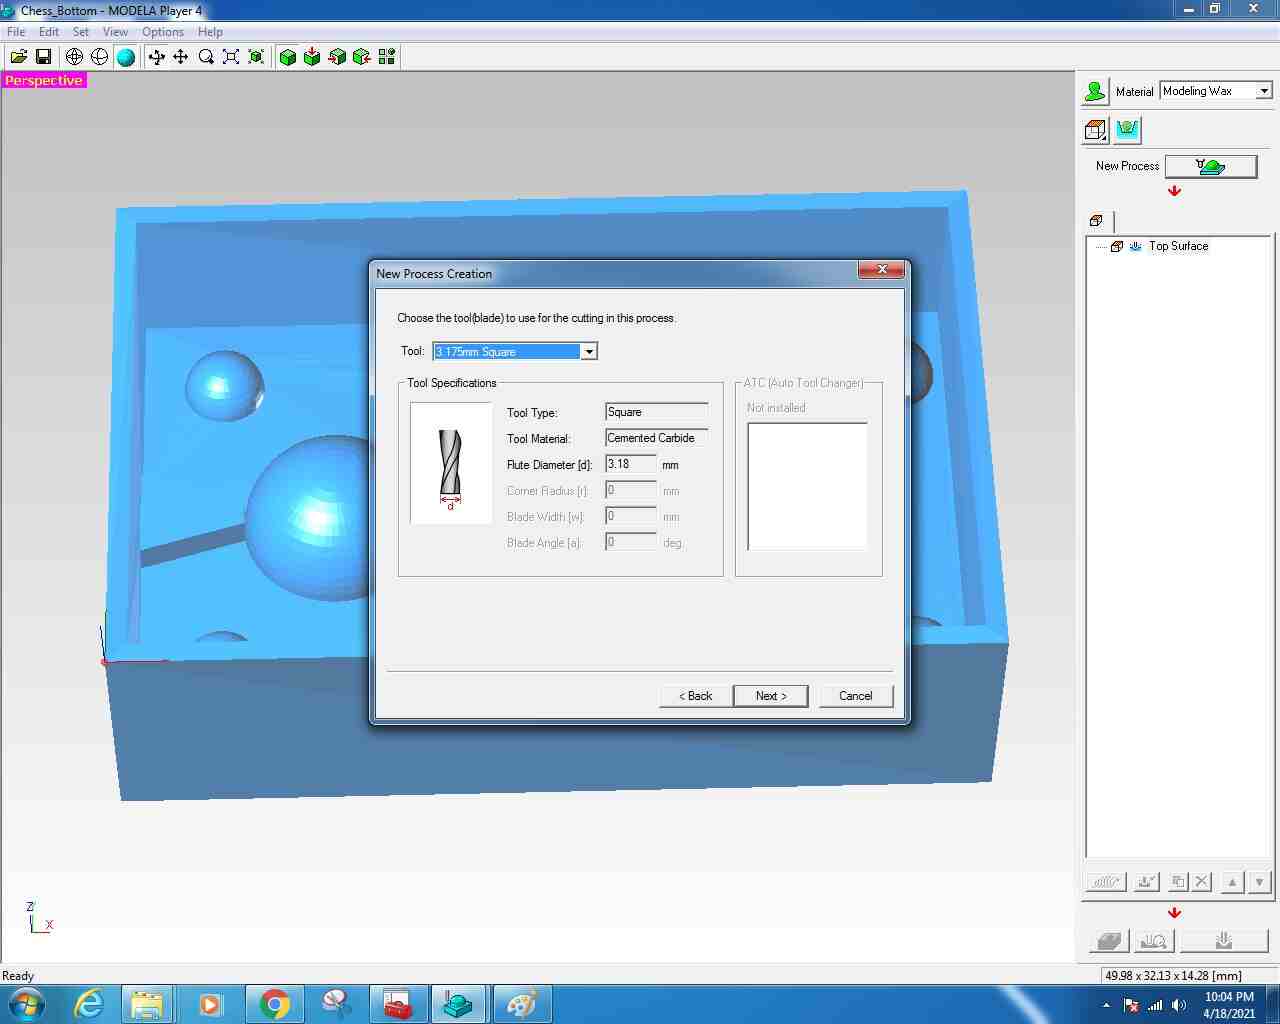
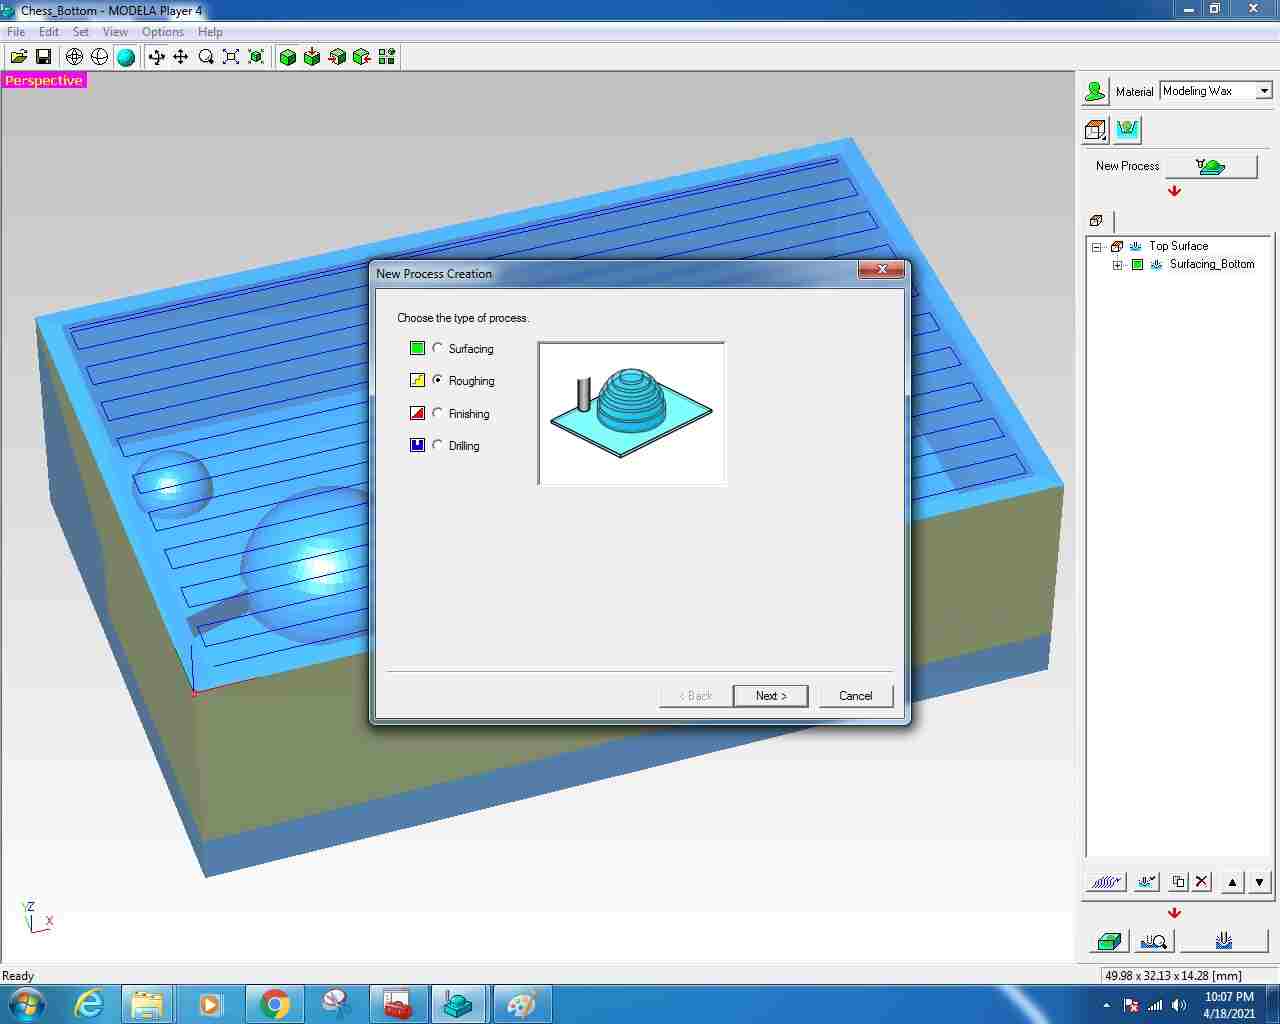
- First, I selected surfacing, selected the Top [+Z] as the cutting surface
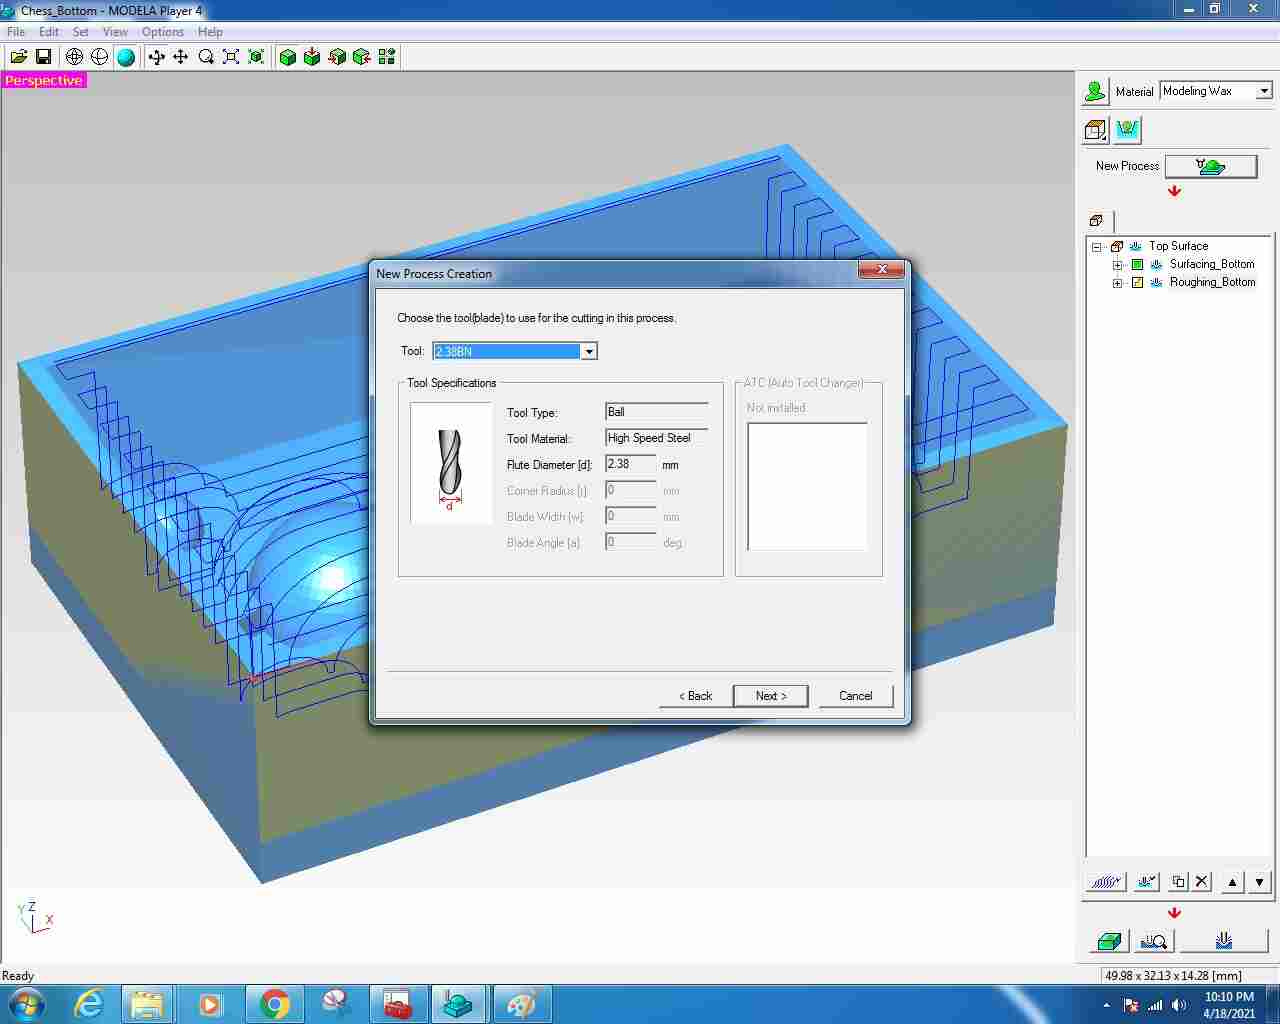
- Selected the 3.175 mm square end mill and typed 2 mm in the depth section.
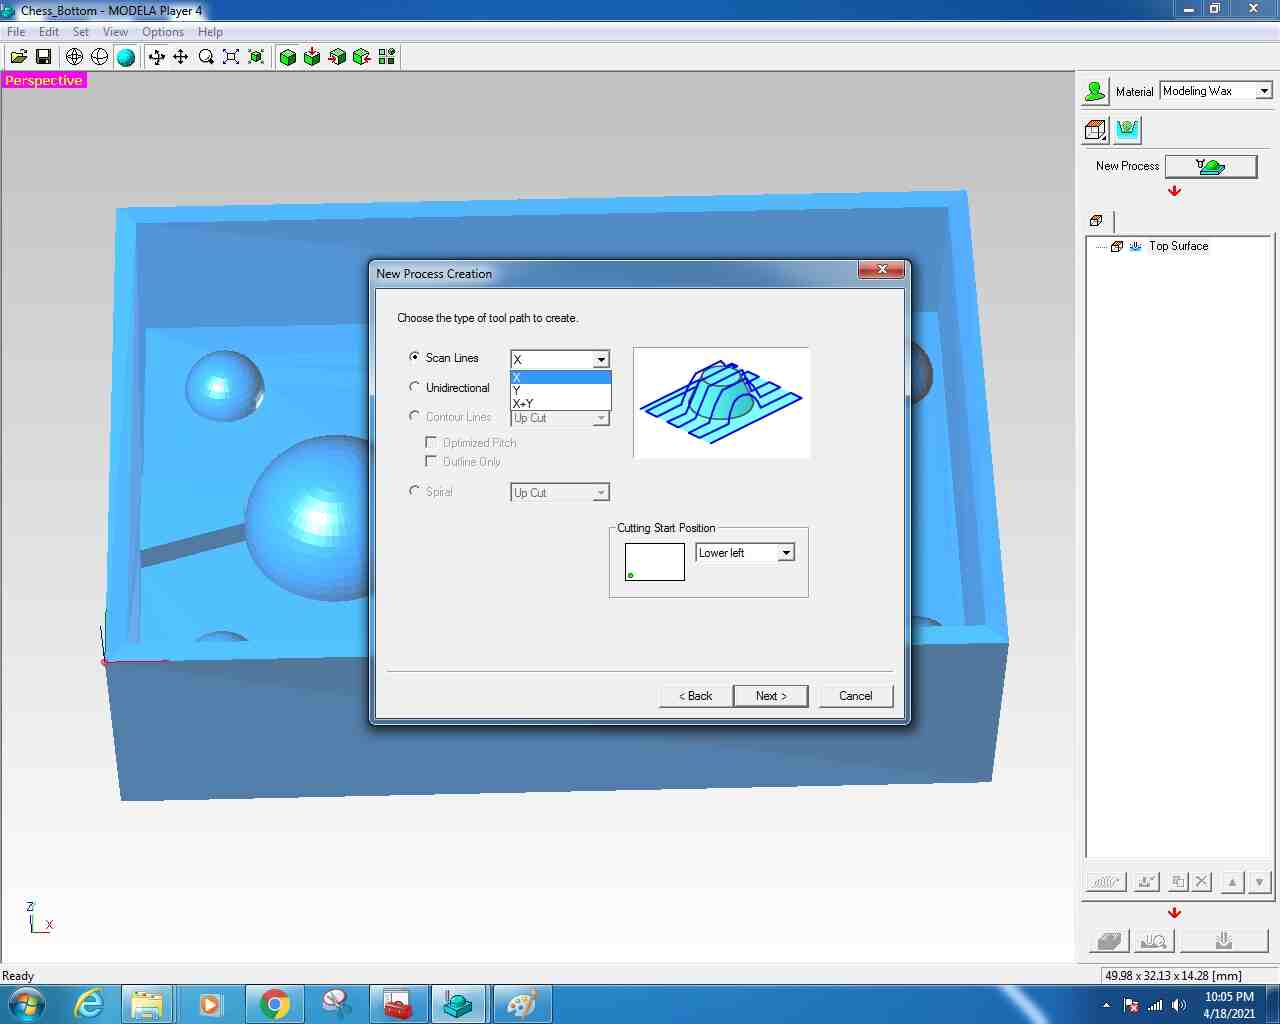
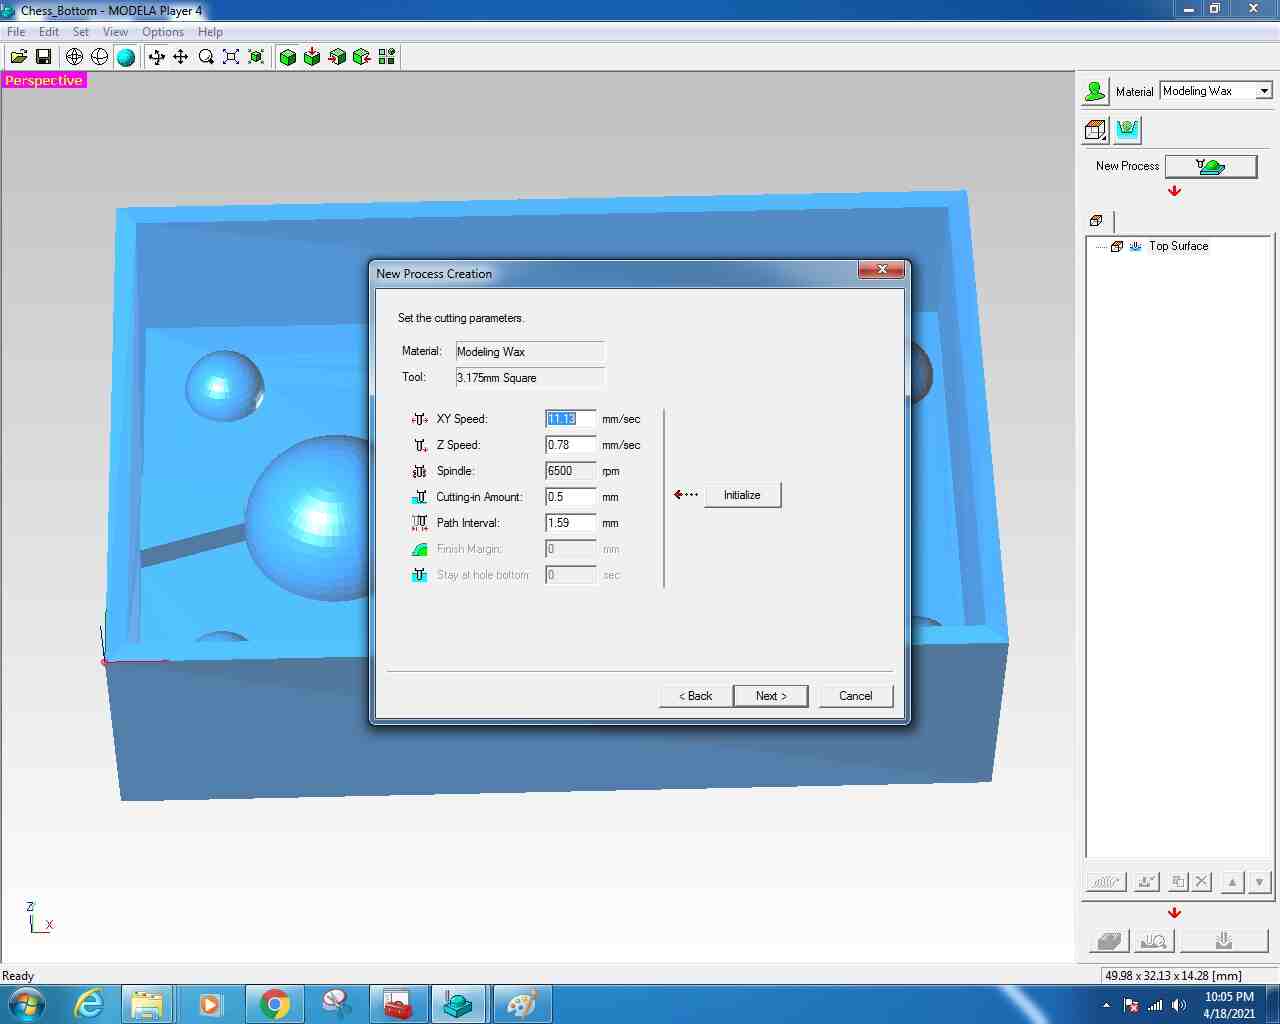
- I chose Scan Lines X as the type of tool path and used the default cutting parameters.
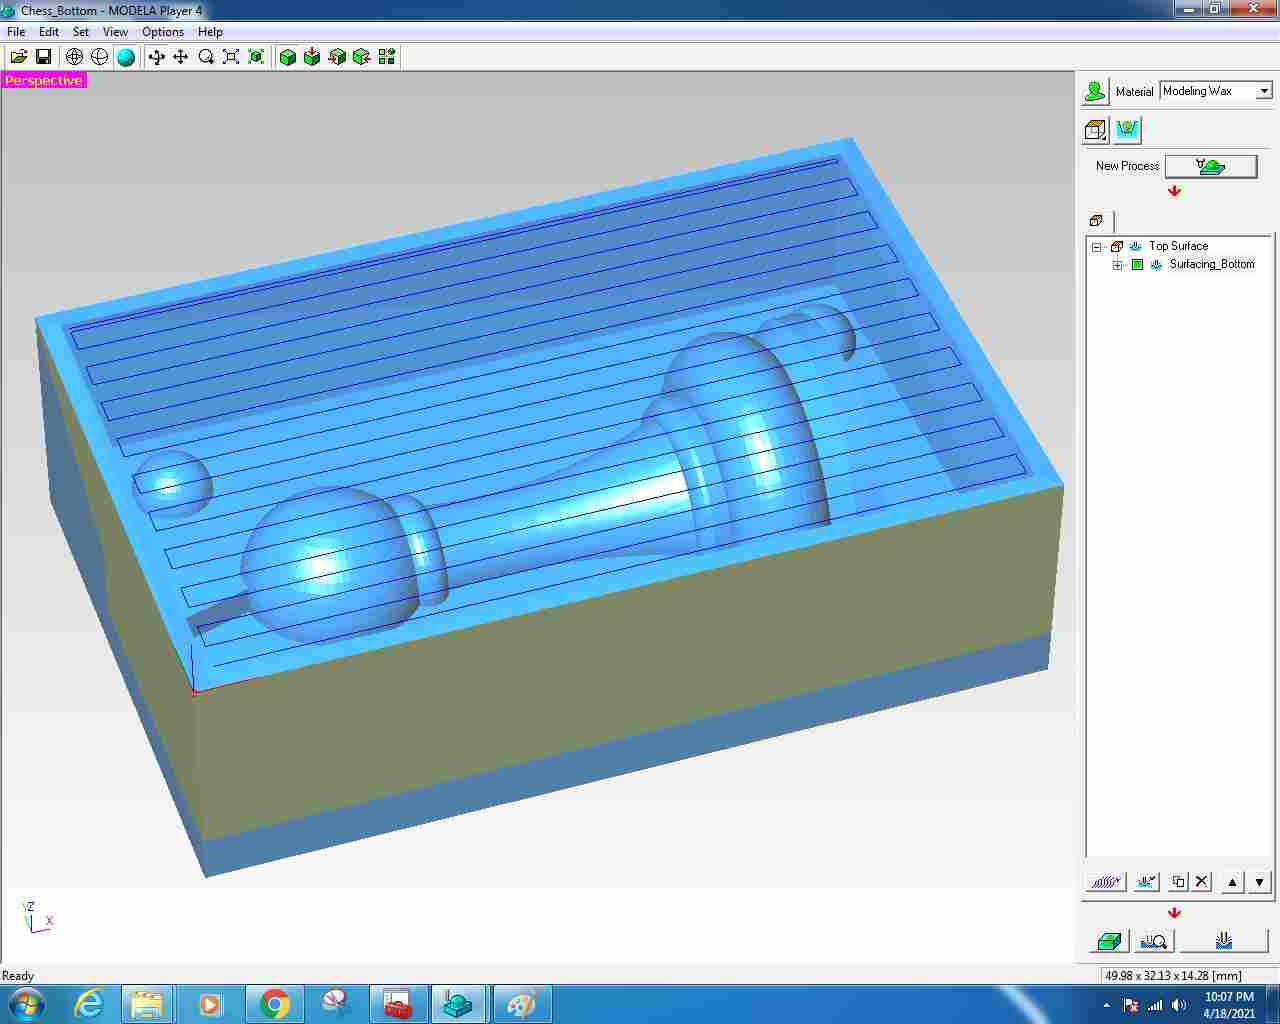
- Typed Surfacing_Bottom as the process name and selected Right Now to create the toolpath for the surfacing operation.
- Shown is the surfacing toolpath.
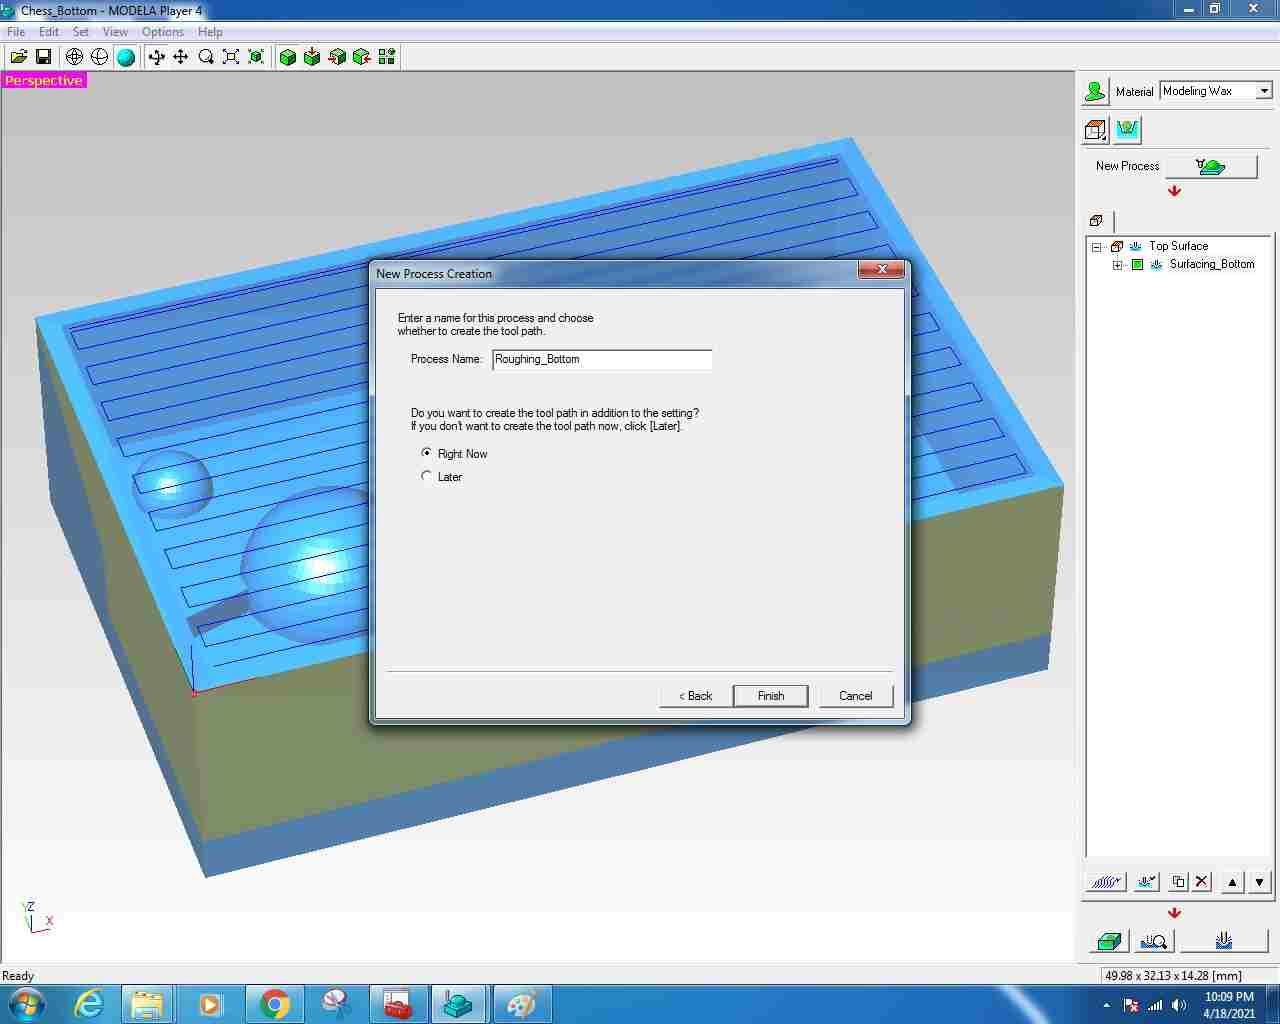
- I selected again the New Process Creation and selected thr Roughing operation
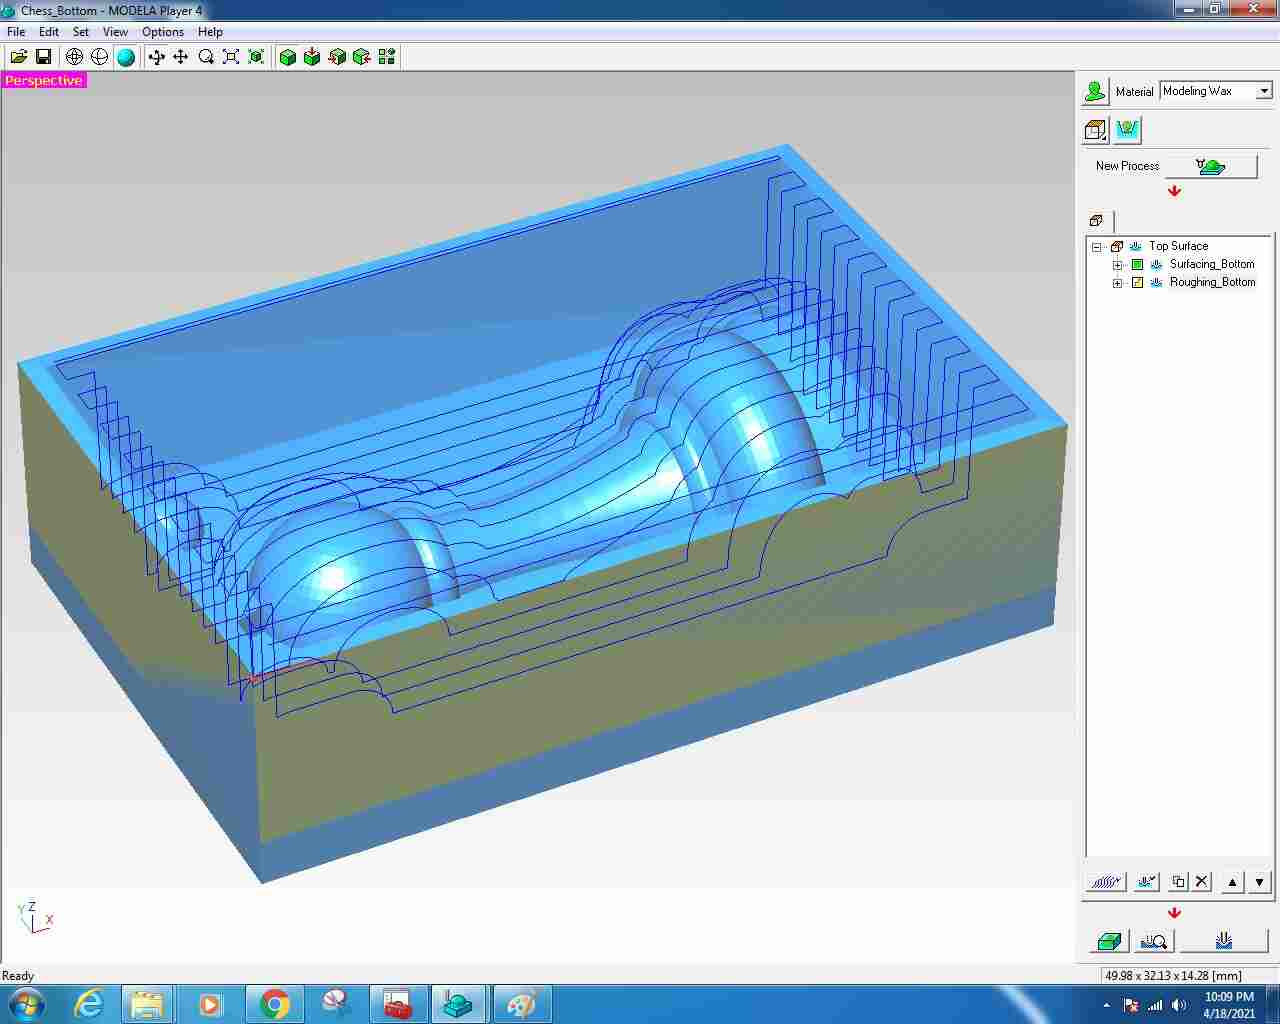
- I did the same settings as Surfacing and typed the process name and generated the toolpath.
- Shown is the roughing toolpath.
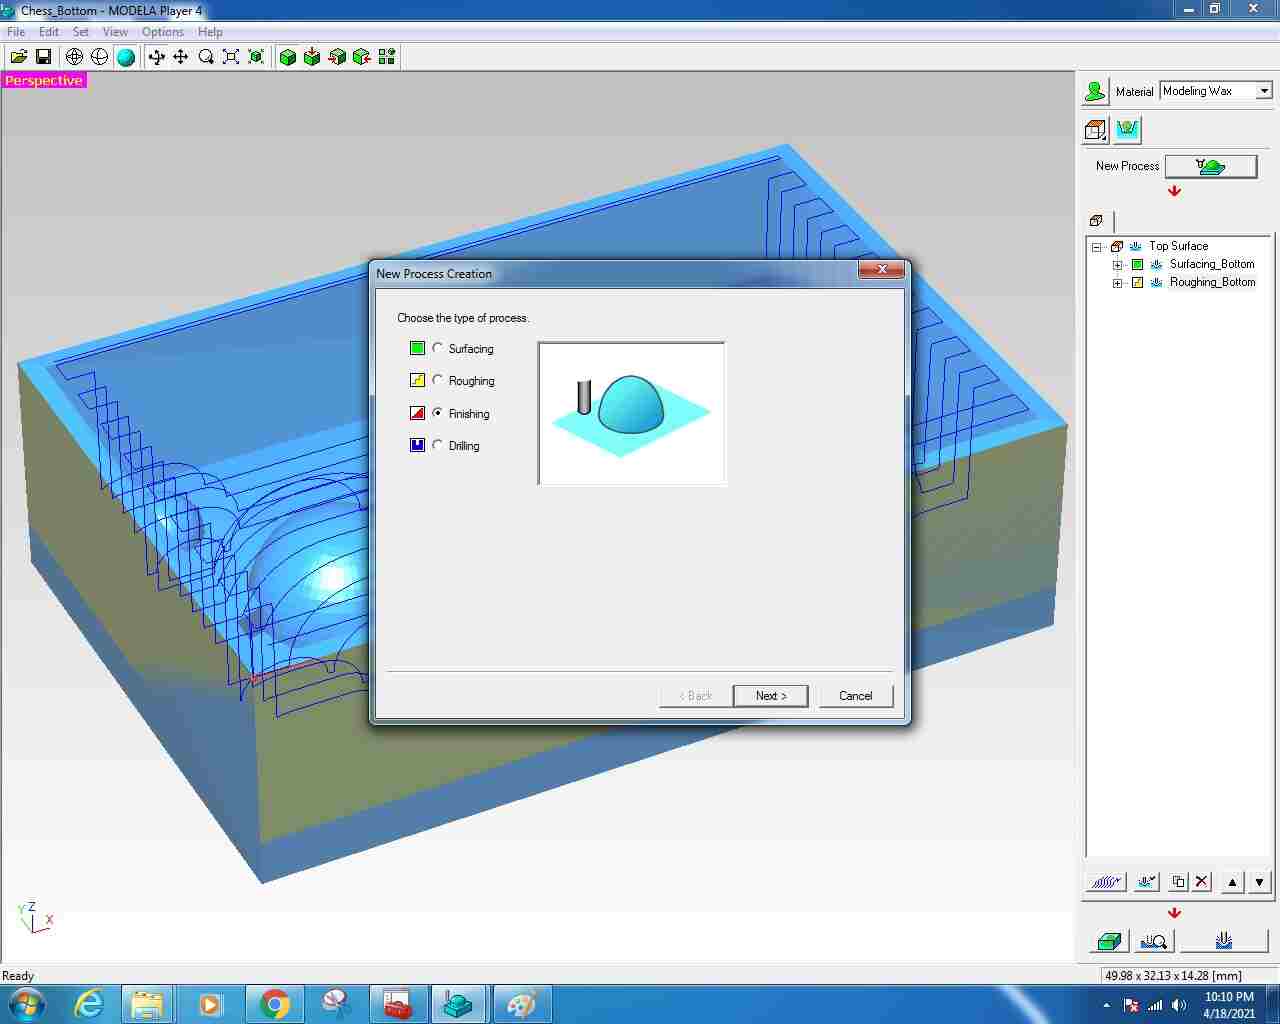
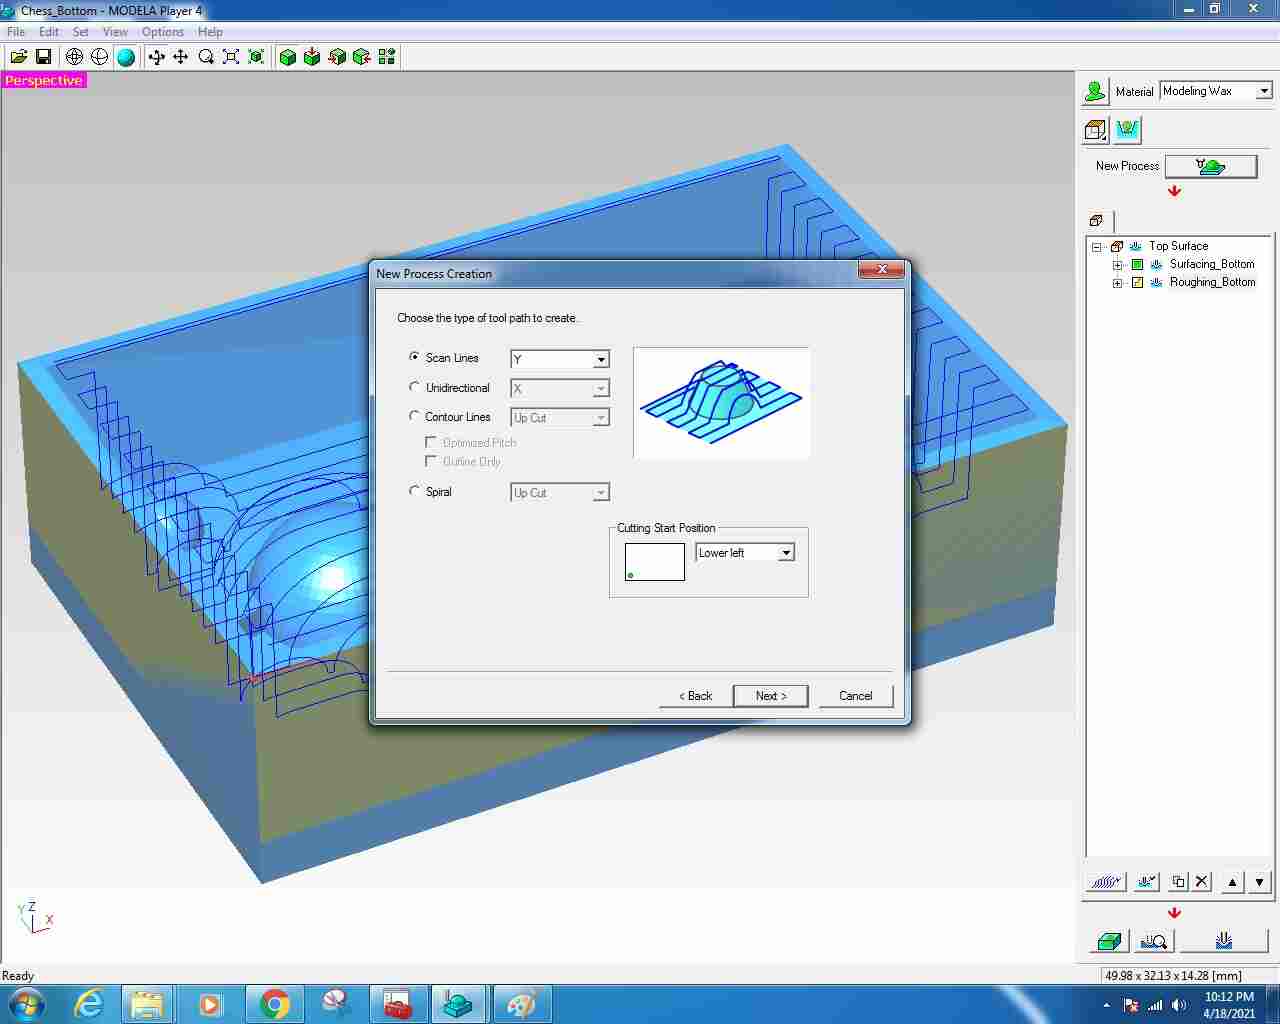
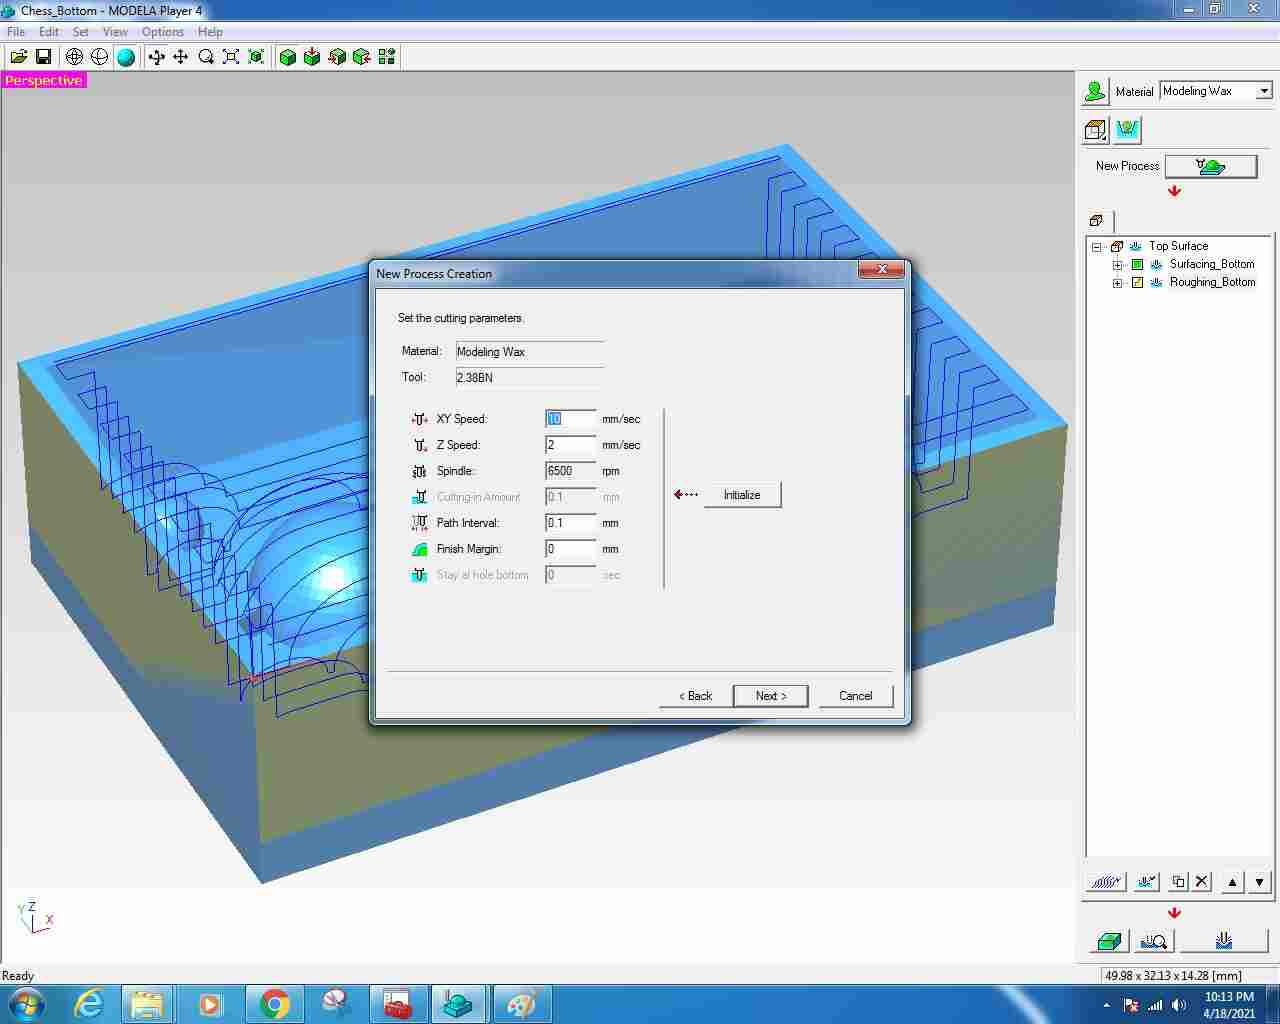
- Finally, I selected the Finishing process and selected the 3/32 Ball Nose end mill and used the default cutting parameters.
- Here I chose the Y lines as the scanning direction.
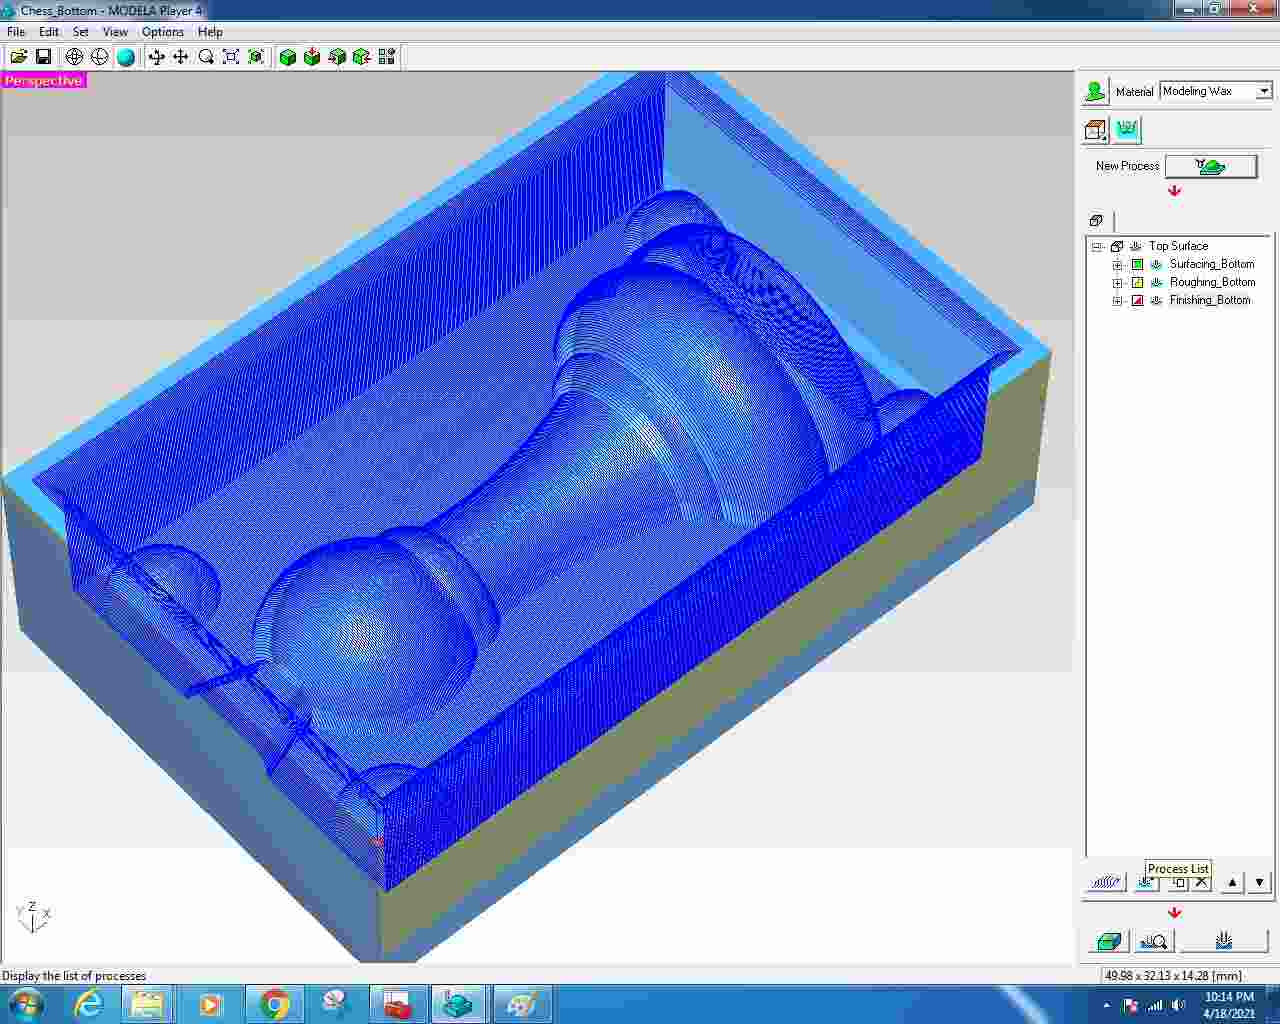
- Shown is the fininshing toolpath.
- I set the cutting position in X, Y and Z before doing the cutting operations.
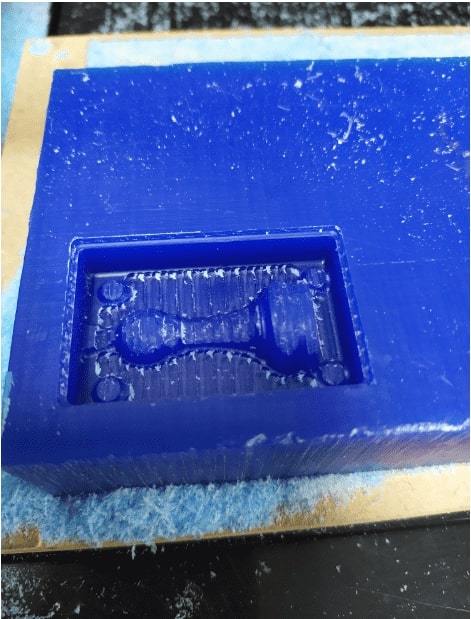
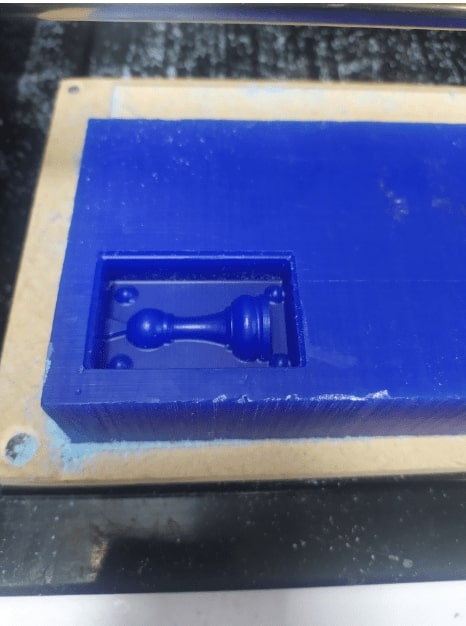
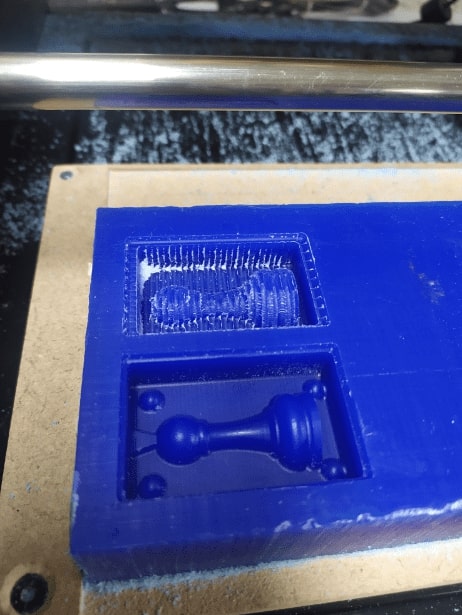
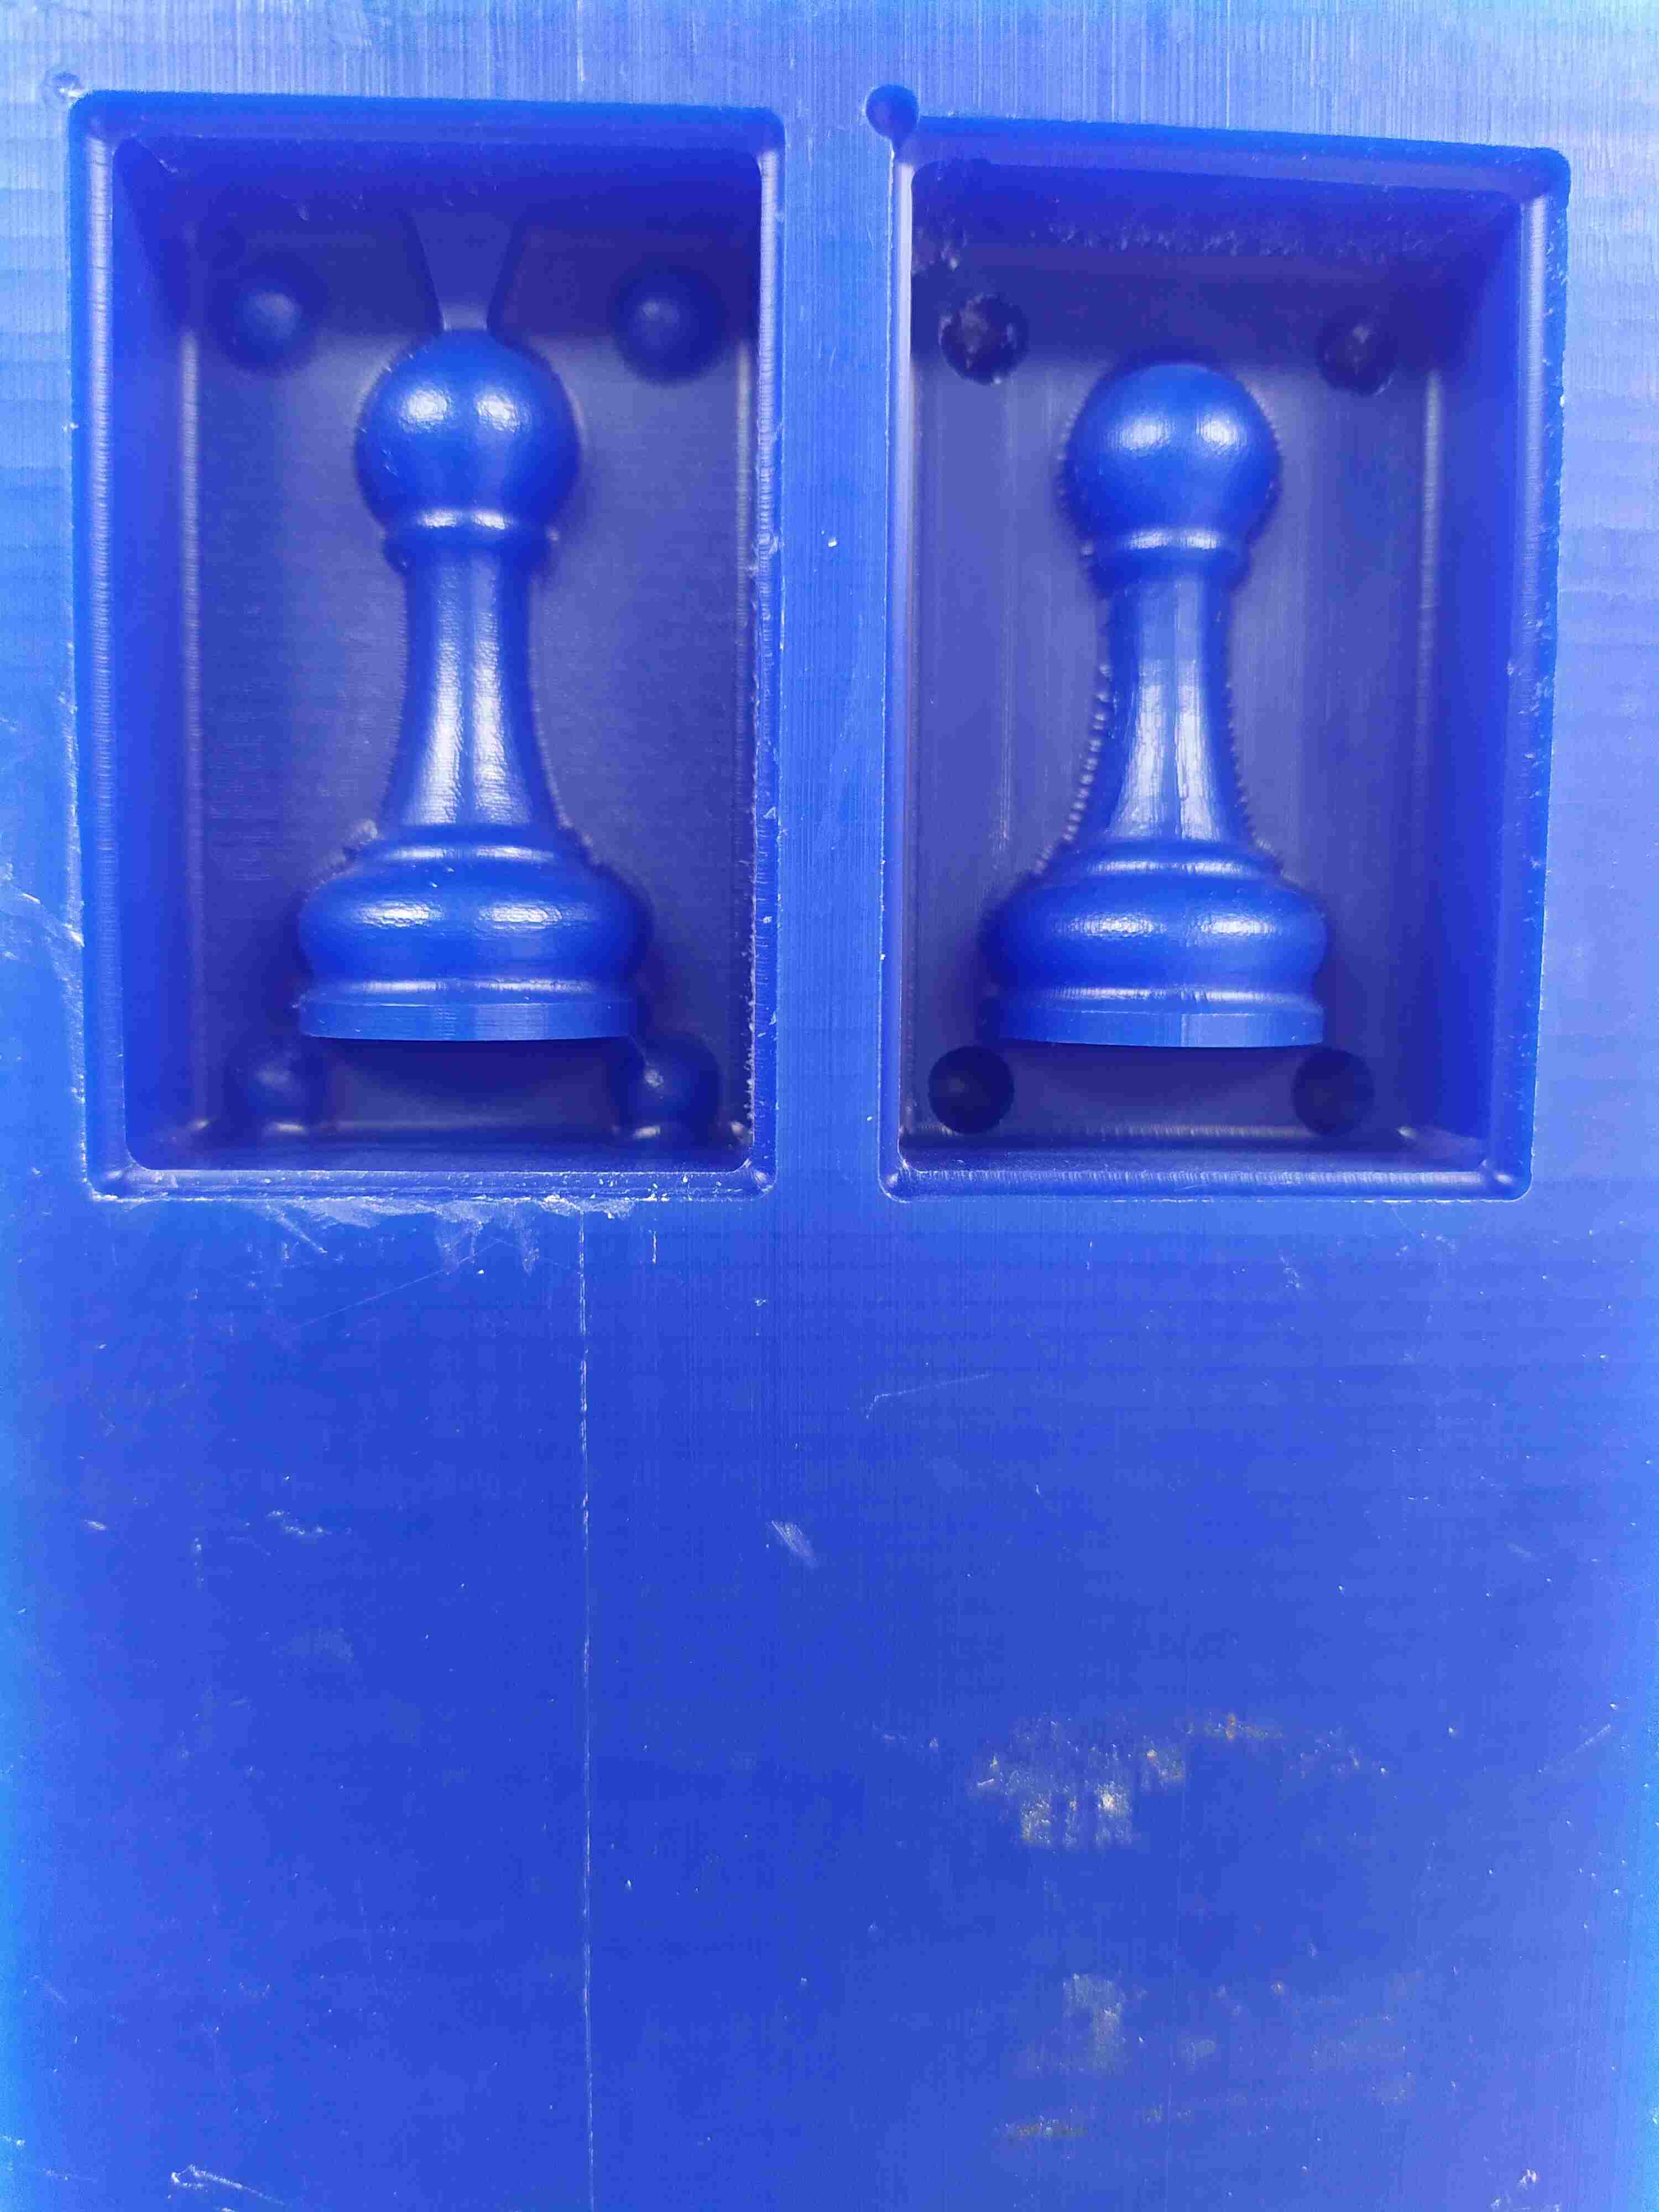
- Some photos of the roughing and finishing operations for both top and bottom




Step(3): Casting using flexible rubber
- We have silicon rubber and its hardener, the ratio is 10 to 1
- I used an empty paper cup of 5 gm and added 60 gm of the silicon rubber with 6 gm of its hardener and mixed them.
- I poured the mix into the mould and waited around 12 hours to have it finished


Step(4): Casting using Epoxy
- We have epoxy for cast decoration and its hardener with the ratio of 3 to 1.
- I used an empty paper cup of 5 gm and put 30 gm from the epoxy and 10 gm from its hardener and mixed them together.
- Finally I poured the epoxy into the silicon mold.


Step(5): Final Results


Group Assignment
- In this assignment we are going to review the datasheets for safety and mixing instructions of molding and casting materials.
- All the documentation is in the group assignment page.