Exercise 3: Computer-controlled cutting
Vinyl cutting
For the third week we are tasked to use a vinyl printer to print out a 2-D image in vinyl paper. Though the only use I could think of for this process is to create images that can stick unto surfaces as stickers, I took great pleasure in considering to know how to operate the machine as it allows my hobby to draw have more uses in decorations (espicially being able to decorate by hardware rather than just software).
Design source
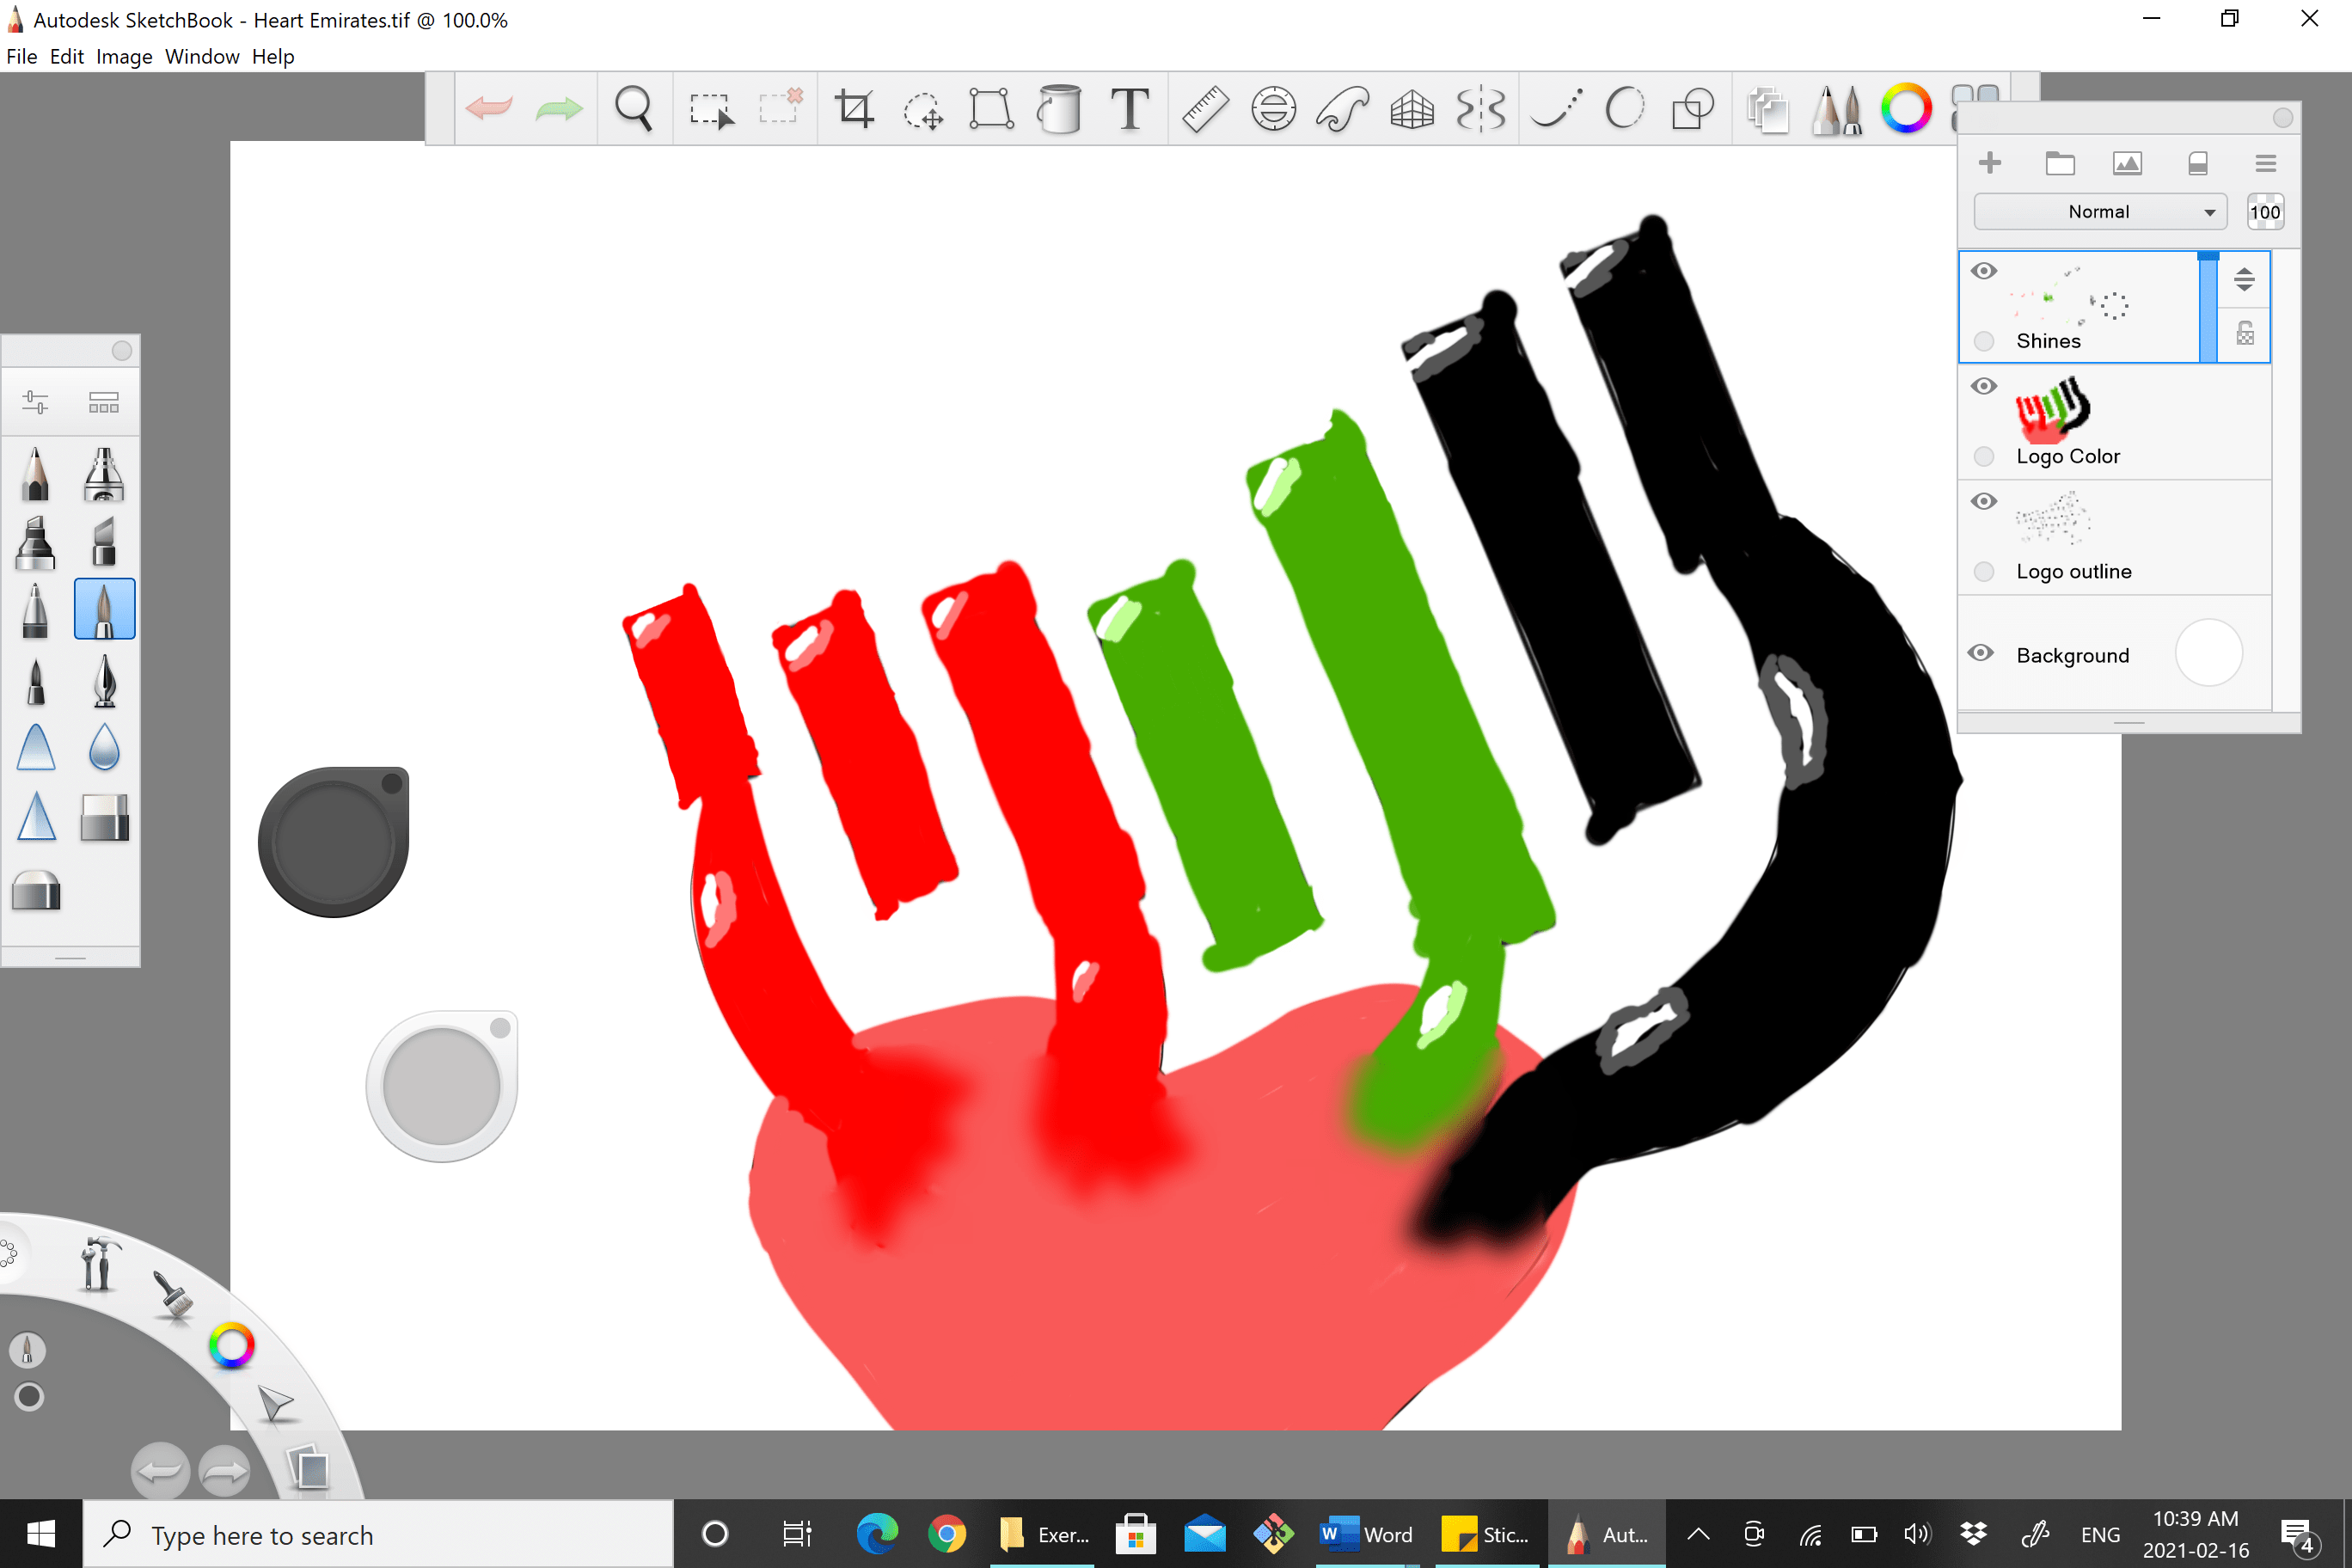
Though I was introduced to CorelDRAW to design my 2-D images, I consulted my instructor if I could use my own software (which I use to draw) to implement it into the vinyl printing. This software, named Autodesk Sketchbook: a graphics software application used for expressive drawing and concept sketching, first developed by Alias Systems, then acquired by Autodesk, which also became free to download on April 30th, 2018, happens to be able to be implemented into software that allows vinyl printing (to be later introduced below), but only if images are in pdf format which can be remedied by an online pdf converter.
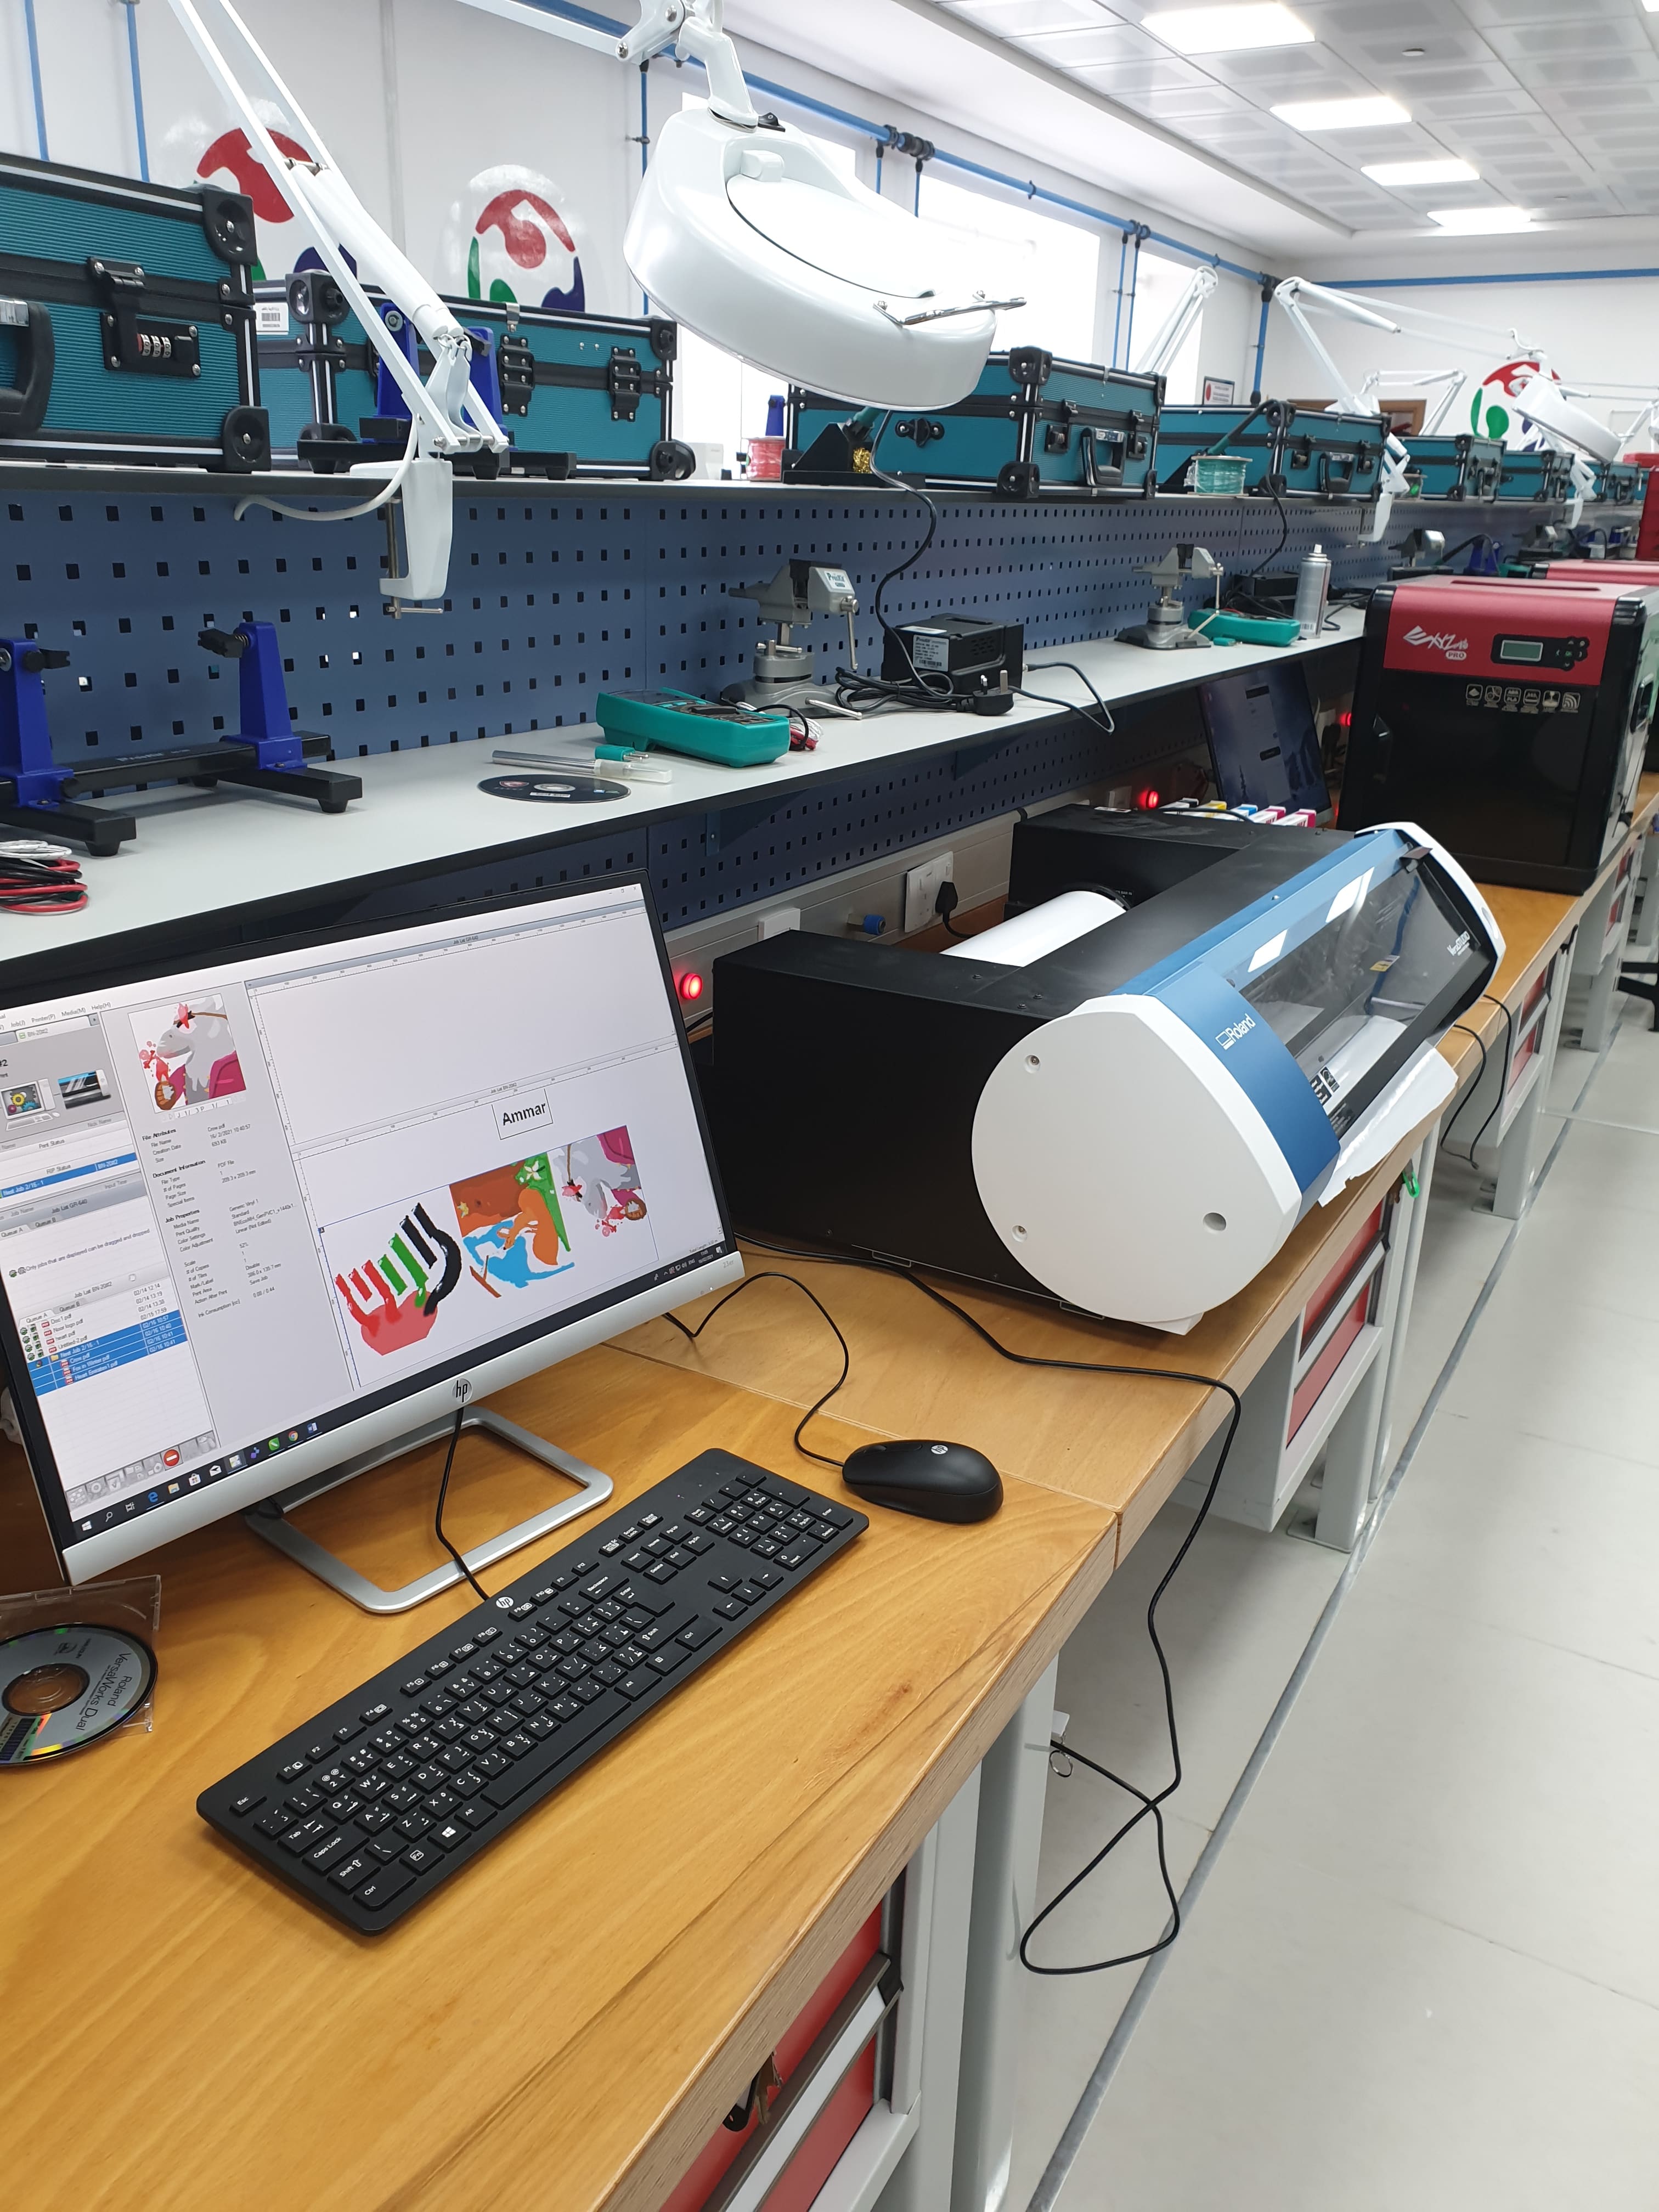
Vinyl Printer
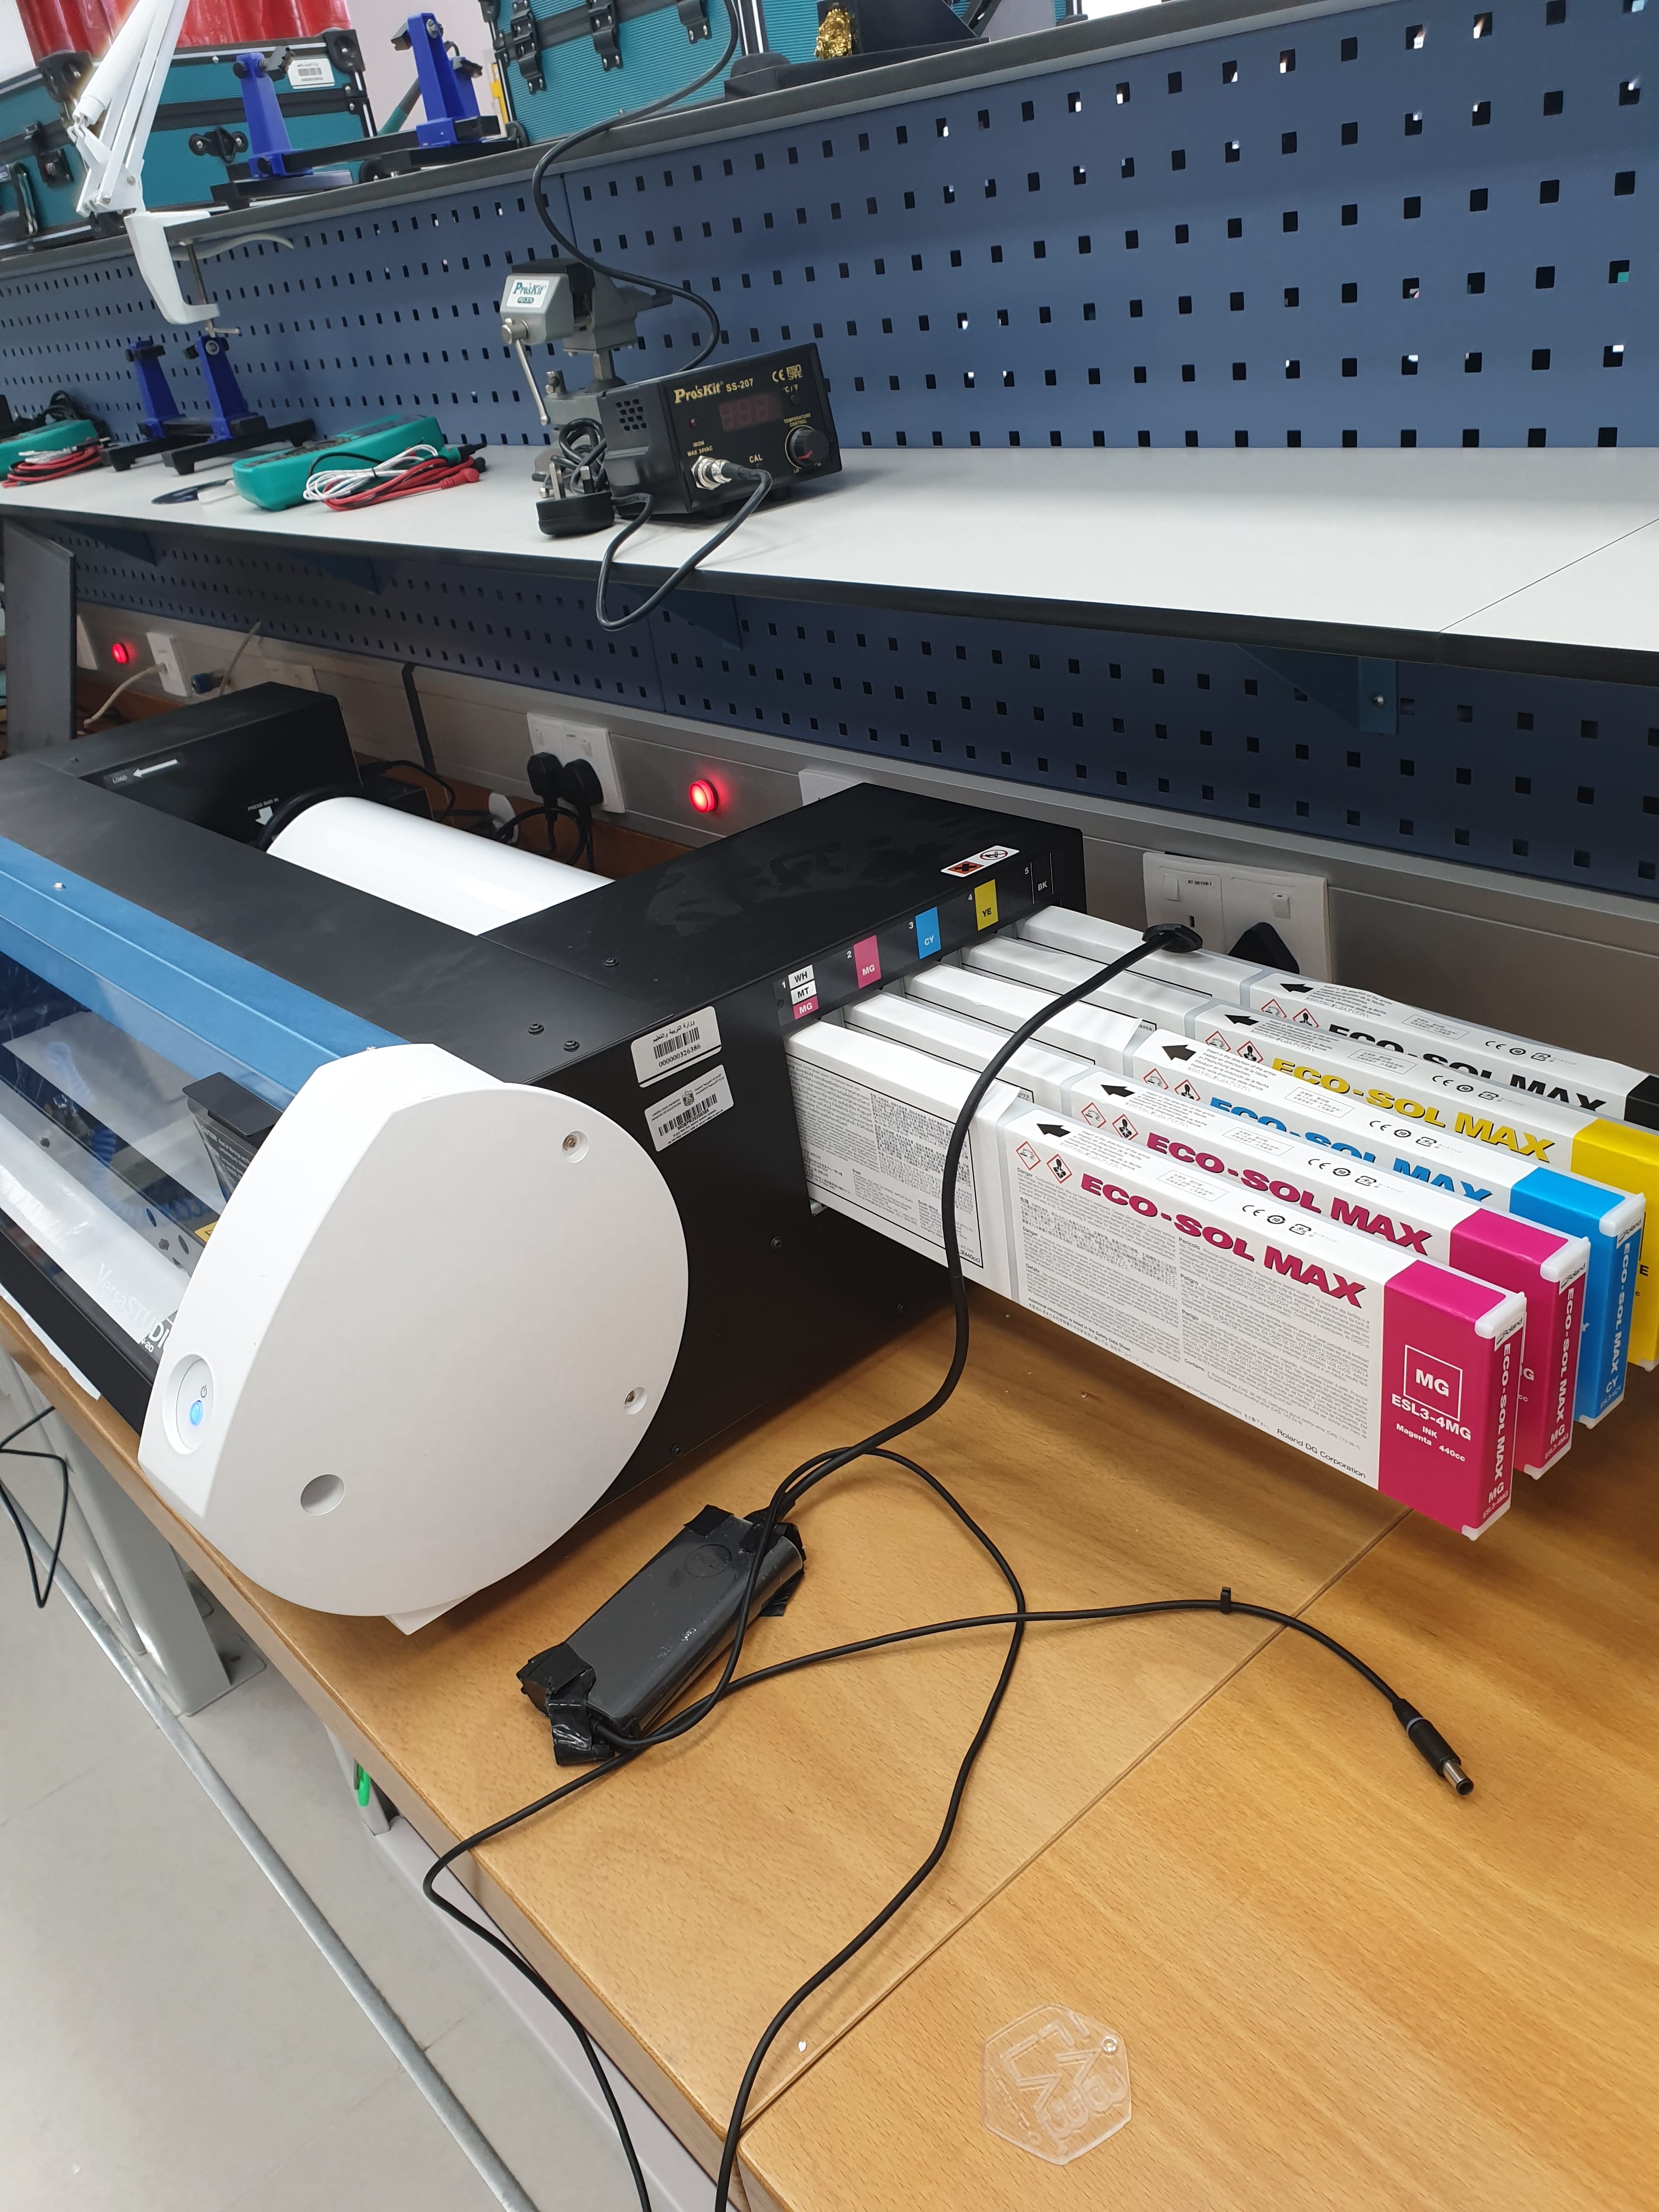
Before moving unto the software, we first had to get acquainted with the printer itself and its components, a vinyl printer from "Roland" industries with easily identifiable parts and components, including:
-Paper roller (Along with its paper)
-Clips to hold down the paper when printing
-Ink catridges to print out the images
-Protective glass to protect the paper while printing
Despite its ease of use, we need to keep in mind to make sure the vinyl printer warms up before use, which is done by opening the protective glass lid and wait for a couple of minutes
Roland Vesaworks (Software)
After knowing the vinyl printer's components and what makes it tick, we were then taught how to operate the software, divided into three steps (and an optional step):
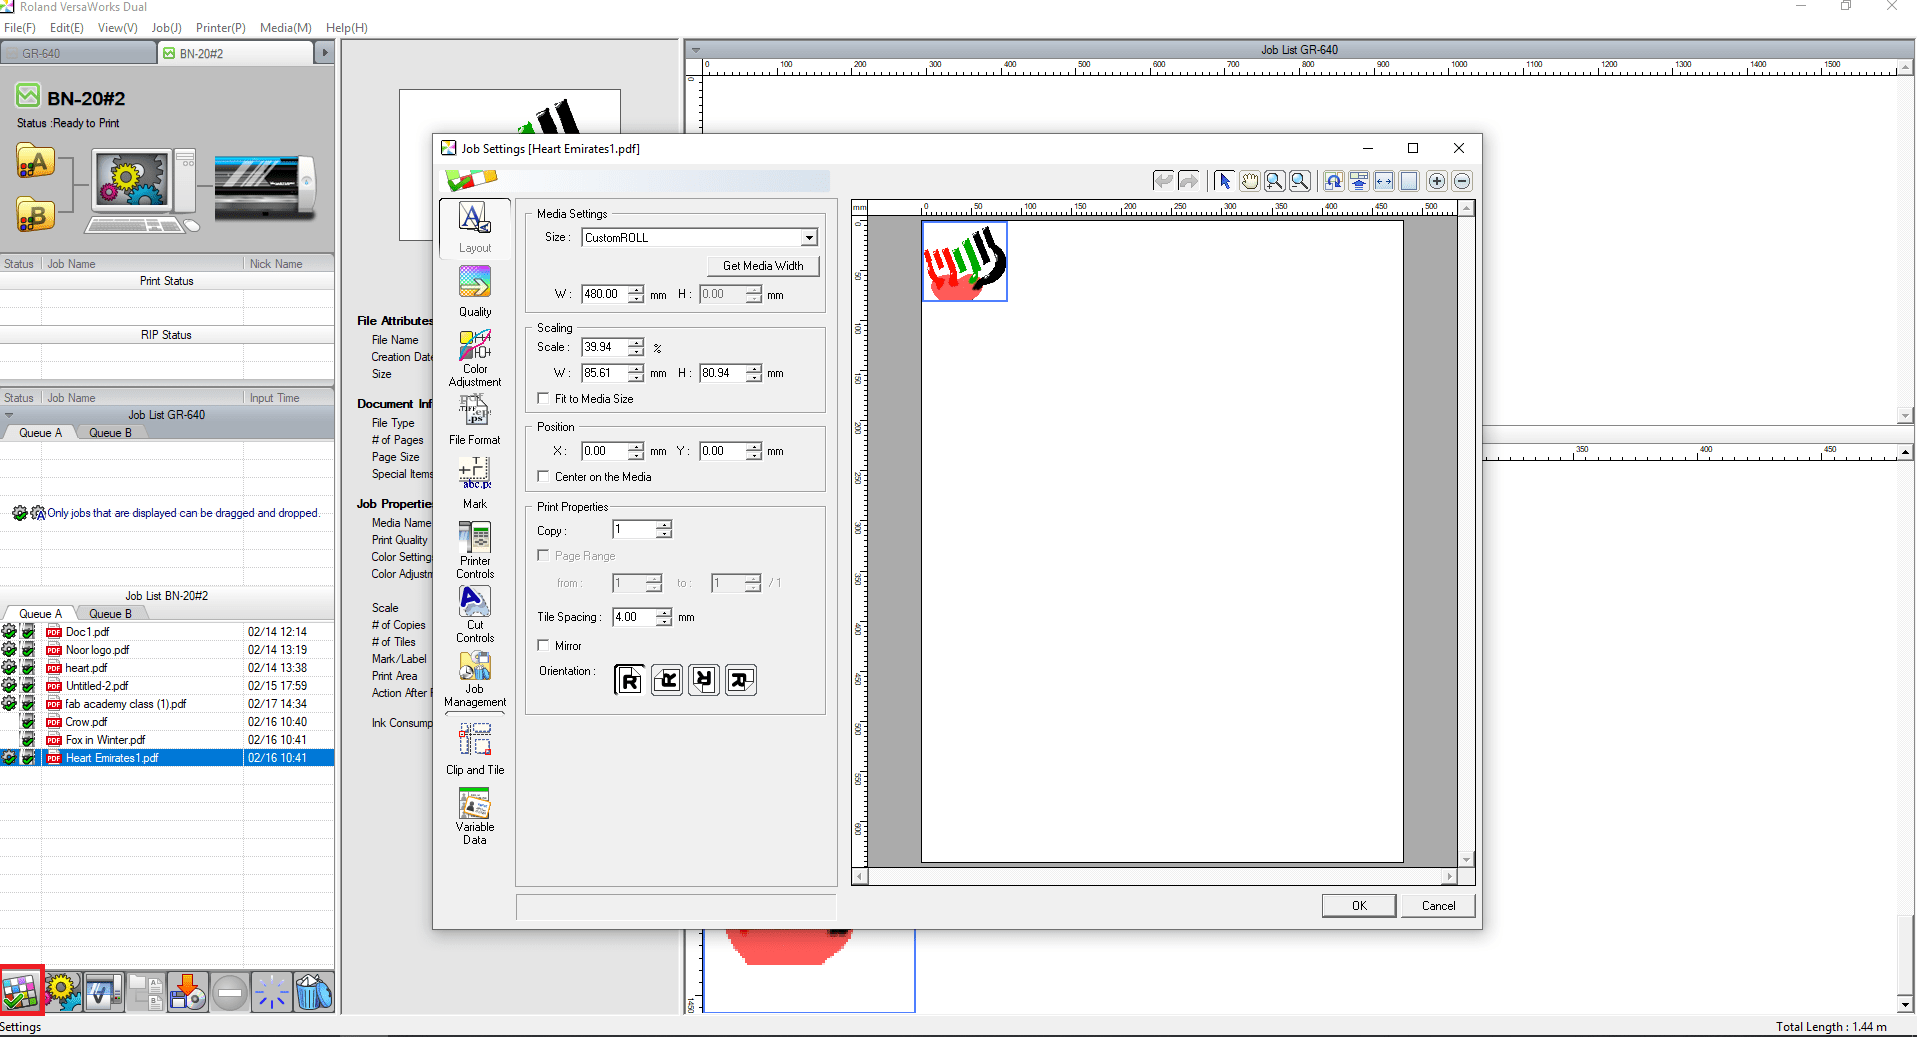
1-Settings: to set up how will the vinyl be printed before submitting the data and commands to the printer, which includes settings such as: image orientation, size, number of copies, print cutting, etc.
 2-RIP: stands for "Raster Image Processor" which allows the printer to calculate the amount of ink and positioning of the images that are to be printed
and 3-Print: submit data and commands to the printer to initialize printing of SELECTED images
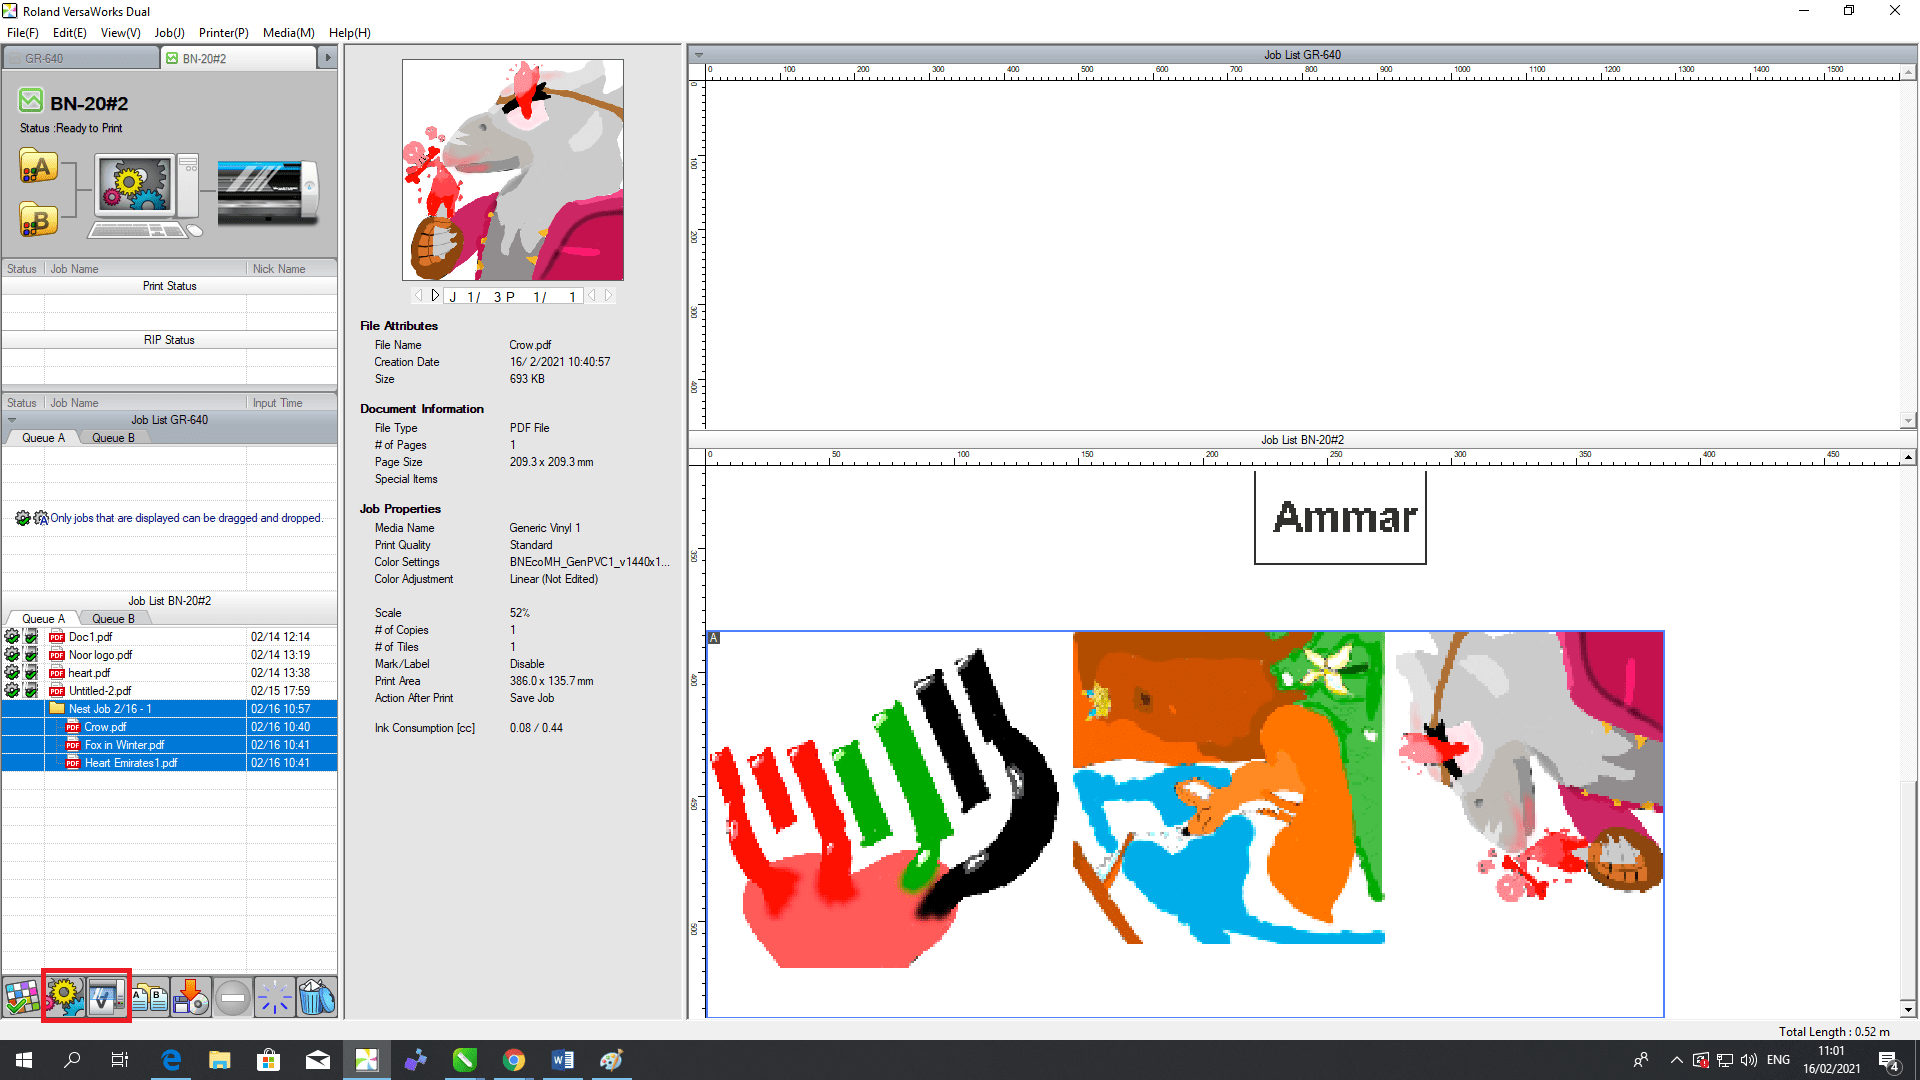 (Optional)-Nesting: which is a step only required if you have more than one image to print in quick succession, helping by arranging the images next to each other.

Results
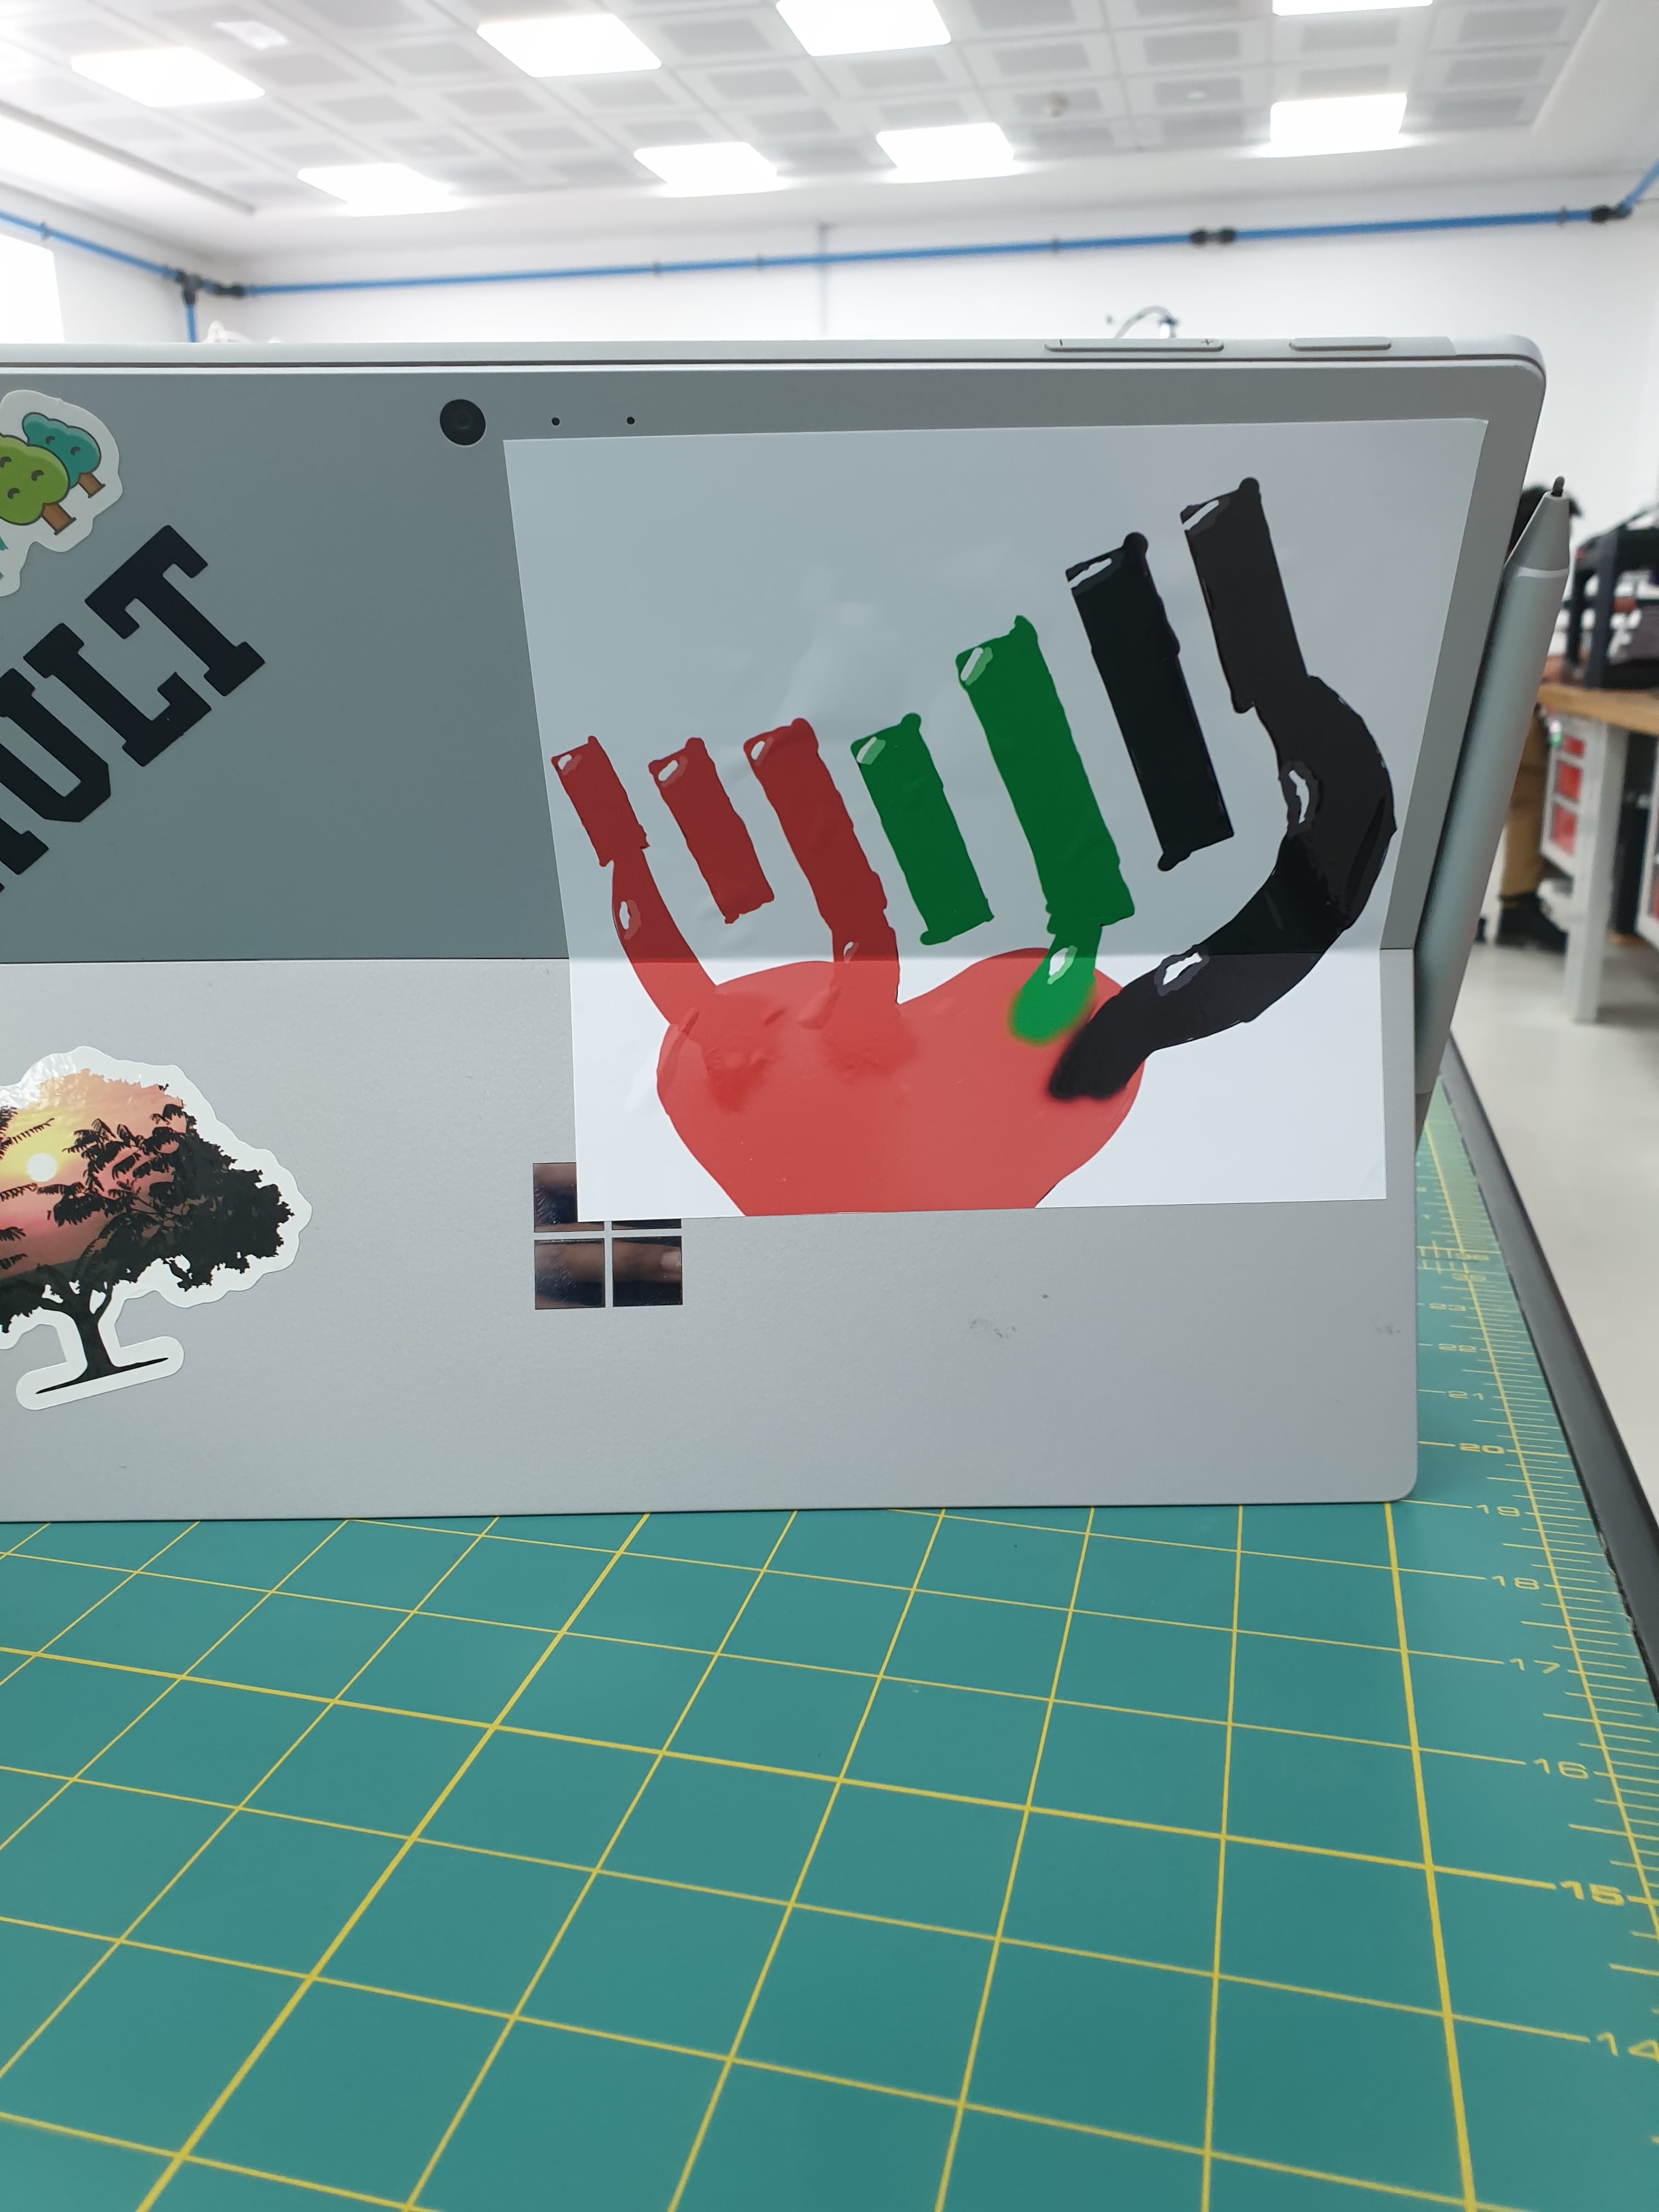
After pressing Print, the printer starts to work and begins painting the images from the ink cartridges then provides the requested cuts to ensure easy removal of the vinyl from the roller paper as shown below:
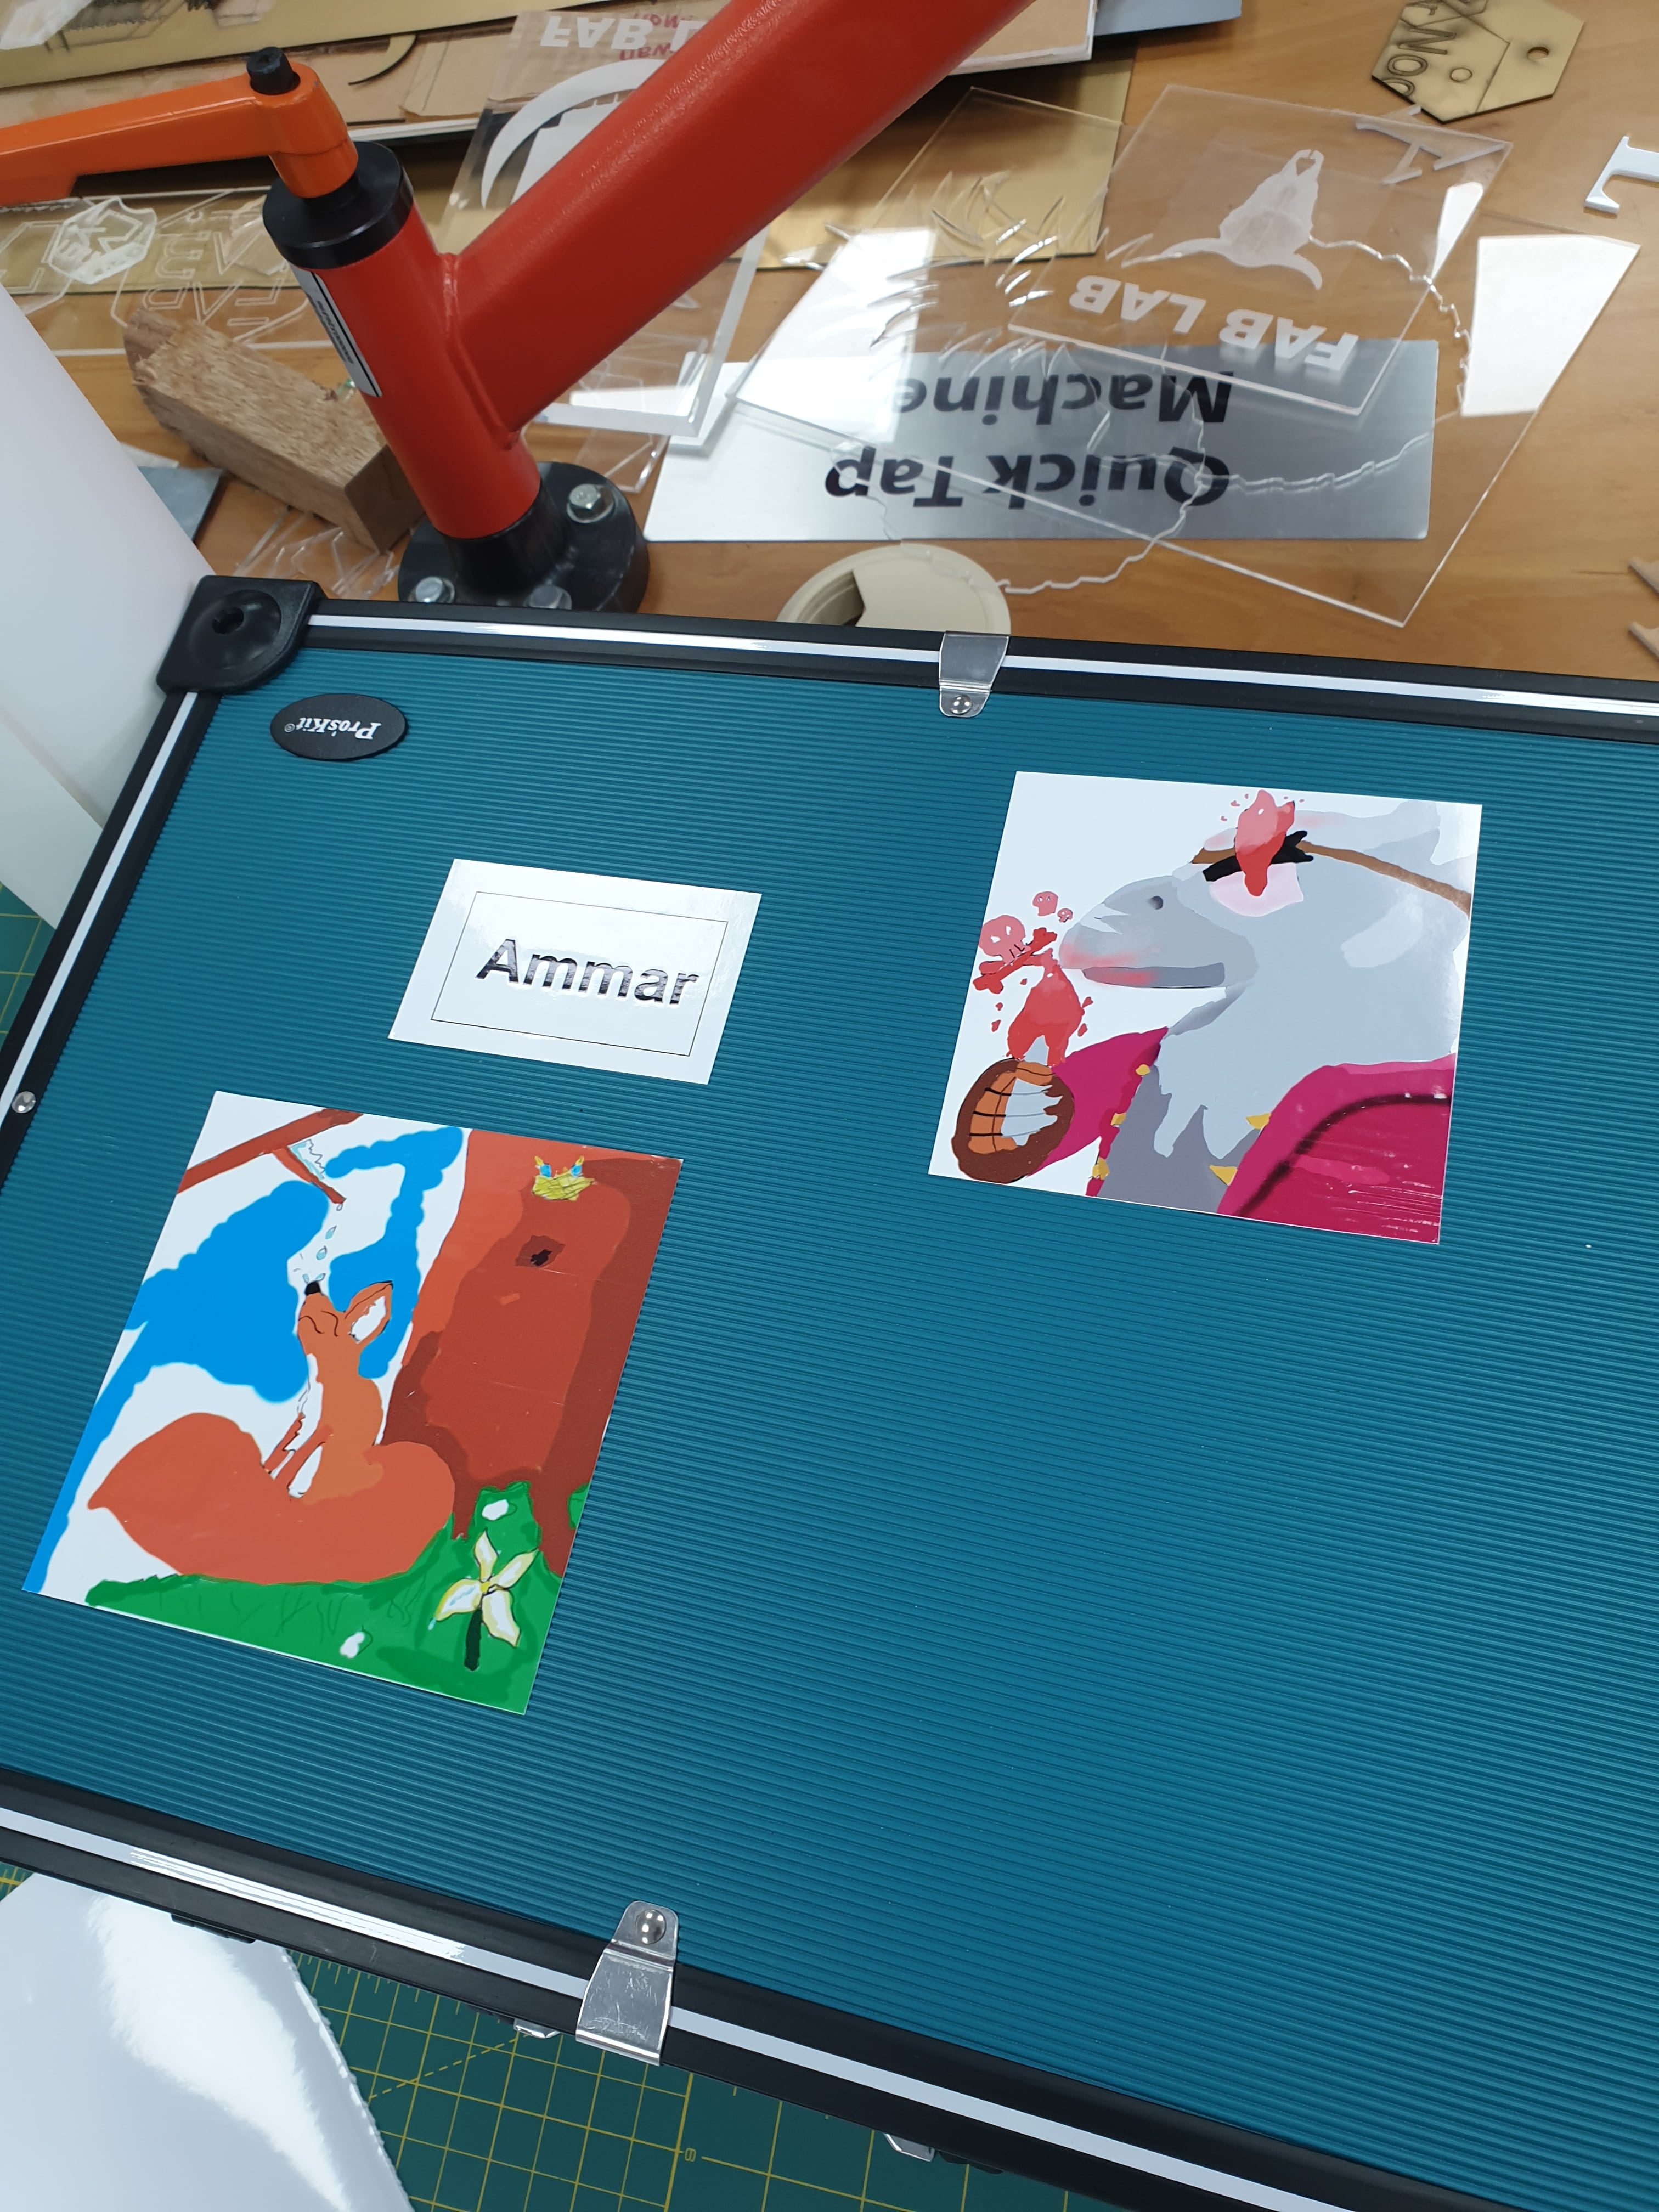
Though it takes time for the printing to finish, the paper is then cut from the printer using a sharp knife and removed from the base paper (preferably with a tweezer) and becomes ready to stick to any surface for its intended use (decoration or otherwise):
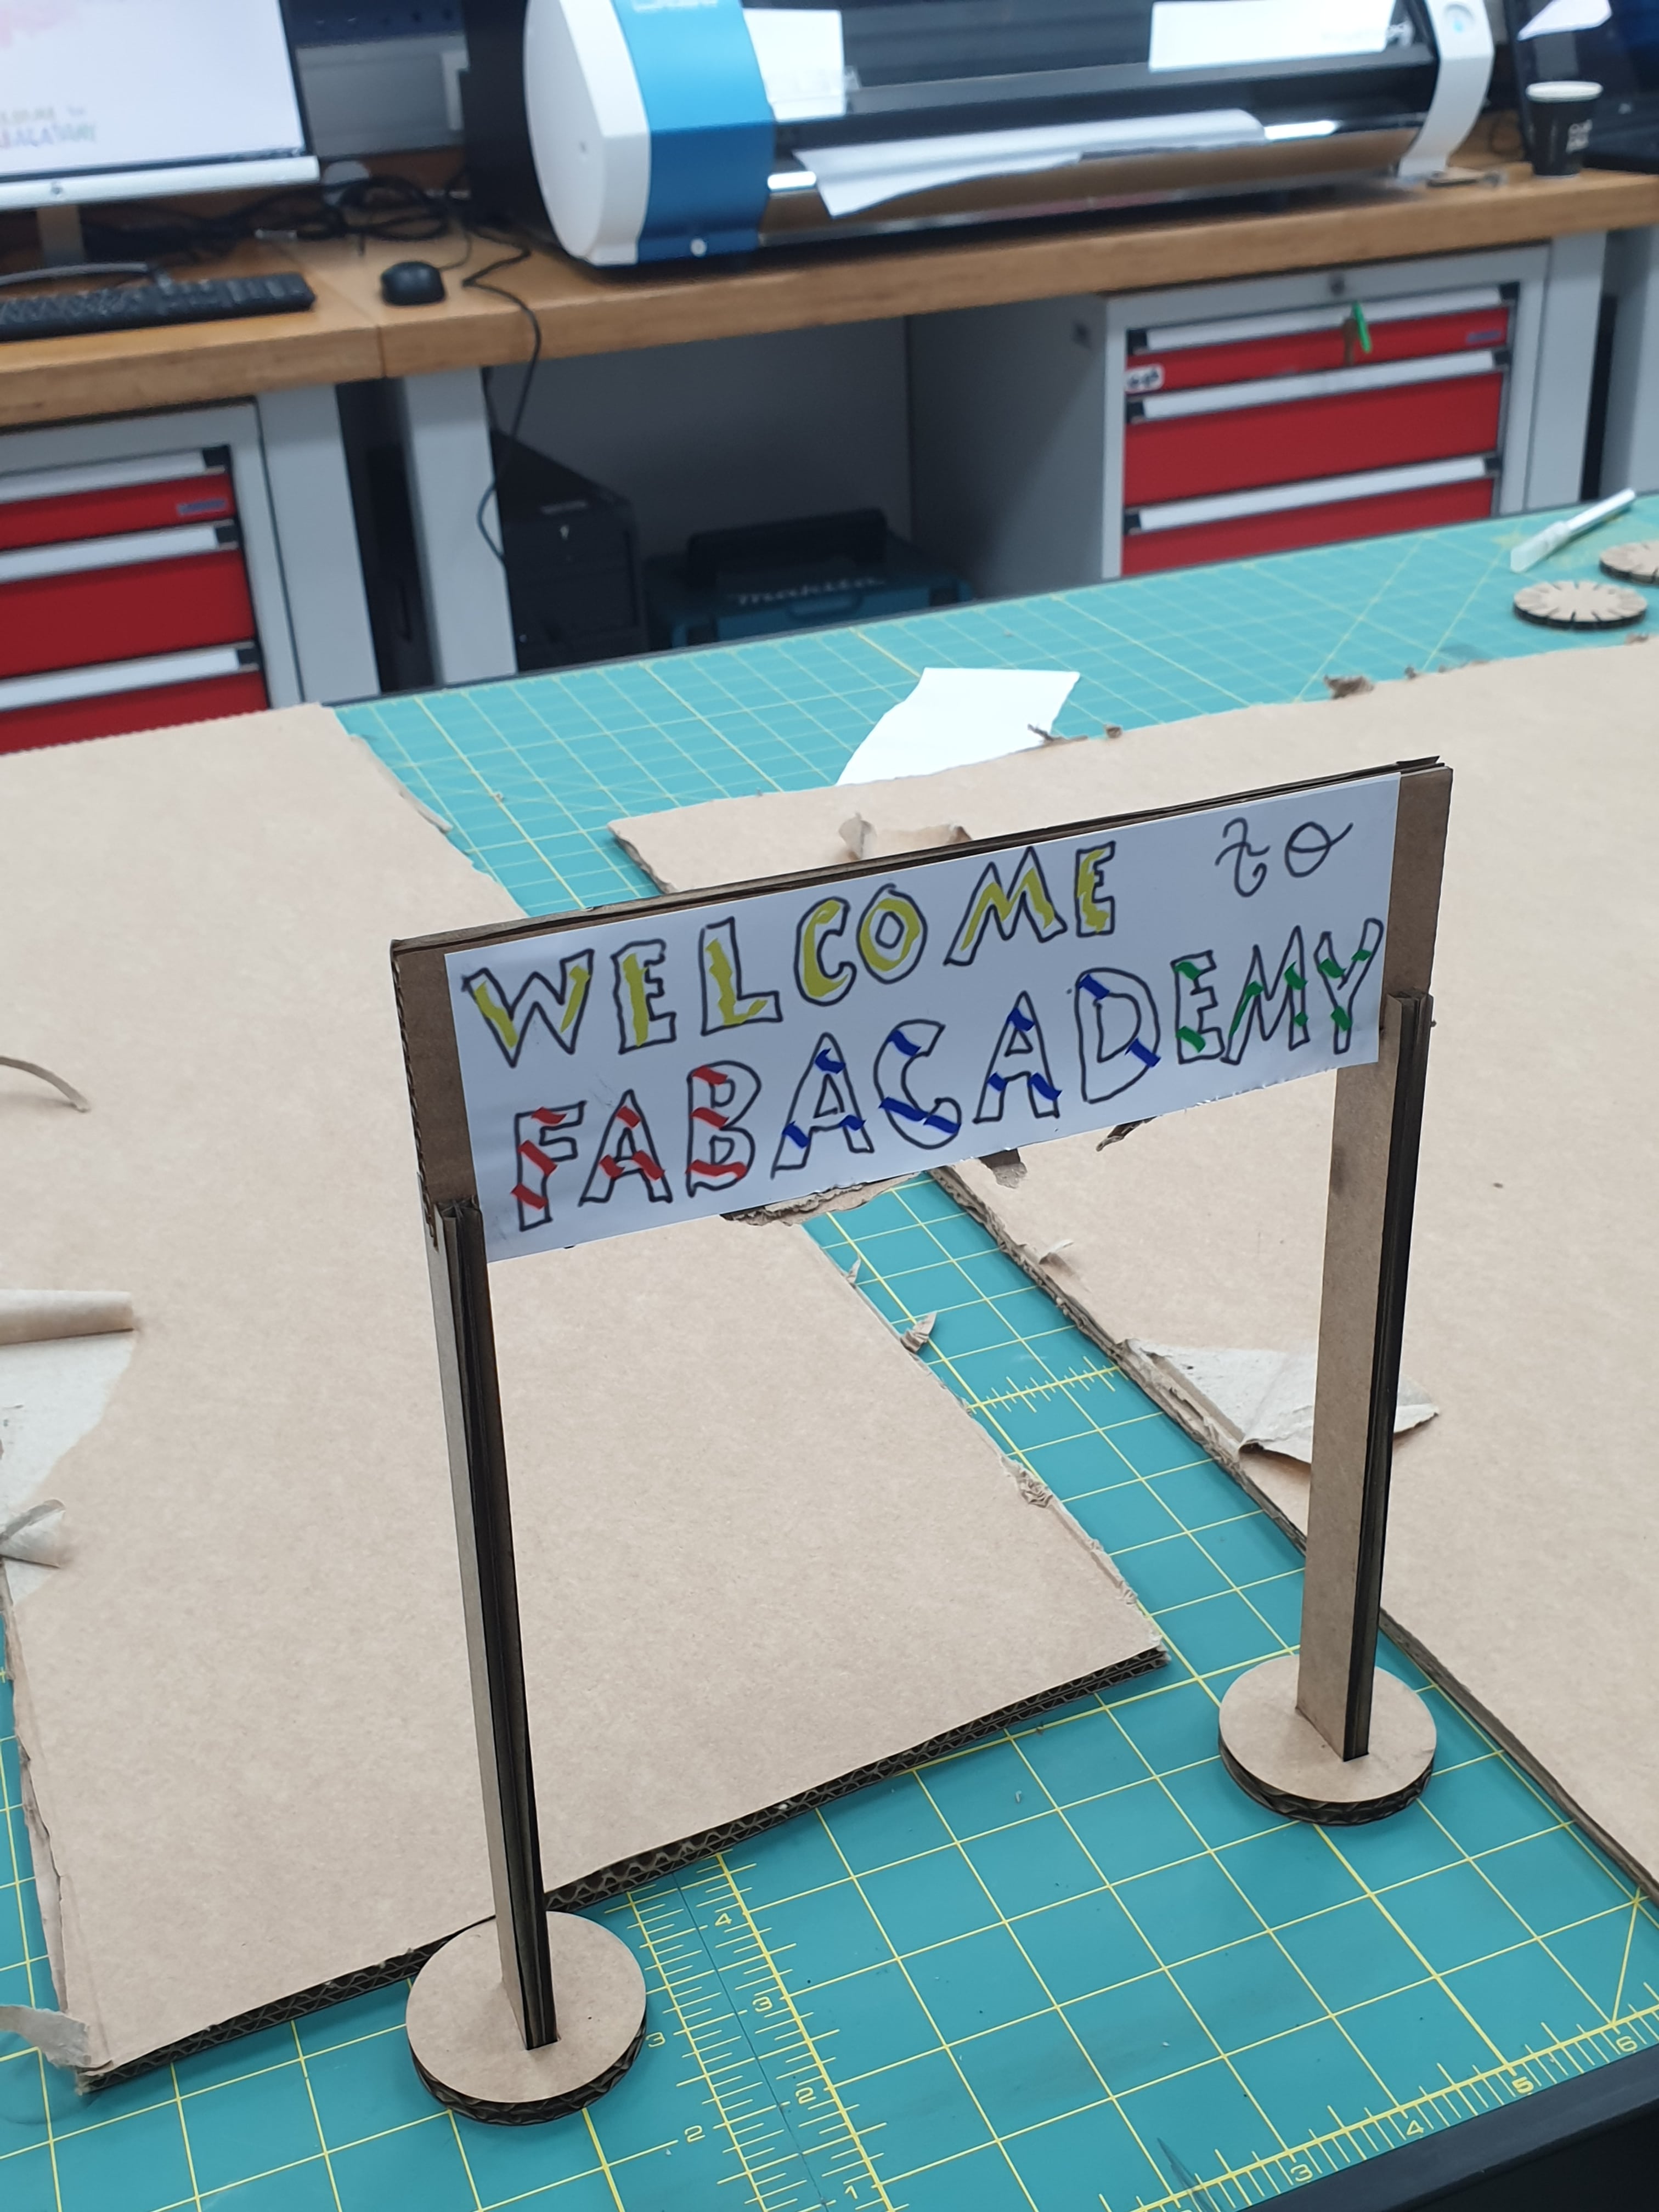
Laser cutting
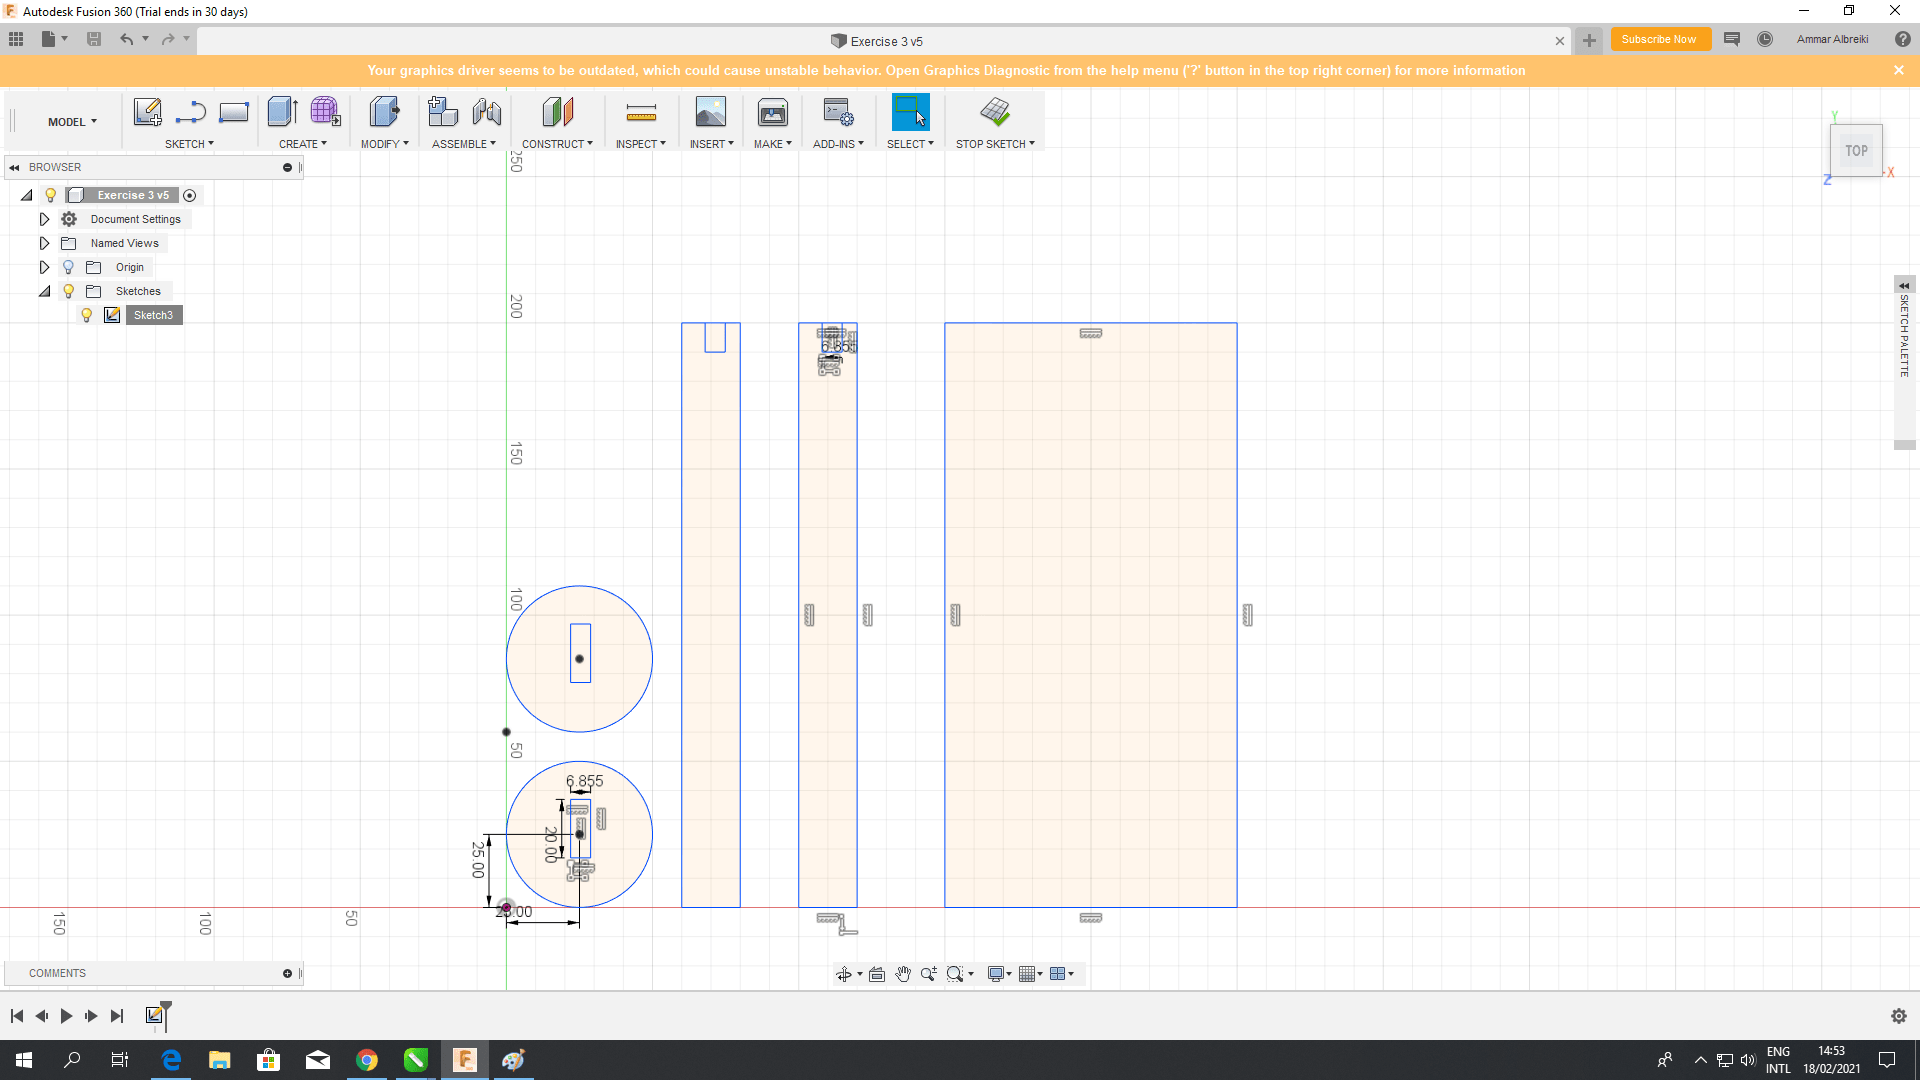
As for the second task is to create a construction kit using available resources and laser cutting to construct a certain formation, starting with with sketching a design to aid the laser cutting in knowing where it should preform the cutting, including other settings such as the laser's speed, power, frequency, positioning, etc., this is done using fusion 360, which was an easy software to pickup to do simple designs, but doing more complex designs could require practice, experience and alot of patience:
 After that, the sketch is saved as DXF then exported unto inkscape to be sent as a blueprint for the laser printer to follow:
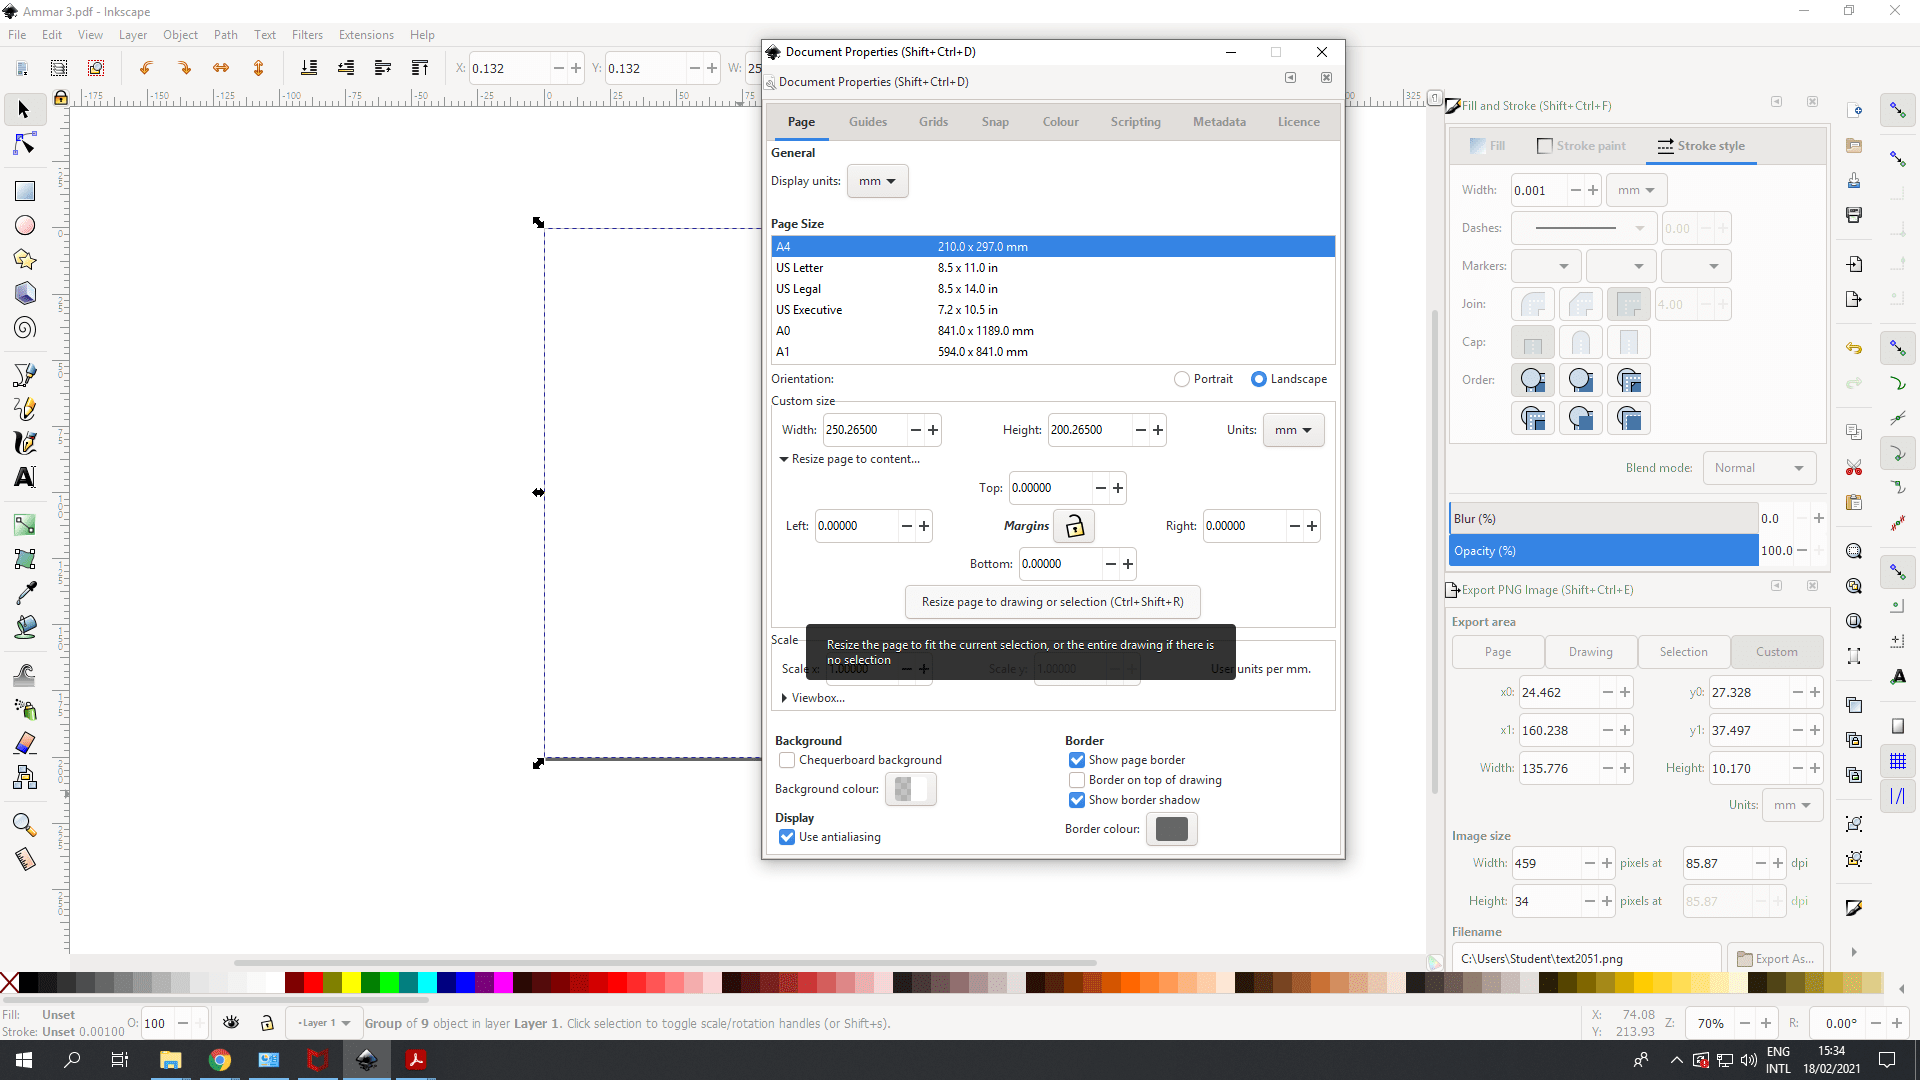
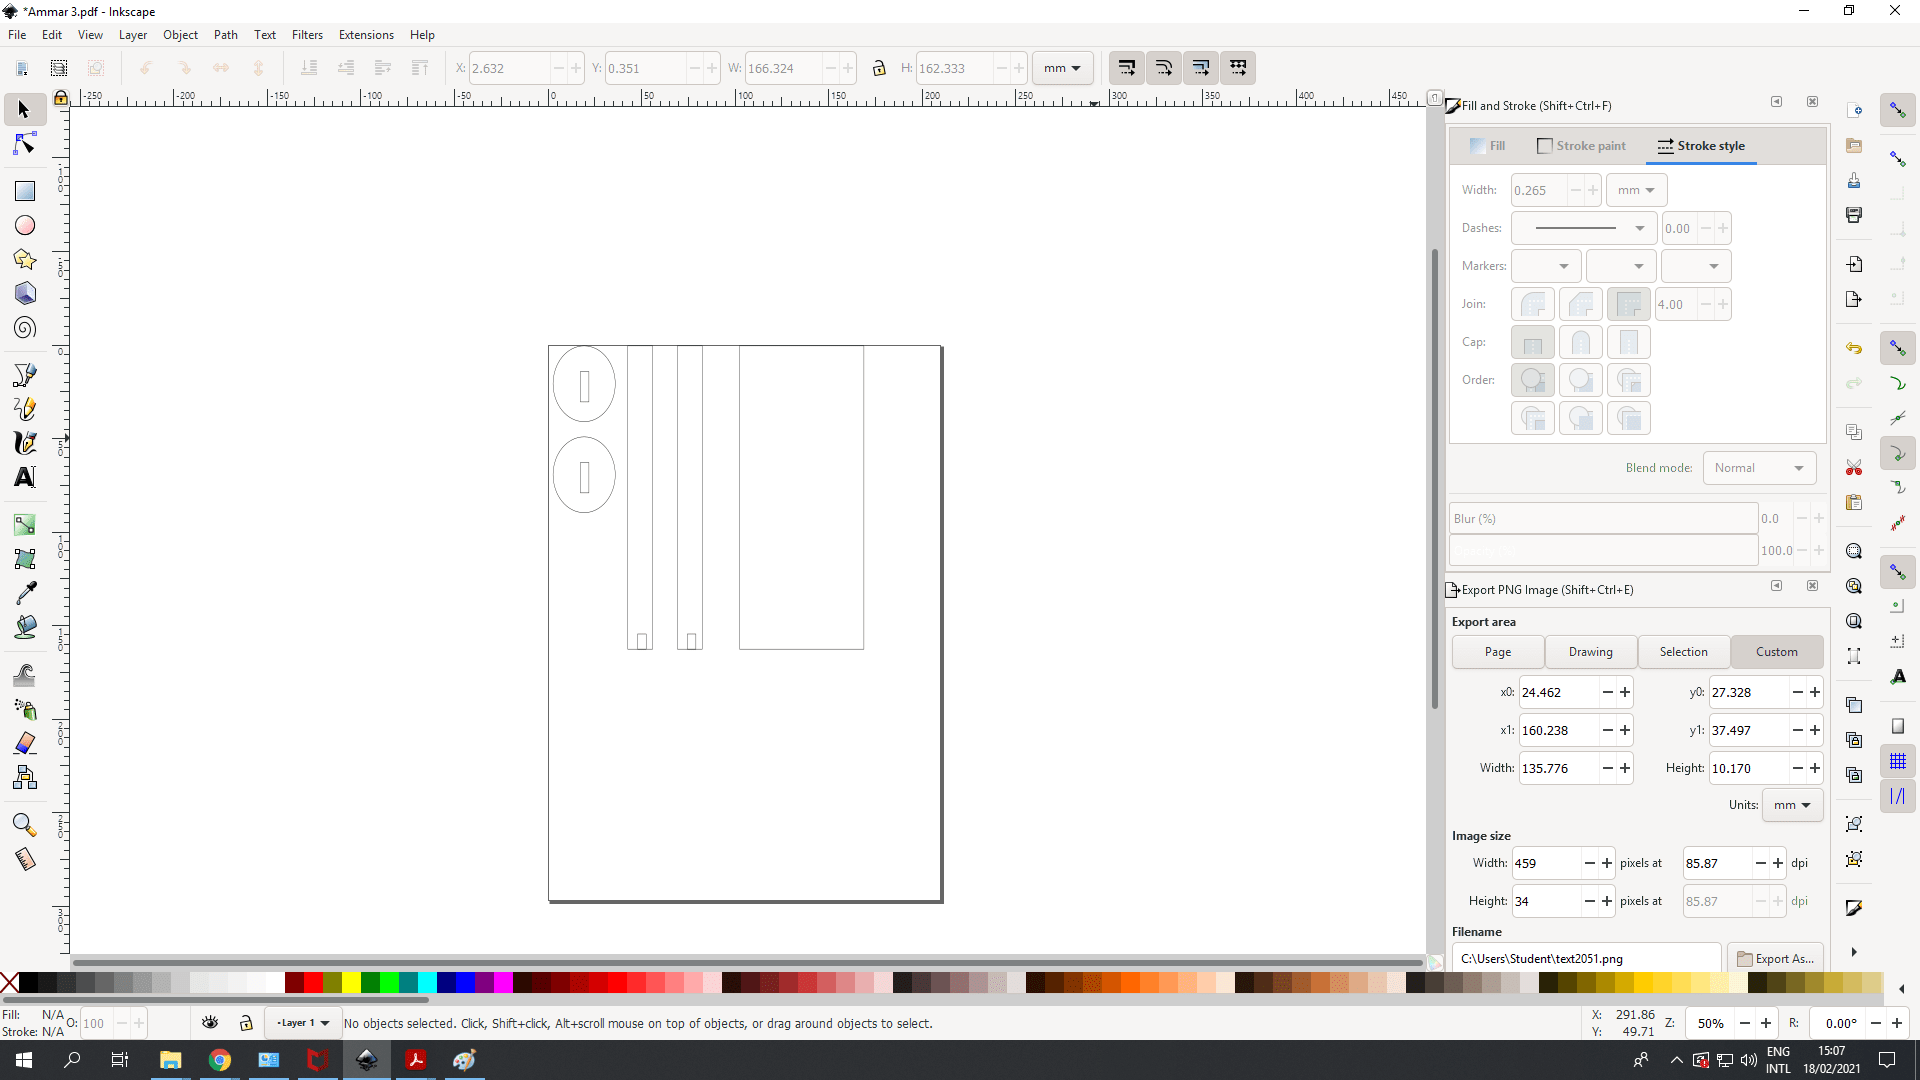 When the design is printed into inkscape, I had to make sure that its size accomodates the canvas provided by inkscape, otherwise the laser cutter won't register it. This easily done using the button shown in the picture below: (Becareful not to change the designs parameters when resizing your design...you learn that the hard way...)
 Make sure the file is in PDF format before printing.Then as printing, changes need to be made in the "properties" section, where settings of how the laser should work are there, which can be either with black & white (with vectors and rasters)or color mapping:
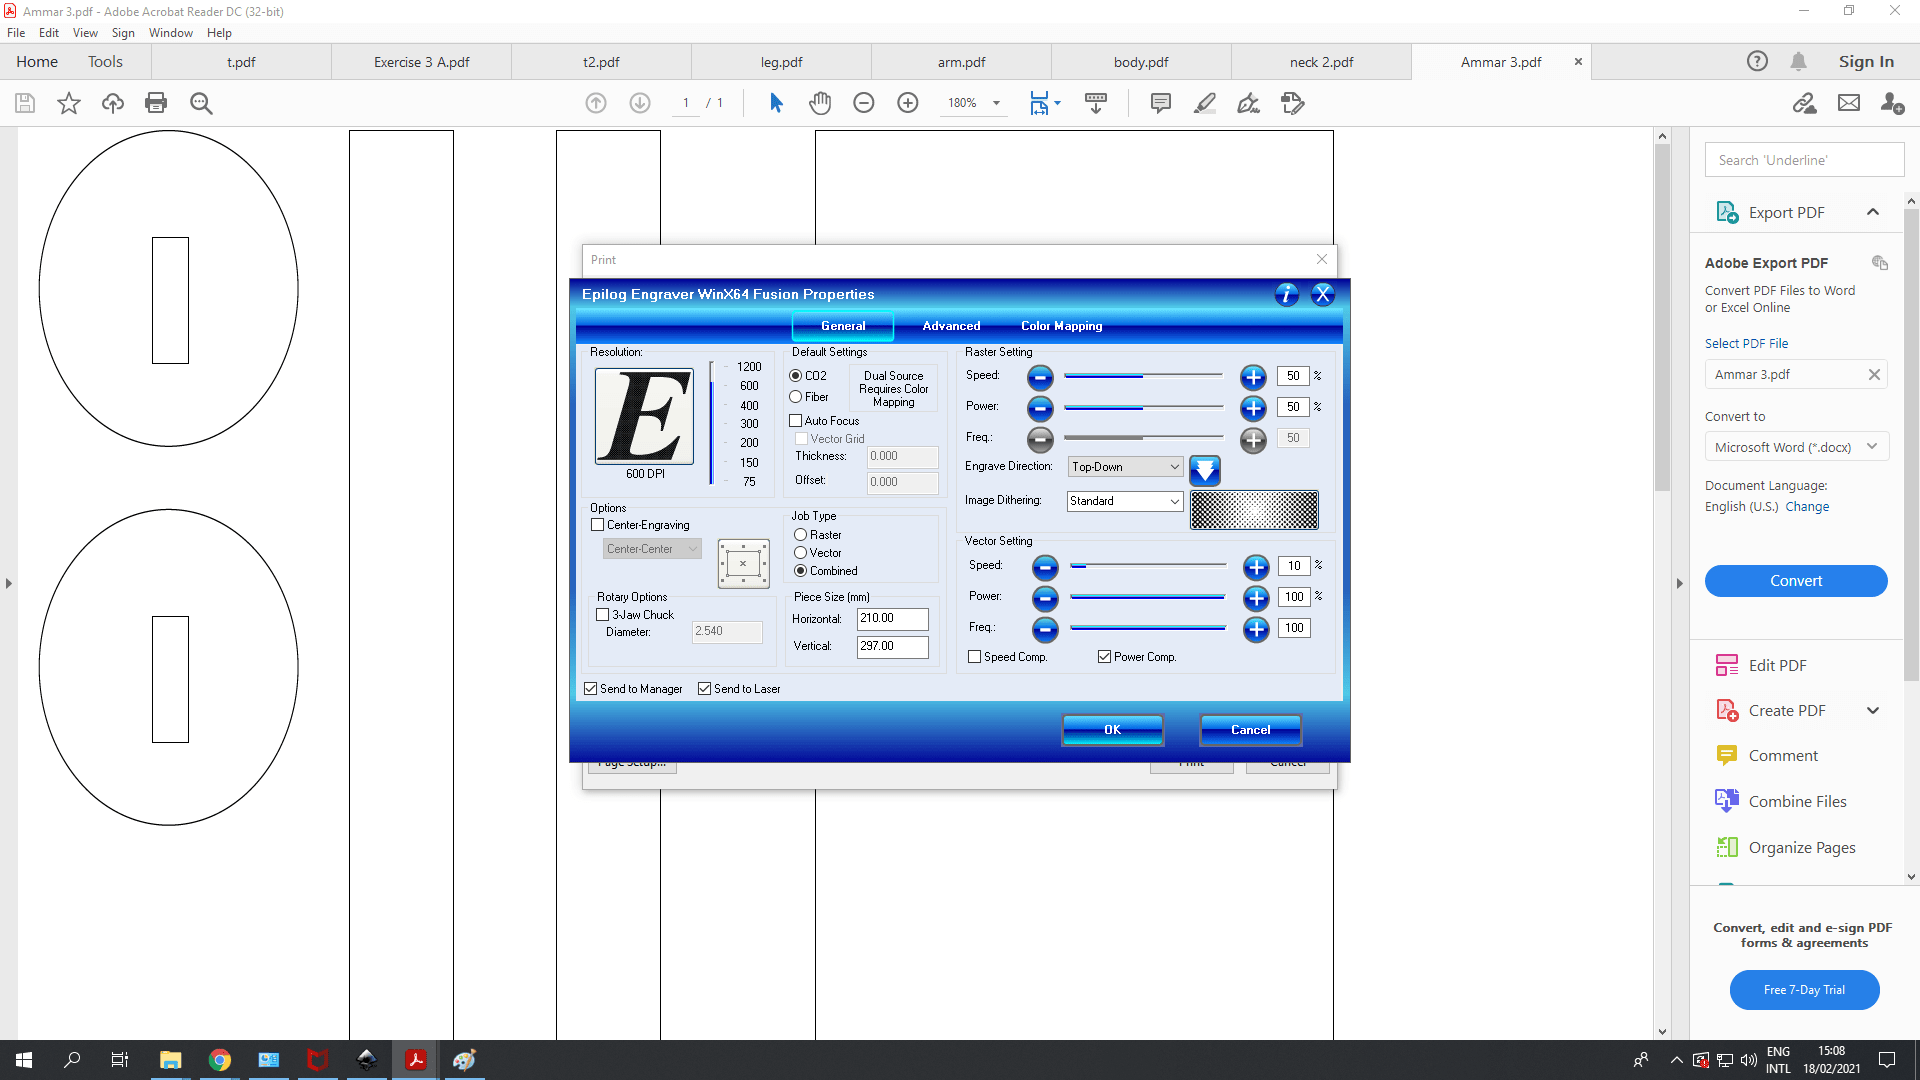 Which finally gives us the results shown below, though the process gets tedious from transferring data from one computer to another, in addition to the risks involved in using the laser cutter, I was amazed by the precision and use it could have for crafting.