Mechanical and machine design: The Wire Bender
This week we had to build a machine as a team, which includes a mechanism, actuation, and automation. This was done in collaboration with Iason Pantazis of Fab Lab Ioannina.
Our team decided to make this Wire Bender machine designed by Jiri Praus.
The full account of the making journey can be followed at our group assignment page.
The team project was accomplished in two consecutive weeks, with each of us teammates being present at the lab at different times (not all of us simulataenouly), and Iason working on it remotely. Therefore, each of us could contribute to different stages of the making process.
My main contribution to the project included:
- Printing the parts;
- Trying to procure some of the store-bought parts;
- Trying to tweak the grbl code at the end.
Printing the parts for the Wire Bender
As stated before, the parts for the machine were mainly designed by Jiri Praus, with the files available at the corresponding Instructibles page and required minimum tweaking for printing.
The parts were printed using the MakerBot 3D printers at Fab Lab Dilijan. Two colors were chosen for the design: White for most of the frames, and green for the rollers.
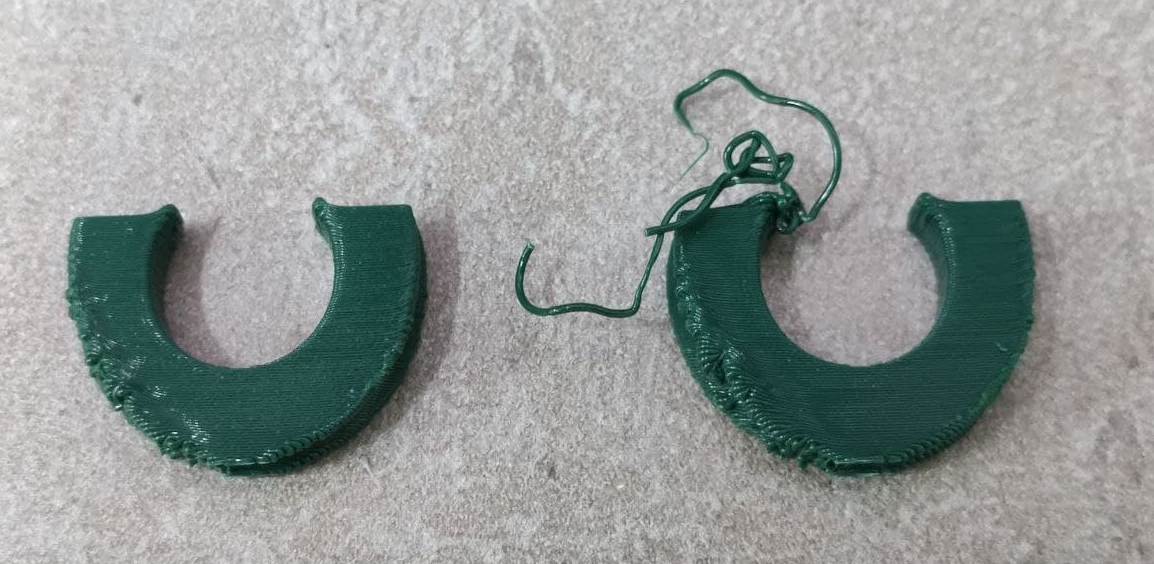
The masking tape used on the stages of the printers were changed and the printers leveled before printing. The first roller was printed standing up, so as to avoid PLA 'dripping' due to the sharp angles in the grove where the wire would have to sit. Unfortunately, the machine could not finish the first two rollers printed and would fail towards the top:
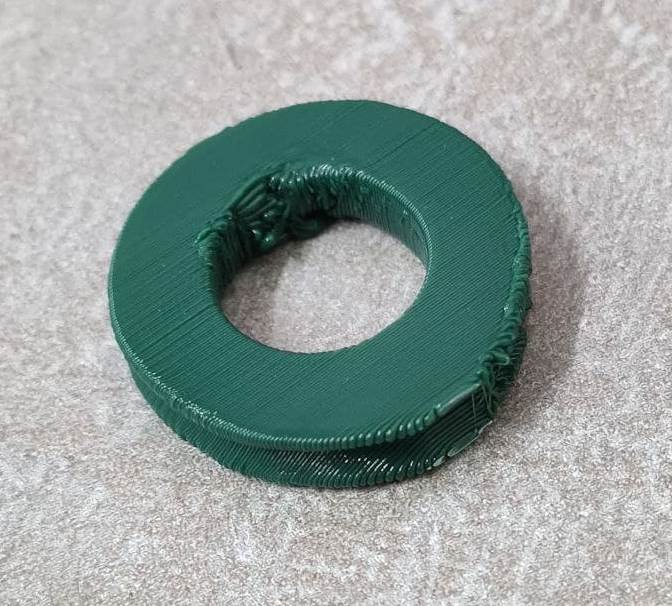
The temperature on the printer was then adjusted and lowered by 5 degrees, making it 215 degrees, and then the roller could be printed all the way to the top:
However, this proved to deform the shape of the circle inside, where bearings would have to be located. It was therefore decided to turn the rollers 90 degrees, and have them printed lying down. Surprisingly, this didn't cause the wedges or groves to be distorted due to their sharp angles:
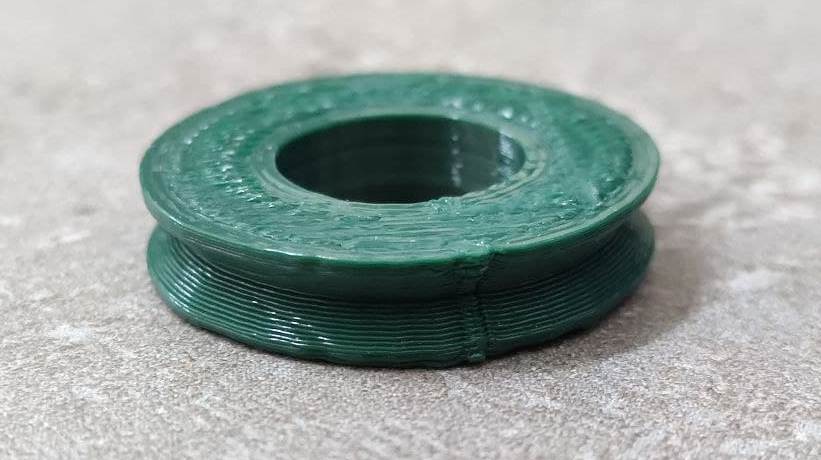
All the parts were scaled to 102% since the initial size of the rollers wouldn't allow for the 3 mm bearing to fit in.
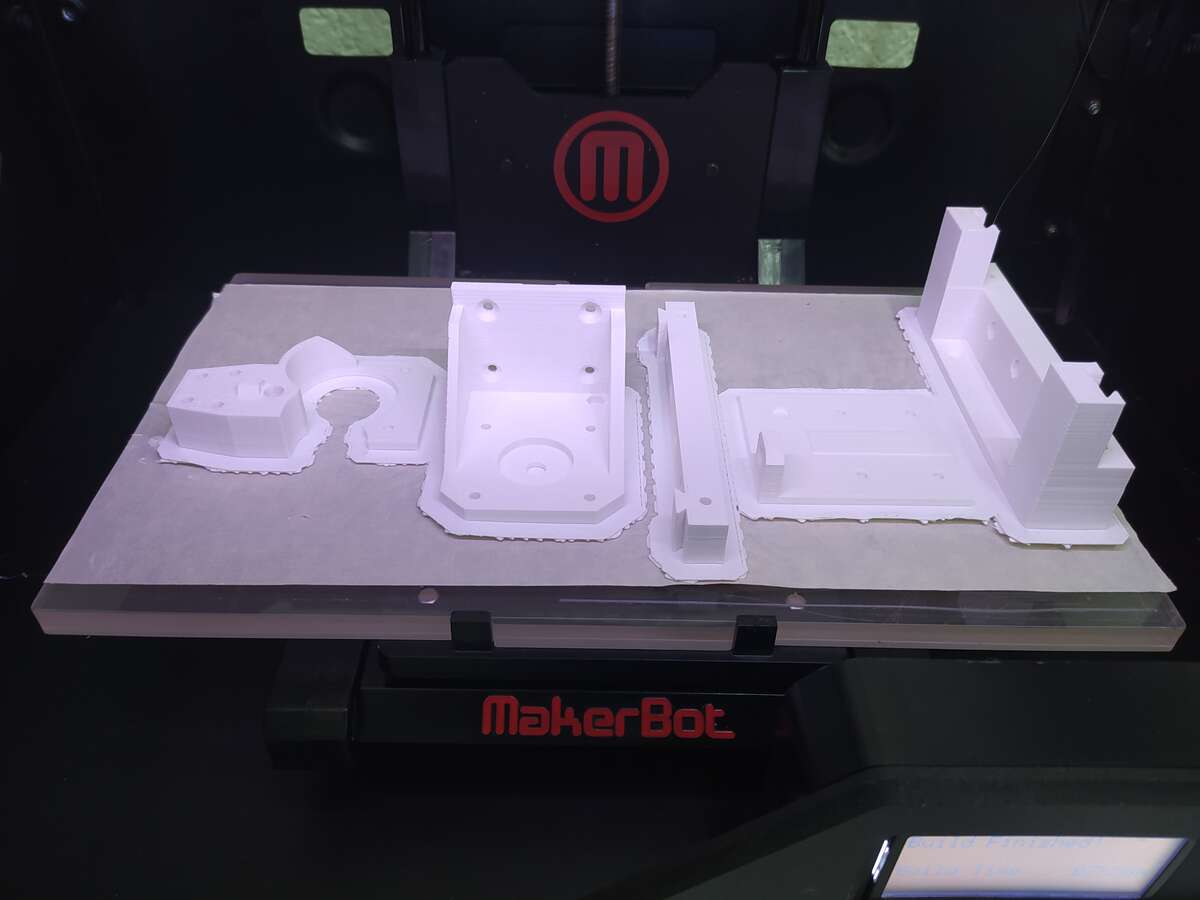
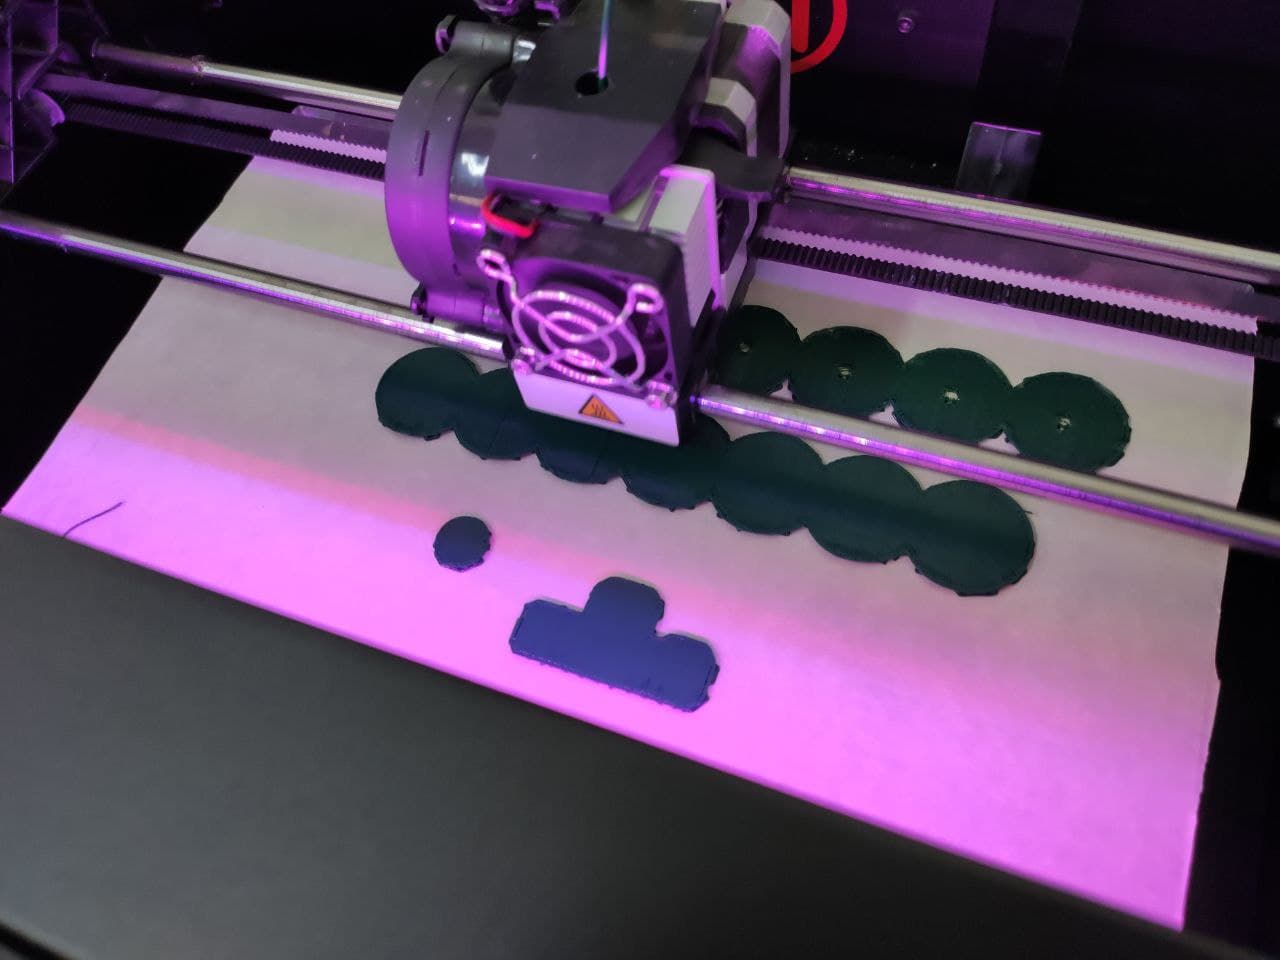
Here are the frames being printed:
Here are the rollers being printed:
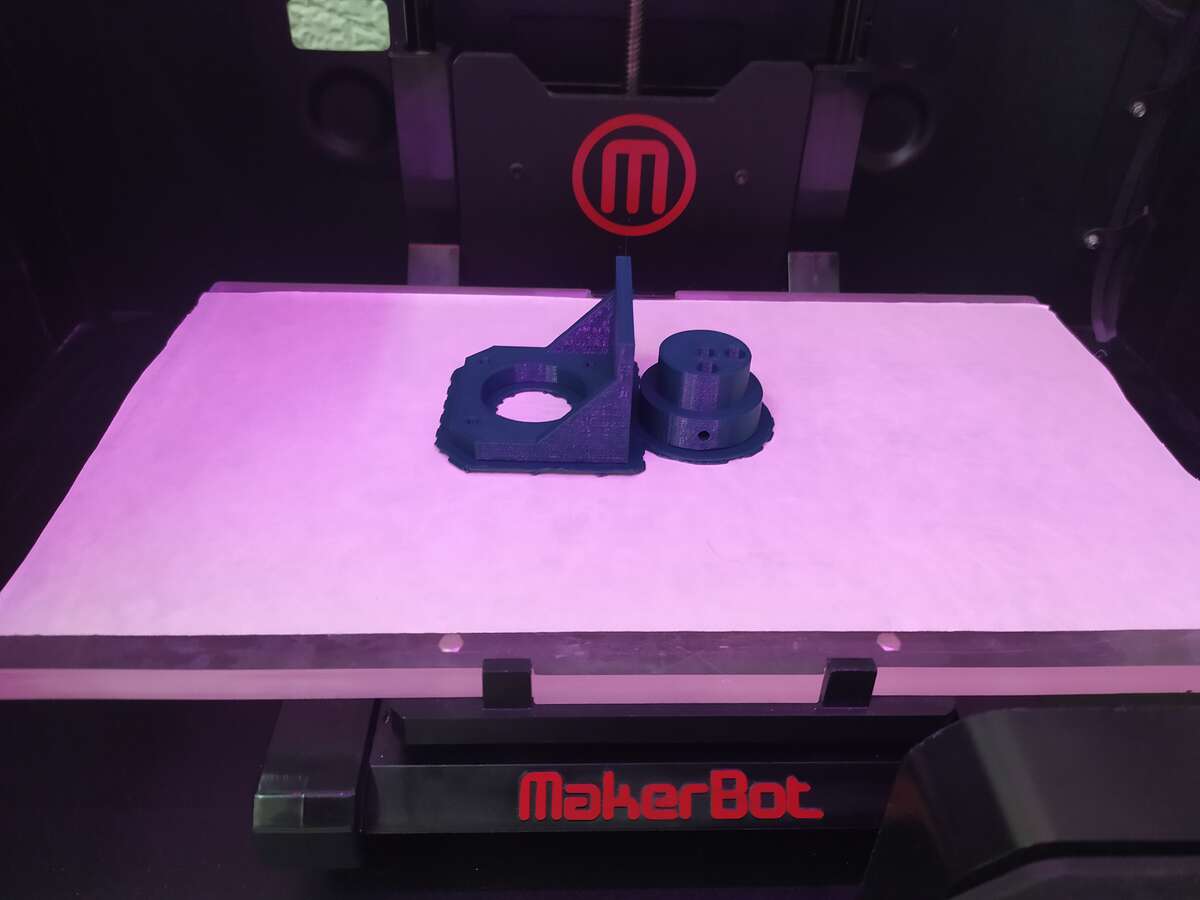
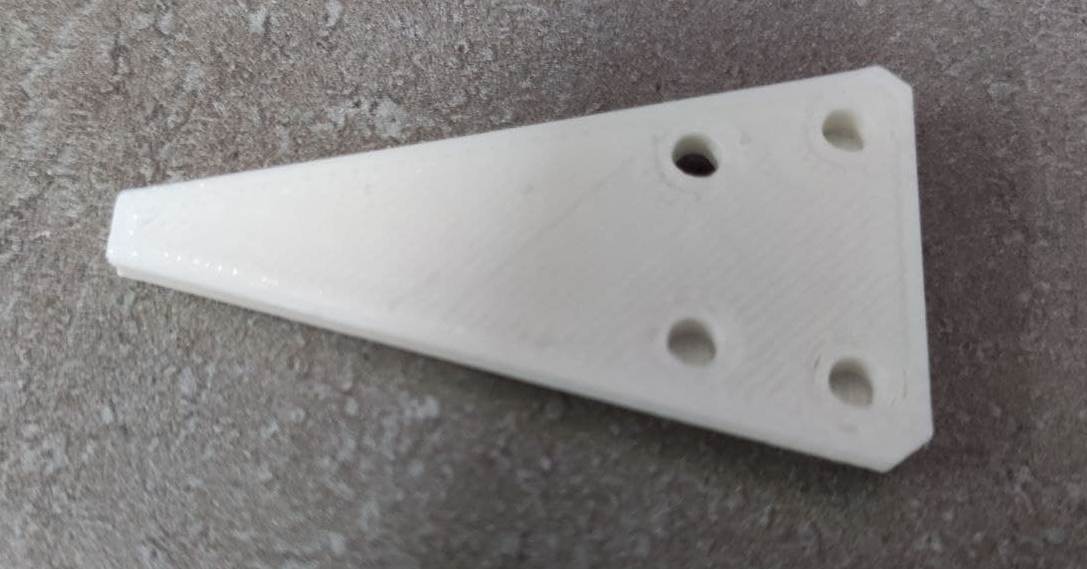
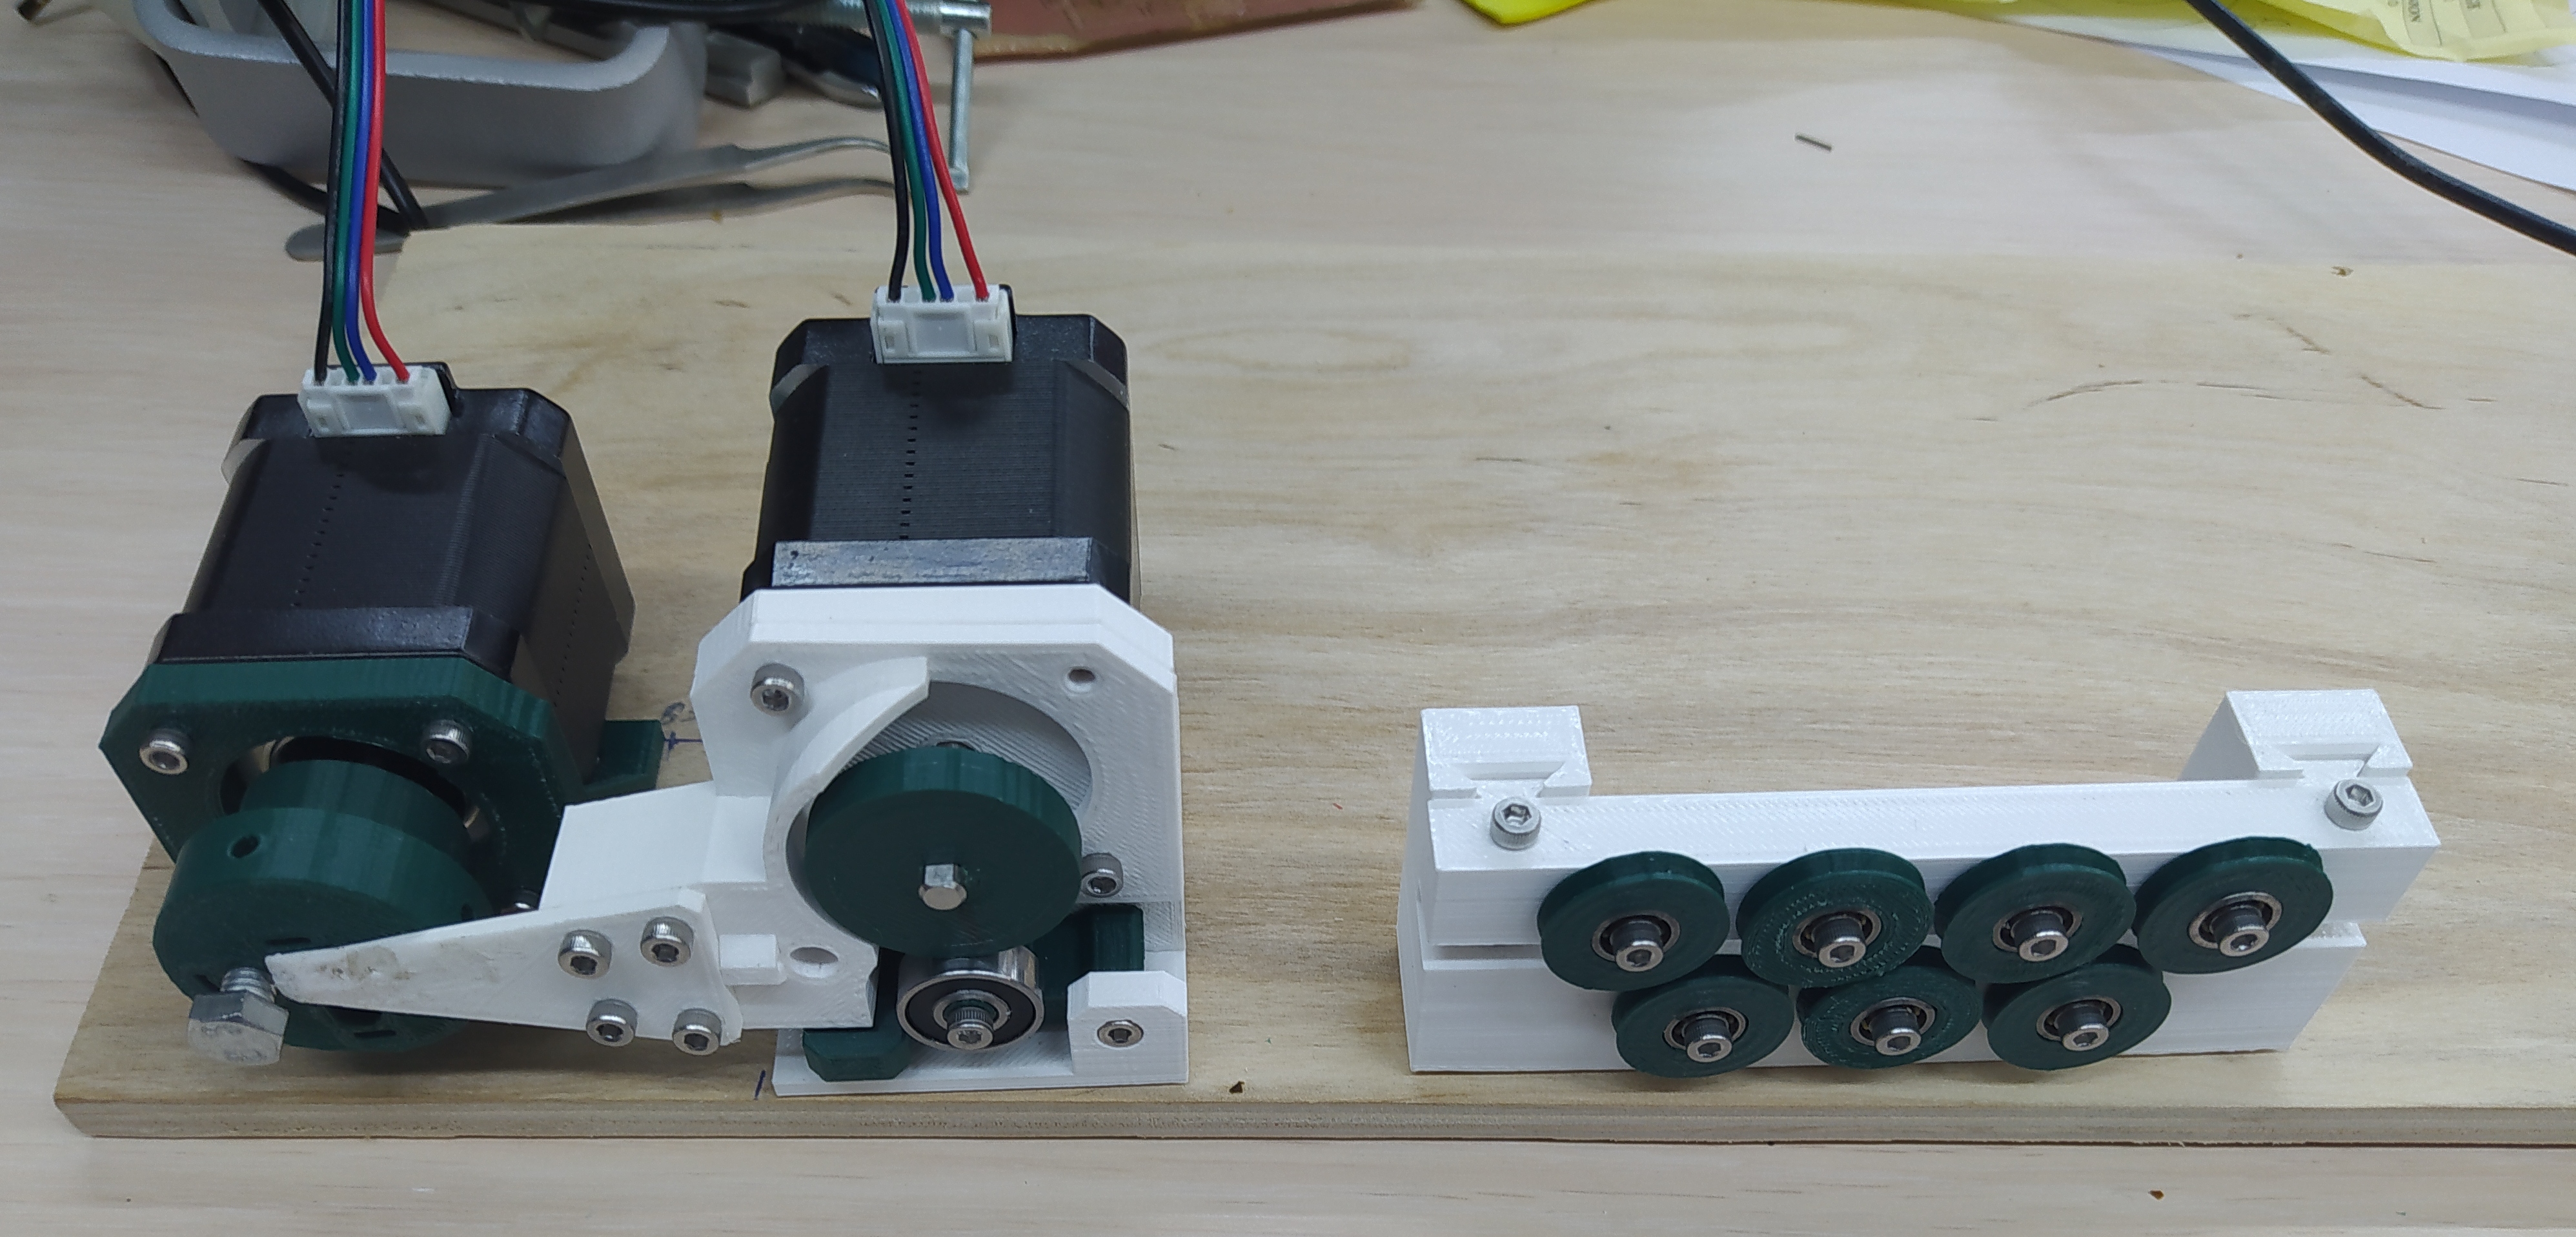
And here is the printed feeder piece:
Procuring other parts
Most other parts had to be obtained from sellers in Yerevan, including the Arduino CNC shiels, bearing, and M3 bolts and nuts.
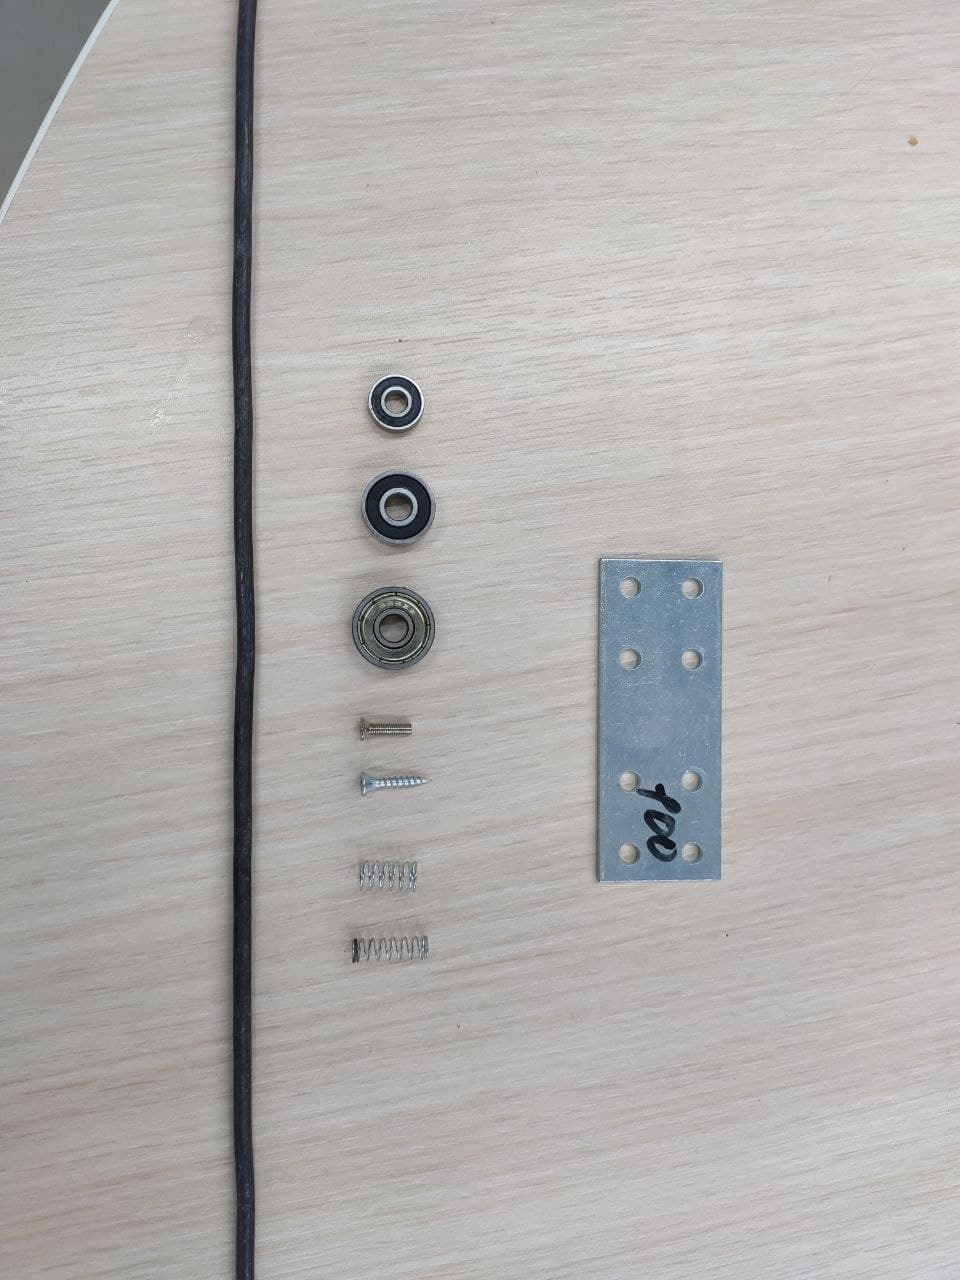
Here are some of the parts that could be obtained in Dilijan, and which I was able to obtain:
The finished Wire Bender
Here is the finished machine in all its glory:
Once more, further details and the machine in action can be viewed at the 2021 Fab Lab Dilijan's group assignment page.


