♦ Computer Aided Design♦
Second week started with CAD designing.I never used any CAD software before.
So its challanging task for me to learn new software.I got confused where to start and what to do .
So I discussed with my local instructor.She suggested me that first watch the tutorials and make small designs.
We made plan for this week.So I started working as per our plan.First I started working on Raster software then Vector software.
After finishing these two I started working on 3D software.Now let's see what is raster and vector.
What is Raster?
Raster graphics are composed of pixels.A raster graphic,such as a gif or jpeg is an array of pixels of various colors,which together form an image.When we increase the pixels ,image will get blur.That is why logos are designed in vector graphic.(wikipedia)
In raster I have used below two softwares:
GIMP
Krita
GIMP
First I downloaded GIMP.I made water reflection effect in original image.For this I referred "you tube" "Video Tutorial"
Open GIMP software,then go to file ,select new file and import your image
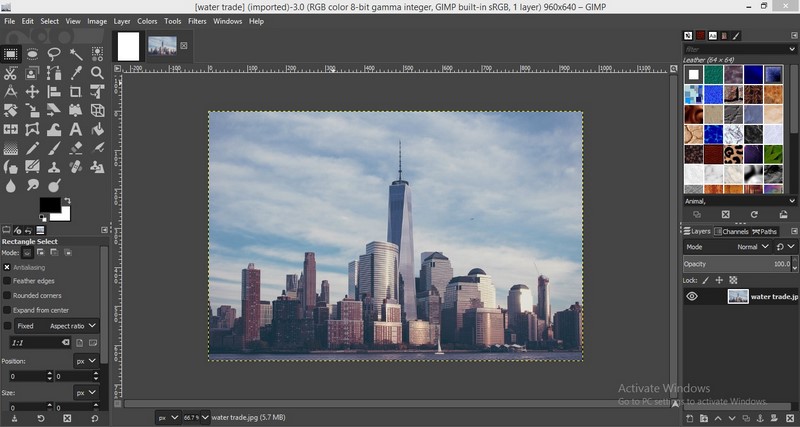
Original Image
Go to Image menu ,select canvas size and change the height of canvas click on resize.
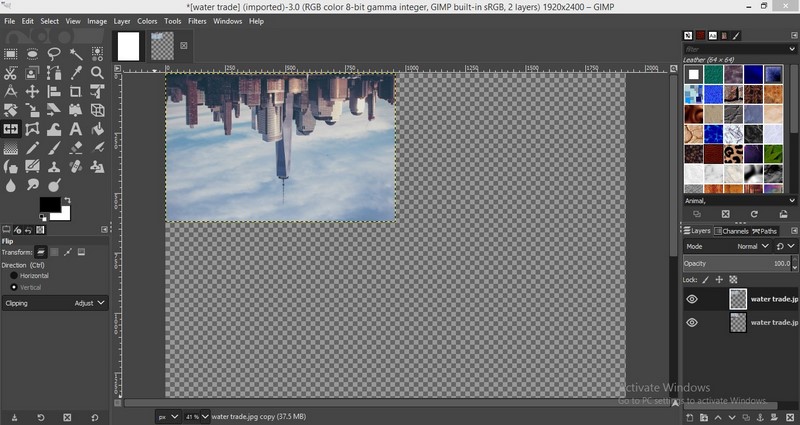
After that duplicate the Layer and select flip tool ,in that make it vertical.
Canvas size change
Select alignment tool then select "Align bottom of target".

Inverted Image
Click on filter then select Blur then Gaussian blur.Now change the value of X and Y.

Gaussian Effect
Again click on filter then Blur and select Linear motion blur and change the length and angle.
Linear motion effect
Select Wrap transform and click on move tool after that create new layer then click on edit and select fill with FG color.
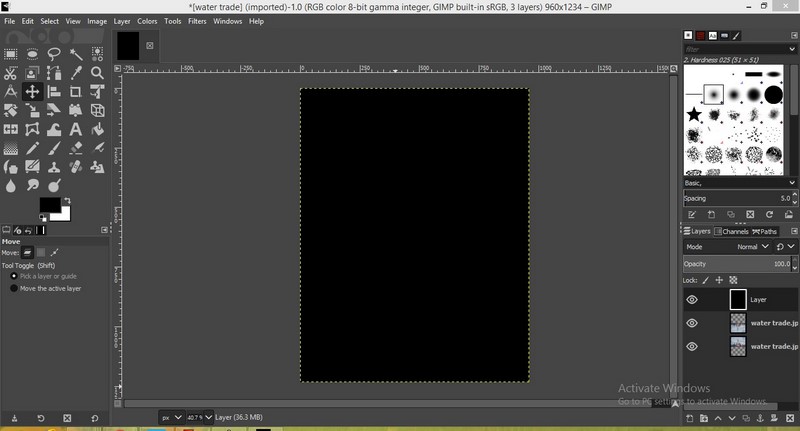
FG color
click on filter ,select noise then HSV noise and make Hue-180 and saturation,value to 1.
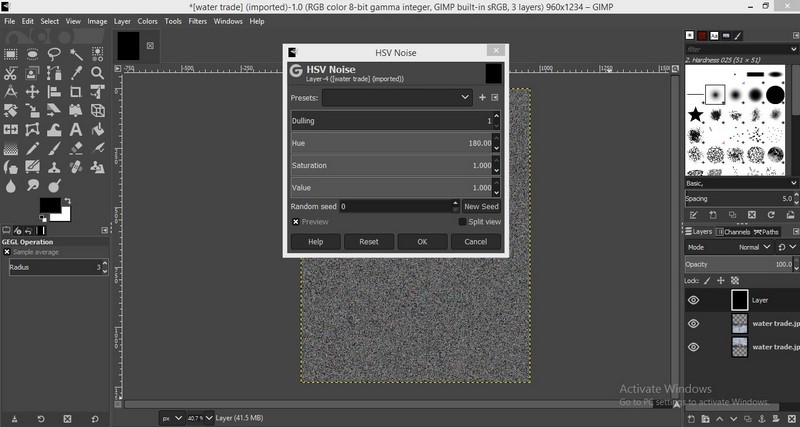
HSV noise
Go to color select saturation make scale zero then go to filter select blur then gaussian blur and change X and Y to 6.26.
click on colors select levels and adjust input levels.
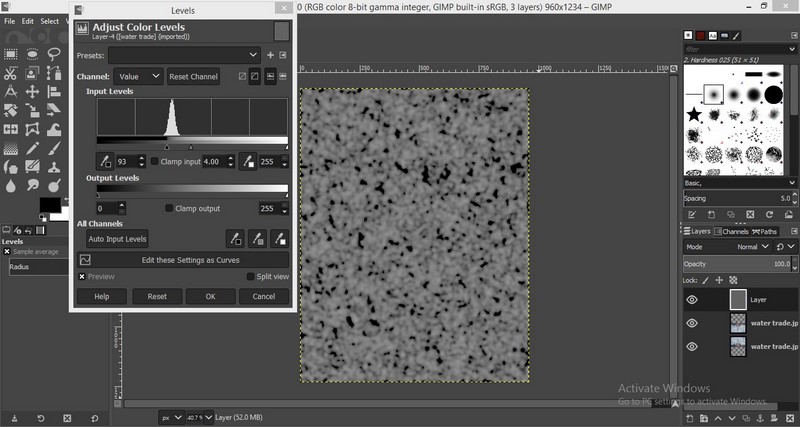
Color Levels
Again go to filter select blur then linear motion blur and change the value of length then click on colors select curve and adjust the X and Y value.

Color Curve
Click on unified transform tool drag image to middle and the drag it from bottom right and left.

Transform
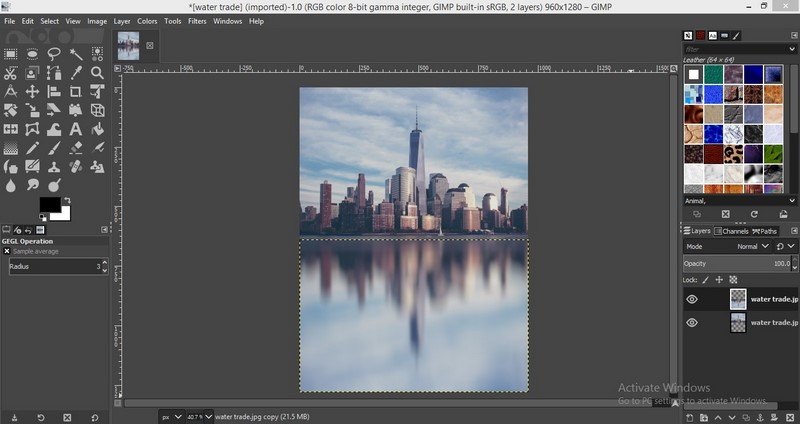
Click on layer ,select image to layer size.After that take second layer upside and first layer below of that then click on
filter select map go to displace and choose aux input as second layer.And you will get water reflected image as shown below.

Final Output
KRITA
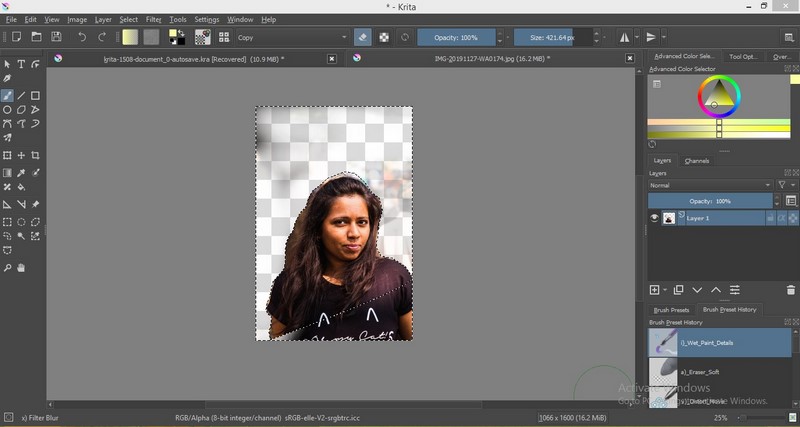
Open krita ,go to file select new file open your image.Select Bezier curve selection tool.Select part which you want to remove.
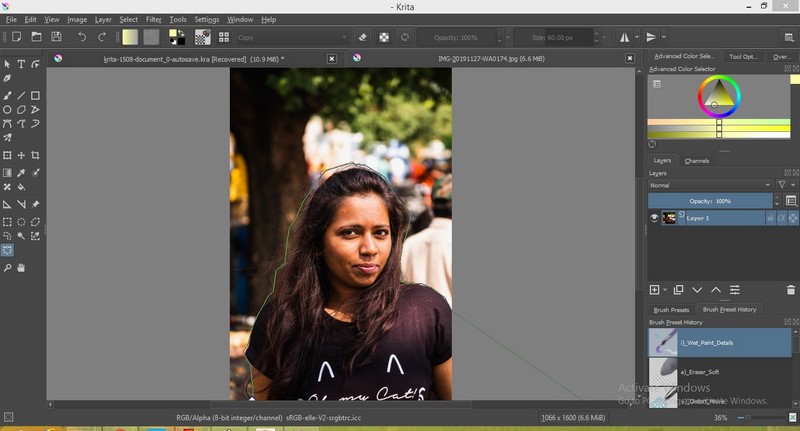
Original Image
Use Shift+ctrl+I command to highlight the selected part.
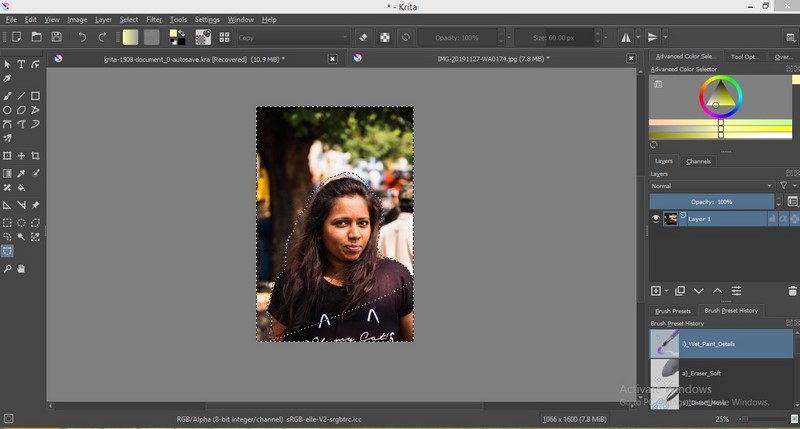
Selected area
Press B or select brush tool to remove the background
Applied brush
As we can see background is removed from this image.
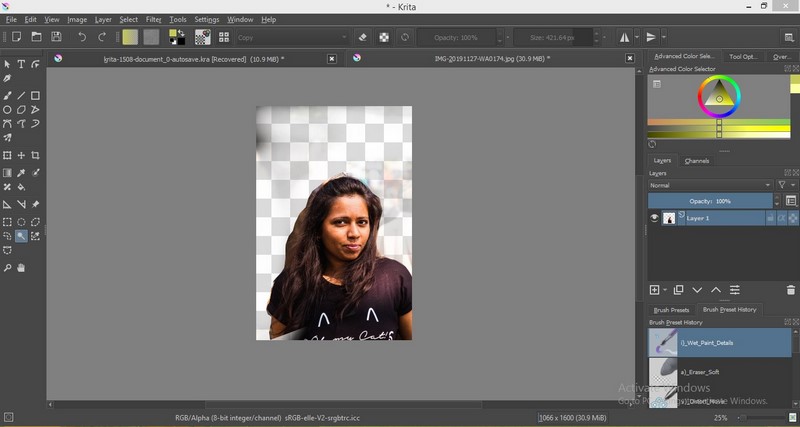
Output
Comparison between GIMP & Krita
In raster we play with pixel values .If we change pixels it will reflect on our image.
In GIMP we can resize the image,also we can give different effect to image.We can crop image.
GIMP have different filters ,by changing the value we get different effect.
IN GIMP we can resize group of images .For this we have add plugin for batch process.
It is easy to use.Krita is also raster software but this is not more useful as compared to GIMP.
User interface is not good.Both software are open source but I am comfertable with GIMP.
What is Vector?
Vector graphics are not made up of pixels.Vector composed of lines or path that are either straight or curved.
Image can be scaled to large value without losing quality.Image will not get blur.
Bacause of this designs are made using vector software.(wikipedia)
In vector I have used below two softwares:
Coreldraw
Inkscape
Coreldraw
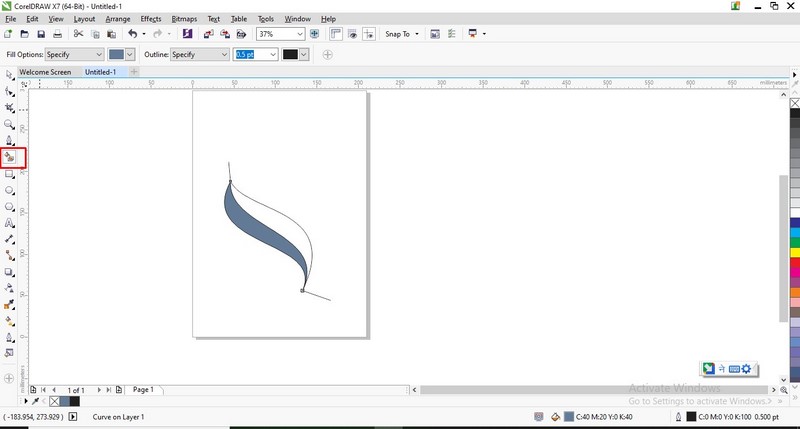
Click on file select new file .Using outline pen tool draw the shape.
By adjusting the arrow we can change the shape.
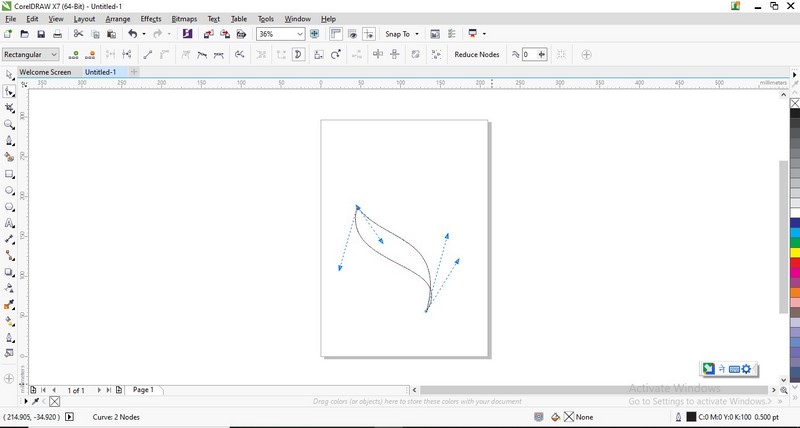
Drawing1
Draw the line as shown in figure.
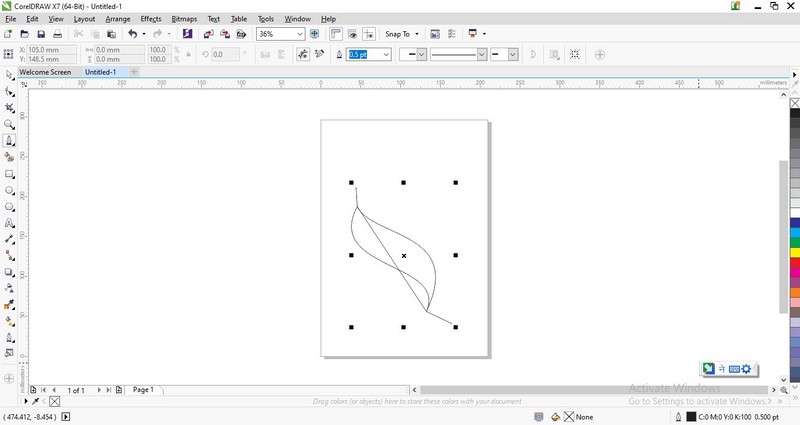
Drawing2
Fill the color using smart fill tool.
Fill Color1
Select interactive fill tool and fill the color and adjust the intensity of color by using arrow.
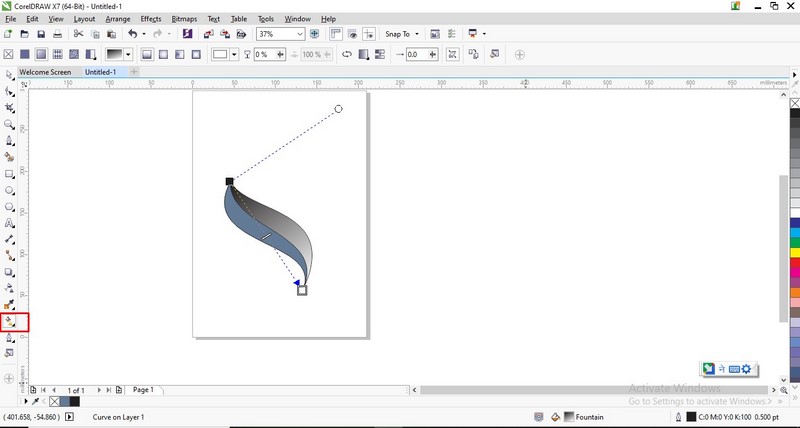
Fill Color2
Again select interactive fill tool and fill it with blue color.
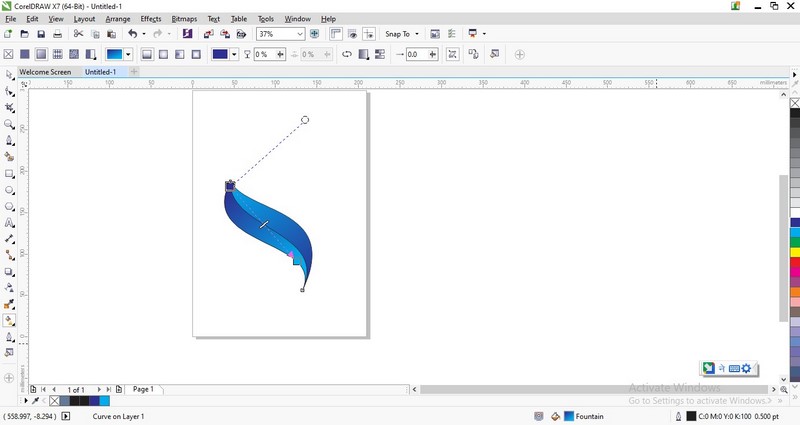
Fill Blue color
Select the image and right click on cross button which is in right corner.That is used to remove outline.
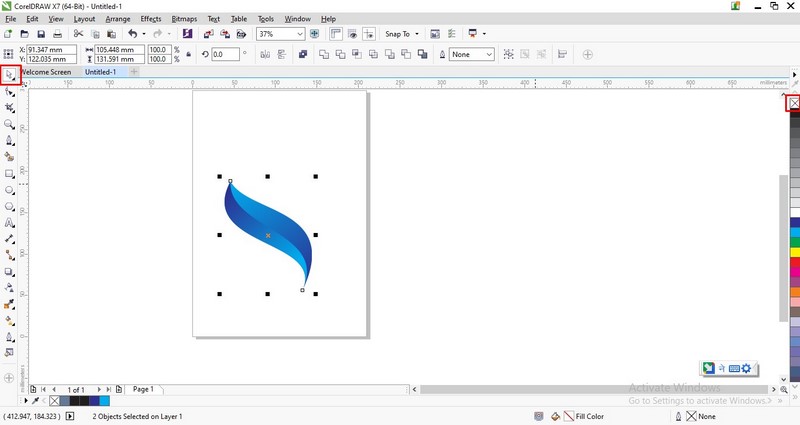
Remove Outline
Copy the image
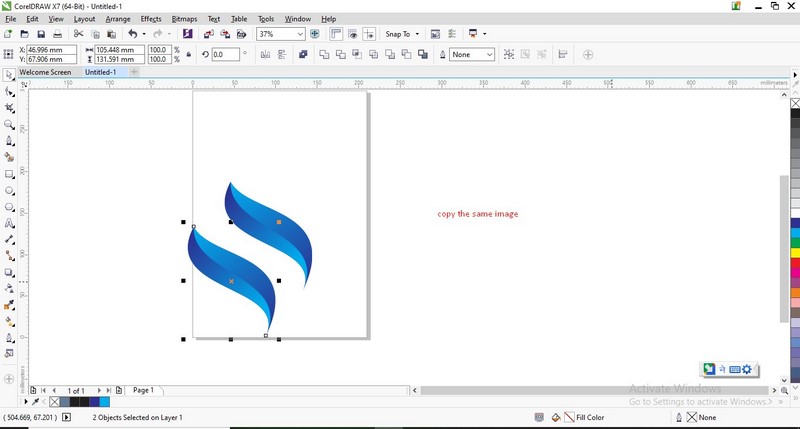
Copy Image
Mirror the image which is copied
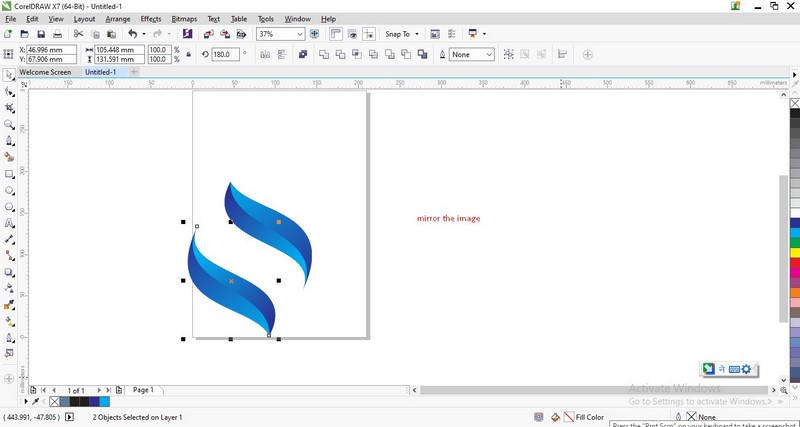
Mirror Image
Drag the image and change the postion.
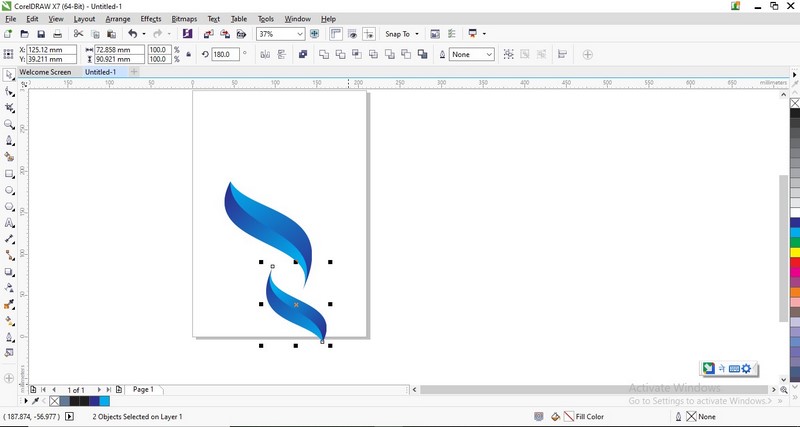
Drag Image
Fill the color using interactive fill tool .
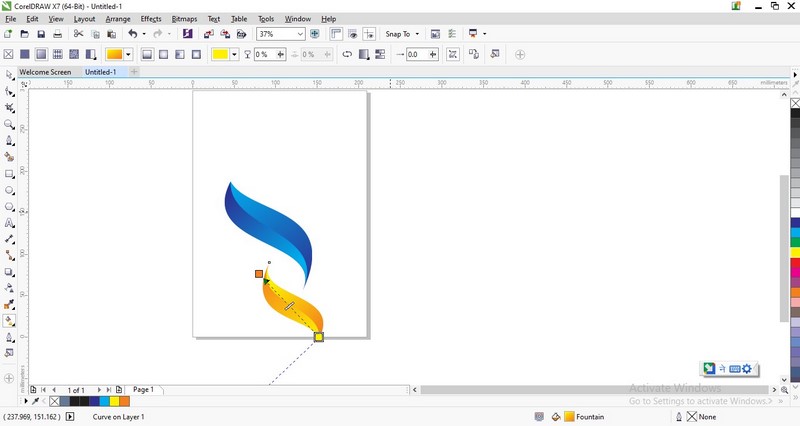
Color Change
Draw the design using pen tool as shown in figure.
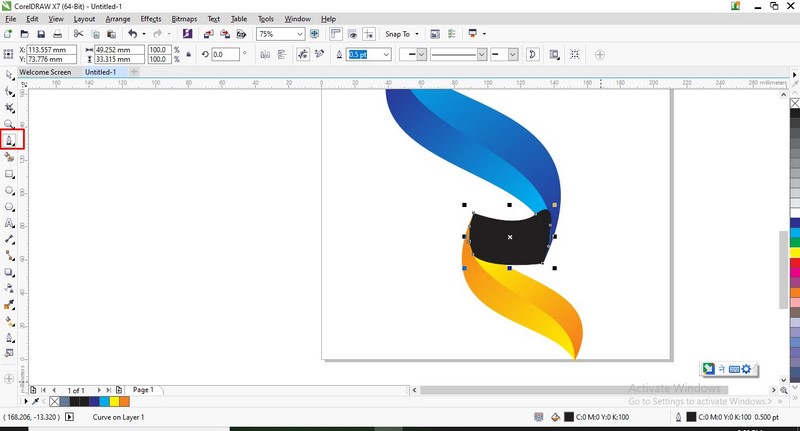
Draw design
Select the drawn image,right click on it select order and then click on to back of page.
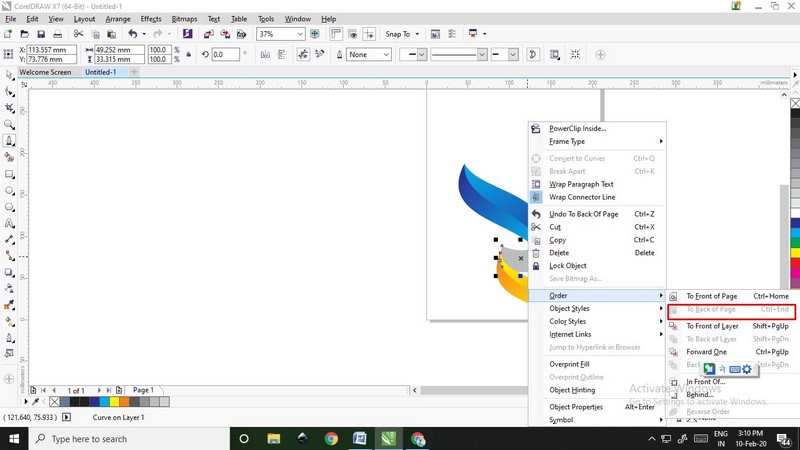
Select order
Change the color using interactive fill tool.

Fill color
Select ellipse tool and draw circle.
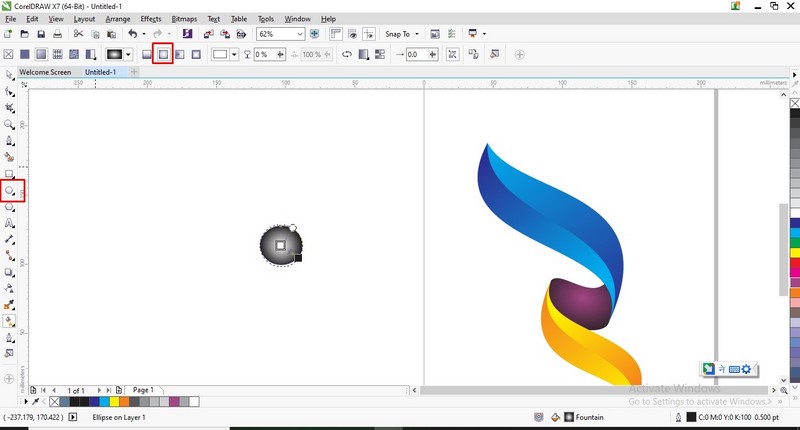
Draw Circle
Make the circle white and place that circle in middle.
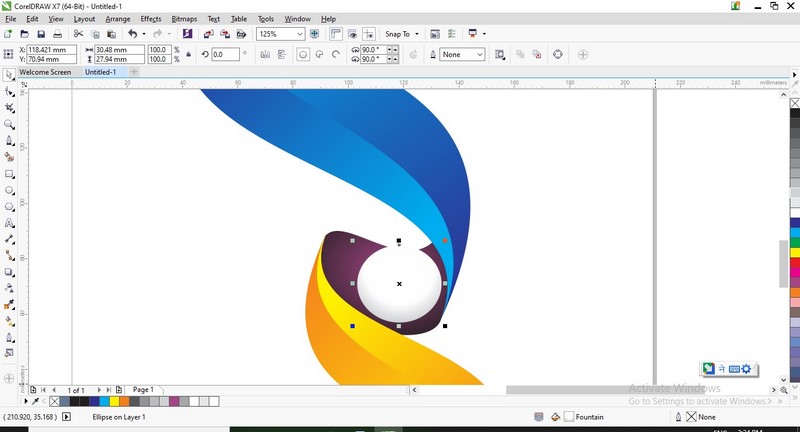
Place it at middle
This is final output.
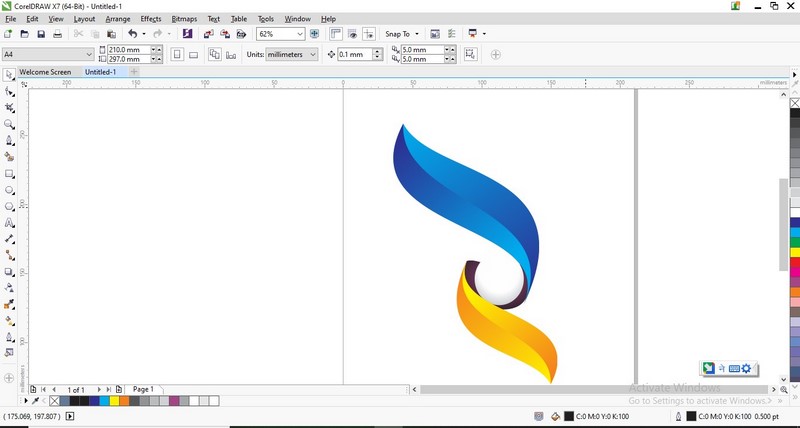
Output
Inkscape
Click on file ,select new file.Draw hexagon.
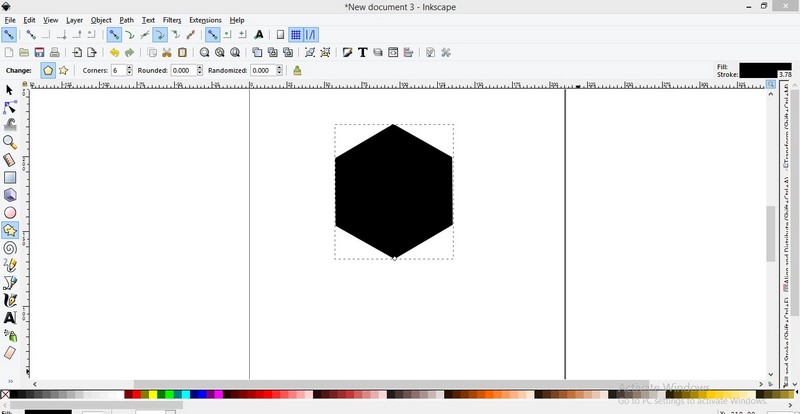
Hexagon
Change the color of hexagon.
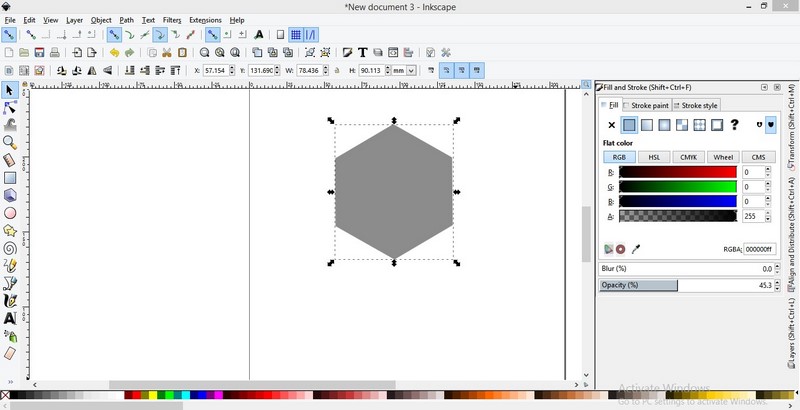
Color Change
Make it duplicate and again change color to pink.

Duplication
Shift duplicate image upside.

Shifting file upside
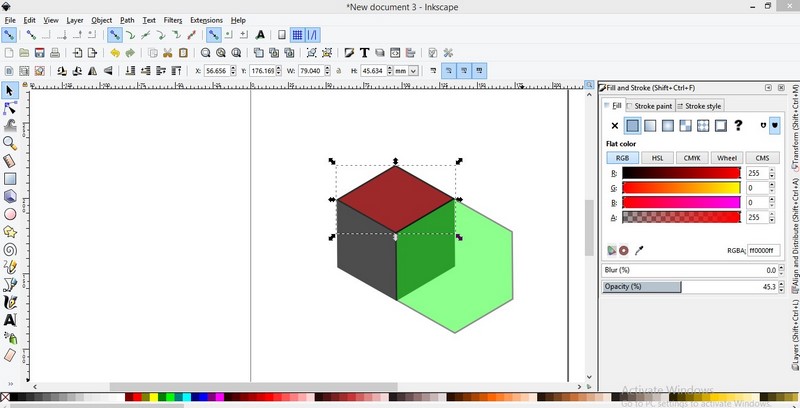
Again duplicate pink hexagon and shift it as shown in figure and make it green.

Duplication
Select Grey and pink surface click on path and select intersection.
Intersection
Select both the parts.

Selection
Go to path and select intersection.

Intersection
Delete the grey surface ,click on Snap cusp node.
Delete surface
Apply shift+ctrl+A command and change alignment to left edges.
Alignment change
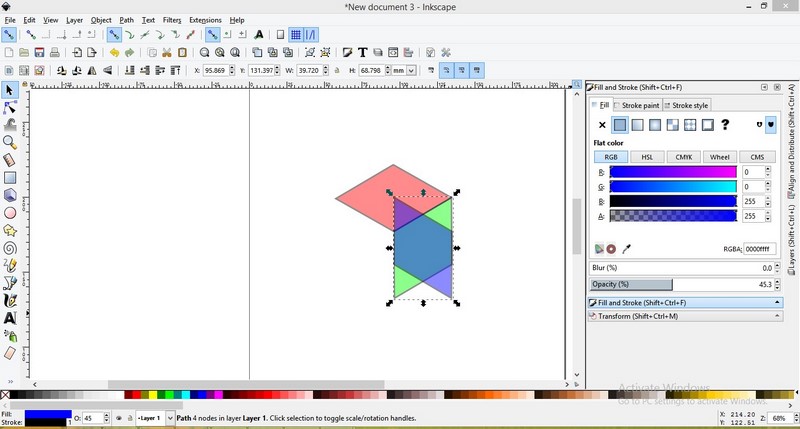
Change color of all sides.
Color Change
Group the selected surfaces.
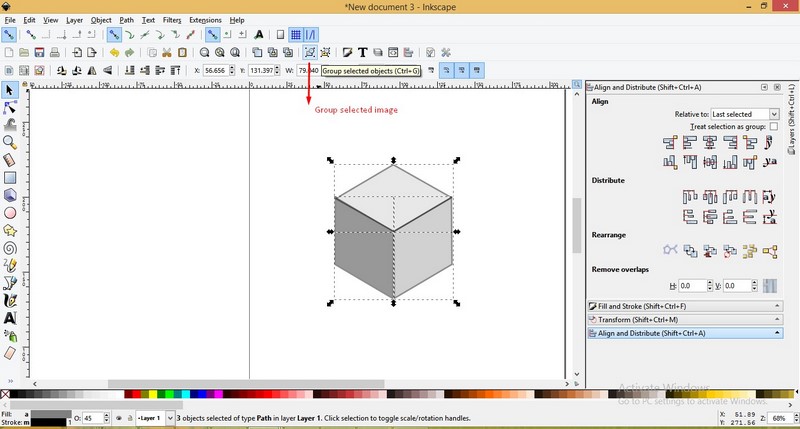
Grouping
Duplicate the selected image.
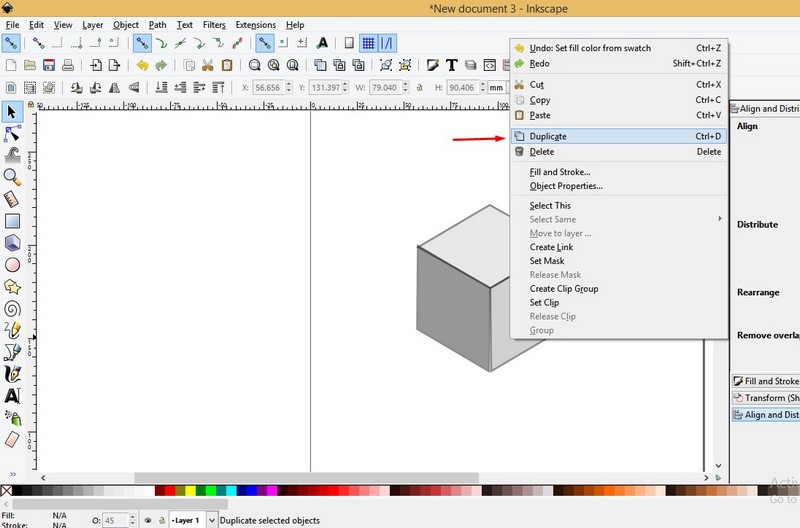
Duplication
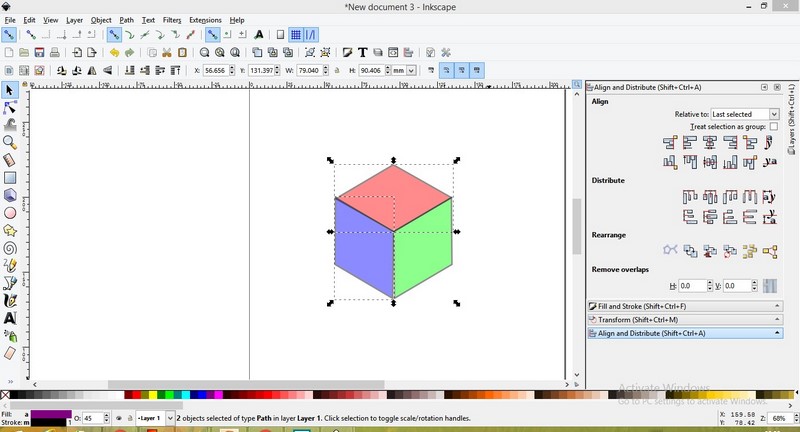
Select the image and drag it inside from on corner.

Drag inside
Here is the final image which is showing 3D effect.
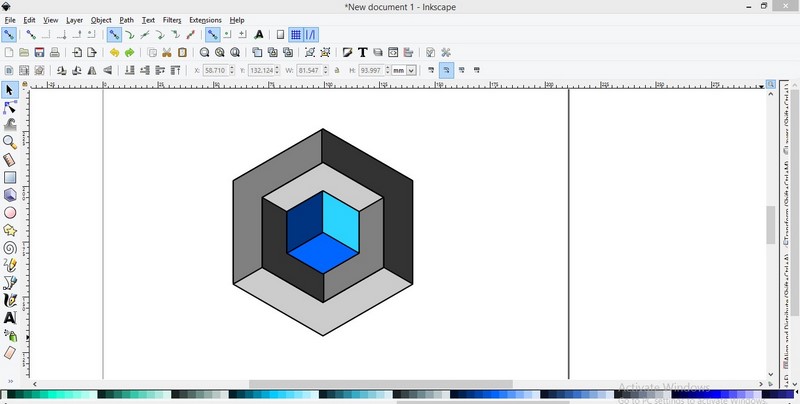
Output
Comparison between Coreldraw & Inkscape
It was very good experience of using coreldraw and inkscape.Inkscape is open source and coreldraw is commercial.
We can make logos using coreldraw.Inkscape is easy to use.Commands are easy to understand.
I feel coreldraw is little bit difficult as compared to inkscape.I explored more command using inkscape. Inkscape is free software and coreldraw is commercial thats why I am using inkscape.
3D Design
I have never used any 3D software before. It is very difficult for me to learn this software and make design.
But also I am excited about 3D software.This is an chance to improve my drawing skills.So I started watching tutorial.
In Neil's lecture told about open source software that is FREECAD. I decided to use Freecad and Fusion 360.
I have selected random object and made design of it.Also I have rendered ,simulated and animated the design. Our local instructor Apeksha Ma'am made video tutorial on freecad.I reffered that tutorial also.
In 3D design I have used below two softwares
Fusion 360
Freecad
Fusion 360
Go to file select new file.
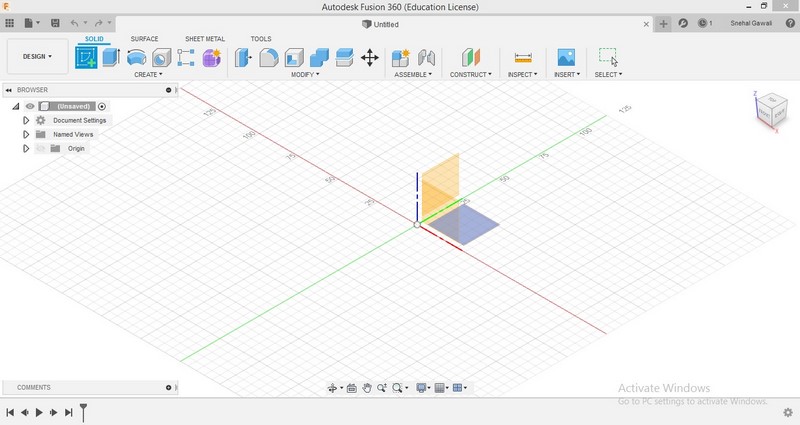
New file
Click on create sketch and select the plane which you want.
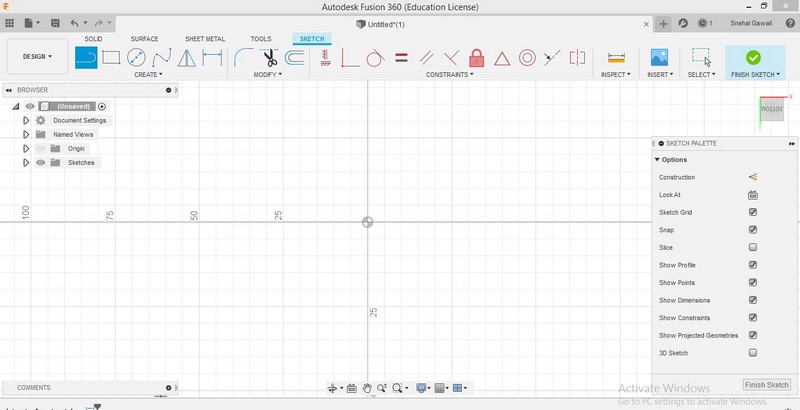
Sketch mode
Go to create click on polygon ,select inscribed polygon. Put value of edges as 12.
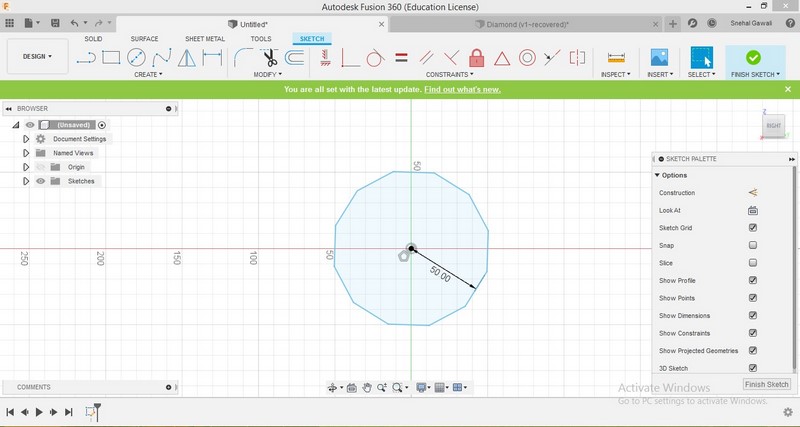
Polygon
Use extrude command and extrude selected part.
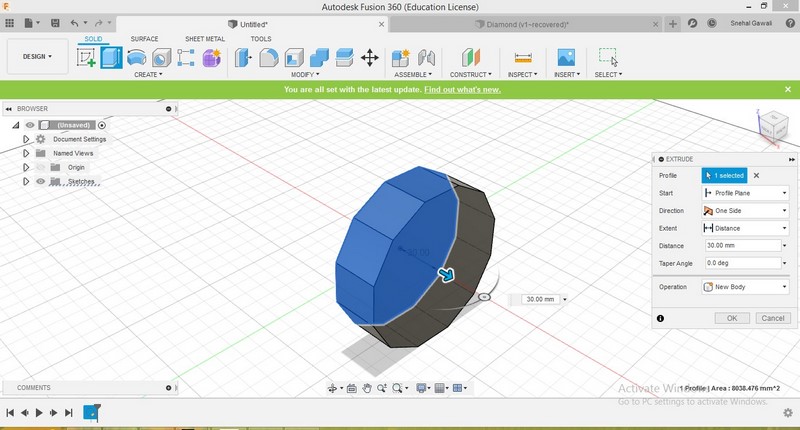
Extrude
To make it in diamond shape change the angle to -45.5 and also distance.Pull that arrow downward.
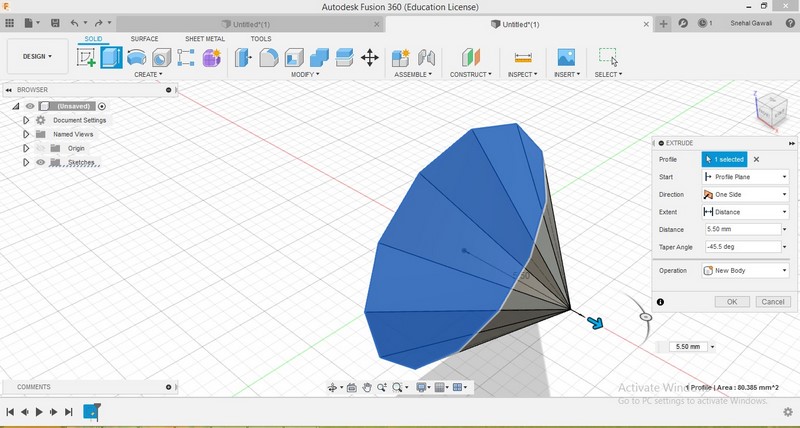
change angle
Again change the angle to -50.5.
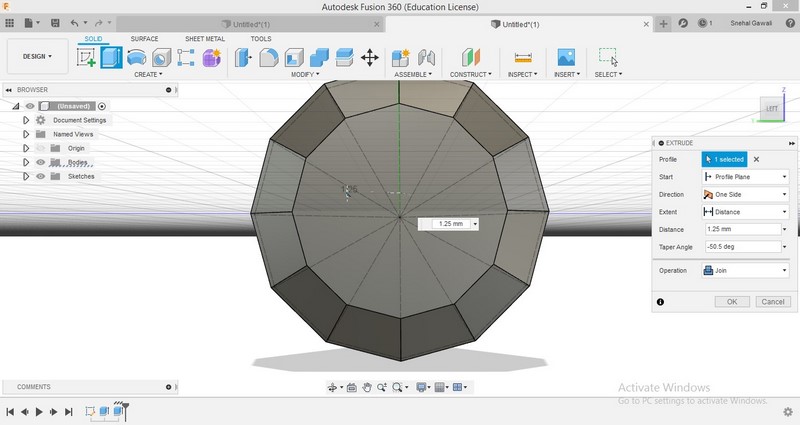
change angle
♦Render♦
Click on appearance icon and select the material like metal ,glass,wood.I have selected wood.
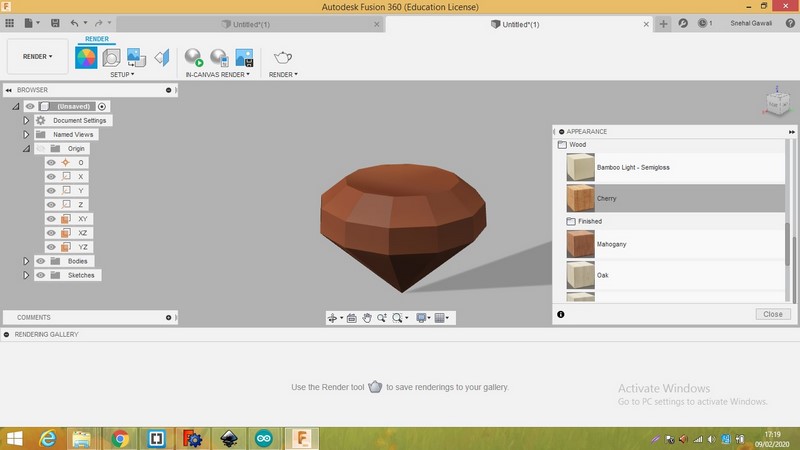
Select material
Click on scene setting and select one of the scene.
Appearance
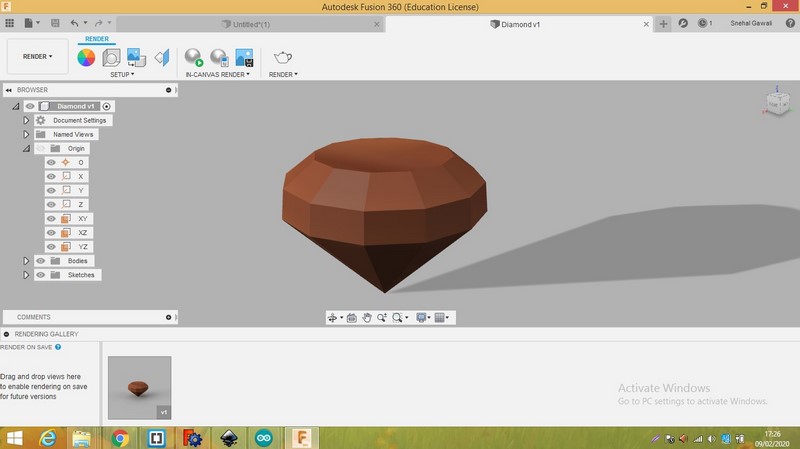
This is render image using wood material.
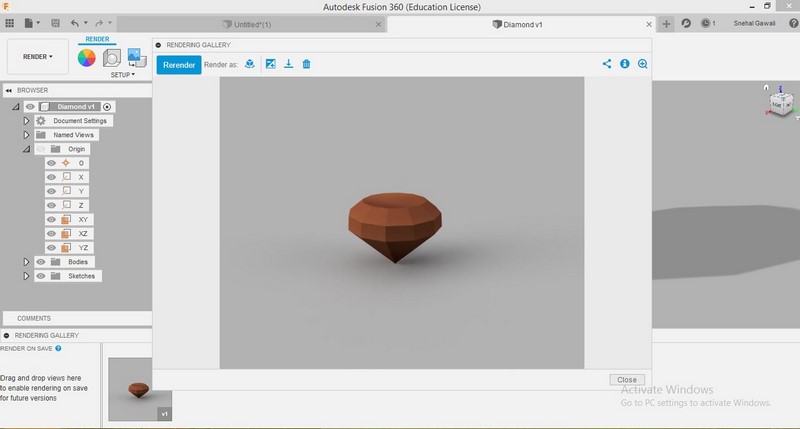
Wood rendered image
This is render image using glass material.Render image looks very nice.
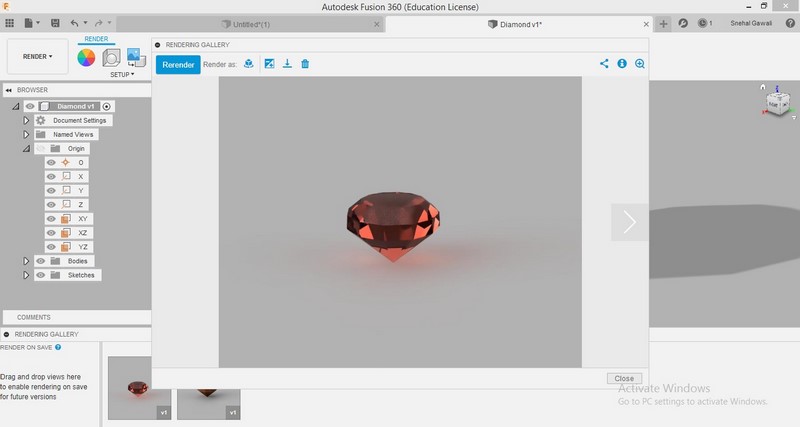
Glass rendered image
♦Simulation♦
Go to simulation mode and select one of the study type.
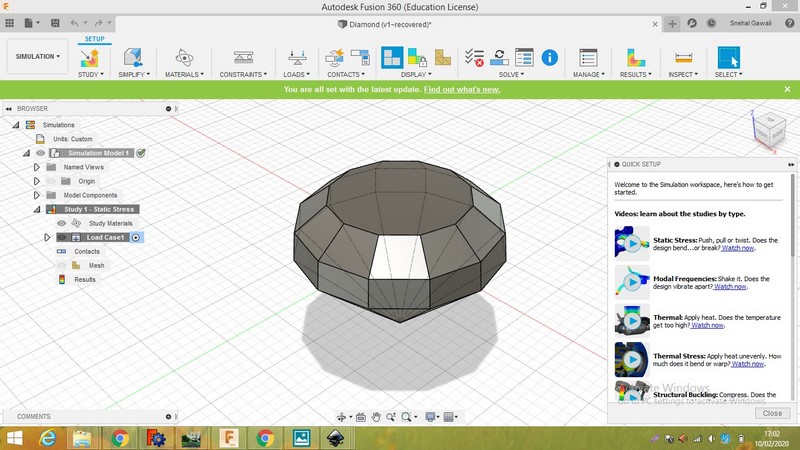
Simulation
Select study material then click on mesh and change the element size.
After that go to load icon select the load.I have applied structural load.
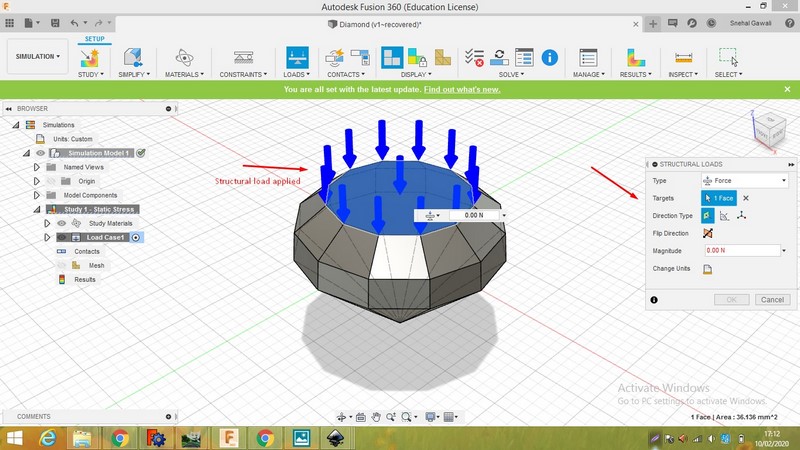
Load
Error occured because of structural load.It can't applied to this material.So I changed the load.

Error
Error get solved by changing the load.Solve it locally.
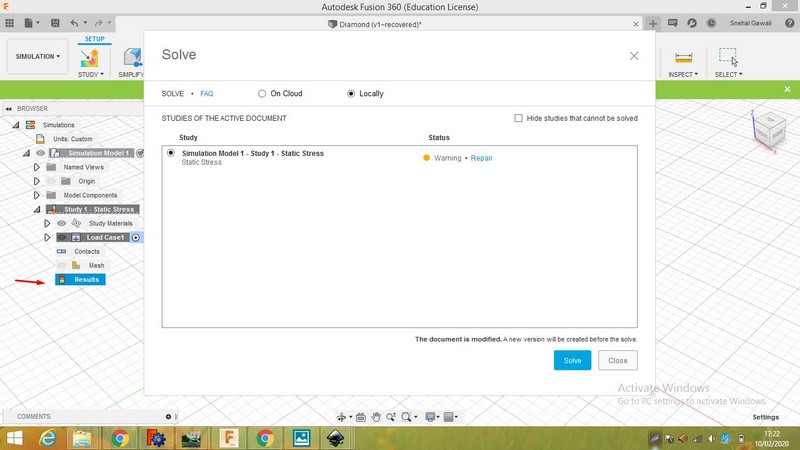
Error solved
Showing the status of simulation.
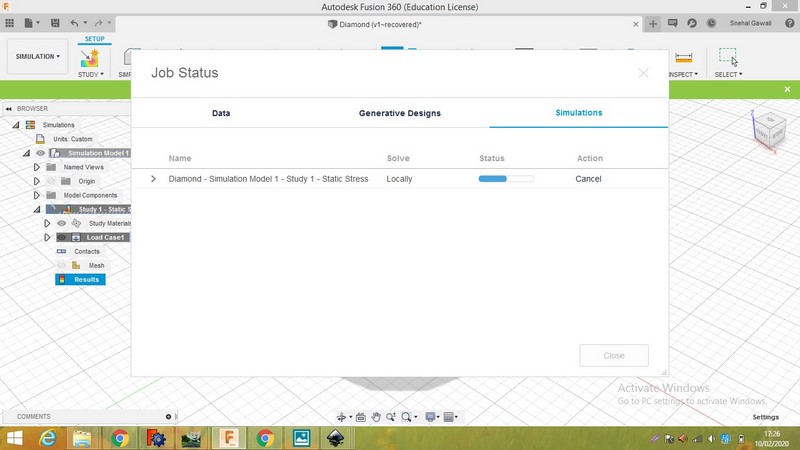
Status
Here are the result details of simulation.
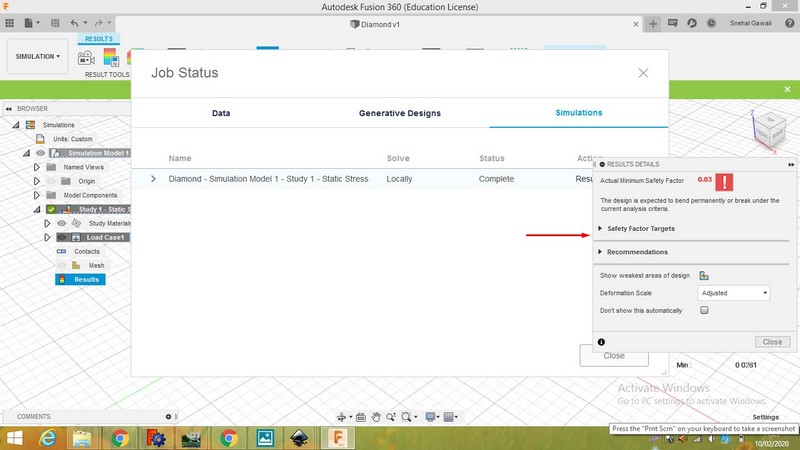
Result
Simulation is very effective because it is also showing minimum safety factor.
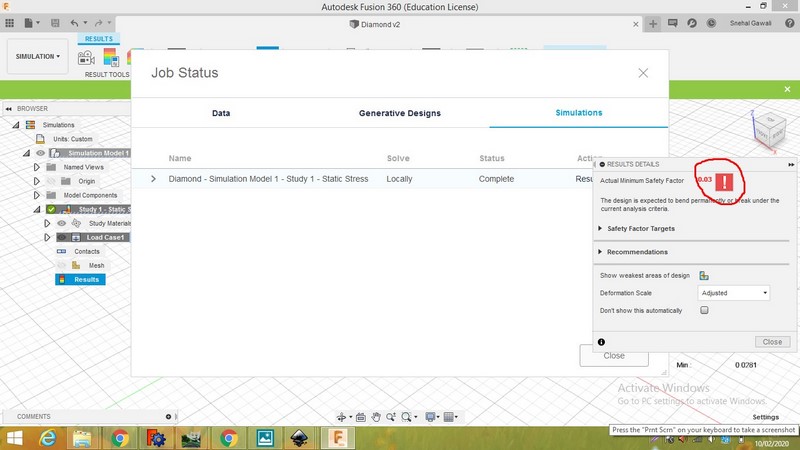
Safety Factor
Here we can see the graph.It is also showing diffrent factors and its effects.

Safety factor
When we applied stress it will look like image.
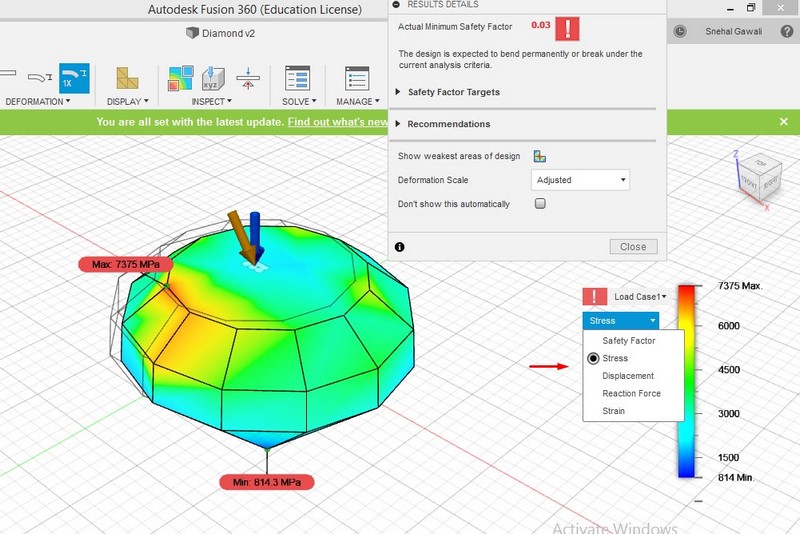
Stress
When we applied displacement ,minimum and maximum value also get changed.

Displacement
Here I applied reaction force.
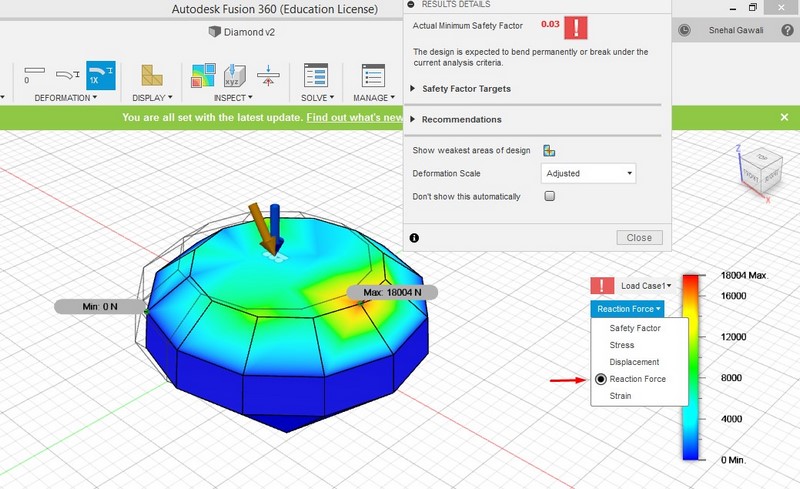
Reaction Forces
Here I applied strain. All parameters have different value.From simulation we can understand weak and strong part of our design.
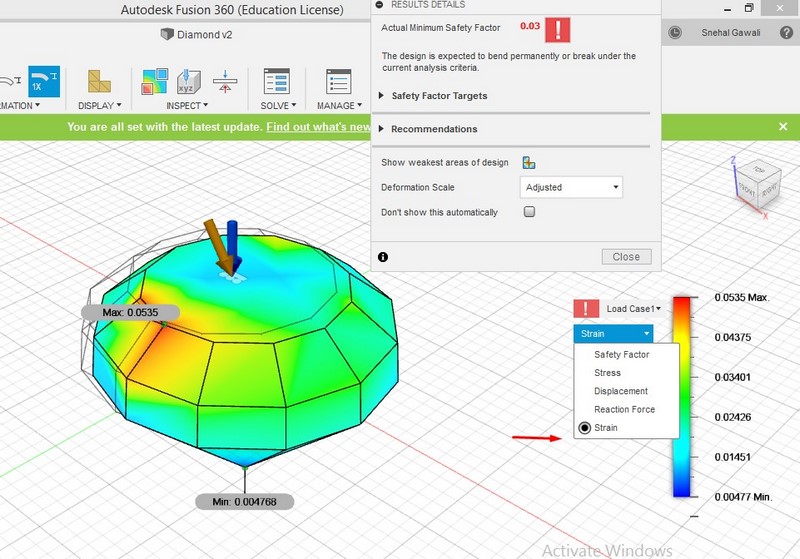
Strain
♦Animation♦
Go to animation and change the position of object.Rotate the object,give angle to it.
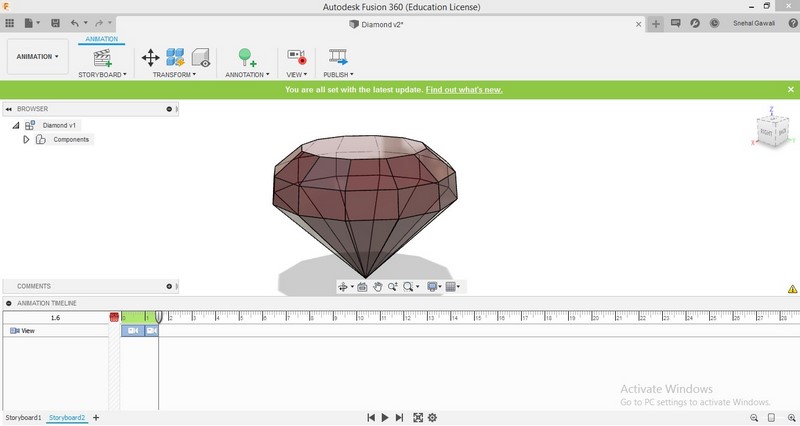
Animation
Here is the animation video
By creating account on sketchfab I have made another video.For that I have saved fusion 360 file in STL format.
After that I uploaded that file in sketchfab.As we rotate the mouse video will rotate as per that direction.
Freecad
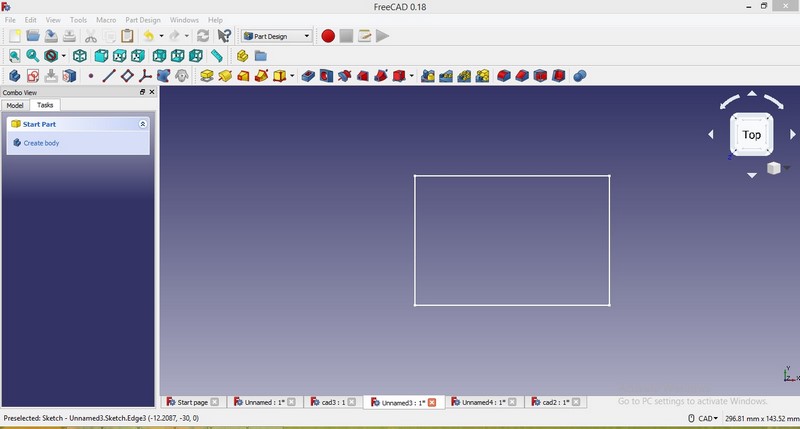
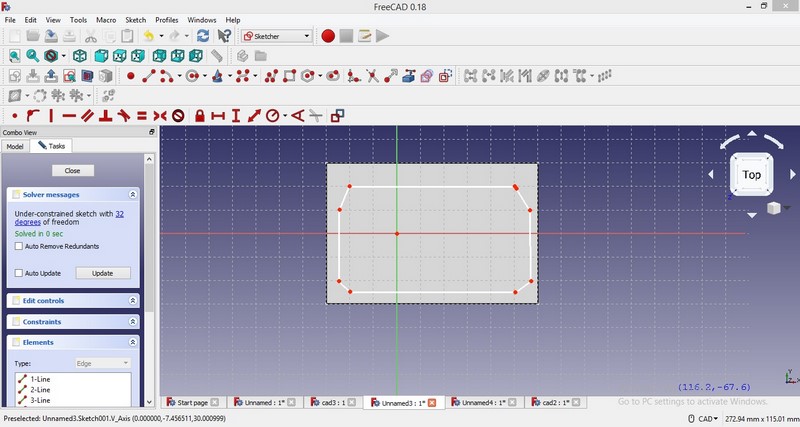
Click on file select new file.Go to sketcher mode ,select XY plane.
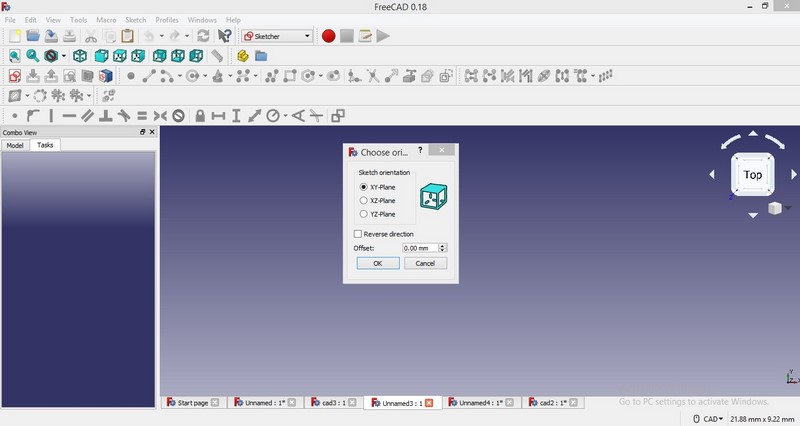
XY plane
Draw the rectangle as per your dimension.
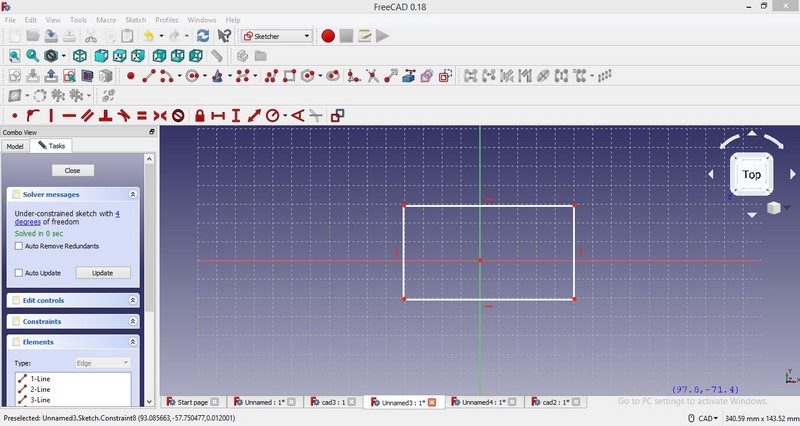
Draw rectangle
Select right corner point and lock it.Set the dimension of rectangle and also for lock point.

Dimensions
From sketcher mode go to part design.
Part design
Create body and select design.
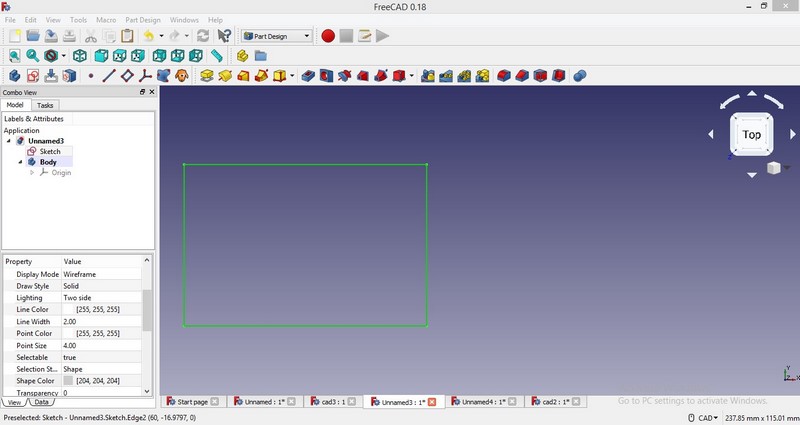
Create body
Change the pad parameter and use Pad command.
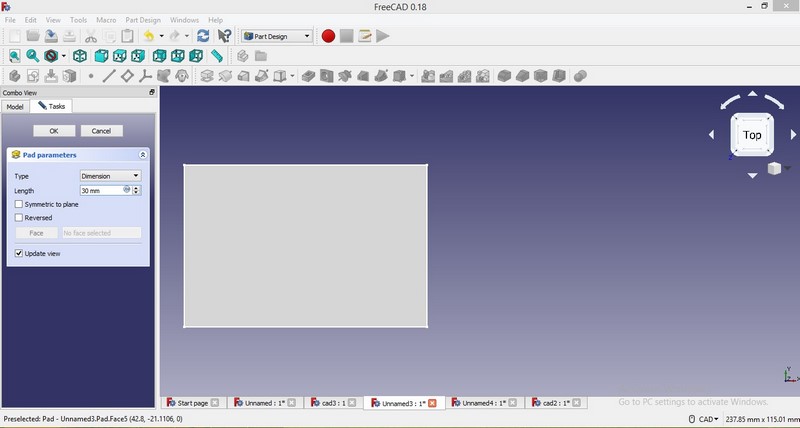
Pad parameter
So this is simple box.
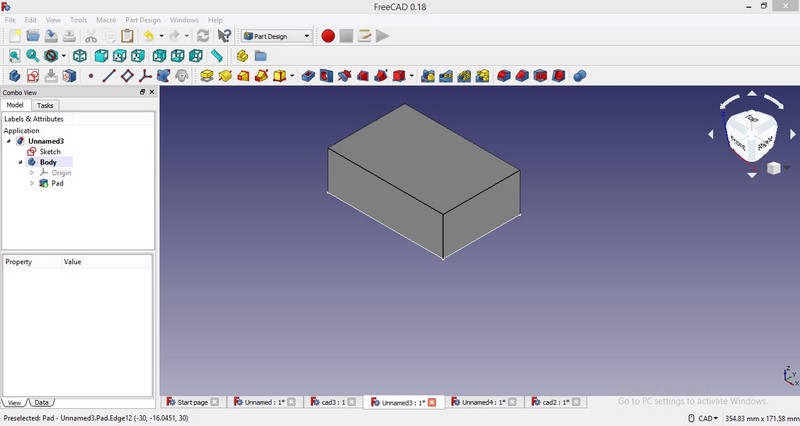
Use pad
Again go to sketcher mode and draw shape as shown in image.
Draw rectangle
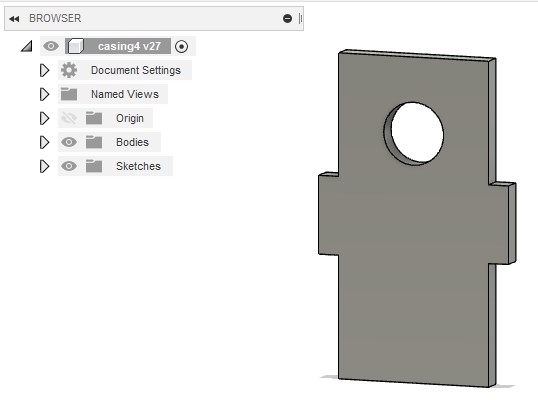
This is complete casing box with hole.

output
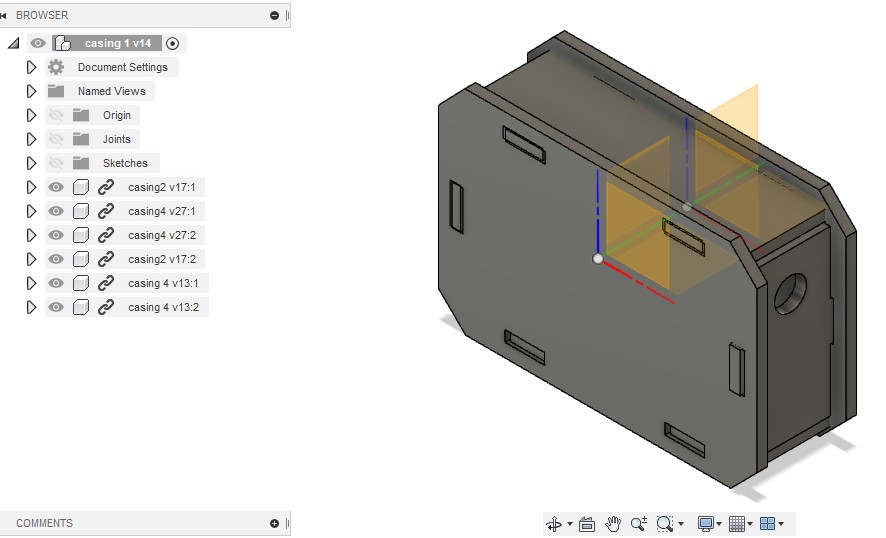
This is lead of box.After assembly both part will fit correctly.
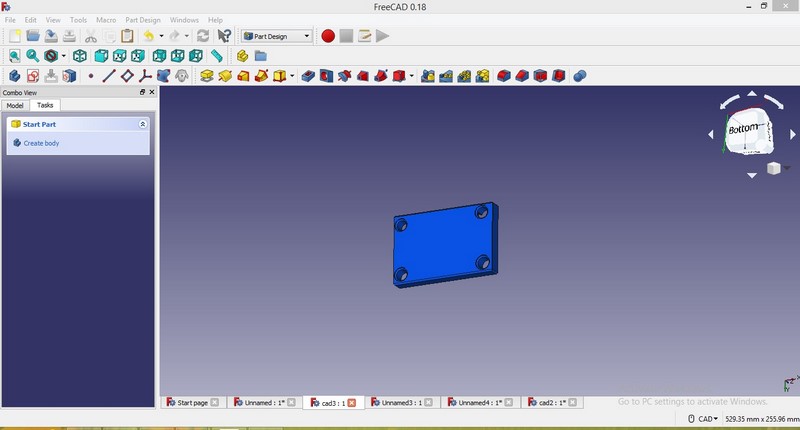
output
Comparison Fusion 360 & Freecad
Both softwares are new for me.I started working on freecad first.I used extrude command.I made small object in freecad.
User interface is not good in freecad.But freecad is open source software.Fusion 360 is cloud based online software.
User interface is very easy. In fusion 360 we can do rendering,animation,simulation very easily.
I will use fusion 360 for my project design part.
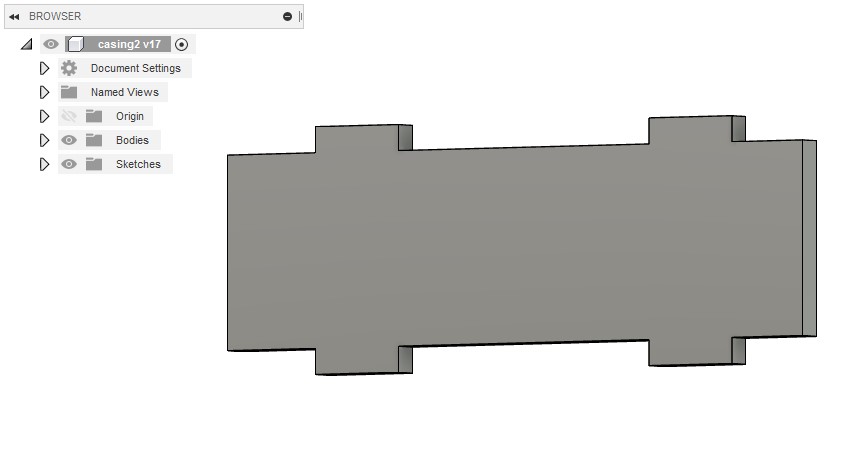
Project part covered:
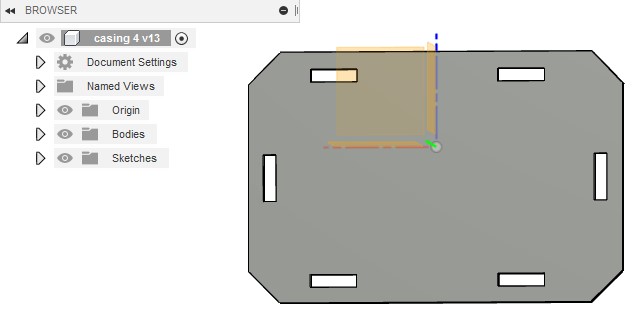
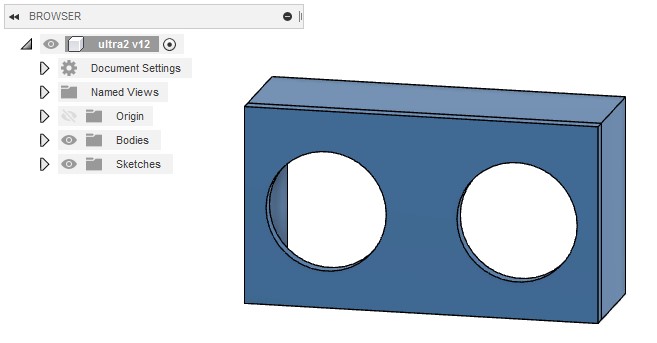
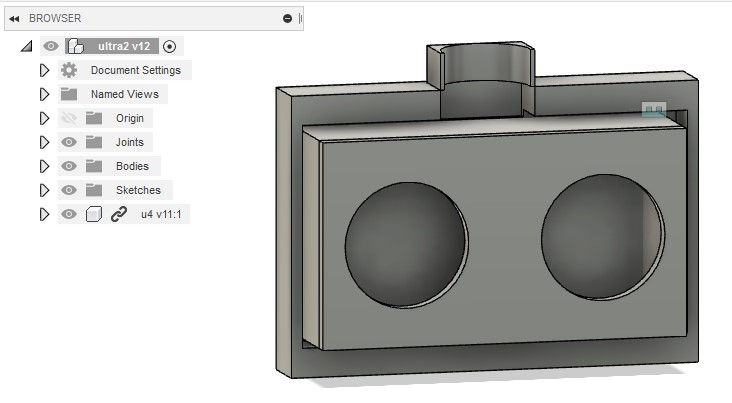
For my project I made casing in fusion 360 and I will cut it using laser cutter.Also I required casing for ultrasonic sensor,for that I have made design in fusion 360.
|
|
|
|
This design is made for sensor .I will 3D print this design .For 3D printing I required .Stl file.So I have saved .Stl file.
|

|
I have given all design files in downlodable format.
Learning Outcomes:
As electronics engineer ,I never used any CAD software.This week was very excited and interesting for me.
I learned about raster ,vector and 3D design.In 2D design I understood lot of new things like how to draw,how to change color.
In raster I learned how to resize image,how to gove different effects.In 3D design I made small object using pocket,extrude commands.Also I have done rendering,animation,simulation.I like rendering in 3D software.
