Brainstorming with Shaikha for the best rotating base design.
We selected the design shown below a 3D printed base attached directly to the motor: 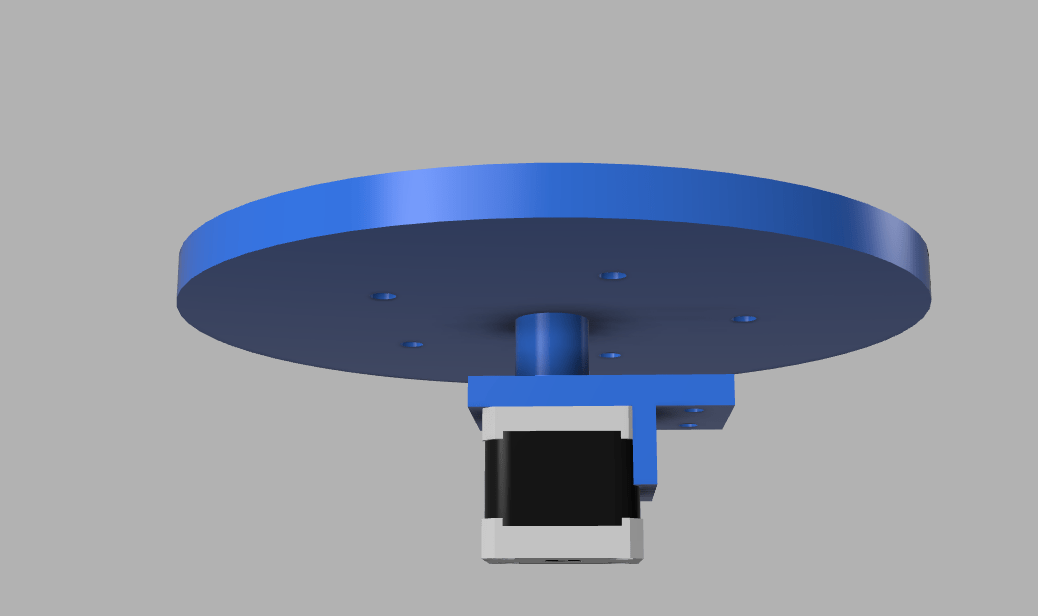
Design a machine that includes mechanism + actuation + automation.
Build the mechanical parts and operate it manually.
Actuate and automate your machine.
Document the group project.
Document your individual contribution.
Documented your individual contribution to this project on your own website.
Linked to the group page from your individual page as well as from group page to your individual page.
For the machine assignment we fabricated Foam Cutting Machine for more details please visit the group page. The Group work between the team members was wonderful, we were doing everything together, and helping each other to finish the machine on time. We spent a lot of hours in the lab continuously working to finish the machine. Thus, most of the work was in a group even the designing, we were discussing and doing it together, so it’s difficult to write about something I did individual in this assignment. Also there were some designs accomplished while working on the machine. Sometimes we will need to design something quickly and fabricate it to use it immediately on the machine.
Step for design and fabricate the rotating base:
Brainstorming with Shaikha for the best rotating base design.
We selected the design shown below a 3D printed base attached directly to the motor:
However, when we want to start the fabrication process, we found it’s not appropriate because it was so small for the machine, and it was difficult to print a bigger base as there is no bigger 3D printer in the Lab will print the size we want.
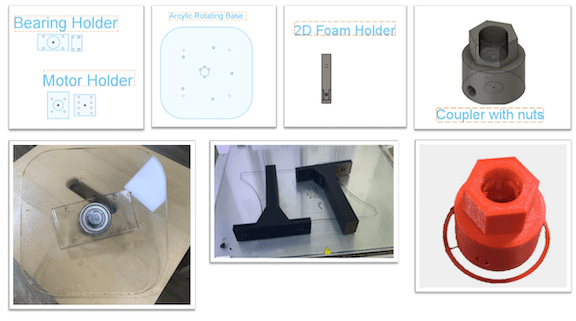
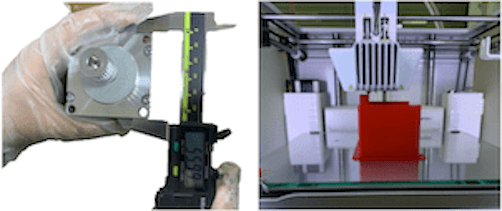
Measuring the dimension of the bearing holder and acrylic board was a little bit hard because we want them to perfectly press fit. so first we measure the bearing a dimeter and test it by cutting the circle using MDF and it was good. Afterward, we cut the Bearing holder using acrylic but because of the kerf and differences between the materials, we had to do a few tests until reaching the correct dimension, as well to the rotating bases we had to do a few tests until to ensure that the nut will press fit well in the board.
Moreover, we 3D printed the motor Holder, it was the same design we use for the motors in the X-axis, but we added a complete wall for the holder from both sides to increase has the capacity to carry the motor load.
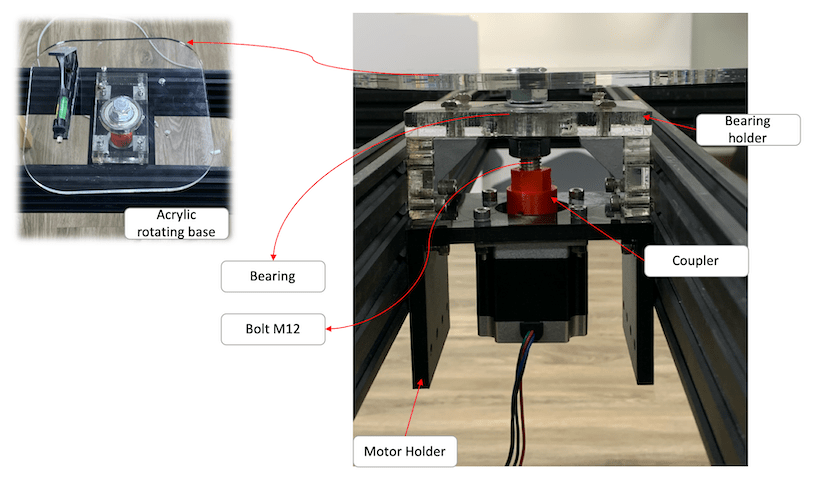
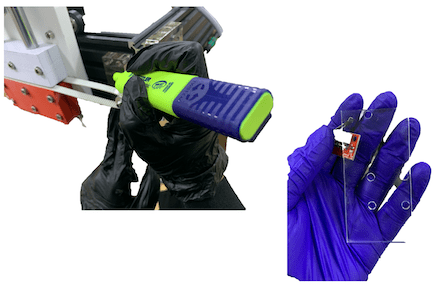
furthermore, we printed the coupler a few times until we reached the best fit. but after trying it with the motor, we agreed to buy a ready coupler rather than print one in the lab to improve the rotation of the rotating base.
Is true the rotating base did rotate but wasn’t perfect and barely you can see the rotation, one of the problems was from the coupler is not holding the motor shaft very well.
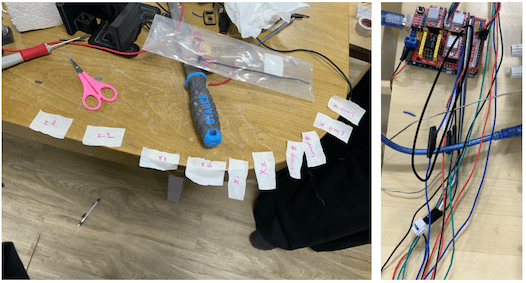
Finally, the rotating base was attached to the aluminum profile. Ali was responsible for this task. Assembling the rotating base wasn’t easy, it was really hard to align and attach the base to the machine. since the place was too small, moreover to place the base in the correct alignment.